

Analyze with AI
Get AI-powered insights from this Mad Devs article:
Amazon S3 is a cloud storage platform. It is mainly used for storing pictures and video files. This service is free for 12 months after the first registration. When the period expires, or if you exceed the limit, you will be persistently asked to start paying for the use of the service. You can read about the rates here.
So, the goal of this article is to give a quick tour that will help you start using S3 right after reading.
Here’s what we’ll do:
- Talk about creating and configuring a bucket
- Set up a public link to access a bucket
- Learn how to work with aws cli
Creating and configuring a bucket
The first thing to do is to follow the link and click on the big orange button.

This button will redirect us to the login page. If you don’t have an account, you need to register.
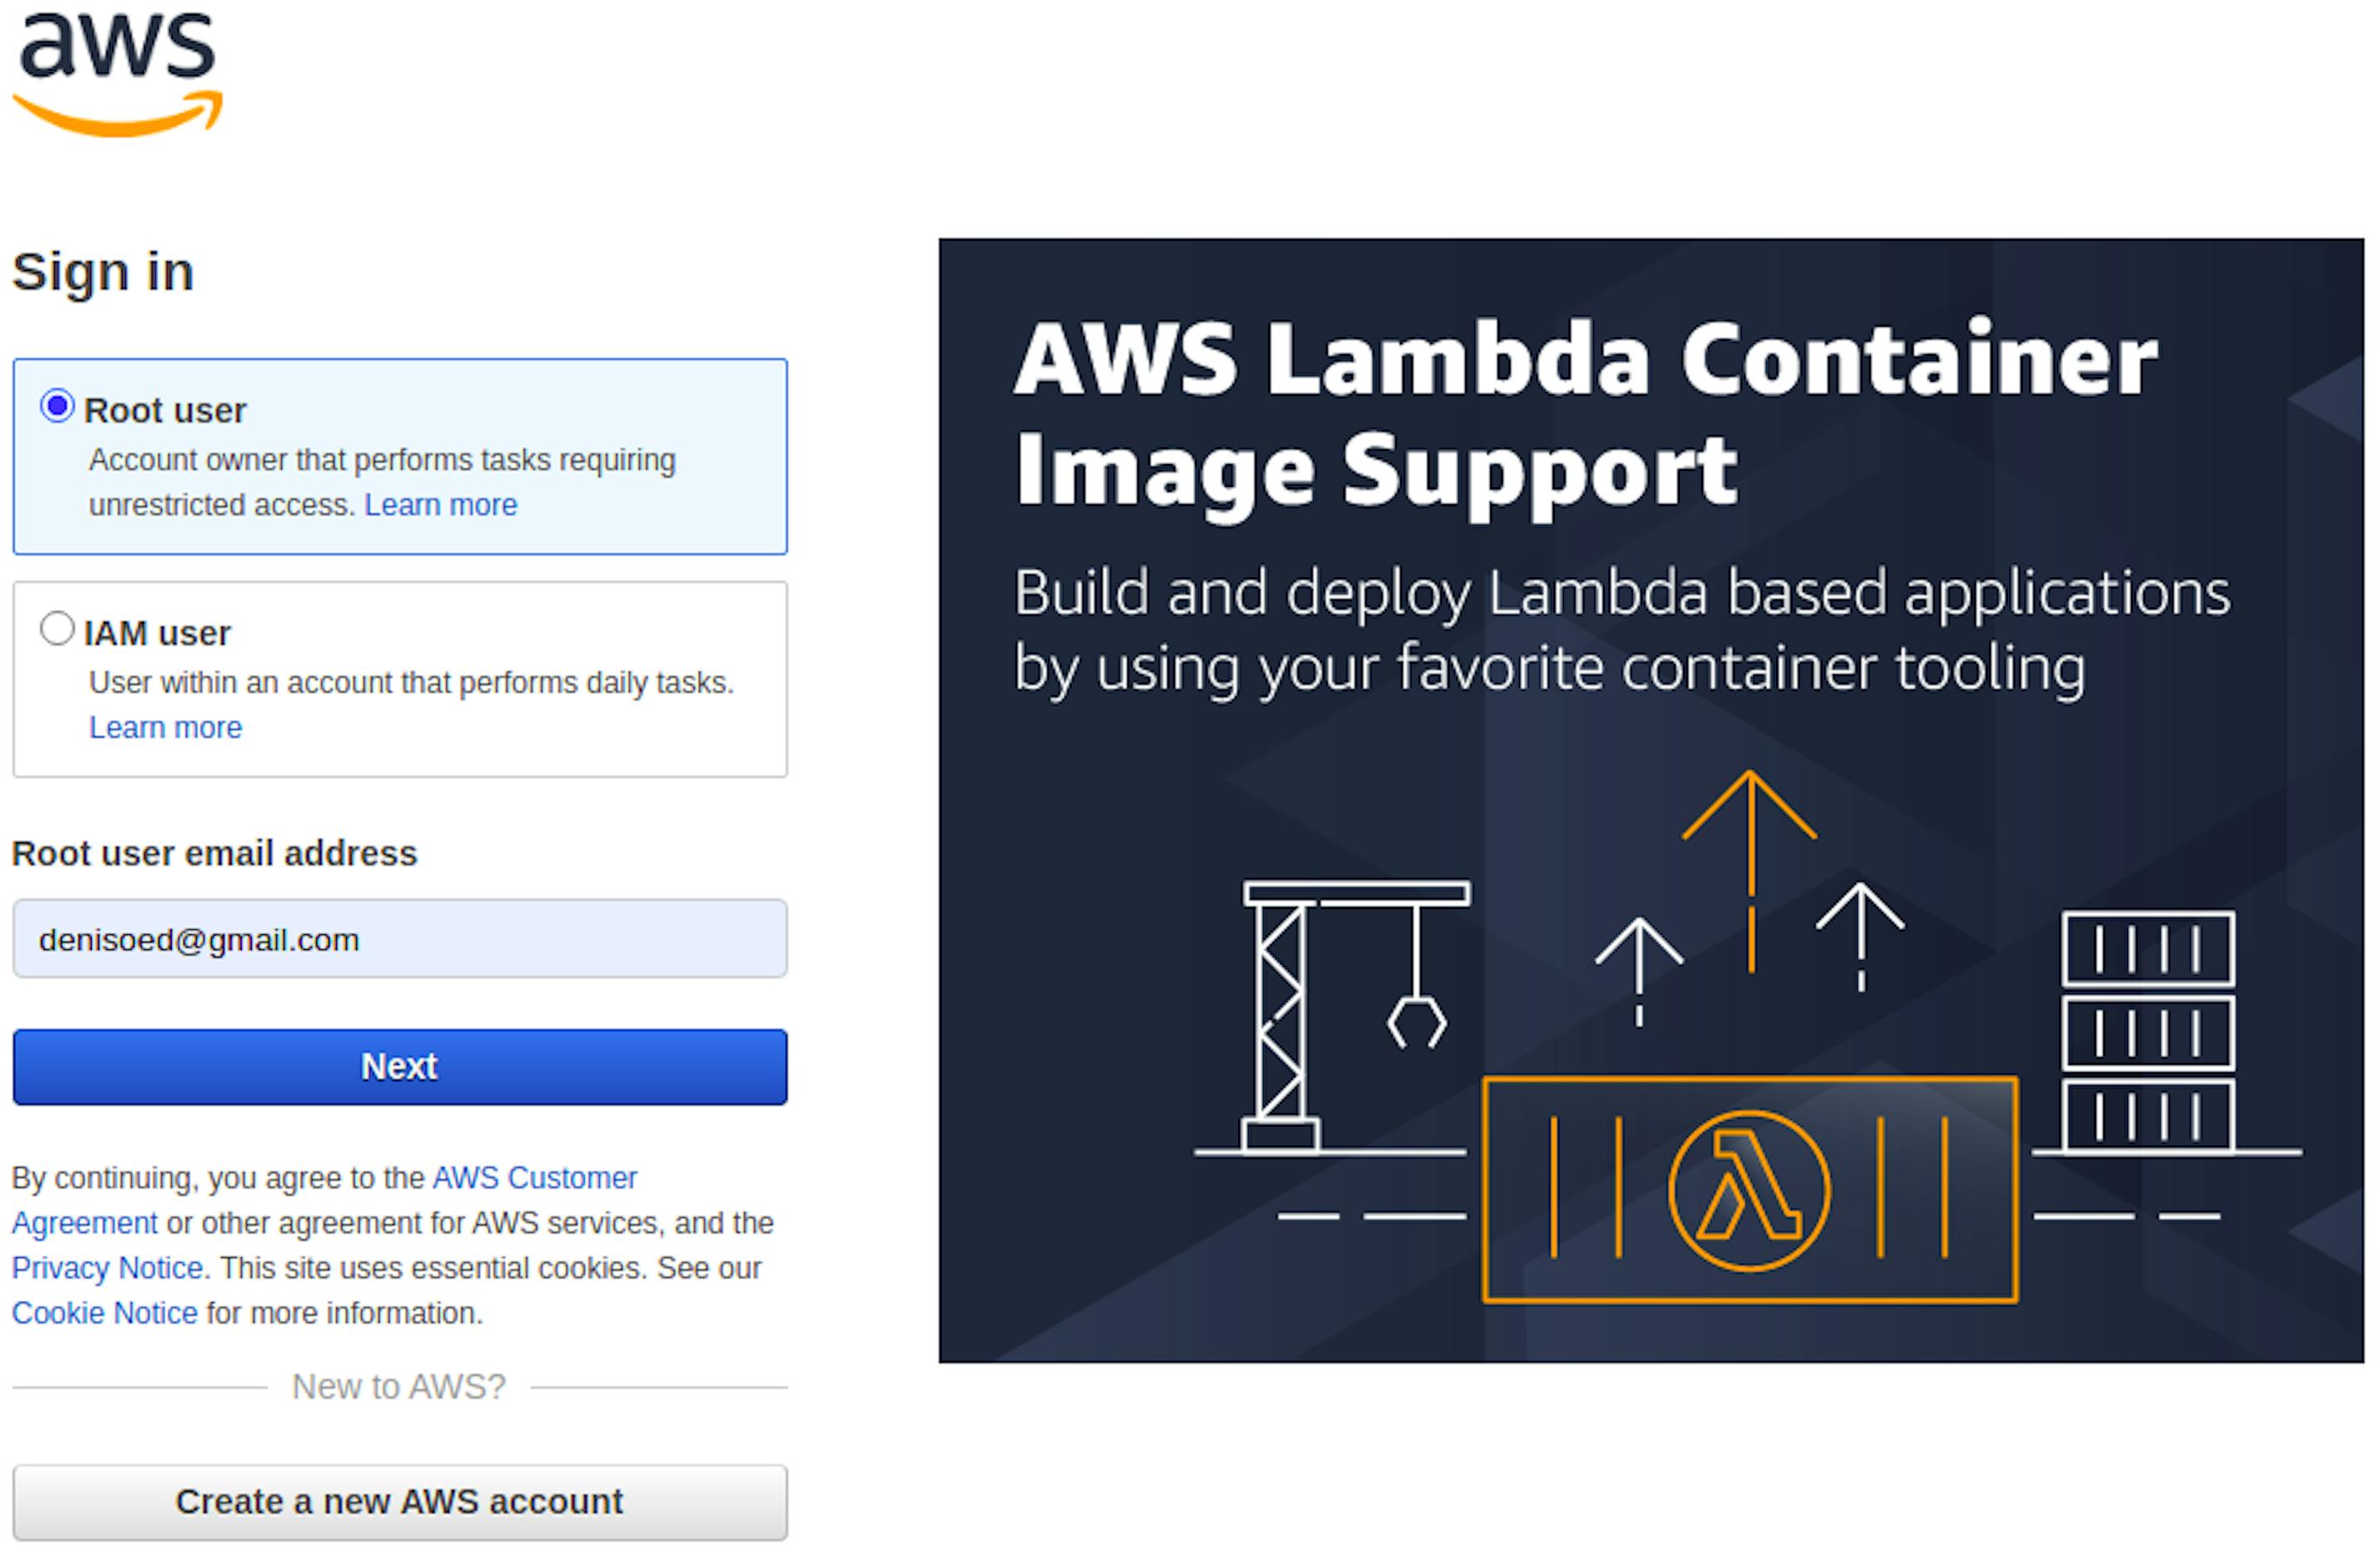
Once the account is ready, select Root use rand click Next. Enter the password and log in. It should redirect you to the storage management page.
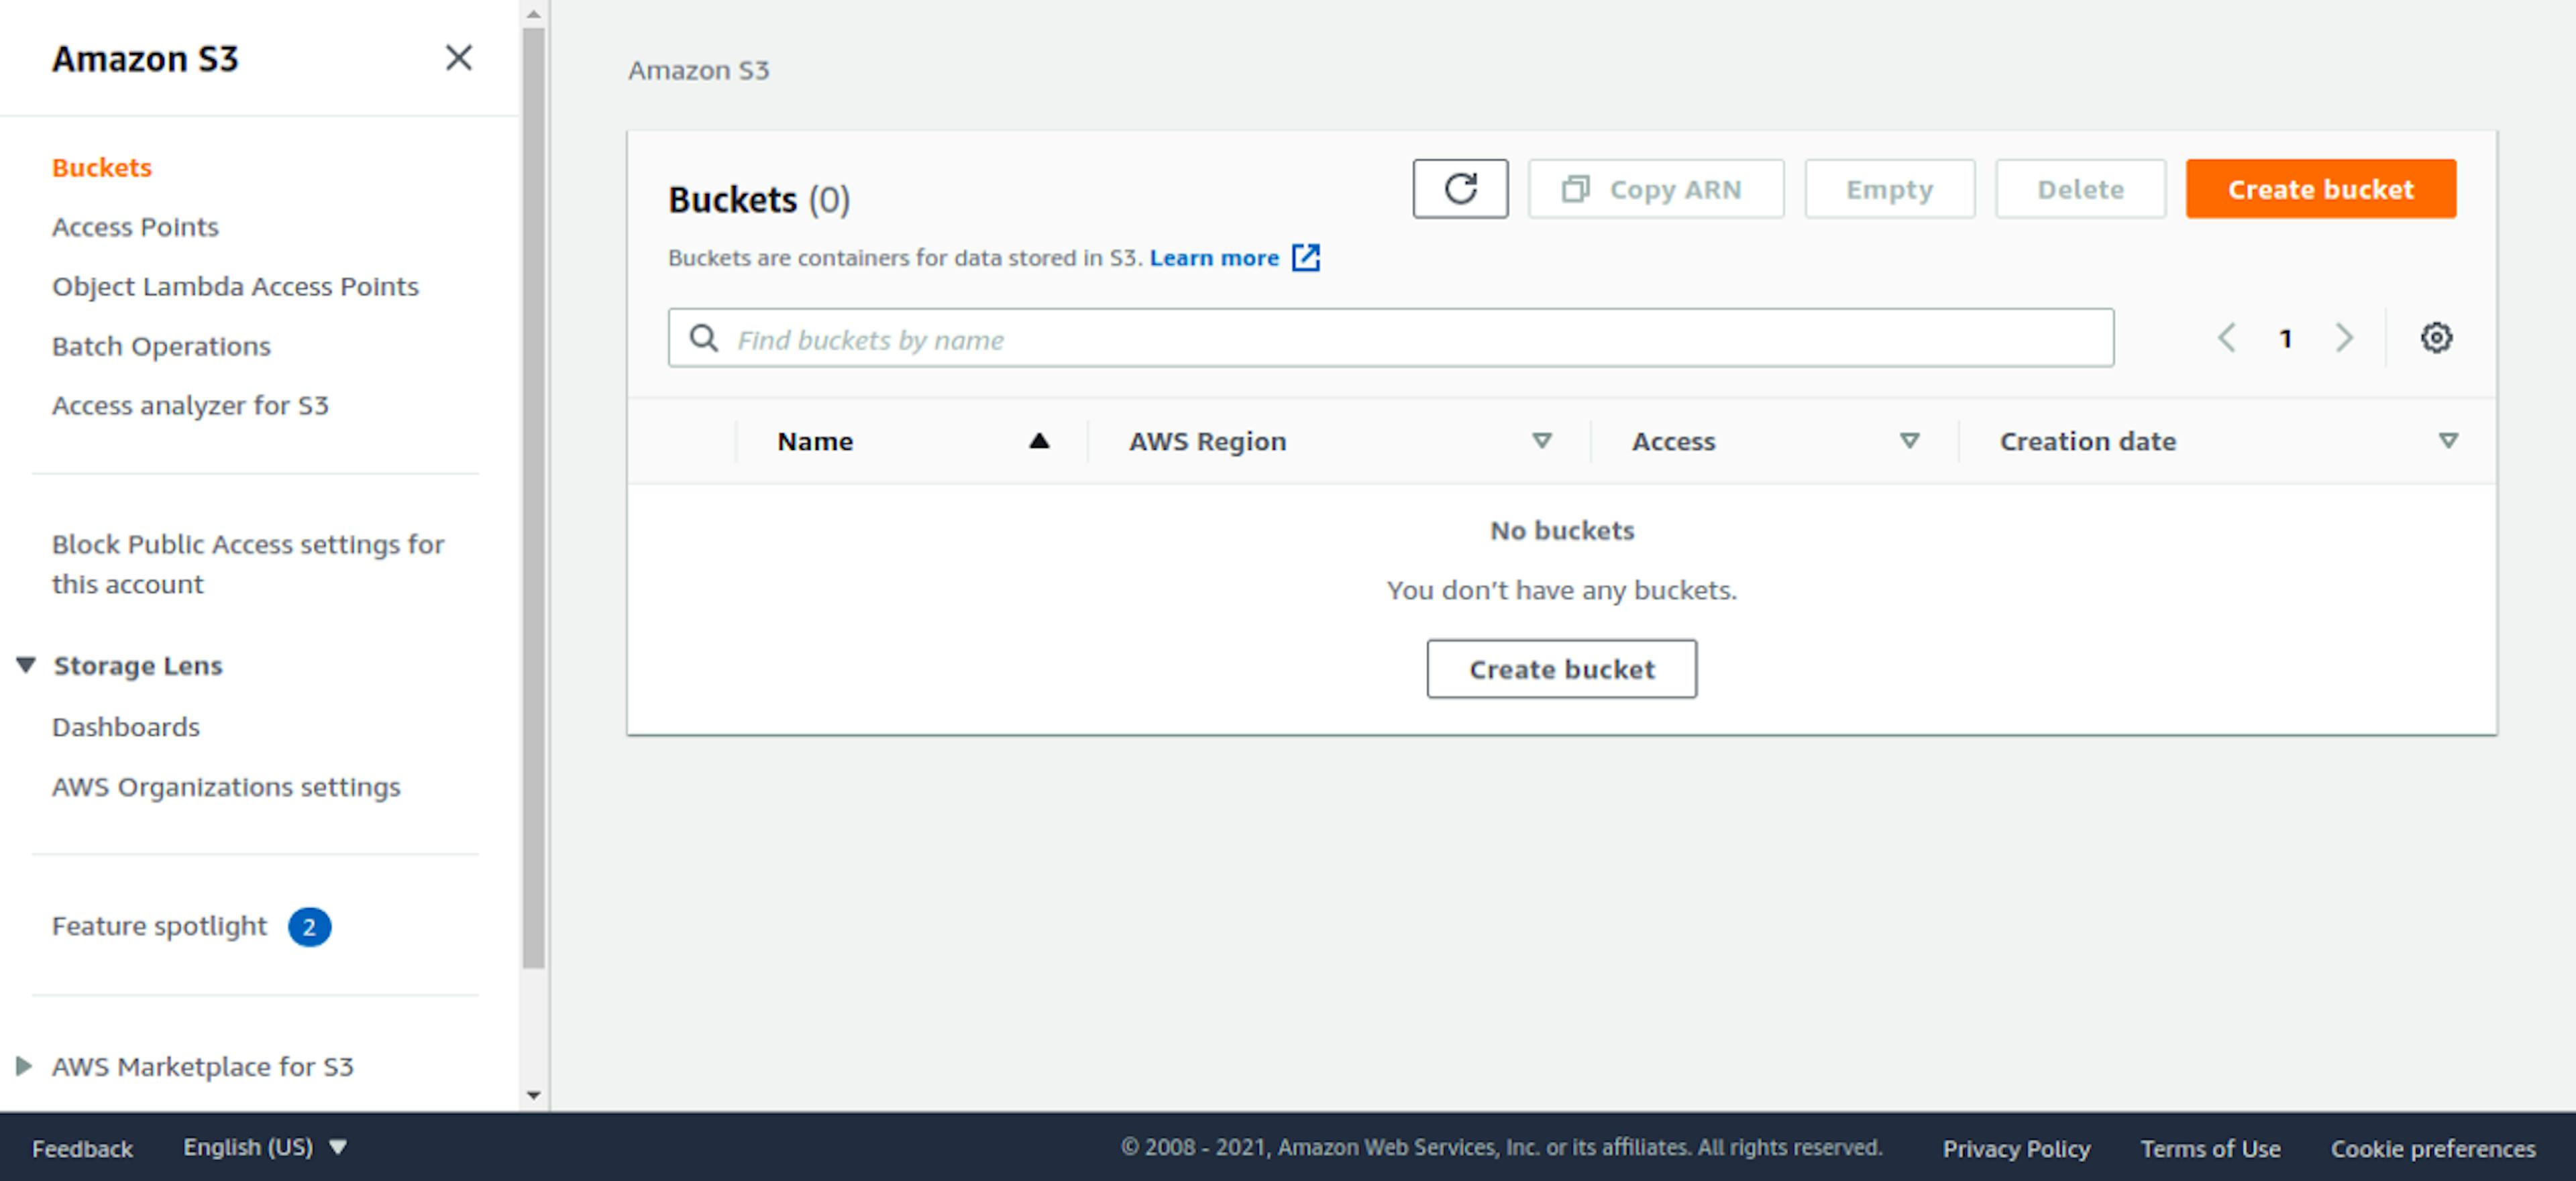
Let’s not waste time but create a new bucket right away. The Create bucket button will help us do this.
This will open a page for creating a bucket, where there are a lot of settings. I will tell you about the most interesting ones.
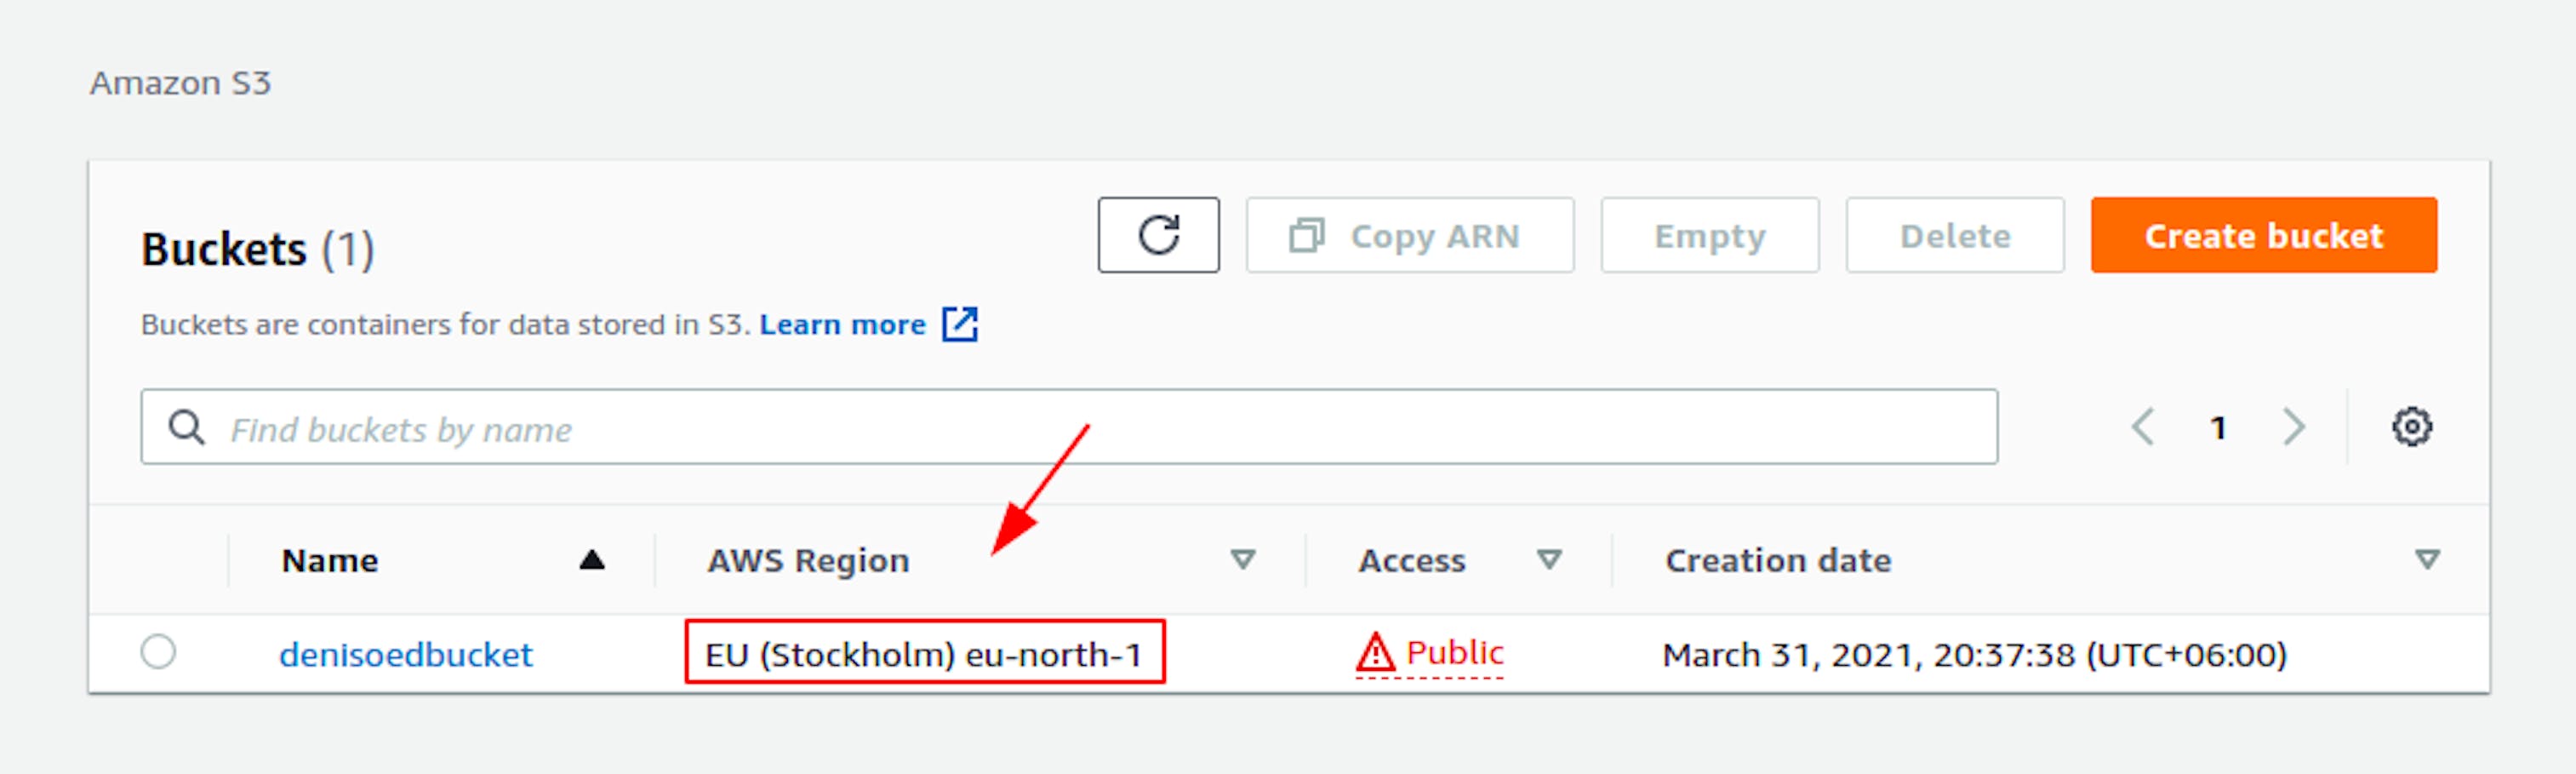
AWS Region
This parameter will allow you to select the server location that is closest to you or your clients. This will speed up data transfer and reduce latency, which is very important.
Block Public Access settings for this bucket
Settings to block public access to your bucket. AWS recommends blocking all access to keep current and future storage secure. You can read more here.
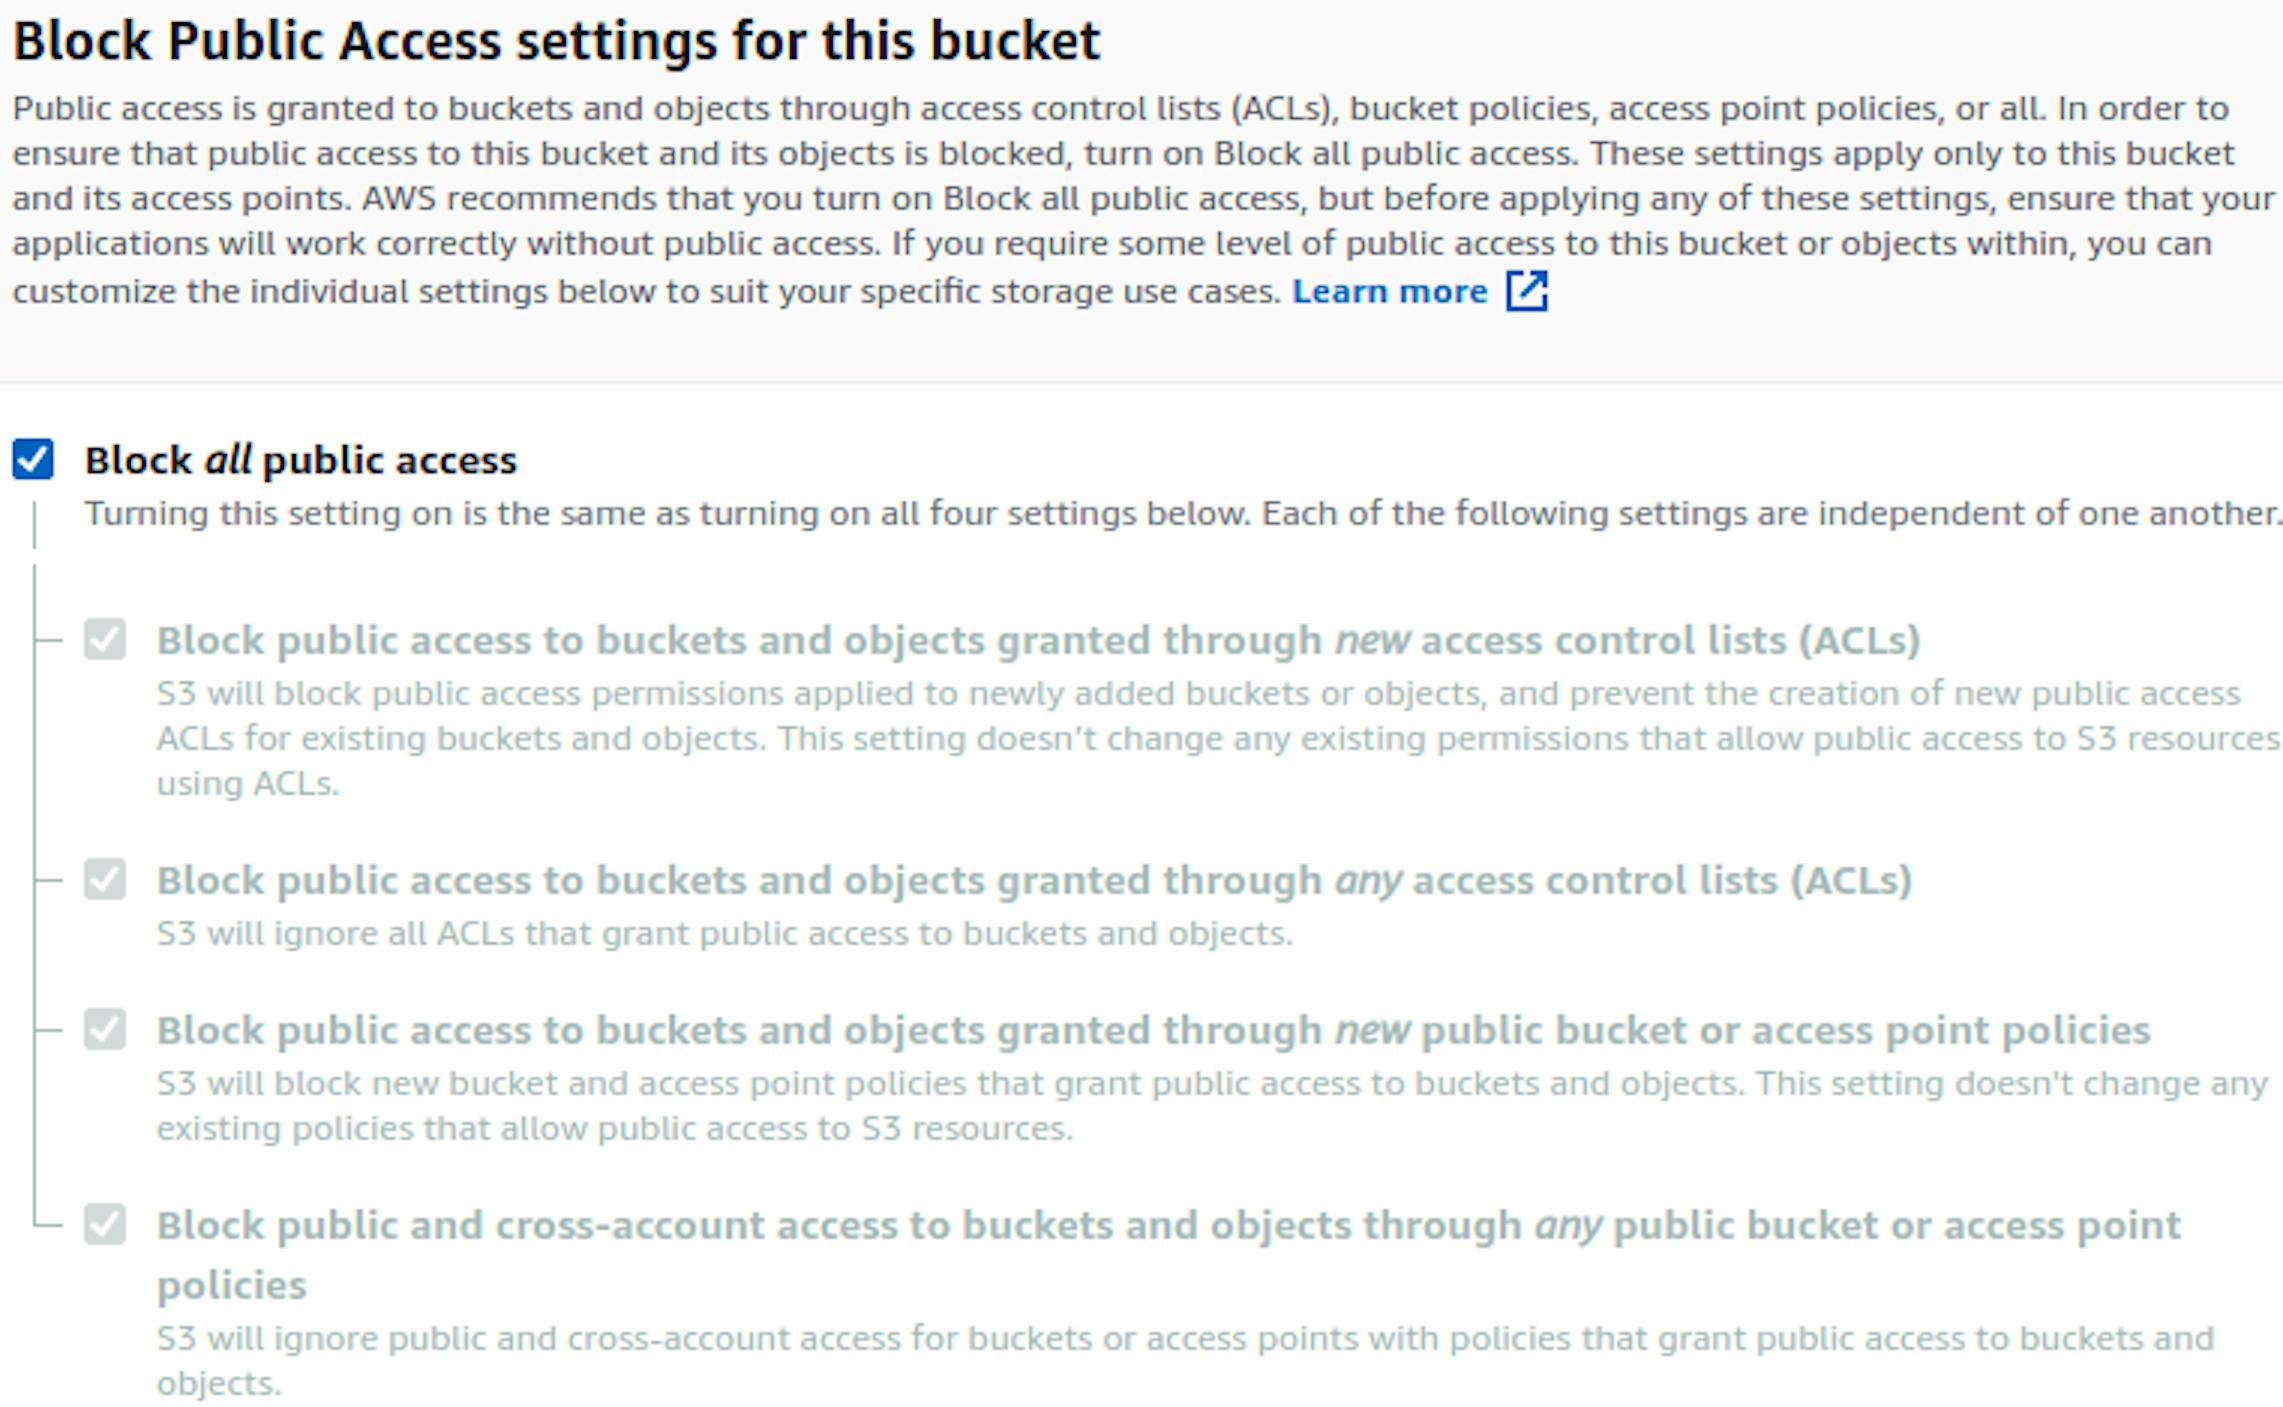
But we’ll still abandon these settings and use access policy that allows setting more flexible parameters.
Bucket Versioning
A very useful feature that allows you to return deleted data or roll back any changes to the desired point.
S3 will store several versions of the file. For example, when deleted, a file gets a delete marker making it hidden; it becomes visually inaccessible, but physically present. So it can be recovered.

Tags are needed to label repositories: this allows you to group them, control access to objects, limit access to certain groups of people or vice versa, etc.
A tag is a key-value, as in security=true. In this case, for all objects that have the same tag, certain settings will be applied. But there is a limit: up to 10 tags can be added per object.
This information is enough for now. Scroll to the bottom of the page and click Create bucket. We will be redirected to a page with a list of buckets.
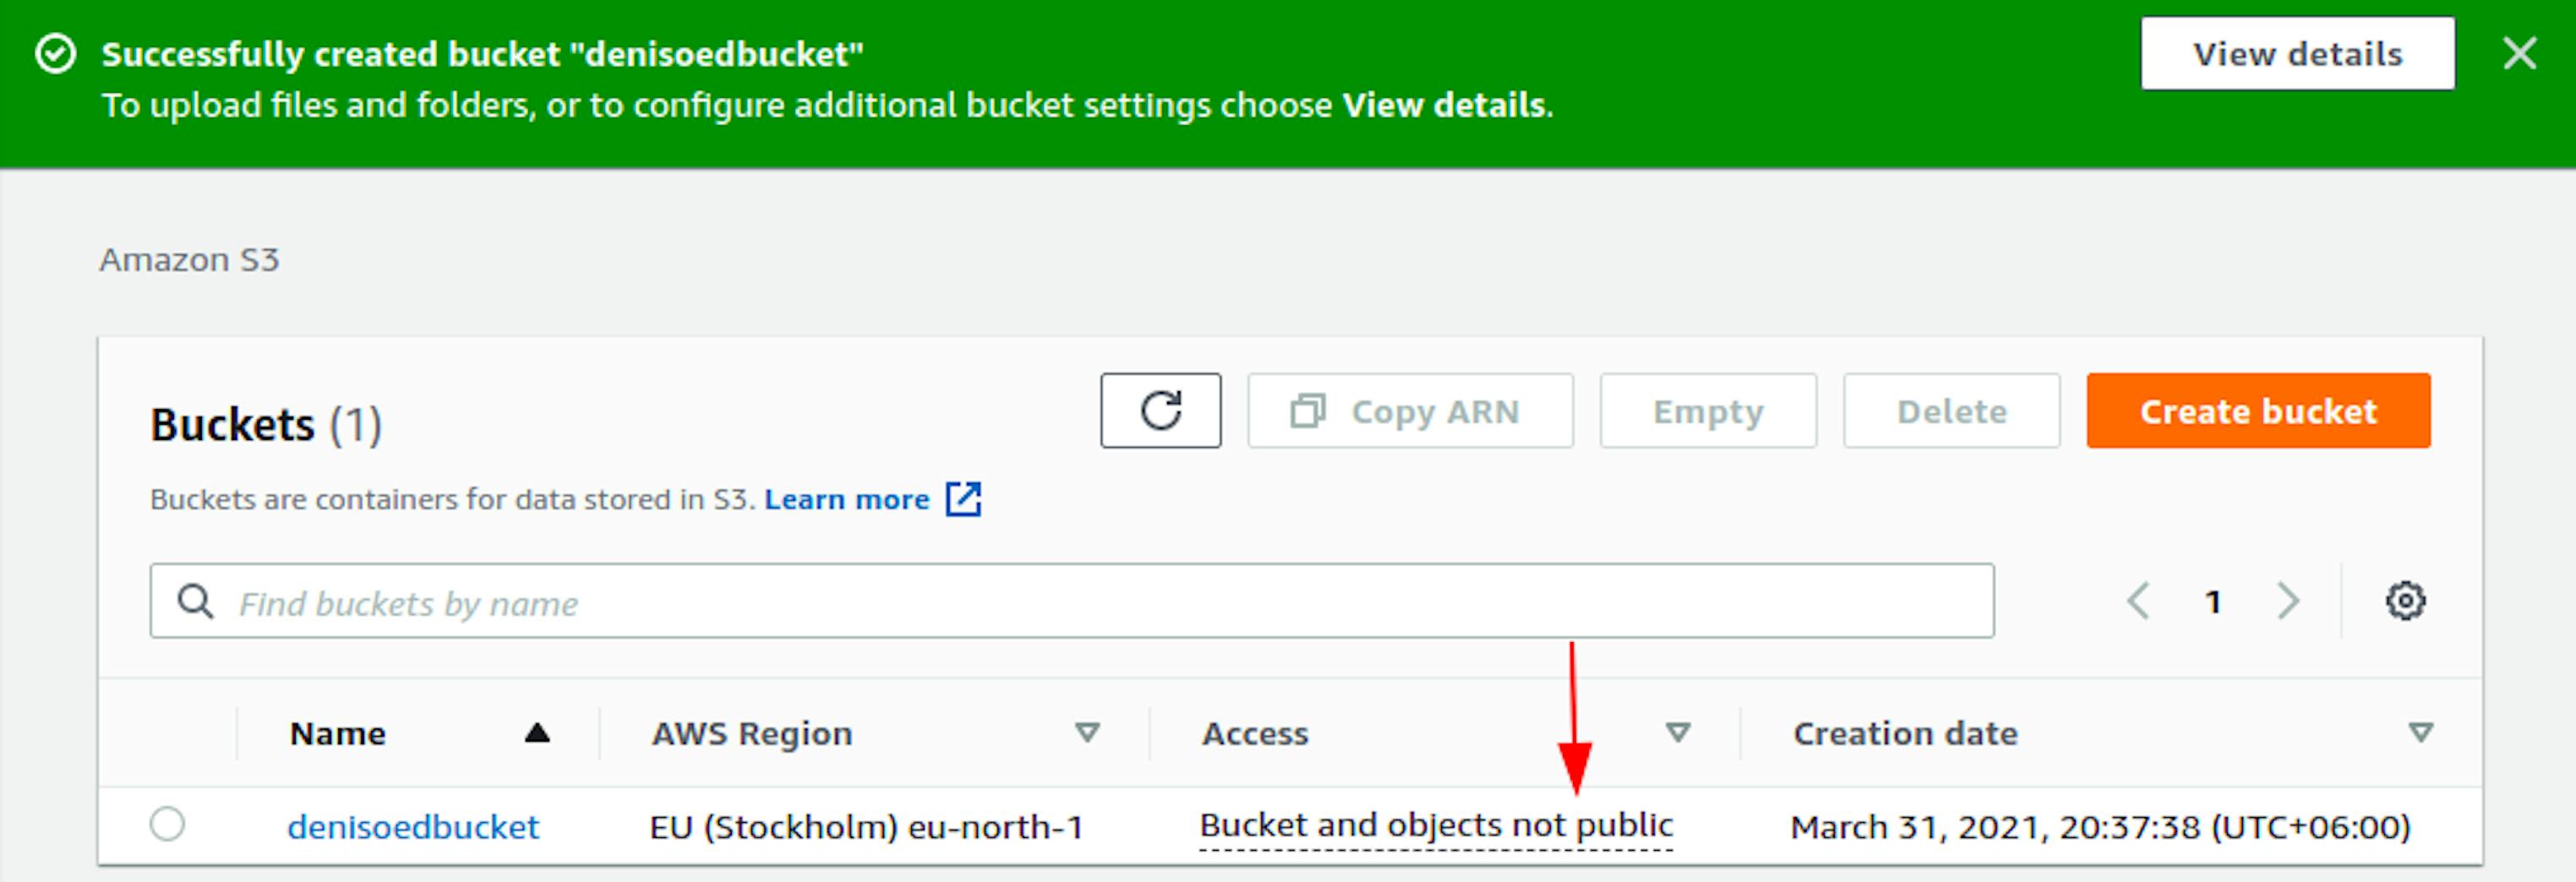
But you may notice that accesses to the new bucket is not yet public. It needs to be configured. To do this, go to the bucket and open the Permissions tab.
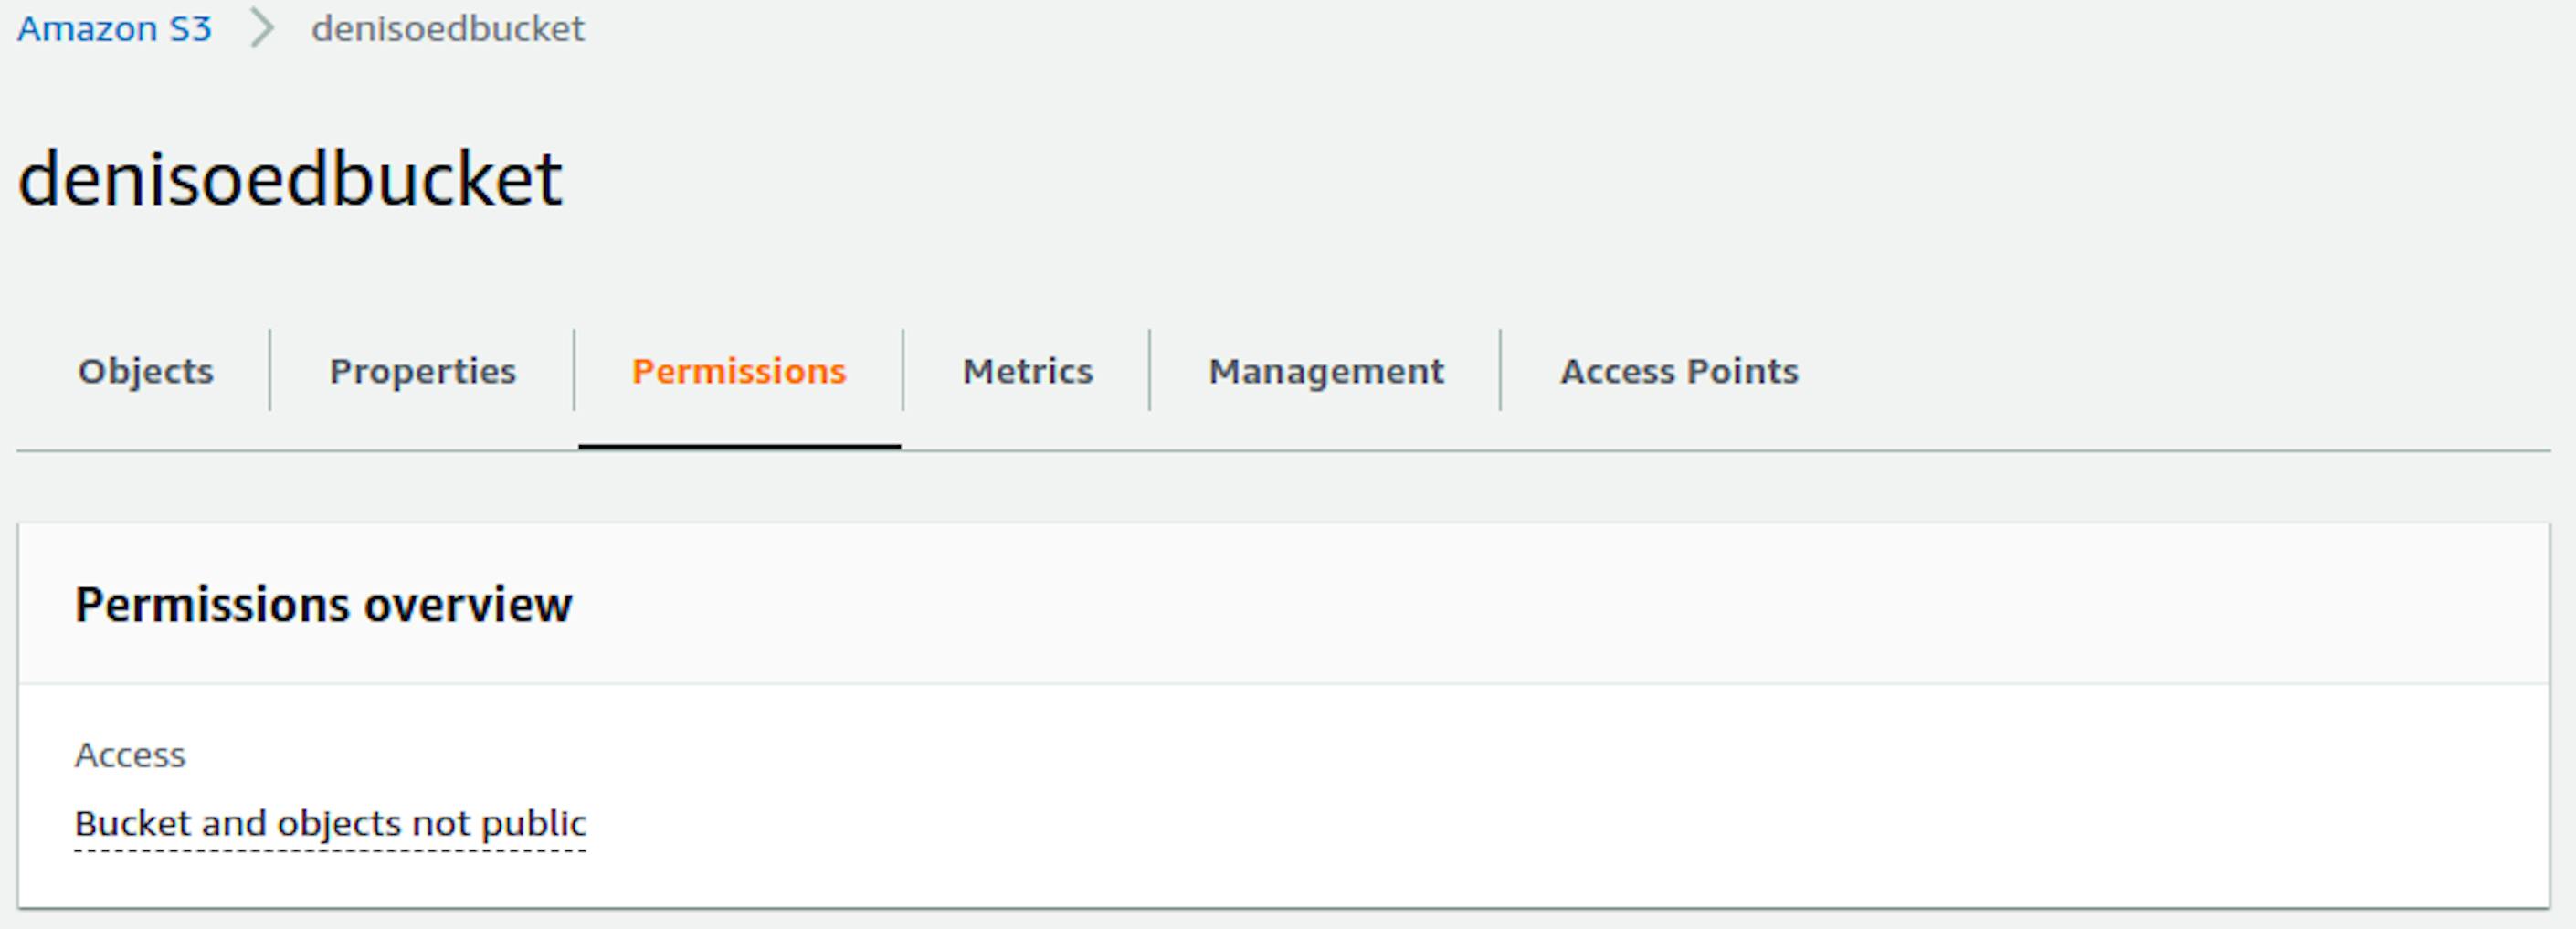
First of all, we need to disable the default blocking, which I wrote about above. We won’t need it because all the accesses will be configured through Bucket policy.
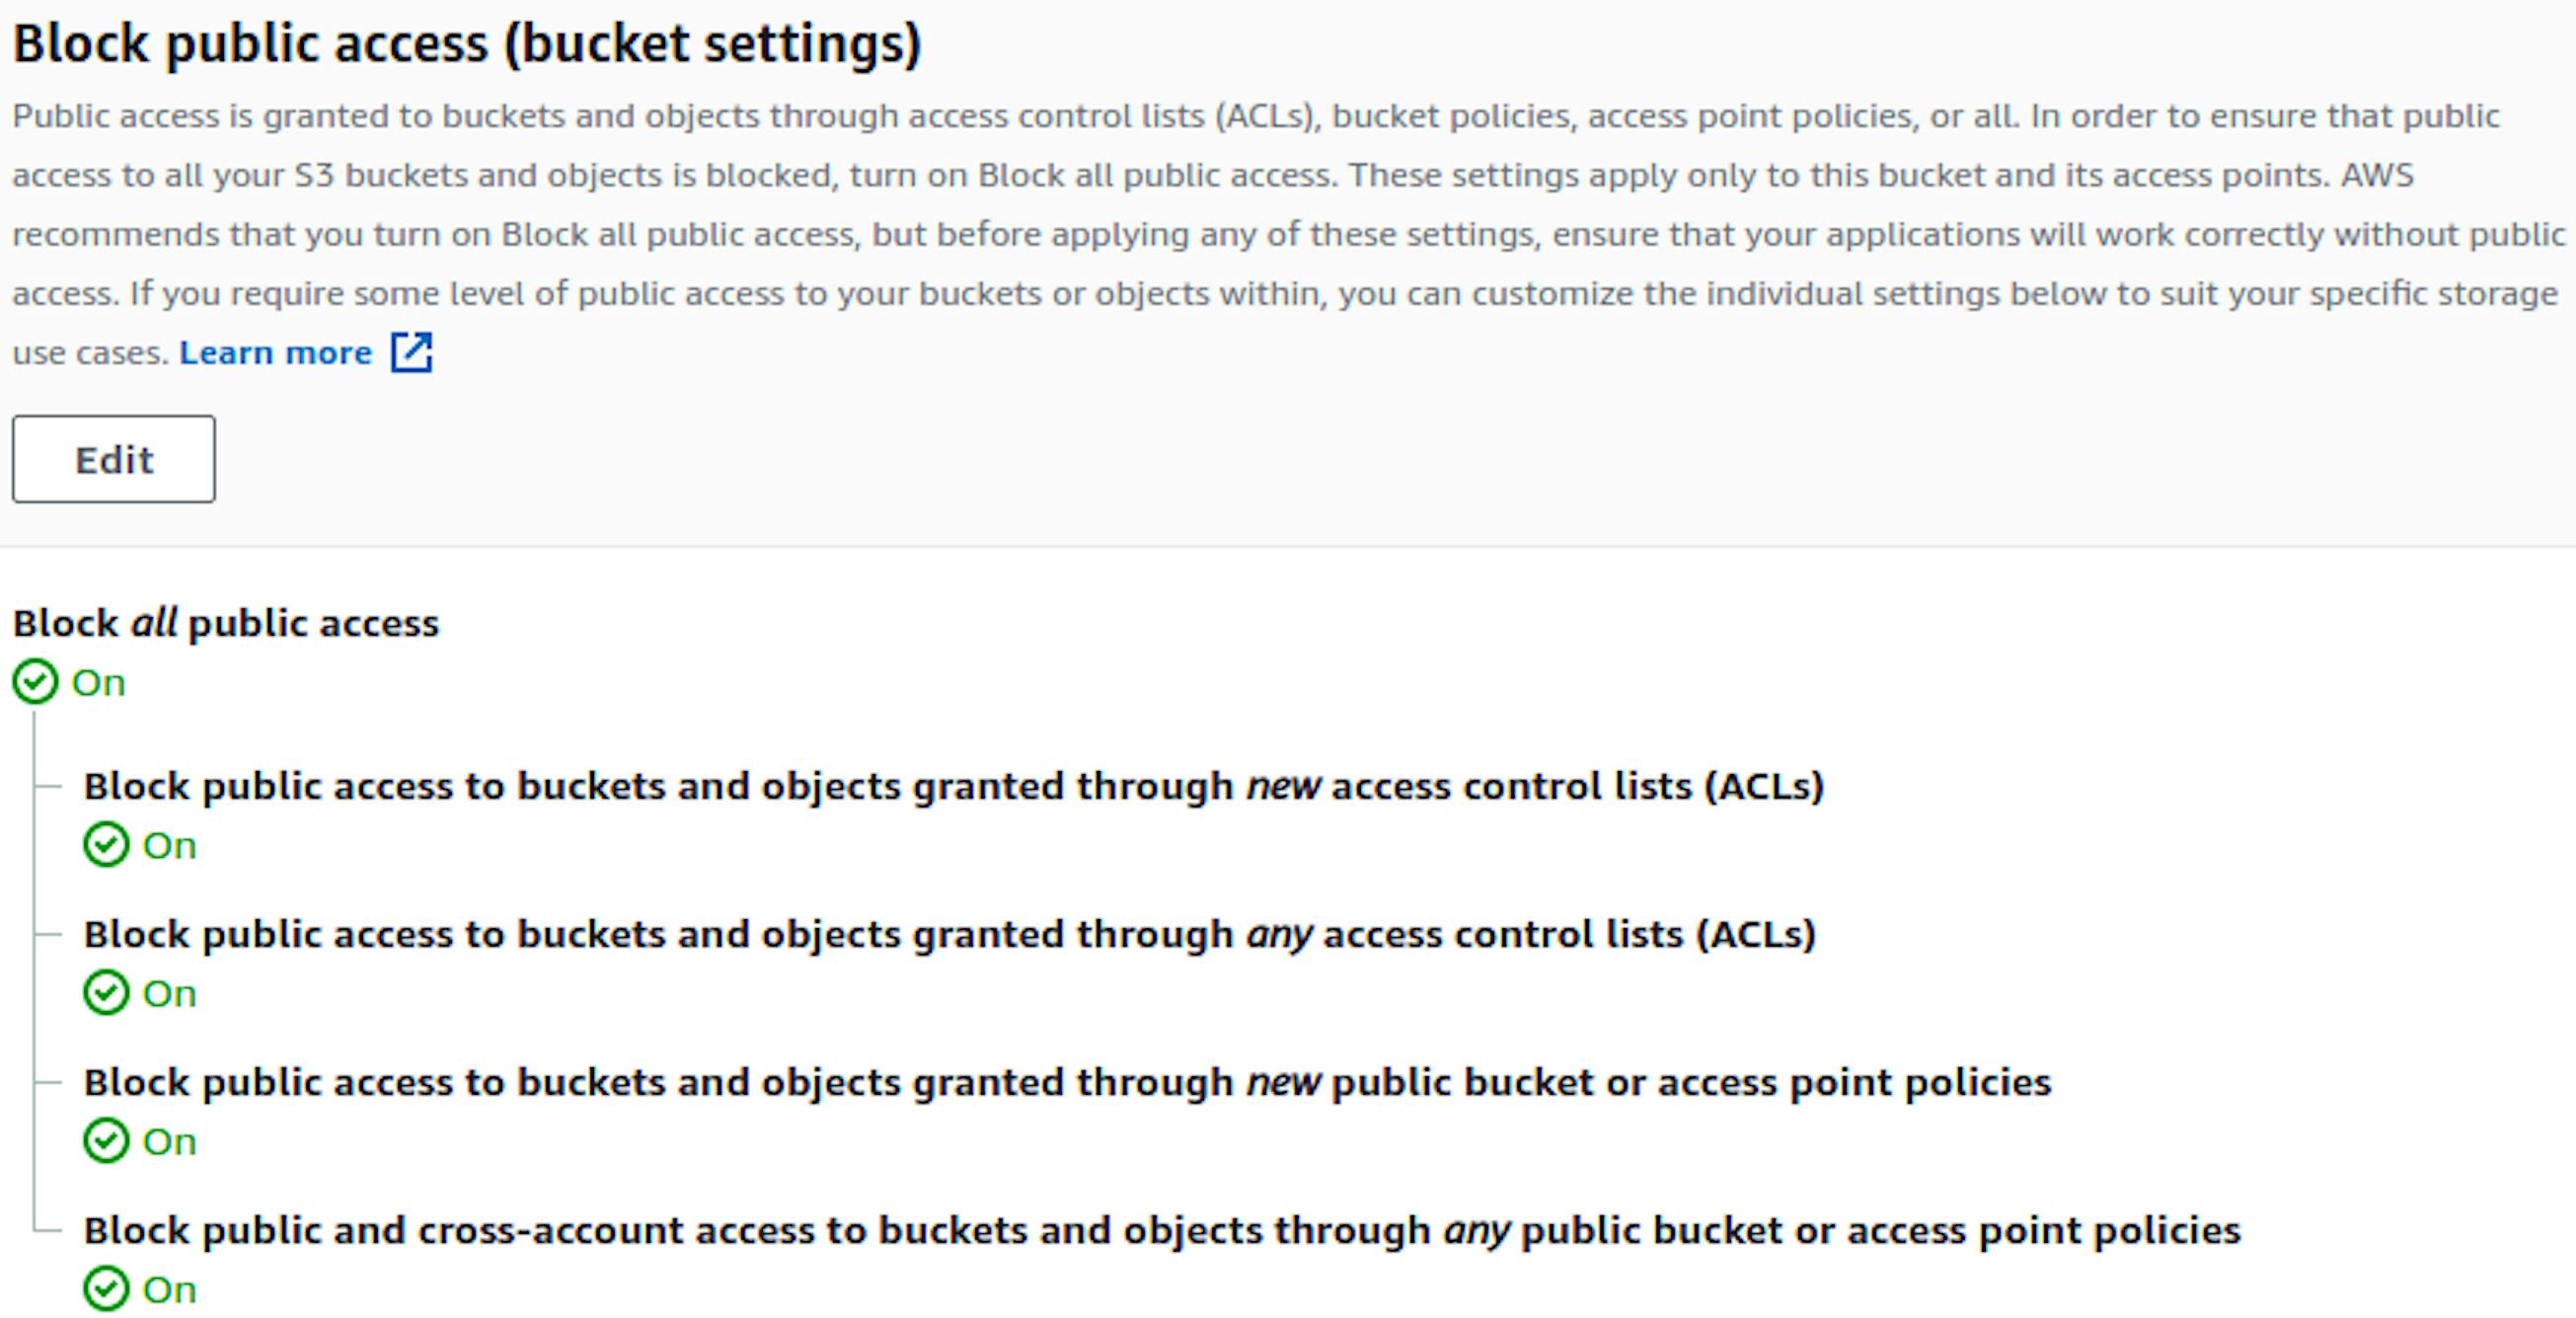
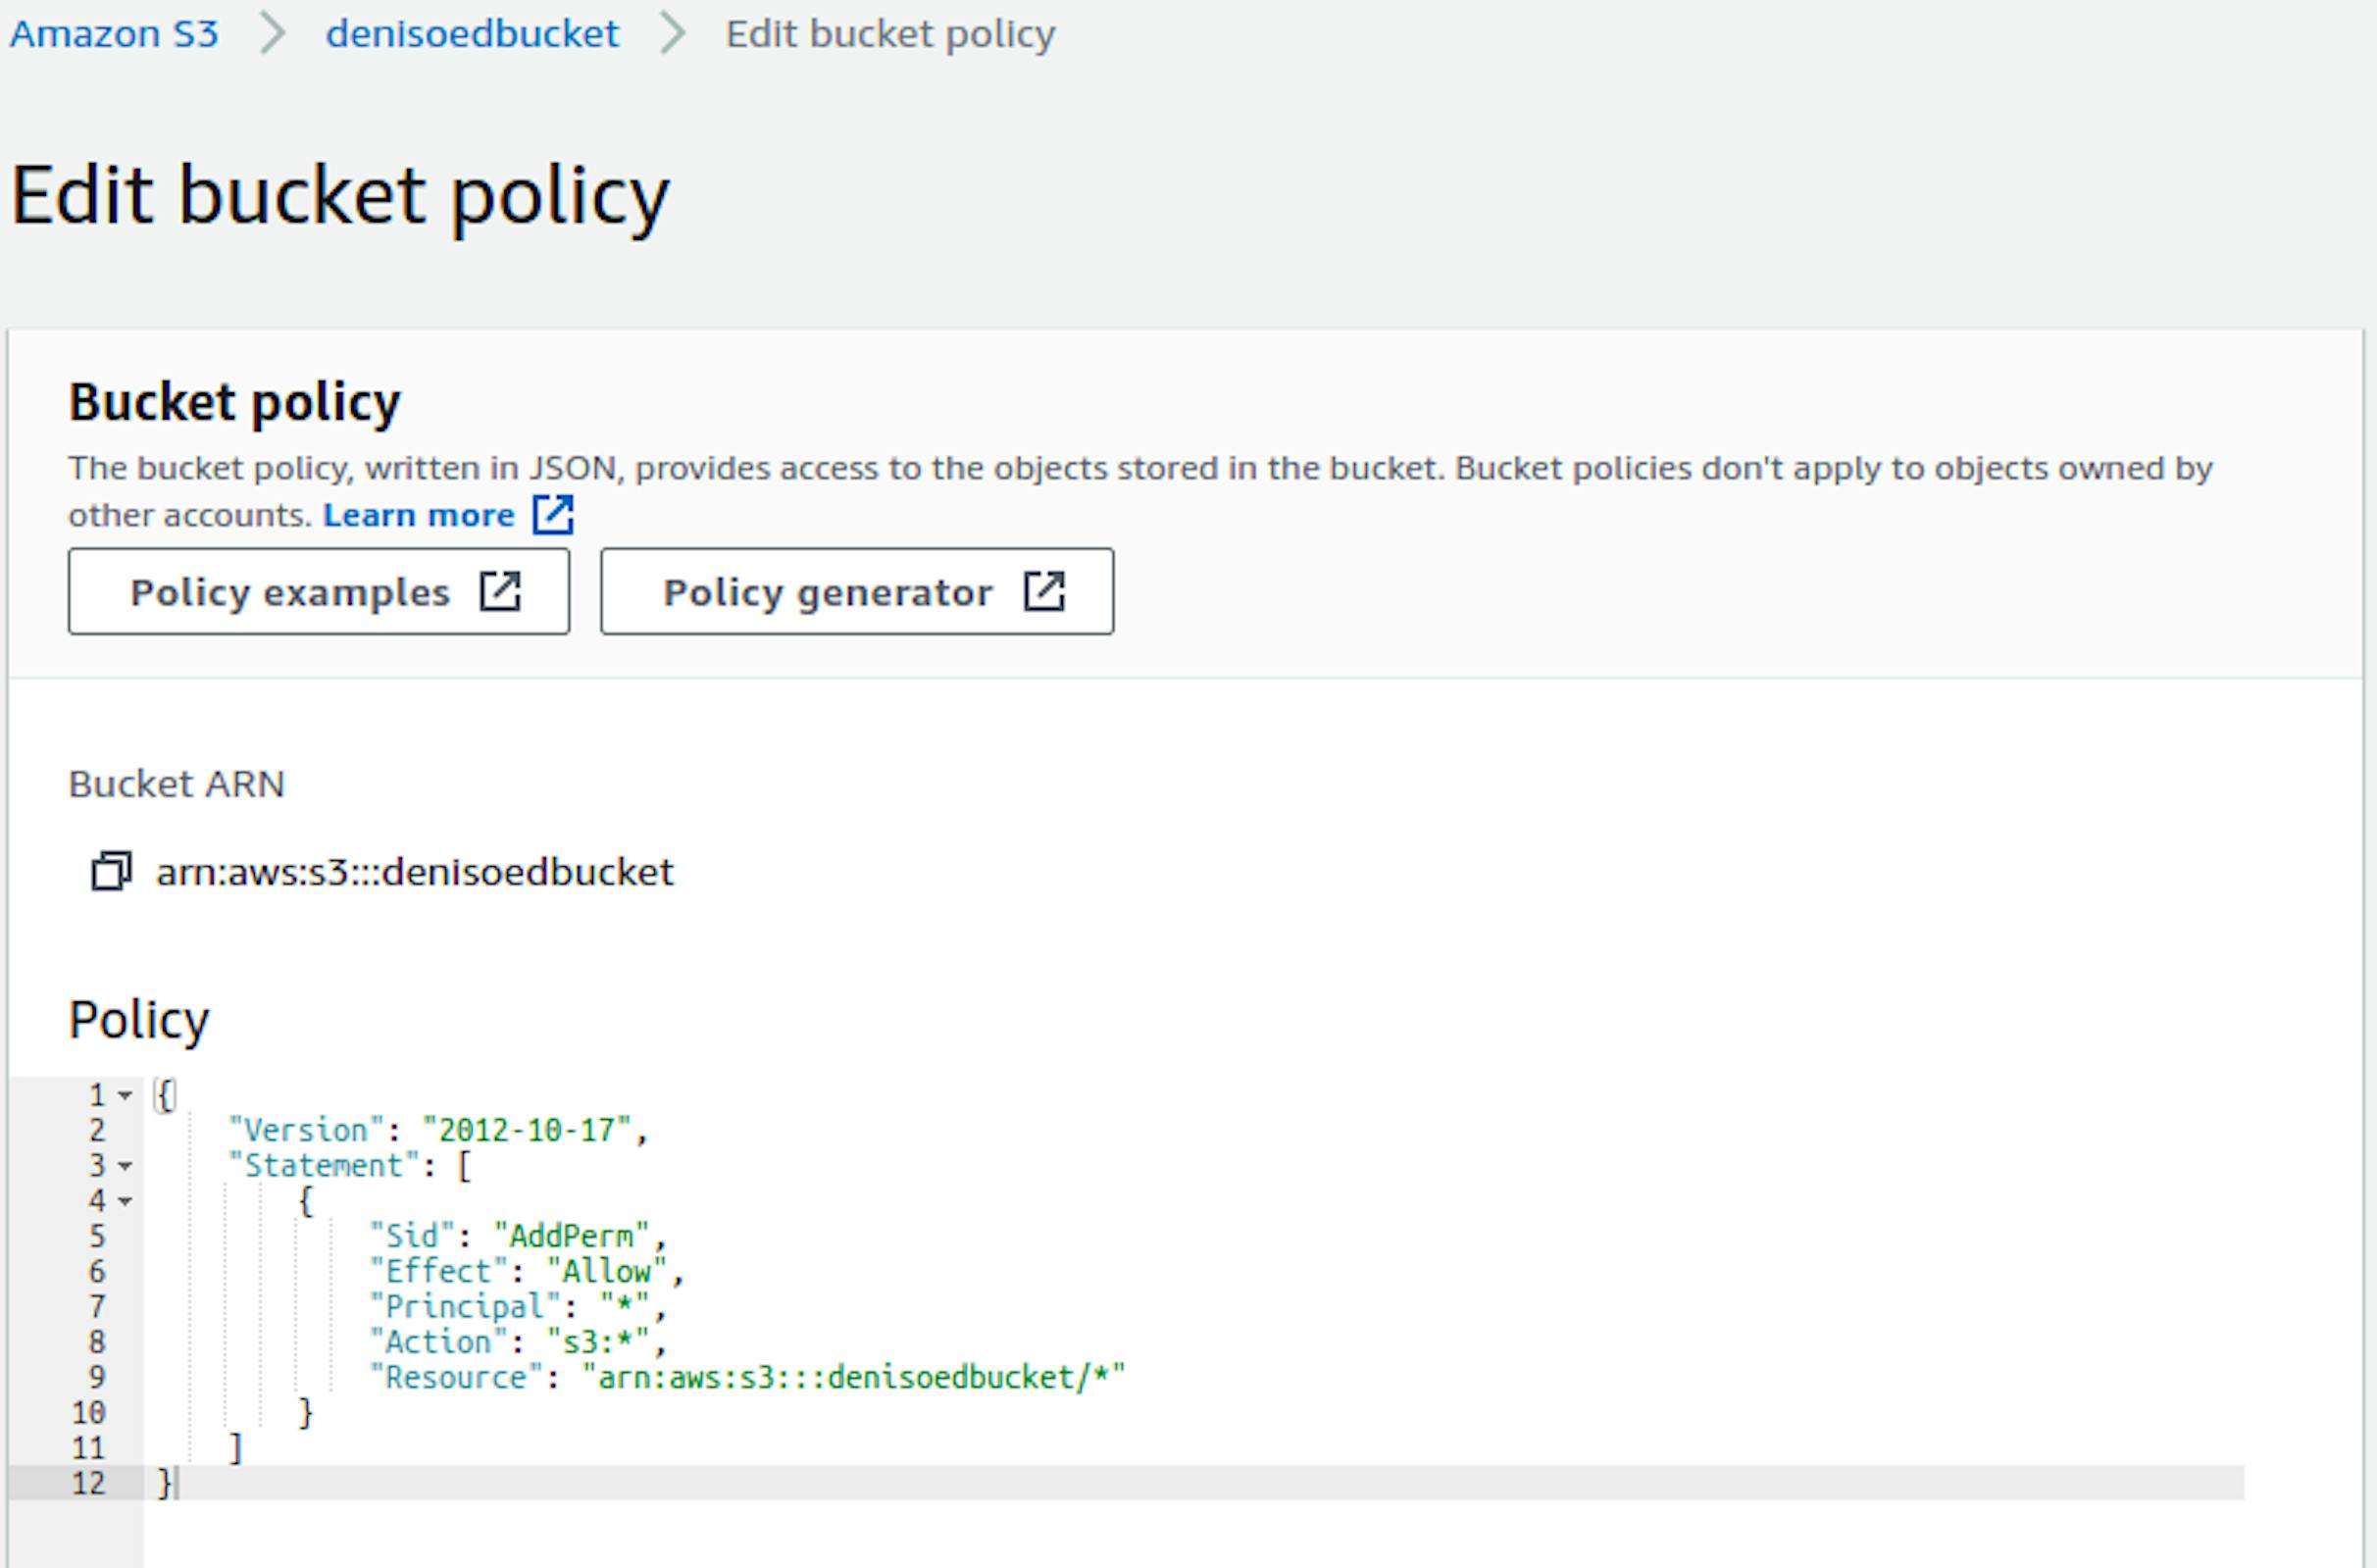
Click the Edit button, uncheck all the boxes, save the changes, and go to Bucket policy. Edit it.
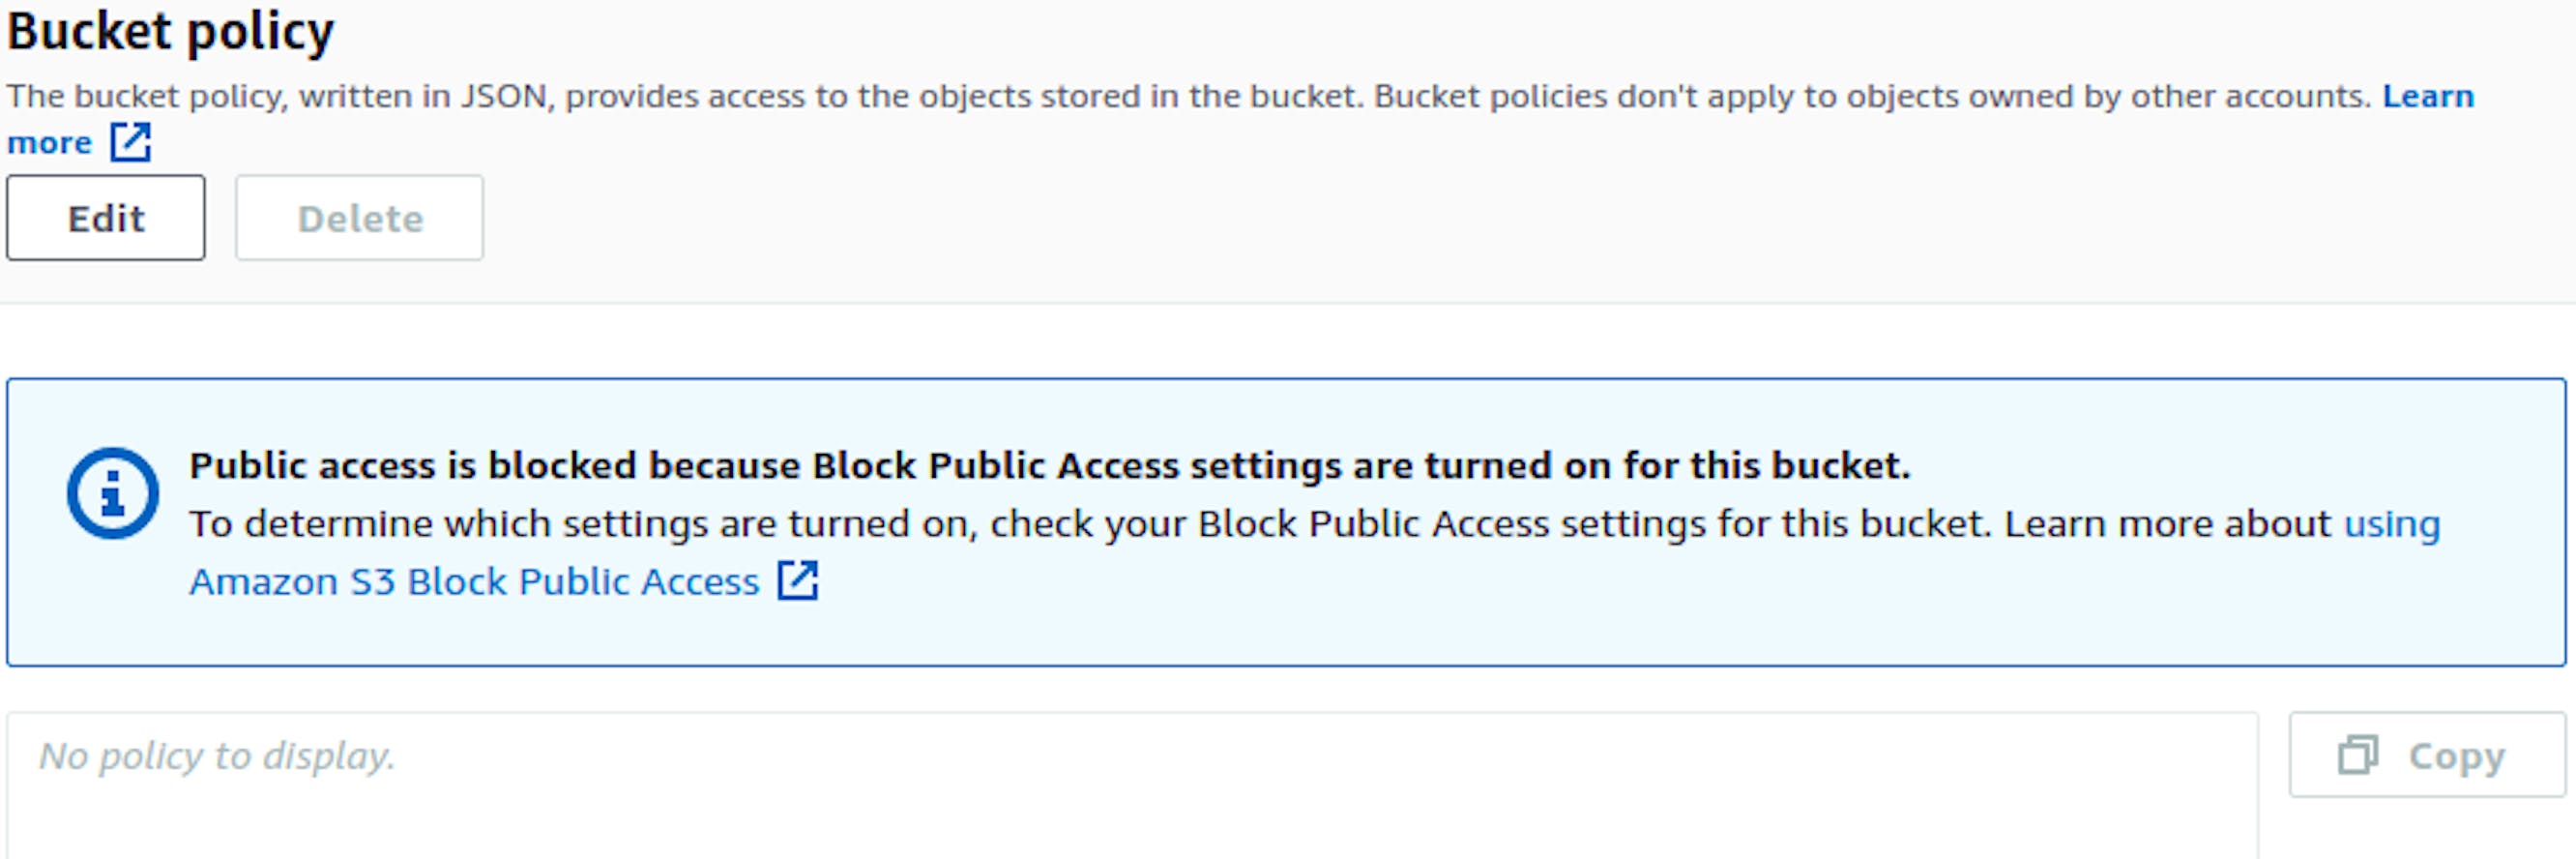
In the parameters form, add these settings. They will give us access to both retrieve data from the buckets and create and update them. Don’t forget to change the name of the bucket for the value in the Resource key.
This page also has a button to generate a policy; you can use it if you want to set up more specific parameters.
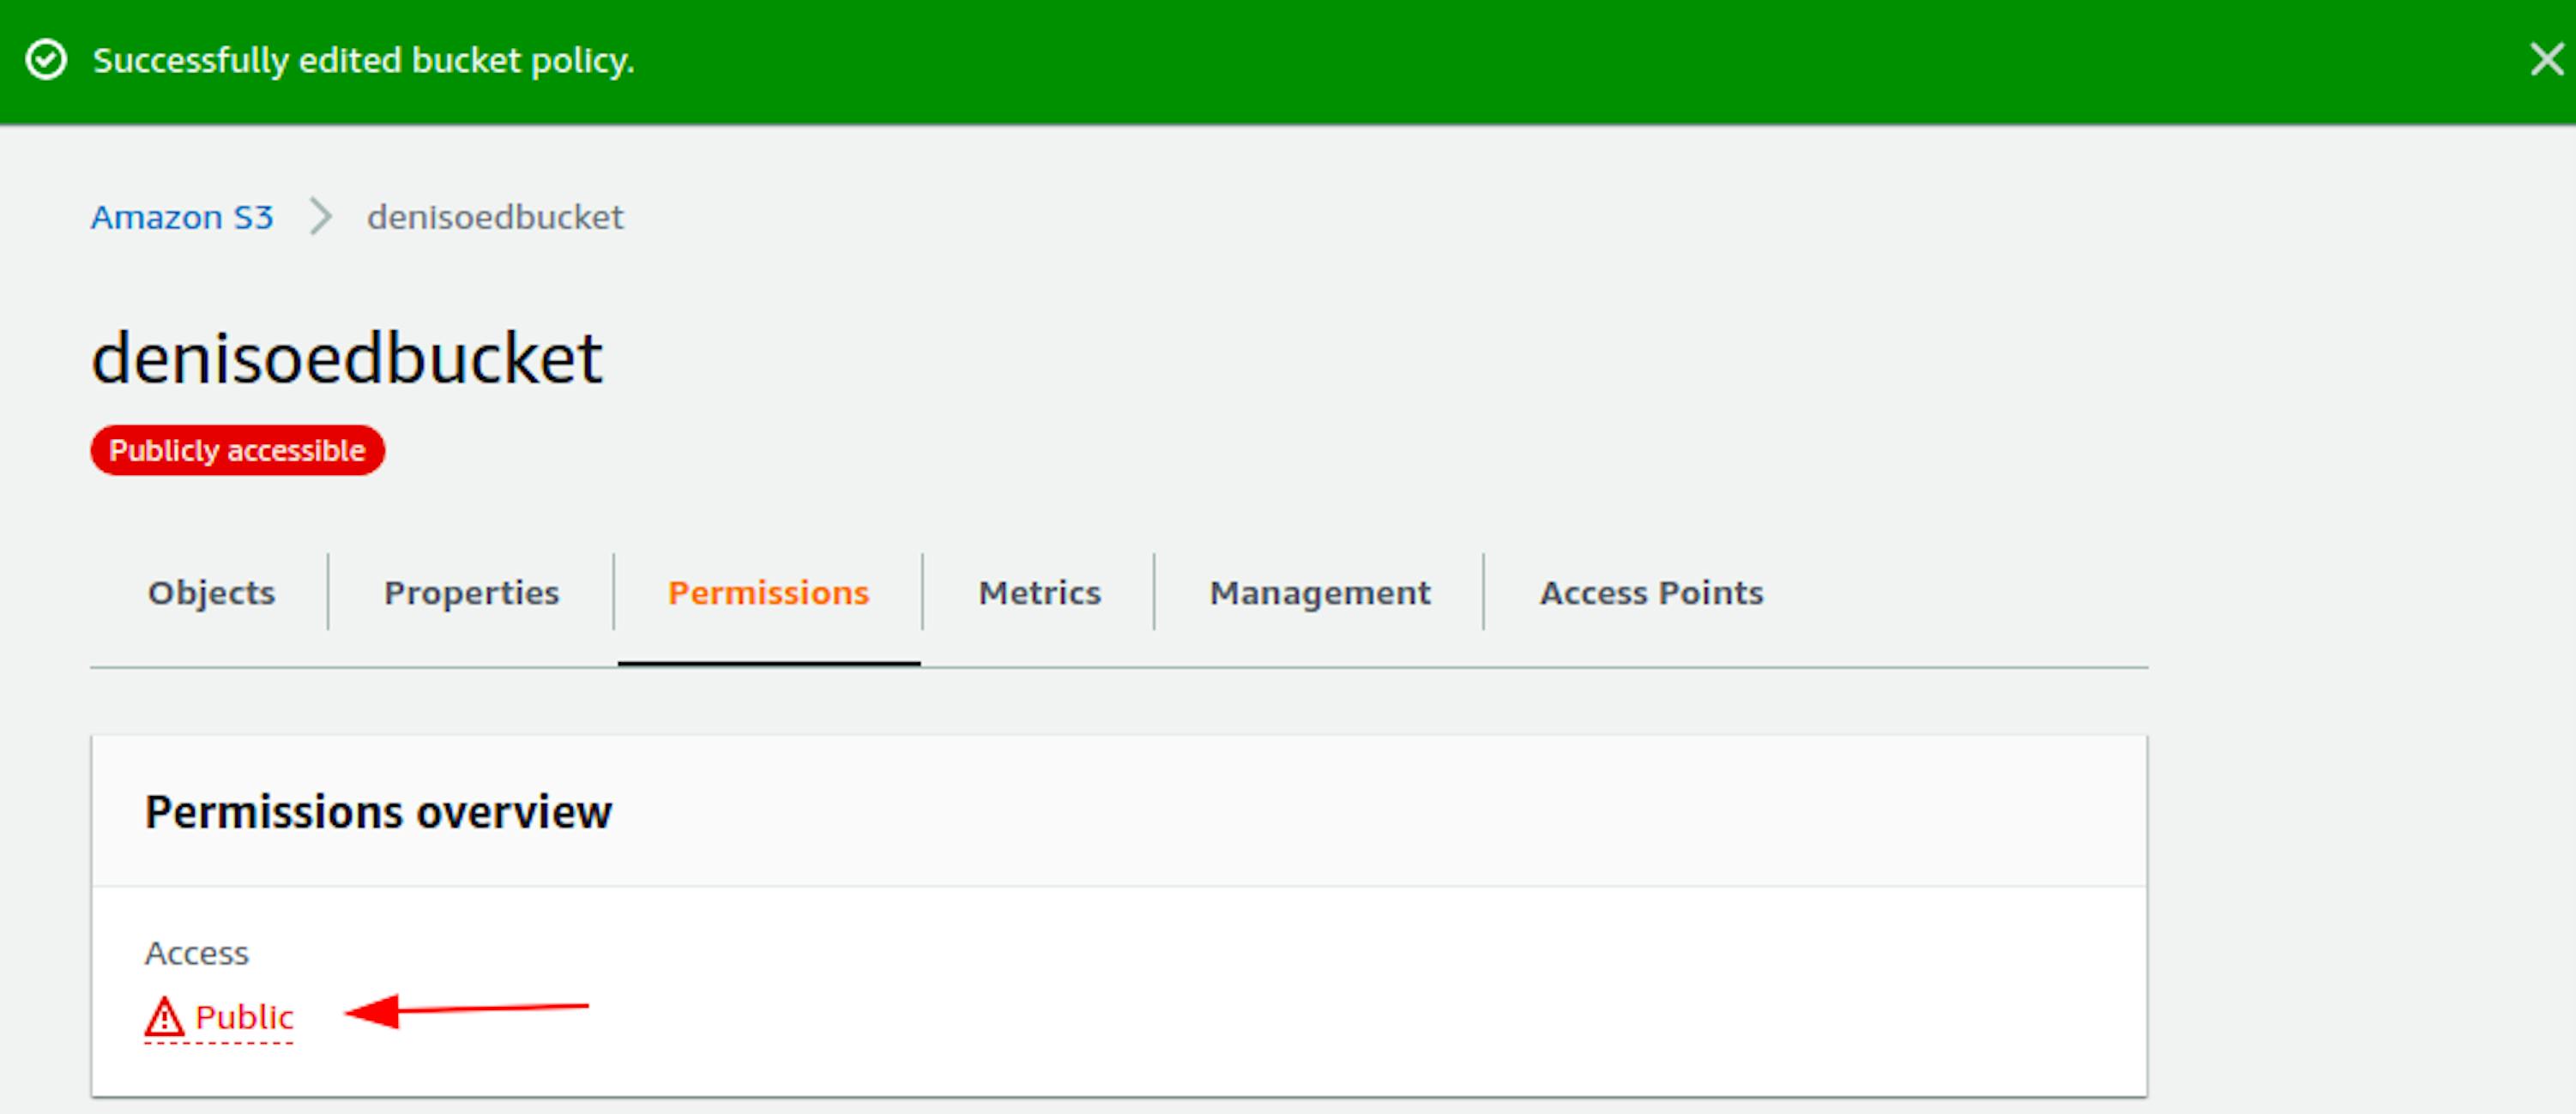
After saving the settings, if we go back to the top of the page, we will see that the bucket is now public. We can now create, update, and retrieve data from it.
Let’s try uploading a file. S3 suggests uploading everything to the root or creating folders to group objects. We will upload it to the root for now by clicking the Upload button.
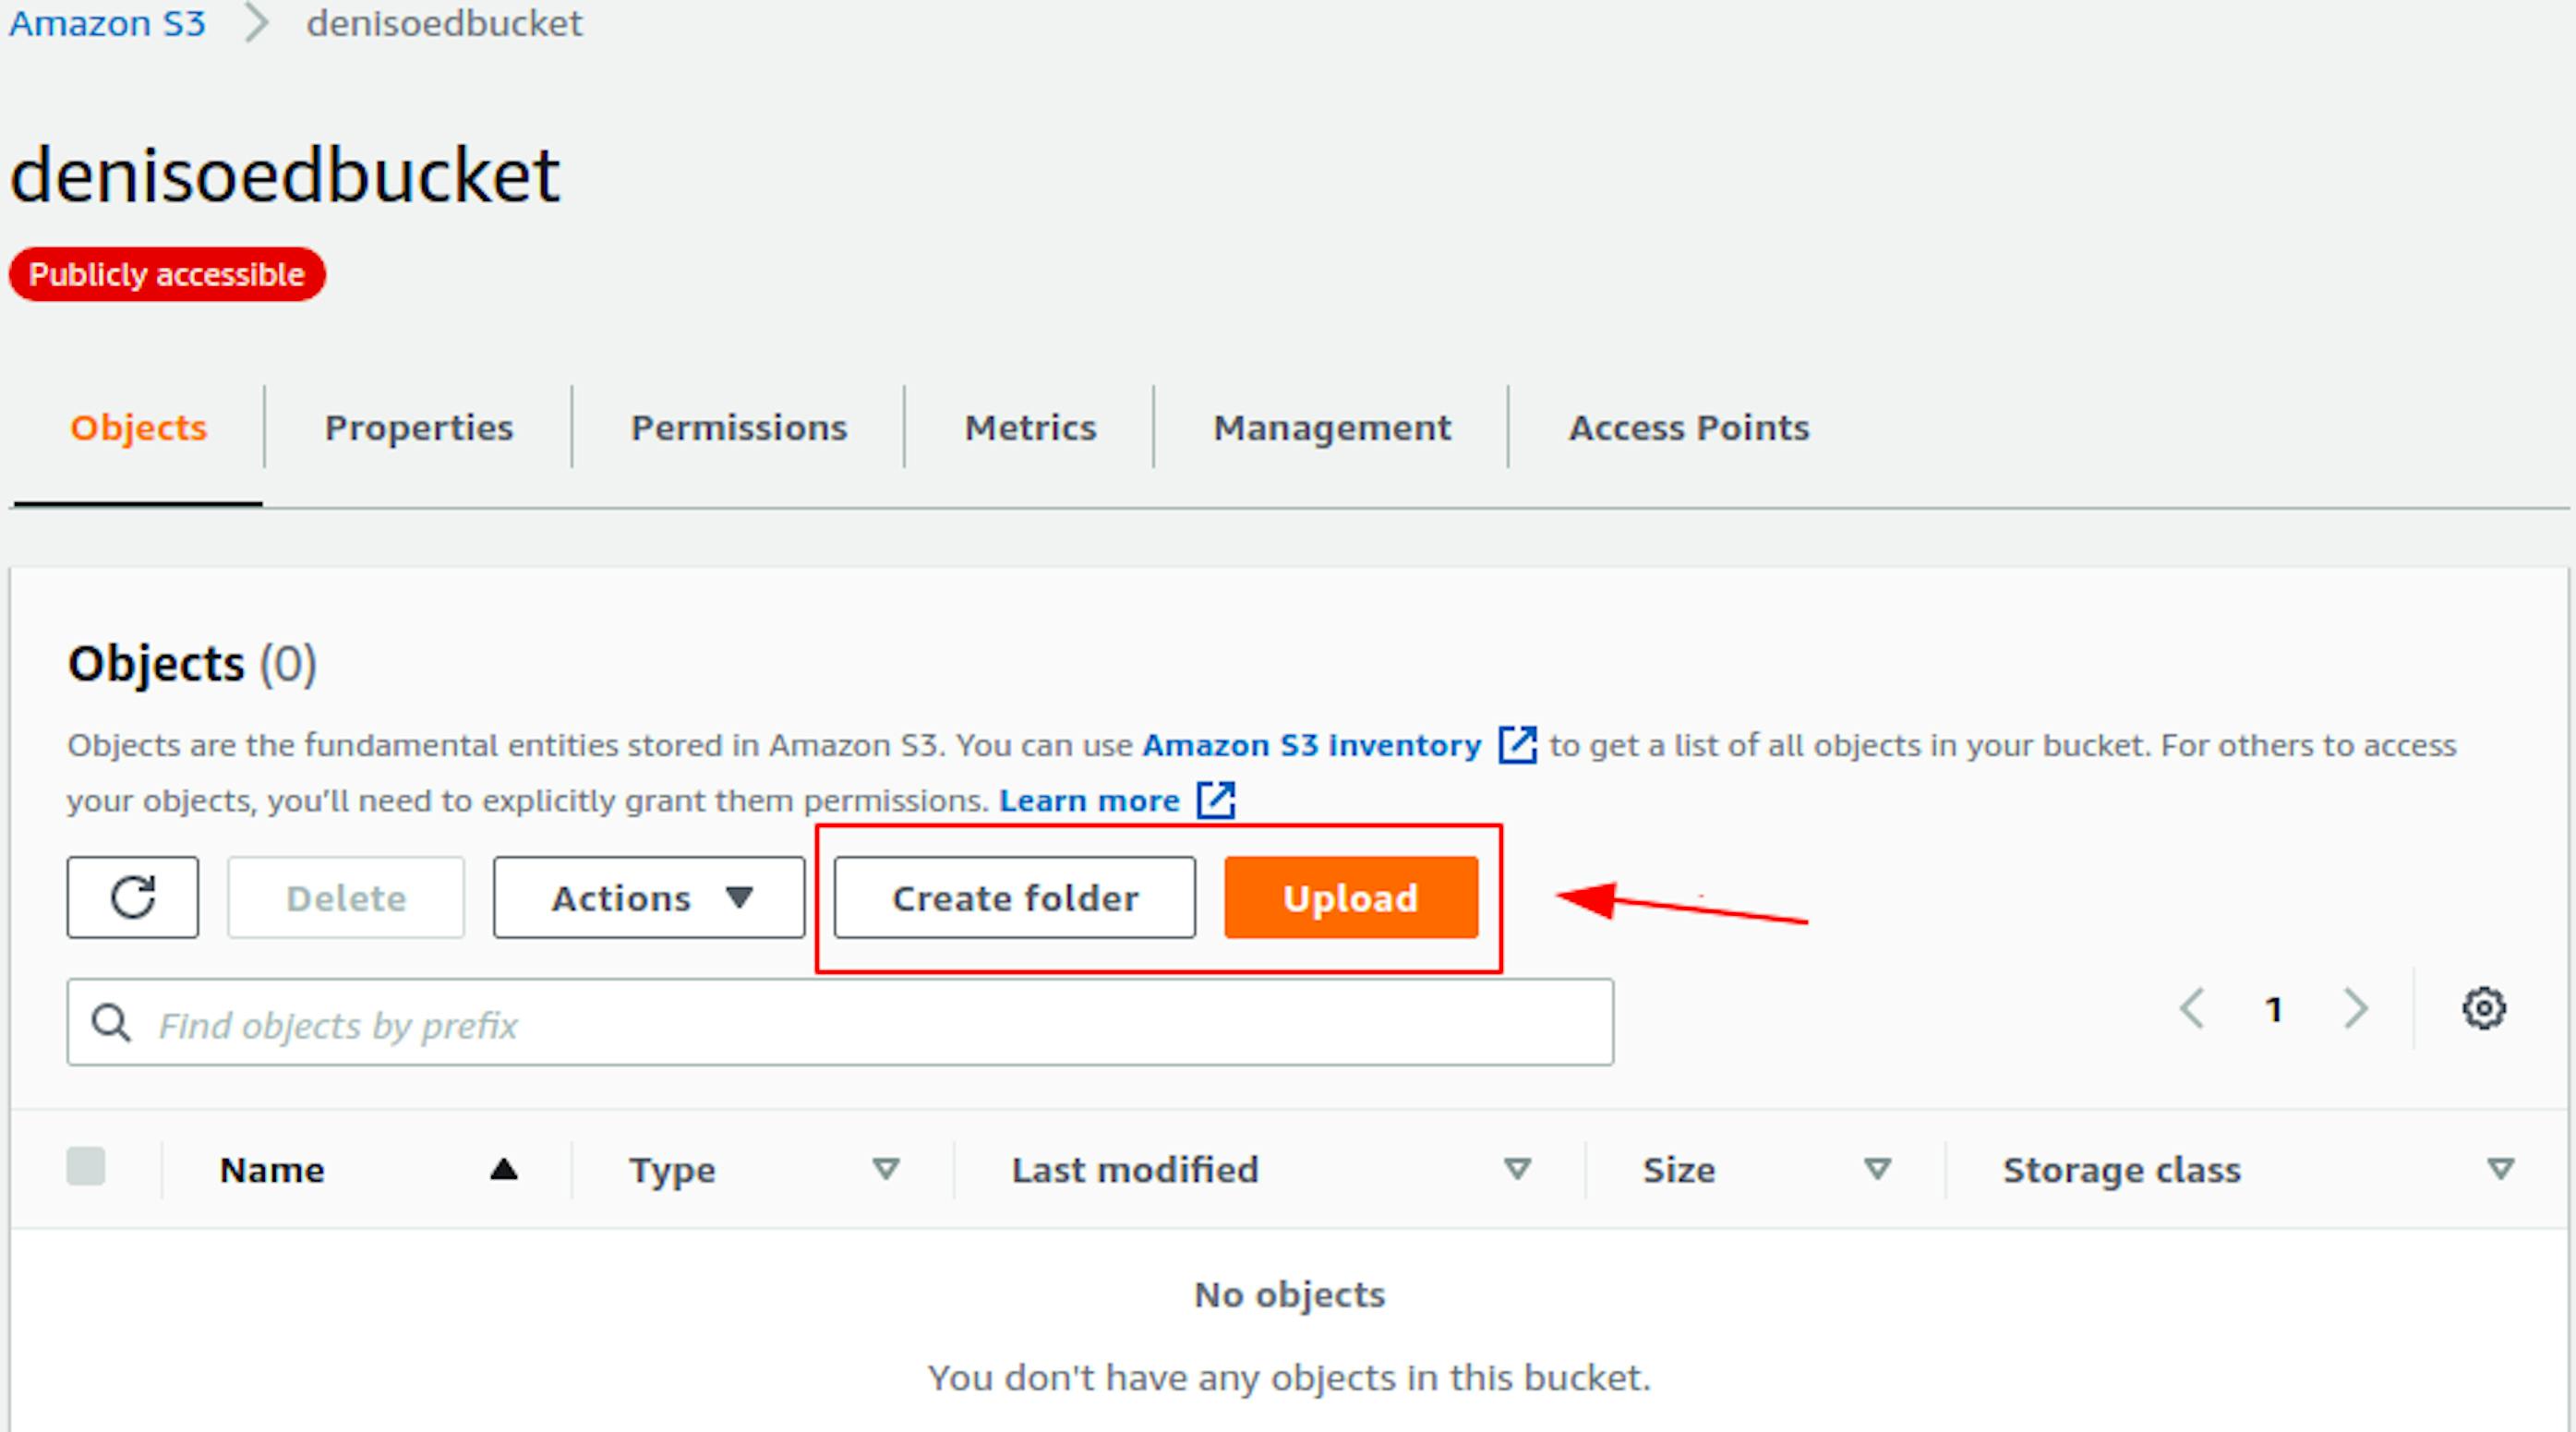
I’ve uploaded a Vue.js icon; we’ll need it when checking the public link.

Setting up a public link to access a bucket
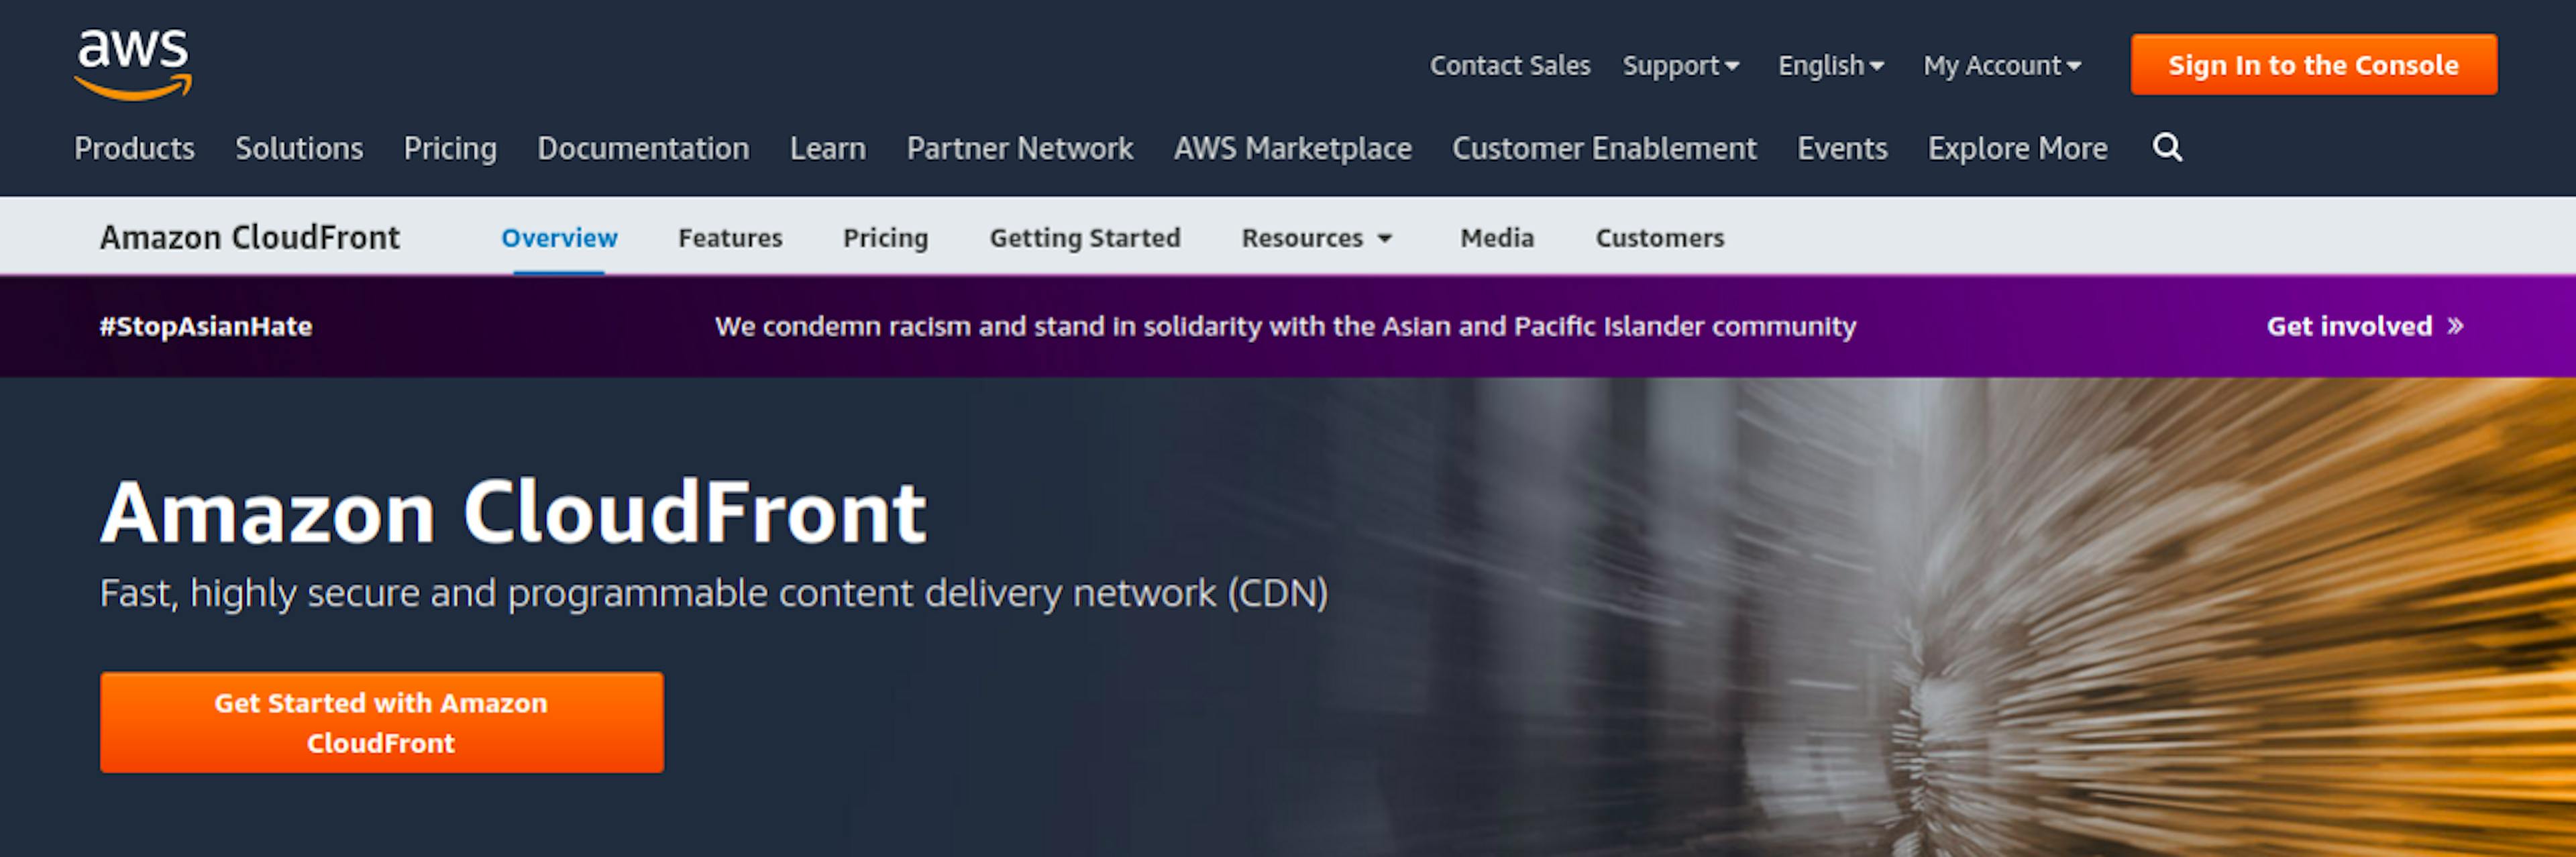
Once you have the bucket set up, you need some way to retrieve data from it. Amazon CloudFront, a secure content delivery service, will help us do that.
Open the link https://aws.amazon.com/cloudfront
Once again, we will be welcomed by a nice page with a huge orange button. Let’s click on it.
This will open a page with a list of available links. We need to create a new one. The blue Create Distribution button will help us do it.

Click on the Original Domain Name field: a list of available buckets should appear. Choose the one you’ve created.
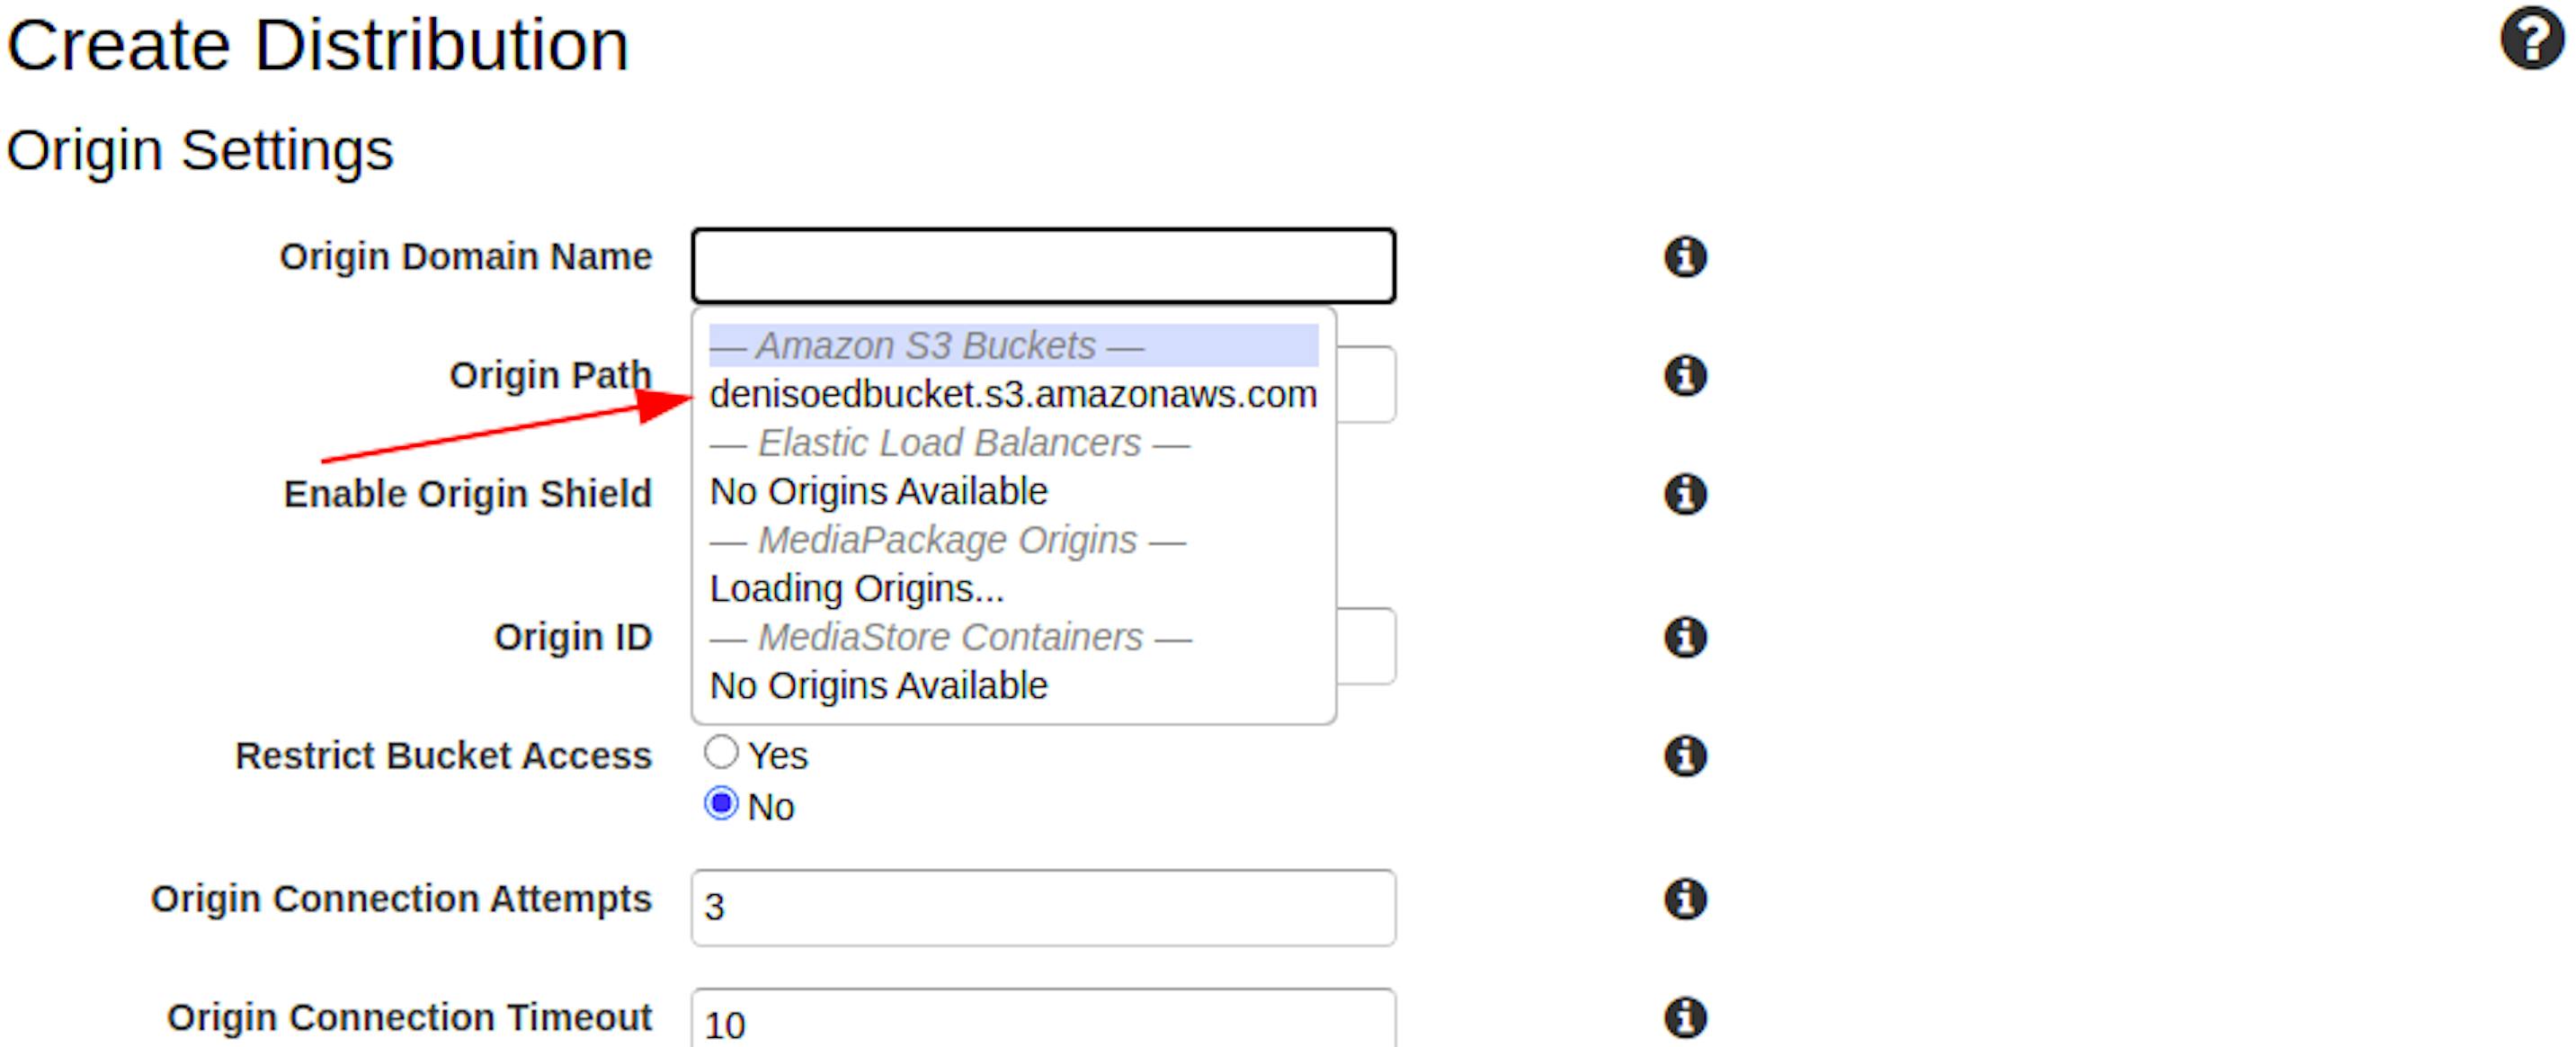
This is enough; the other settings can be left out for now.
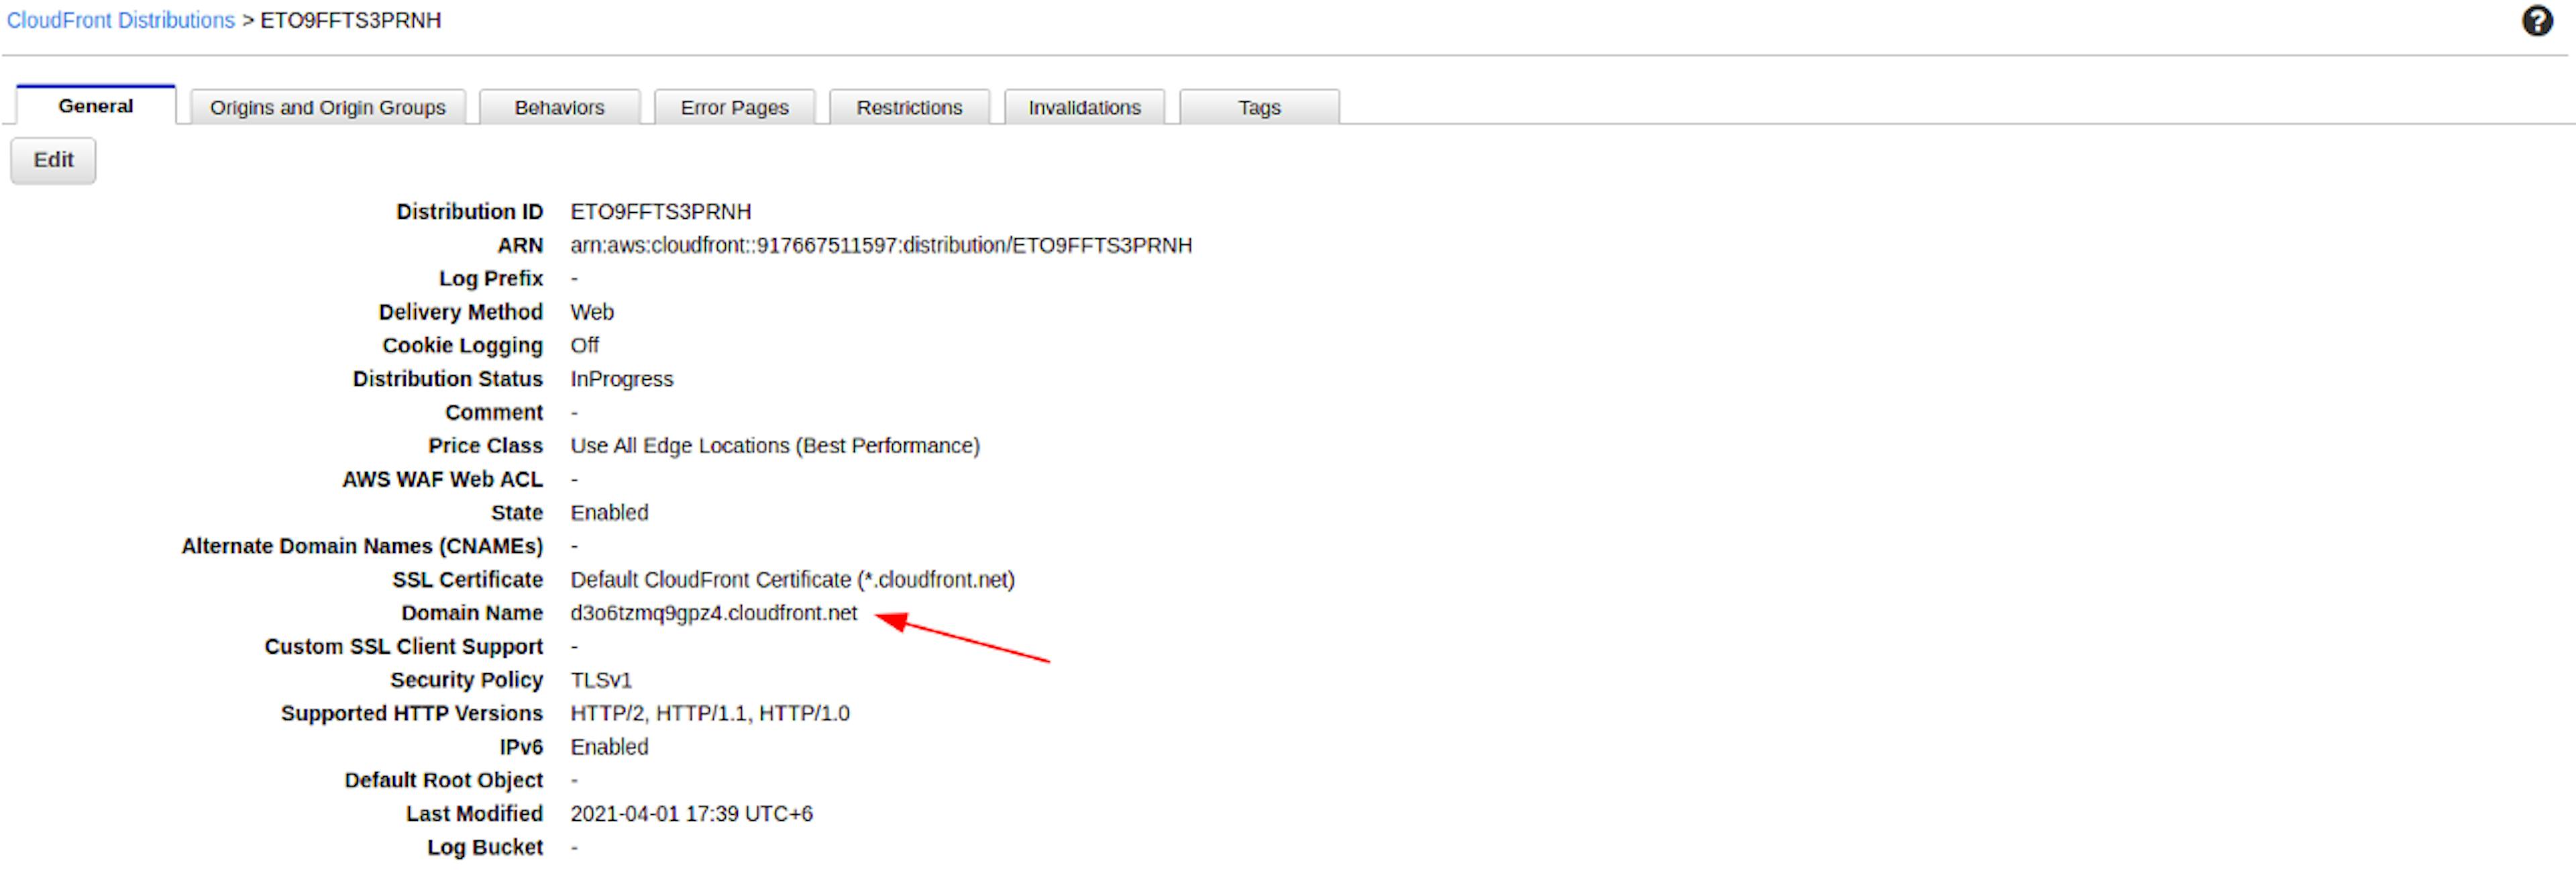
When we save changes, our new link will appear in the list of available links. Let’s go to it.

And the only thing that we will need there is a public link. Using it, we will get pictures or any other objects from the bucket.
Let’s go check it. Insert the link in the browser search box and add to it the path to our previously added file.

That’s it. You now have a link that can be inserted on a website, on social networks, or any other places.
Of course, you could use a direct link from the bucket to the file, but it is unsafe.
Amazon CloudFront has a bunch of settings that allow for secure data transfers.

Working with AWS CLI
AWS CLI is a console utility that allows you to work with Amazon s3 through the terminal.
Installing
Link to official documentation https://docs.aws.amazon.com/cli/latest/userguide/install-cliv2.html
Depending on your operating system, you need to choose the installation method. I have Linux, so I will show it using Linux as an example.
Command to install a package.
sudo apt install awscli
Once the installation is complete, aws will be ready to use. To check this, type in the console
aws help
A whole lot of text should appear there with a list of available options.
Setup
Setup, like installation, is very simple: everything is done with one command.
aws configure
AWS will ask you to add keys and specify the region and the data format that we will receive in response to the commands.
AWS Access Key ID: Key
AWS Secret Access Key: Key
Default region name: Region
Default output format: json
See the name of the region here
The keys can be found on a special page.
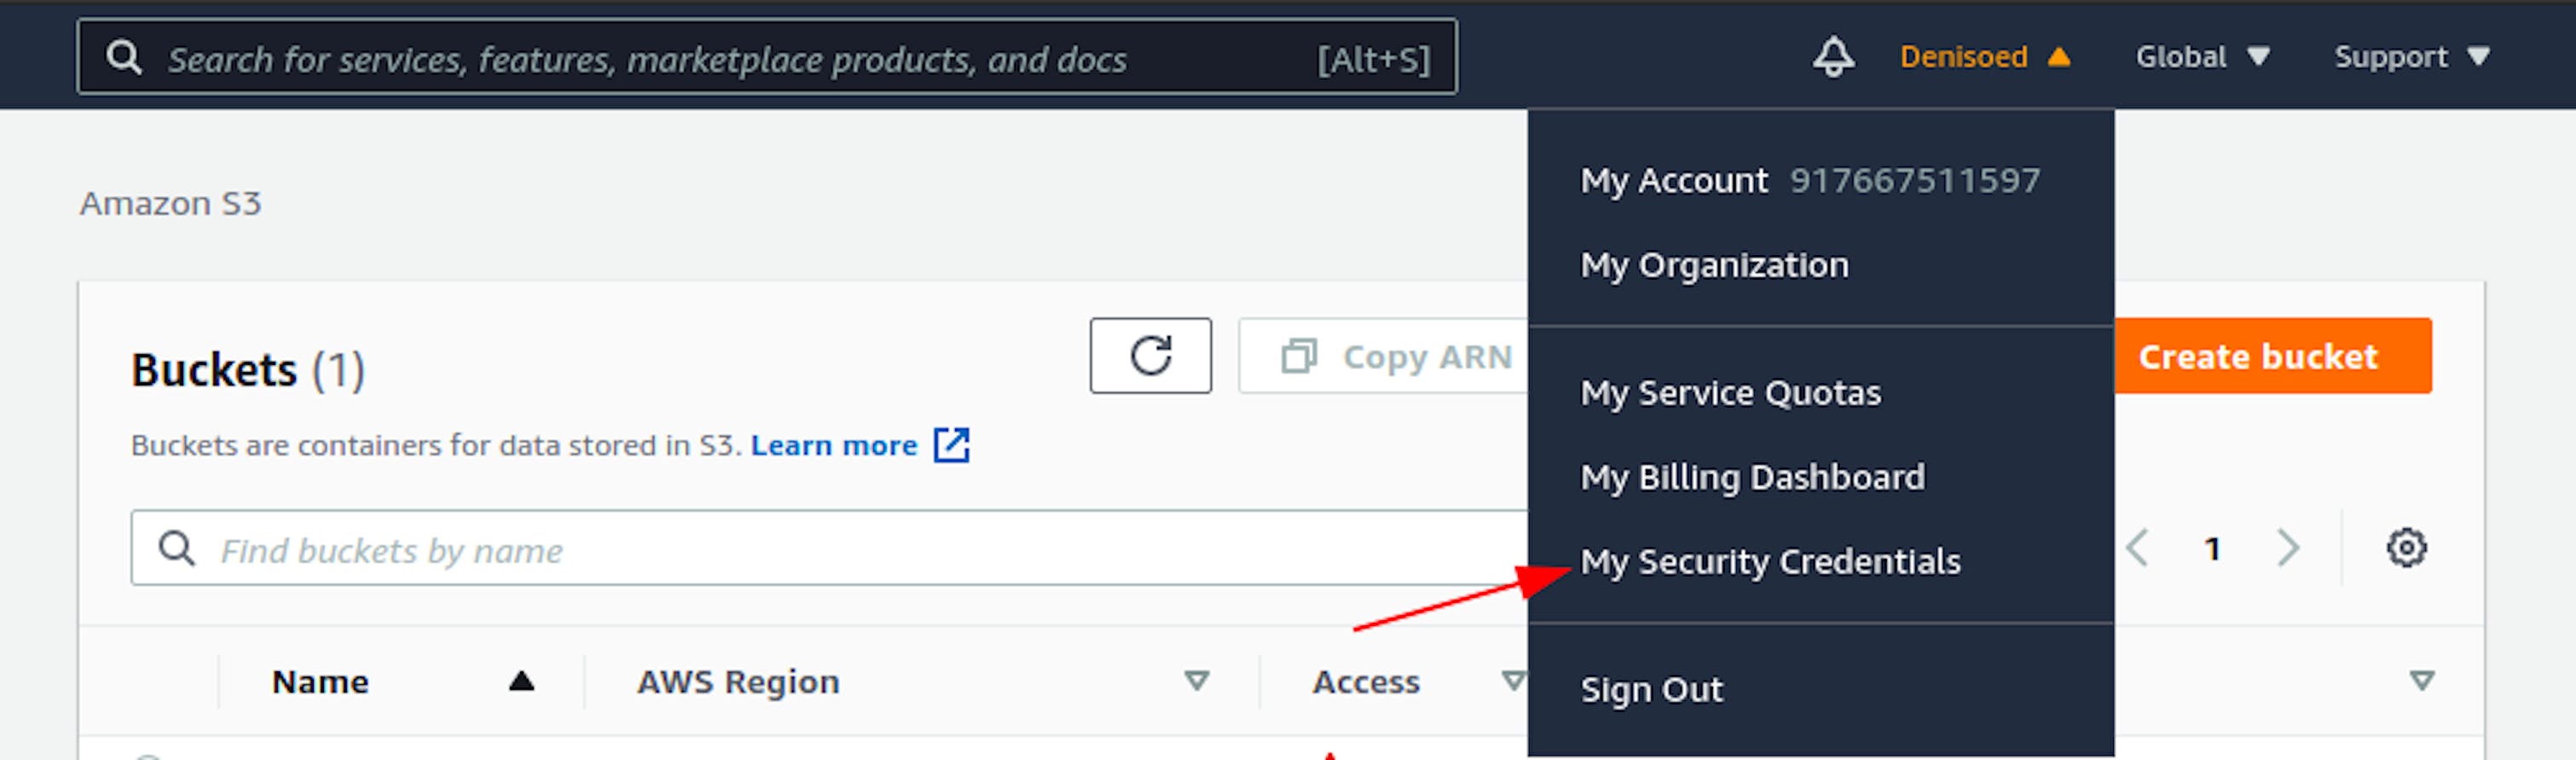
This page contains all secret information related to your account.
Now, we need two keys; you can find them in the Access keys tab (assess key ID and secret assecc key).
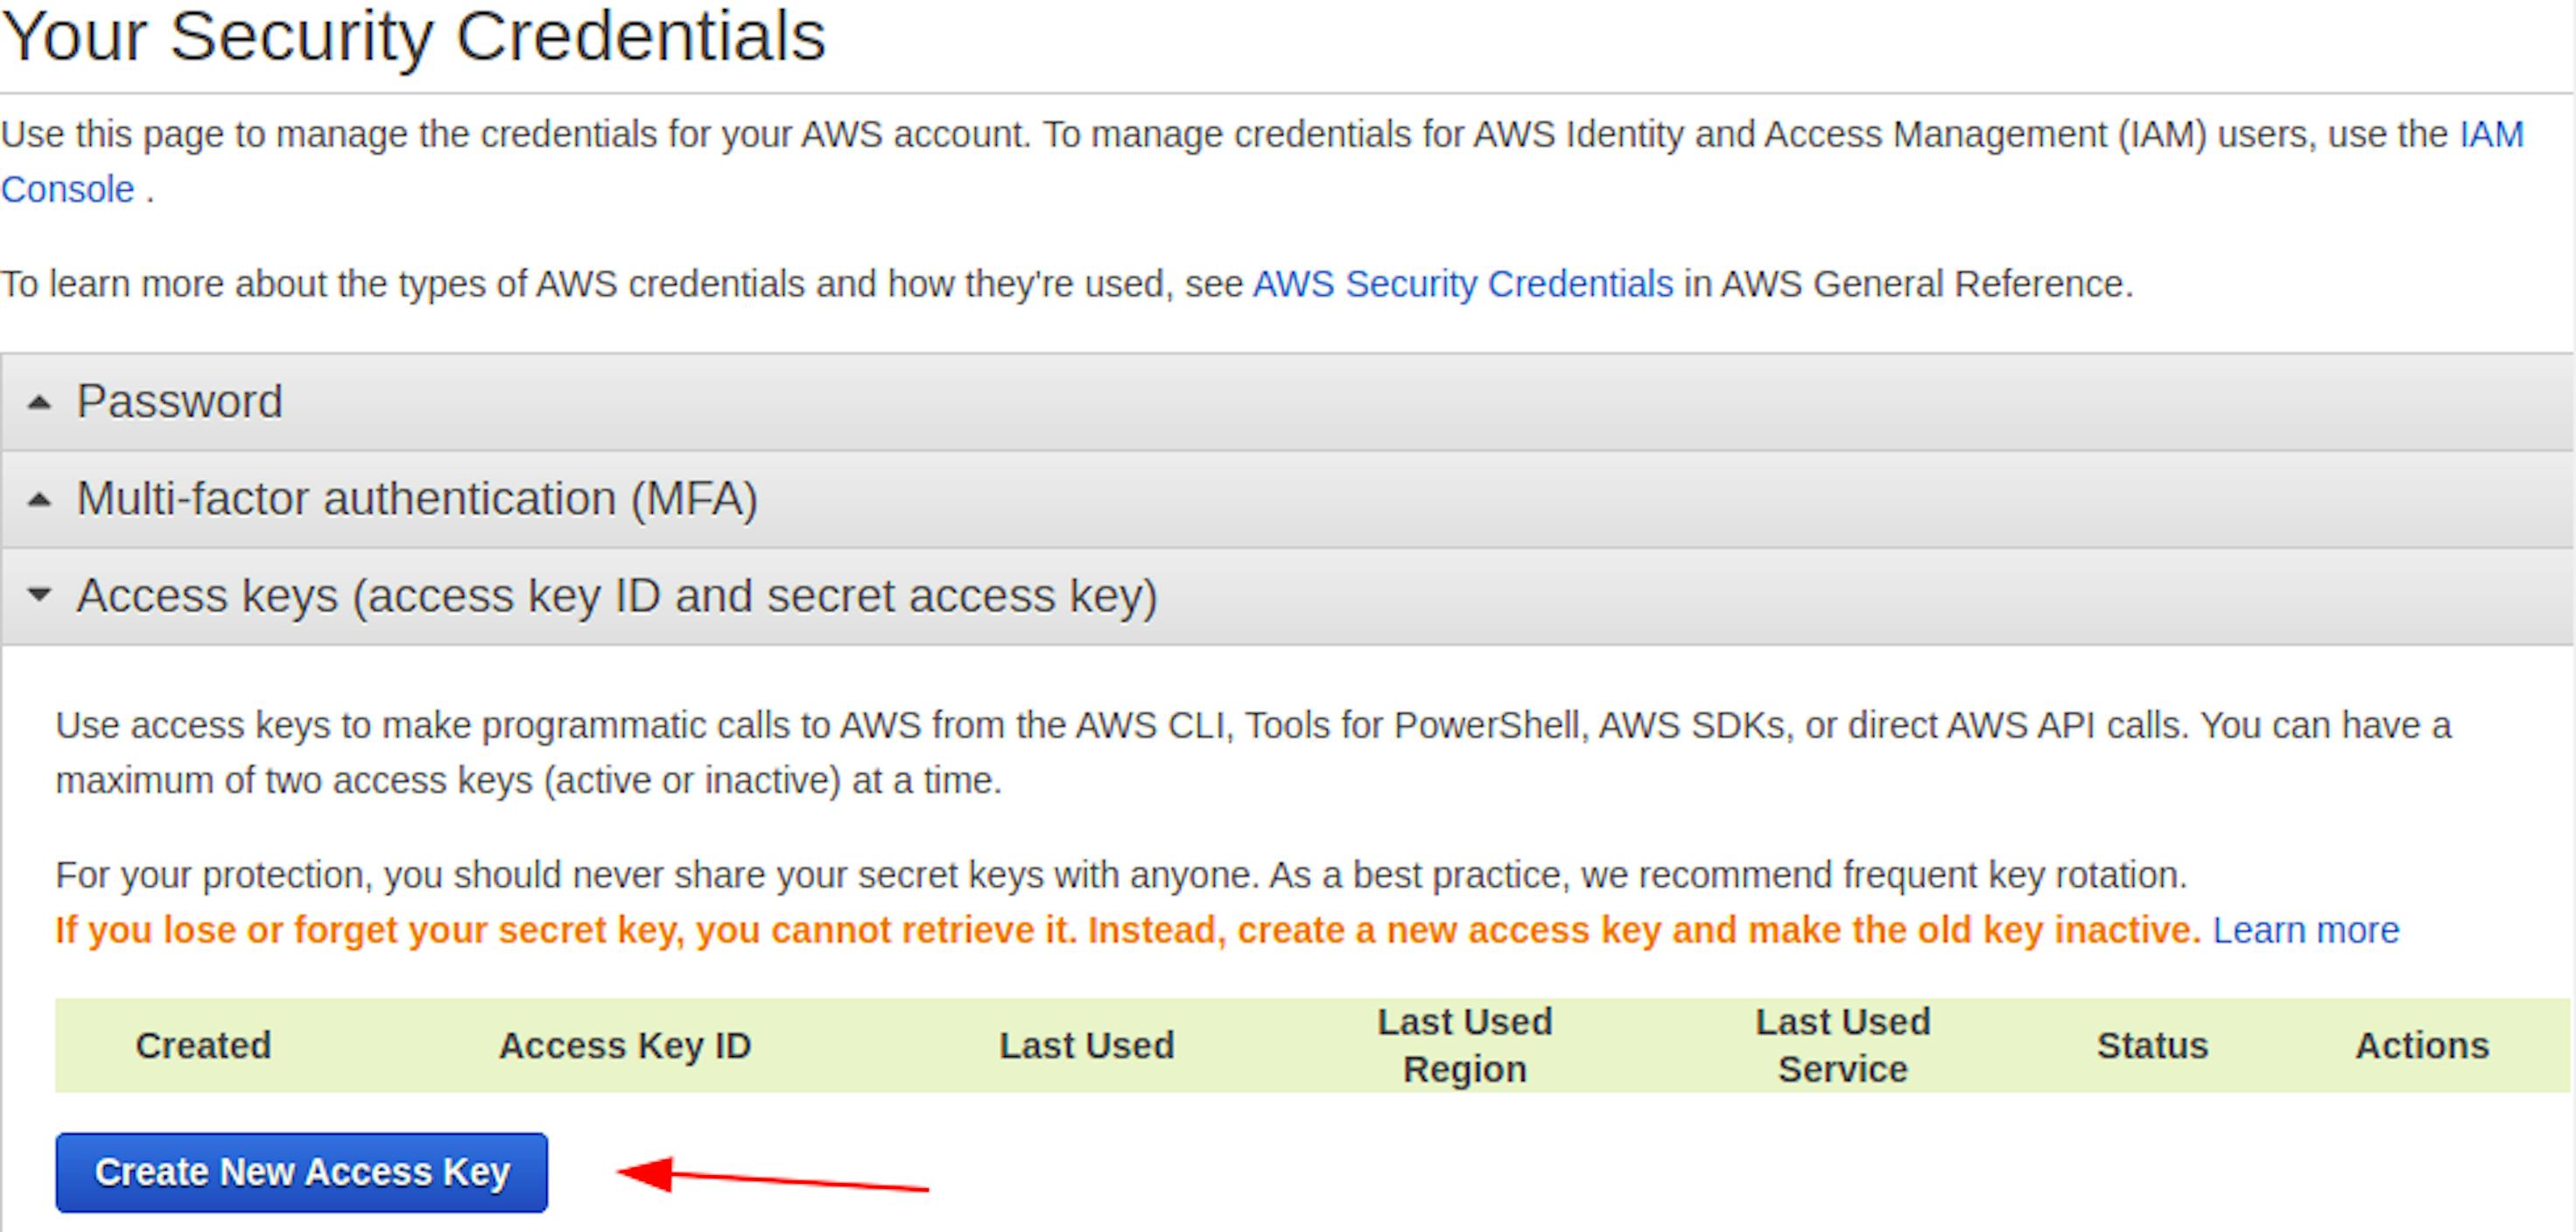
In the window that appears, copy both keys and enter them into the aws settings. That’s it. Let’s go to commands.
Commands
- See what files and folders are in S3
aws s3 ls s3://backet-name/
- Upload folder
aws s3 cp --acl public-read folder s3://backet-name/folder/ --recursive
- Delete folder
aws s3 rm --recursive s3://backet-name/folder/
- Rename folder by moving files to new folder
aws s3 --recursive mv s3://backet-name/folder/ s3://backet-name/folder_2/
- Upload file to folder
aws s3 cp --acl public-read ./folder/name.jpg s3://backet-name/folder/
- Delete file
aws s3 rm s3://backet-name/folder/name.jpg
- Update list of files
aws s3 sync --acl public-read ./folder s3://maddevsio/folder/
These commands are enough to interact with S3. More information can be found here.
Conclusion
The purpose of this article is to cover the most important points that will help you quickly understand and get started with Amazon S3 right away.
All other information can be found in the official documentation.
Thank you!

Latest articles here