

Analyze with AI
Get AI-powered insights from this Mad Devs article:
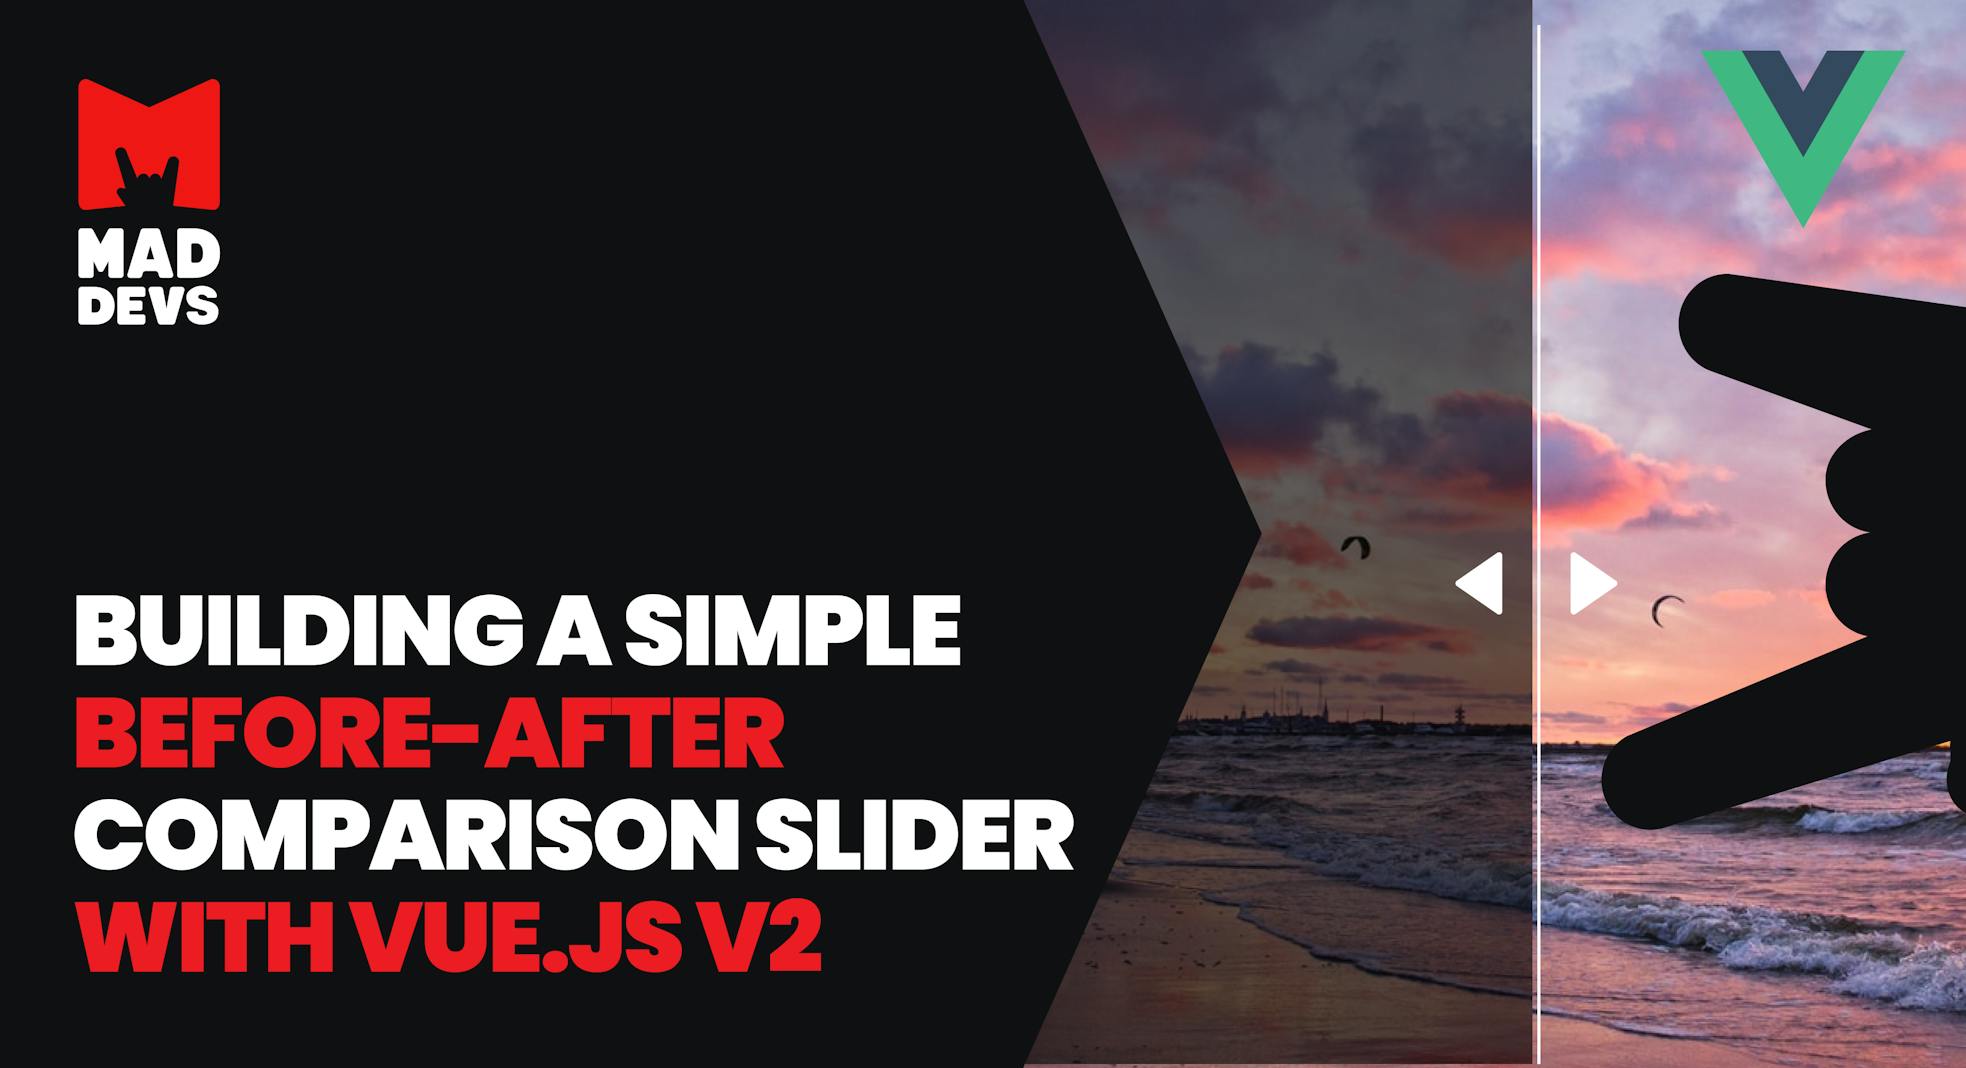
Comparing the state of any object before and after changes has always been the best tool to demonstrate the difference clearly. So here we make a before and after slider using Vue.js v2. And, of course, where to go without tests? We will use the Jest testing framework and the Vue-test-utils utility library for tests.
This page assumes you've already read the Vue.js documentation and familiar with the Vue CLI. Read that first if you are new to Vue.js.
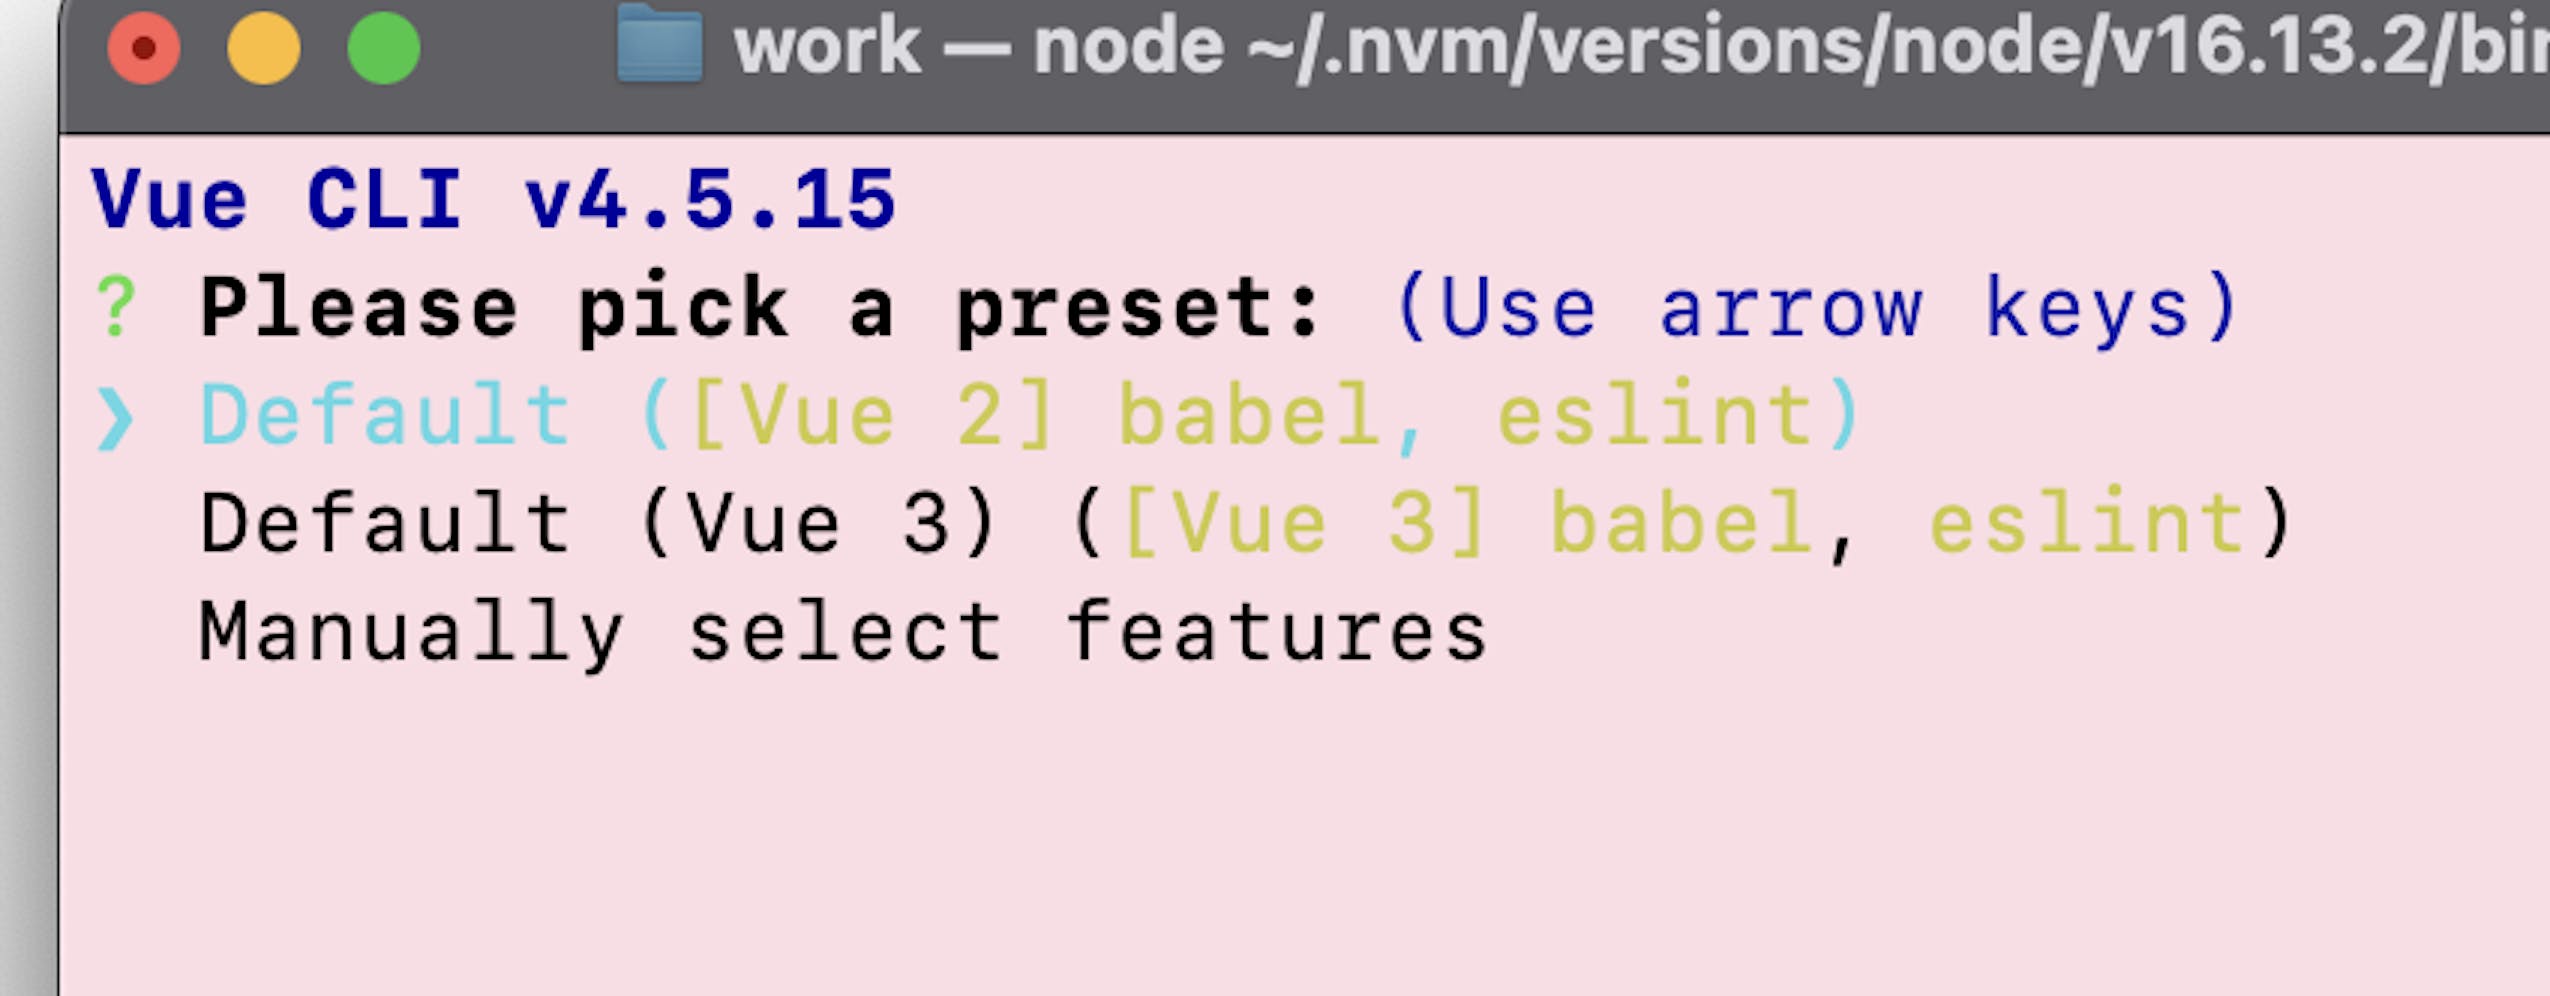
The first step is to installvue-cli. The next step is to create an application skeleton using the vue create command in the terminal. We'll call it images-comparison-slider. So let's go to the required directory, where your project will be located, and write the command:
vue create images-comparison-slider
In the settings, specify the default options for the Vue 2, babel, eslint project:
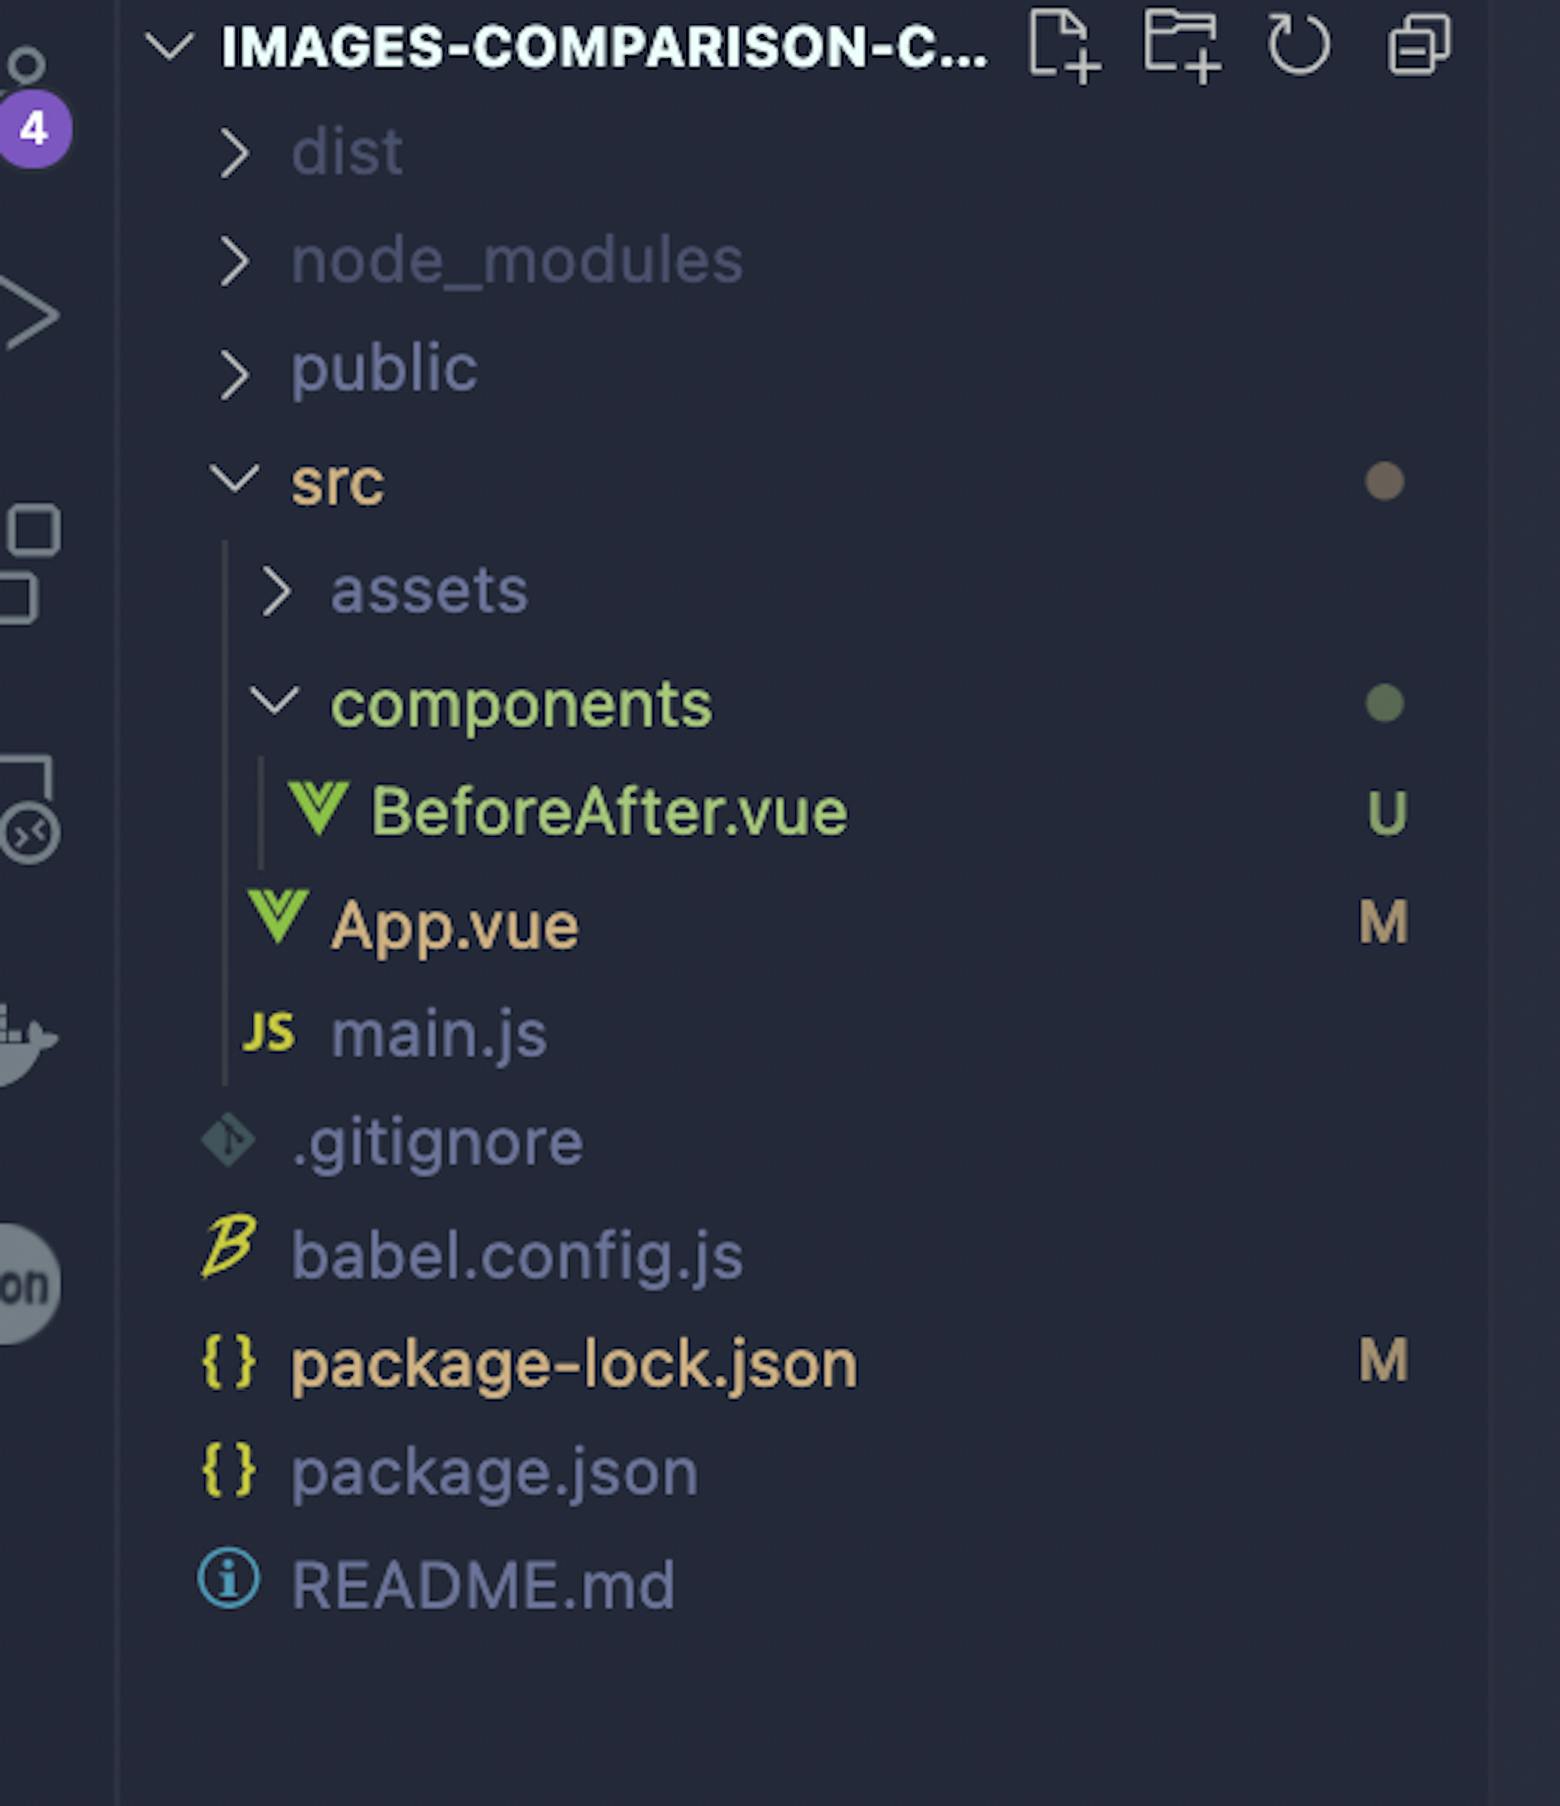
After our application will be created, we will need to open it in the editor and remove unnecessary styles and components from the src folder. Also, rename the component HelloWorld.vue to BeforeAfter.vue and use it in the mainApp.vue component:
In the App.vue component, we need to add a div with the container class and add some styles.
As a result, our App.vue component should look something like this:
GitHub Gist is loading...
The BeforeAfter.vue component should take 4 props: value, step, beforeImage, and afterImage
For example, we will enter two links to images of the same size and add some values for the value and the step props.
Let's look at the BeforeAfter.vue component. Together with styles and logic, it looks like this:
GitHub Gist is loading...
We'll not delve into the styles of the component, any developer styles it according to their requirements. Let's look at the main logic of the component. We accept 4 props that have been described above: value, step, beforeImage, and afterImage. The value is needed to specify the initial position of the slider, the step for the step of moving the slider, and beforeImage, afterImage are the path to two images.
To get the cursor position value, we use the input element, position it in the center vertically, and hide it with style opacity: 0.
We hang an event listener on this element, and we will receive a value for further assigning it to the width of the image container in the handleInput method.
To adjust the width of images when the screen width changes, we use an event handler for window and handle the resize event (line 90 in the code above). Of course, we need to remove all event listeners when our component is destroyed (line 94 in the code above). We also should define two options in the data object: width and compareWidth. To the width option, let's assign a value: null, and to the compareWidth, let's take value from props: this.value. When our component is mounted, we will set the value for the width taken from the container ref (look at lines 89 and 2 in the code above).
To visually display the border of the cursor movement, we use the handle-wrap and style it as we like.
The main logic is that we take the value from the input and use the handleInput method to overwrite the compareWidth value.
We can simplify our code by getting rid of the handleInput method and just using v-model to two-way bind the input value to the compareWidth. So we can delete the handleInput method and add v-model to the input element. That's all. Everything should work fine! Let's look at the online code editor; the link is below.
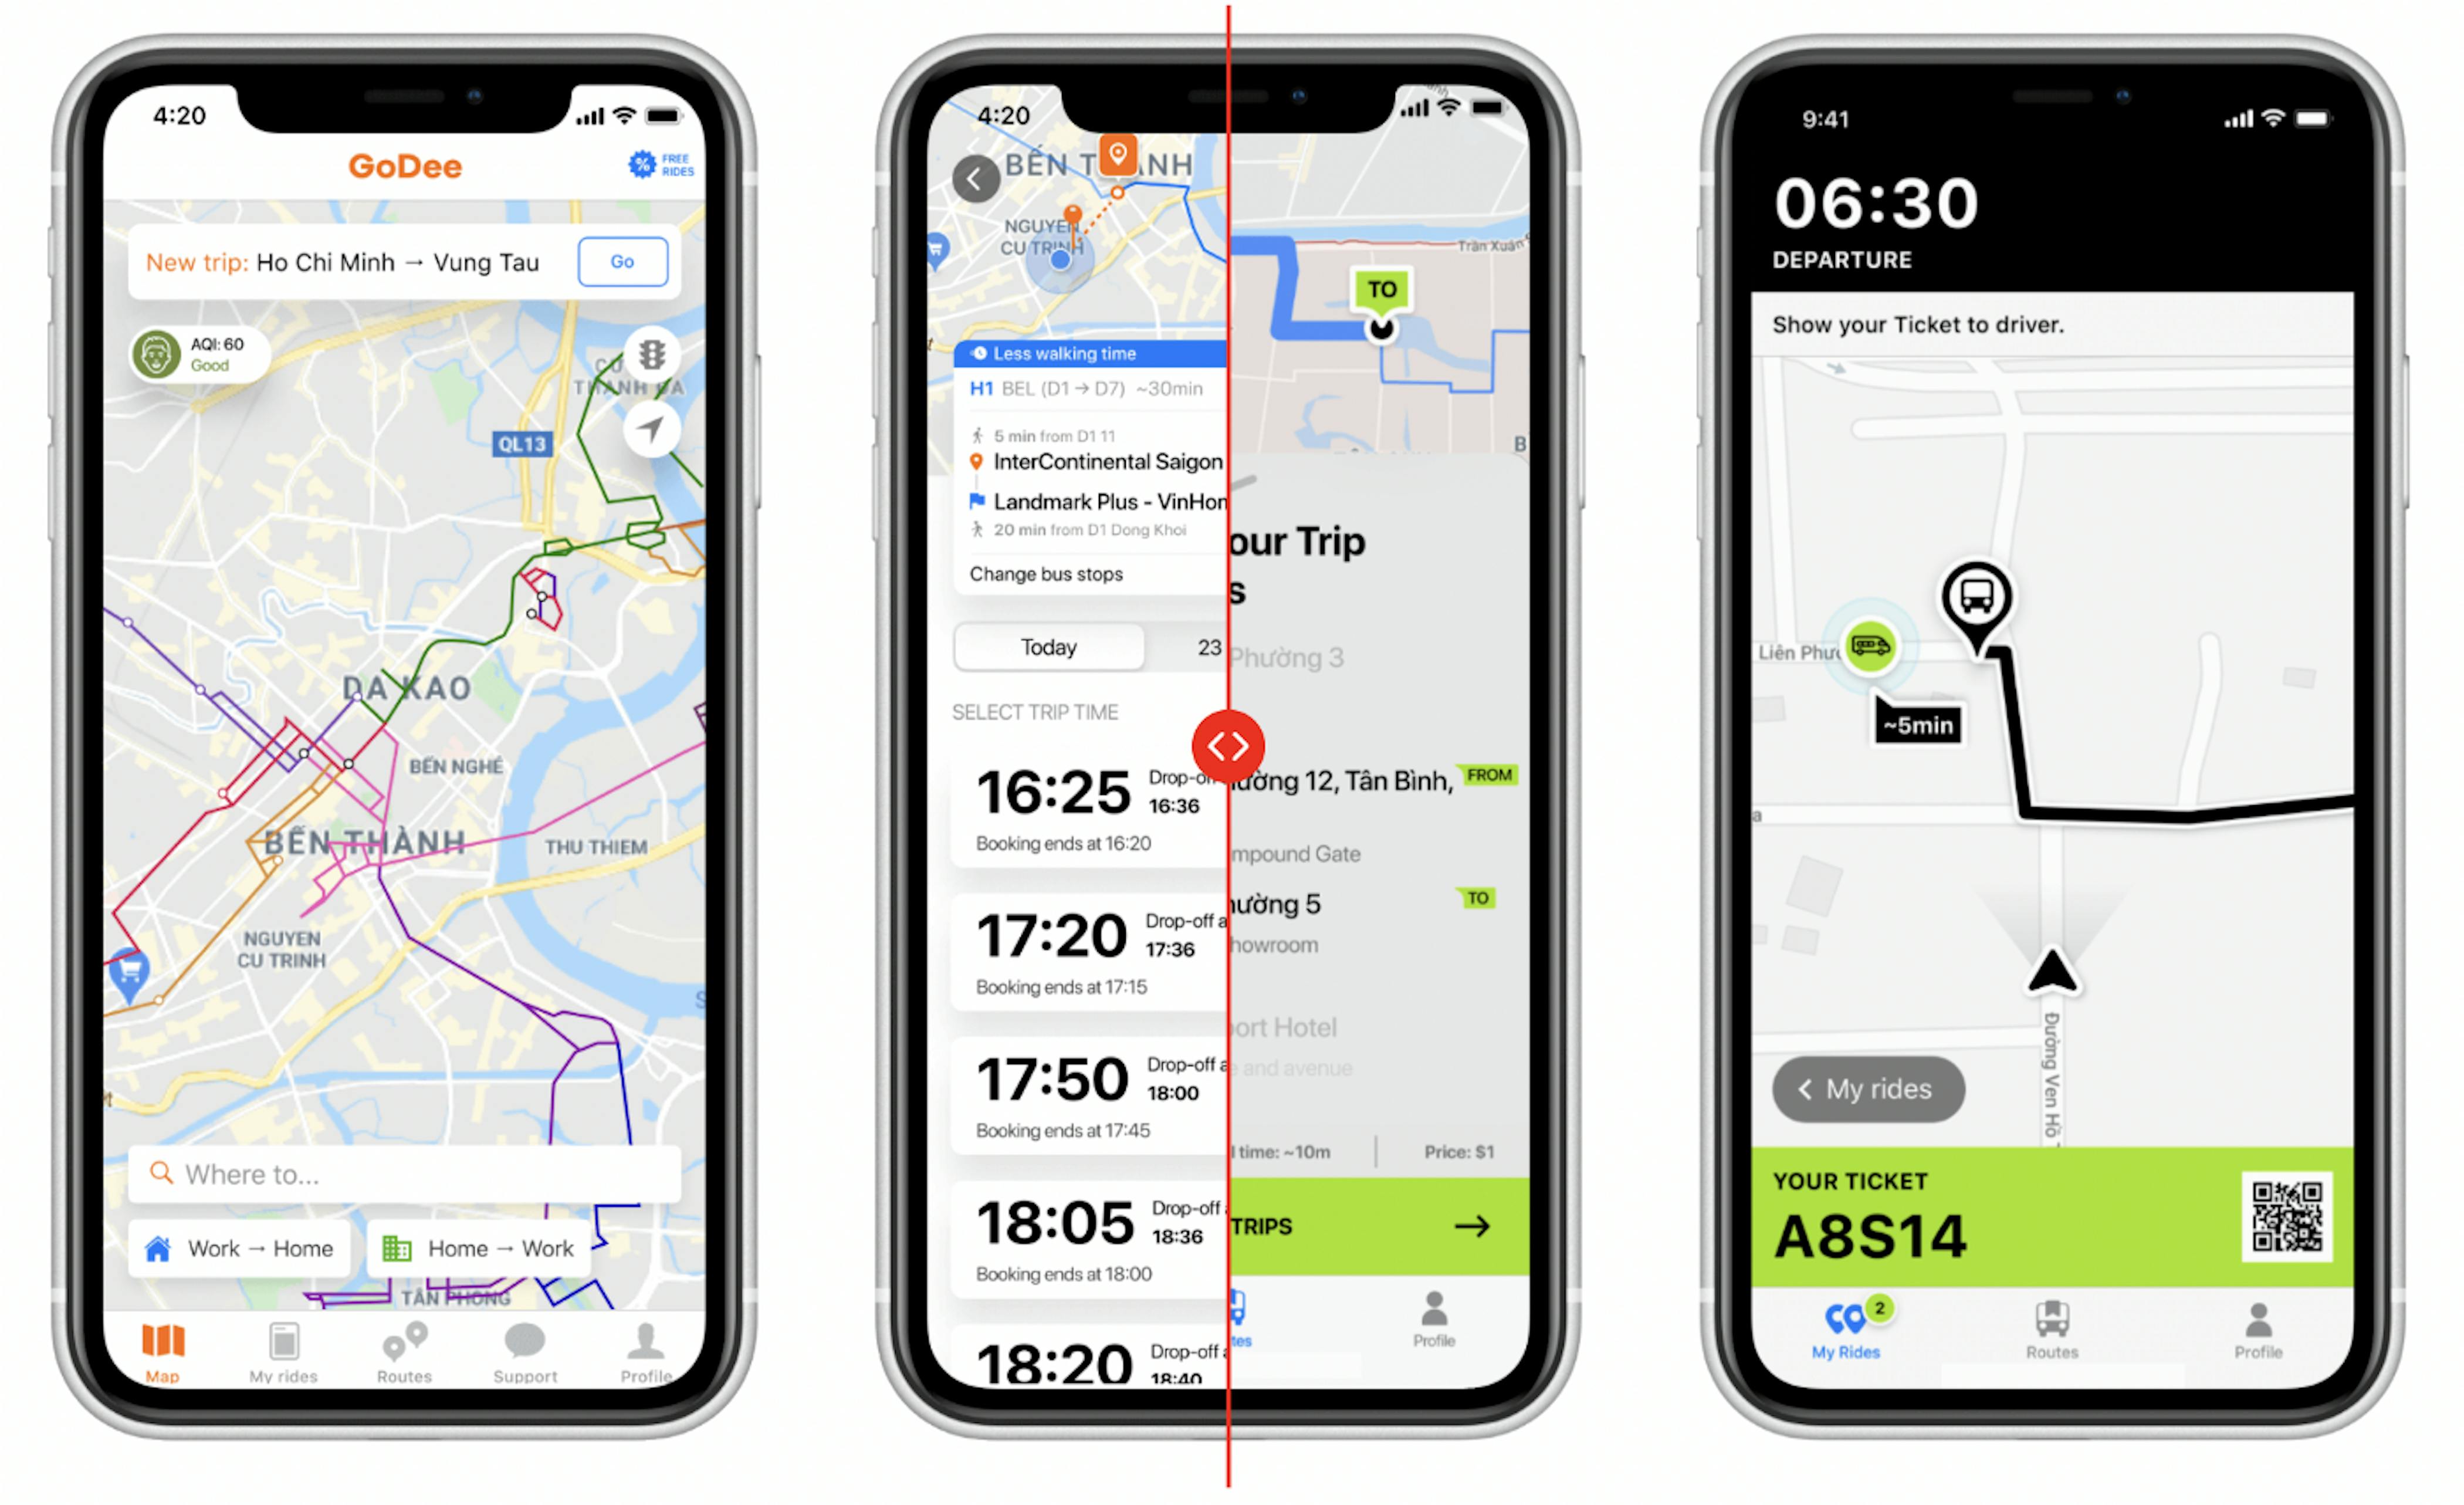
The finished slider and the source of code can be viewed in the online editor. Also, you can see how this slider performance our case study page. The next step is to cover our component with tests using theJest engine and theVue-test-utils utility library.

Component test coverage
We will use the unit test type. You probably don't need to explain what and how to use it. But just in case, we'll do it together.
Vue Test Utils (VTU) is a set of utility functions that simplify testing Vue.js components. It provides some methods to mount and interact with Vue components isolated.
We will install the necessary tools to test our component for that read the documentation by this link.
Then, we need to tell Jest to transform .vue files using vue-jest. You can do so by adding the following configuration in package.json
Our package.json file looks like this:
GitHub Gist is loading...
To run the tests, we need to enter the following command in the terminal while at the project's root: npm run test:unit. It is written in the package.json file in the scripts field
GitHub Gist is loading...
If we try to run the command npm run test-unit, a message will appear in the terminal about the lack of tests. Therefore let's create a test directory and file. The testing folder and file hierarchy will look like this:
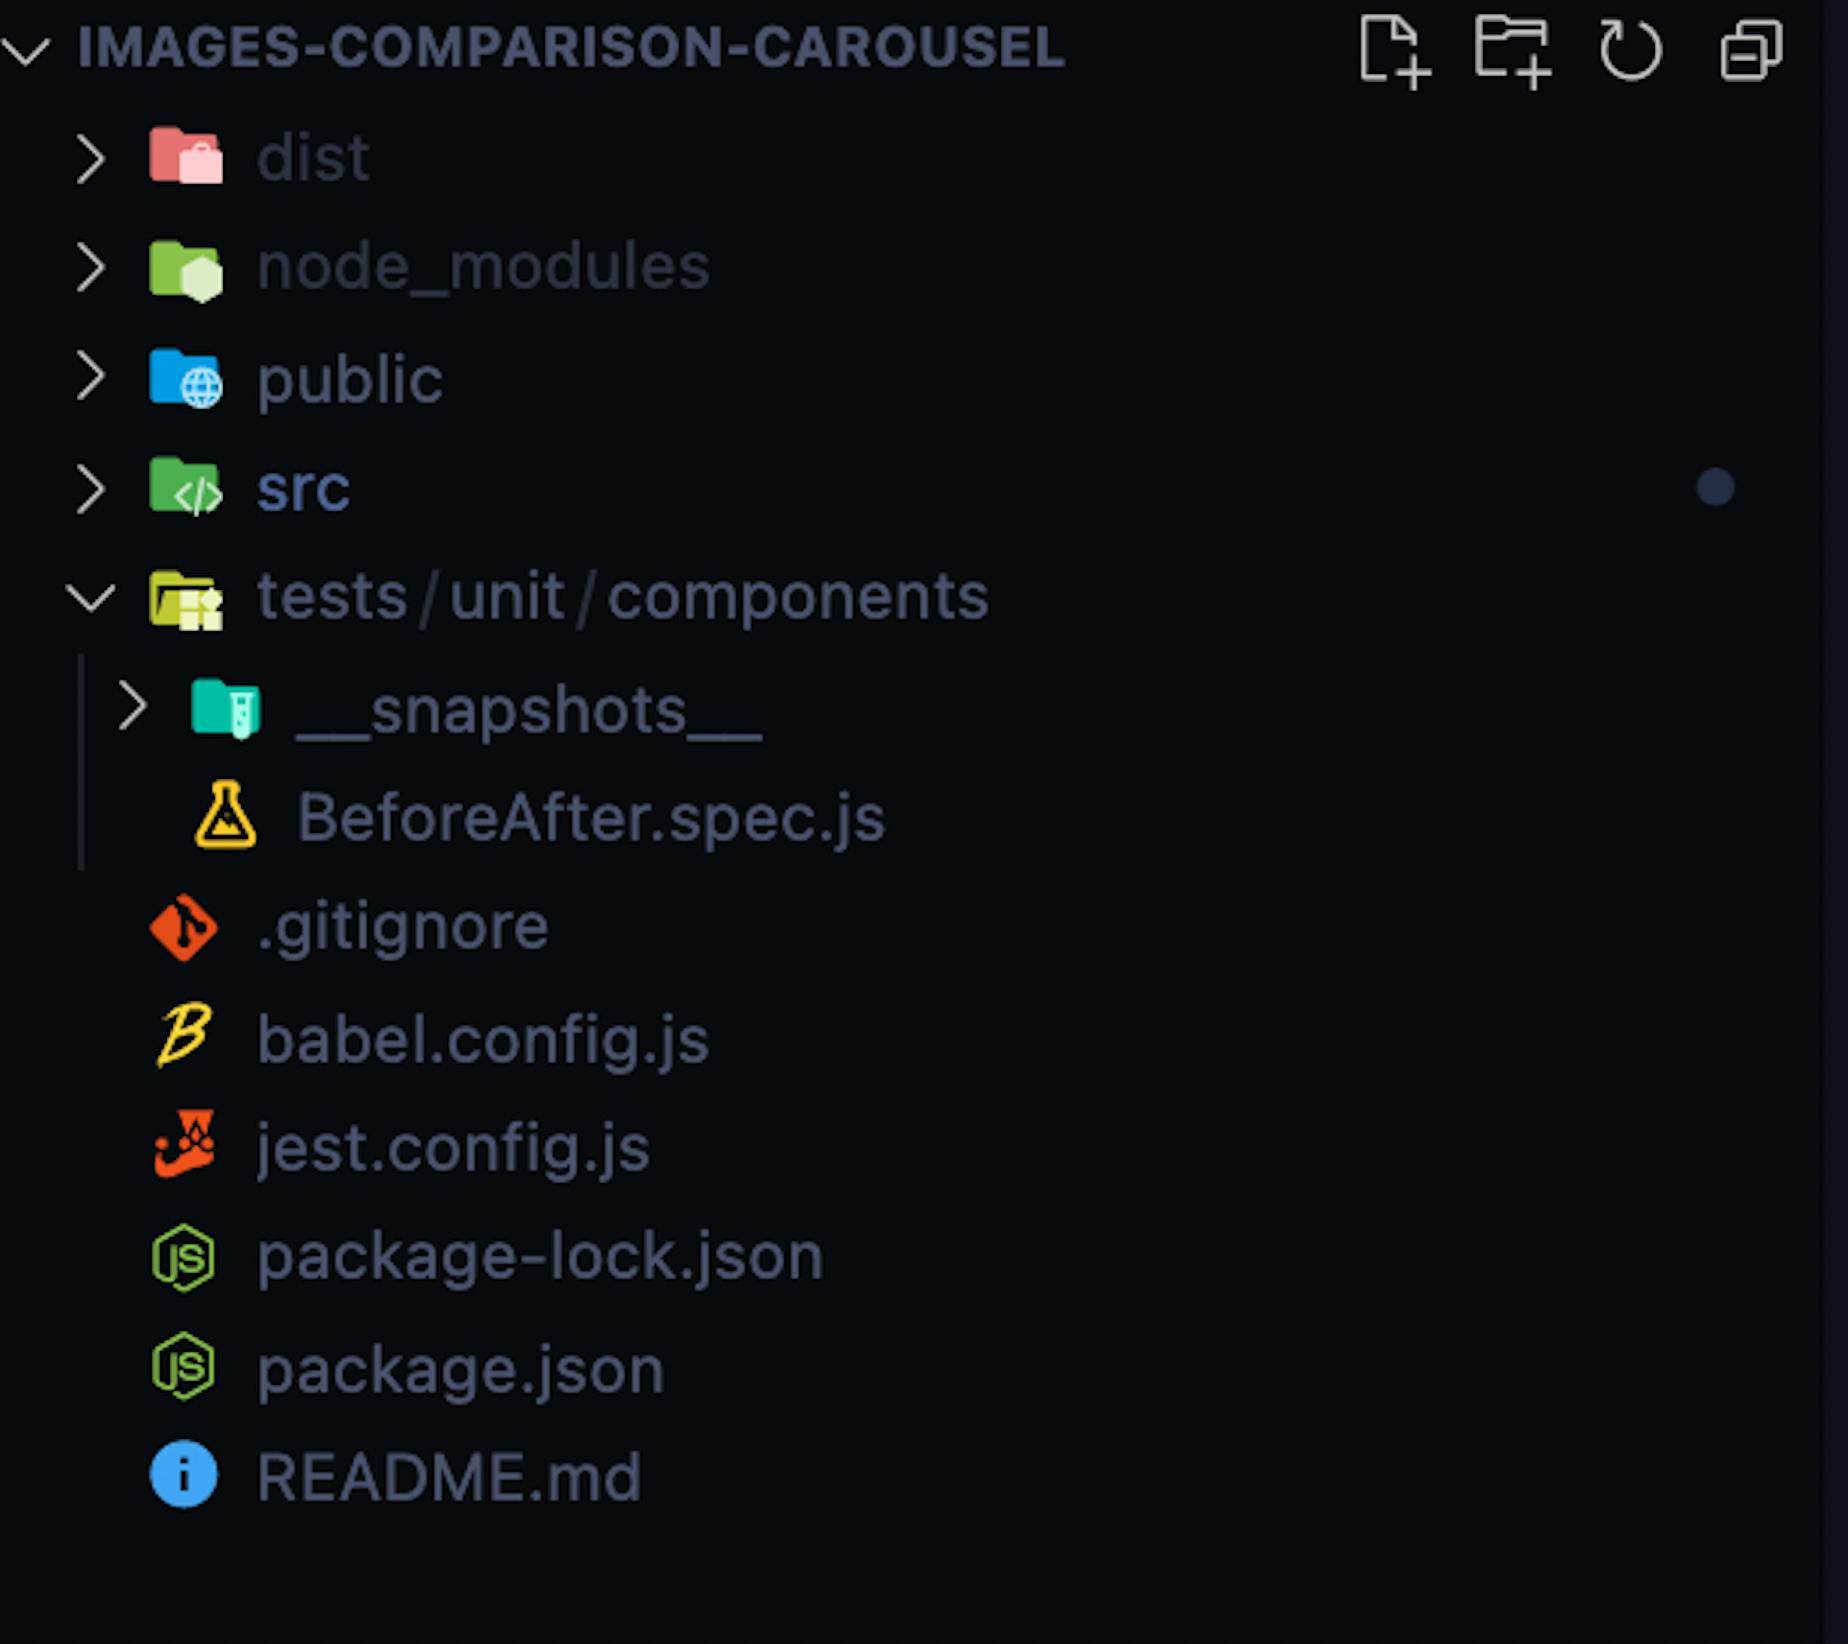
For the Jest engine to recognize our test file, the file extension must be testComponent.spec.js. The structure of the test files and the directory inside the unit folder should exactly repeat the structure of our project root directory src to avoid various kinds of confusion.
Let's write tests for the component BeforeAfter.vue. First of all, we should import our component in the test file and import the shallowMount function. ShallowMount function will load the component itself, ignoring the child component(s).
The full of code looks like this:
GitHub Gist is loading...
Next, we need to pass the props. So let's create test props to pass to the component and prepare the test width and value for the input in advance (lines 5–13 of the code above). The next step is to lock by adding and removing event listeners for window (lines 15, 16 of the code above).
Then we need to create the describe block to group together several related tests (see in the Jest documentation). After declaring the wrapper variable before all tests, we hang the resize event handler for the window (line 21). The beforeEach code block runs before each unit test and re-initializes the props that will be passed to the BeforeAfter component, we assign the wrapper variable to the component using the shallowMount function with fake props. After each test we redefine wrapper variable to null.
Next, we write separate "it" blocks, which are wrappers for our tests. The description for each test is in the first argument of the "it" function.

Summary
Here we learned how to develop and test before and after slider using Vue.js v2 in your project. With the proper skills, you can modify this code, use it in various cases, and significantly improve the user interface and user experience.


Latest articles here