
[Guide: How to Set Up Free Golang Project Hosting with Google Cloud]
Analyze with AI
Get AI-powered insights from this Mad Devs tech article:
Introduction
In this article, I'll explain how to set up free hosting with Google Cloud Run using Golang as the main programming language. For our "Hello, world!", we'll use Google Cloud Run and Github. Google Cloud Run is one of the many products of Google Cloud that was built to launch Docker versions in Google's infrastructure. GitHub is a popular platform for hosting and working collaboratively on source code. The git version control system is the foundation of this platform. Google Cloud Run is a managed compute platform that lets users launch containers above Google's scaled infrastructure. Cloud Run can deploy code written in any programming language, not only Golang. This platform removes the necessity of routine tasks such as setting VPS, VDS, and other DevOps activities and allows for modifying scaling rules, separate job workers services, etc. Read the official documentation for a complete description of the options available.
Step 1. Create a project
If you've never worked with Cloud Run or any other Google Cloud product, then the management console will suggest creating a project.
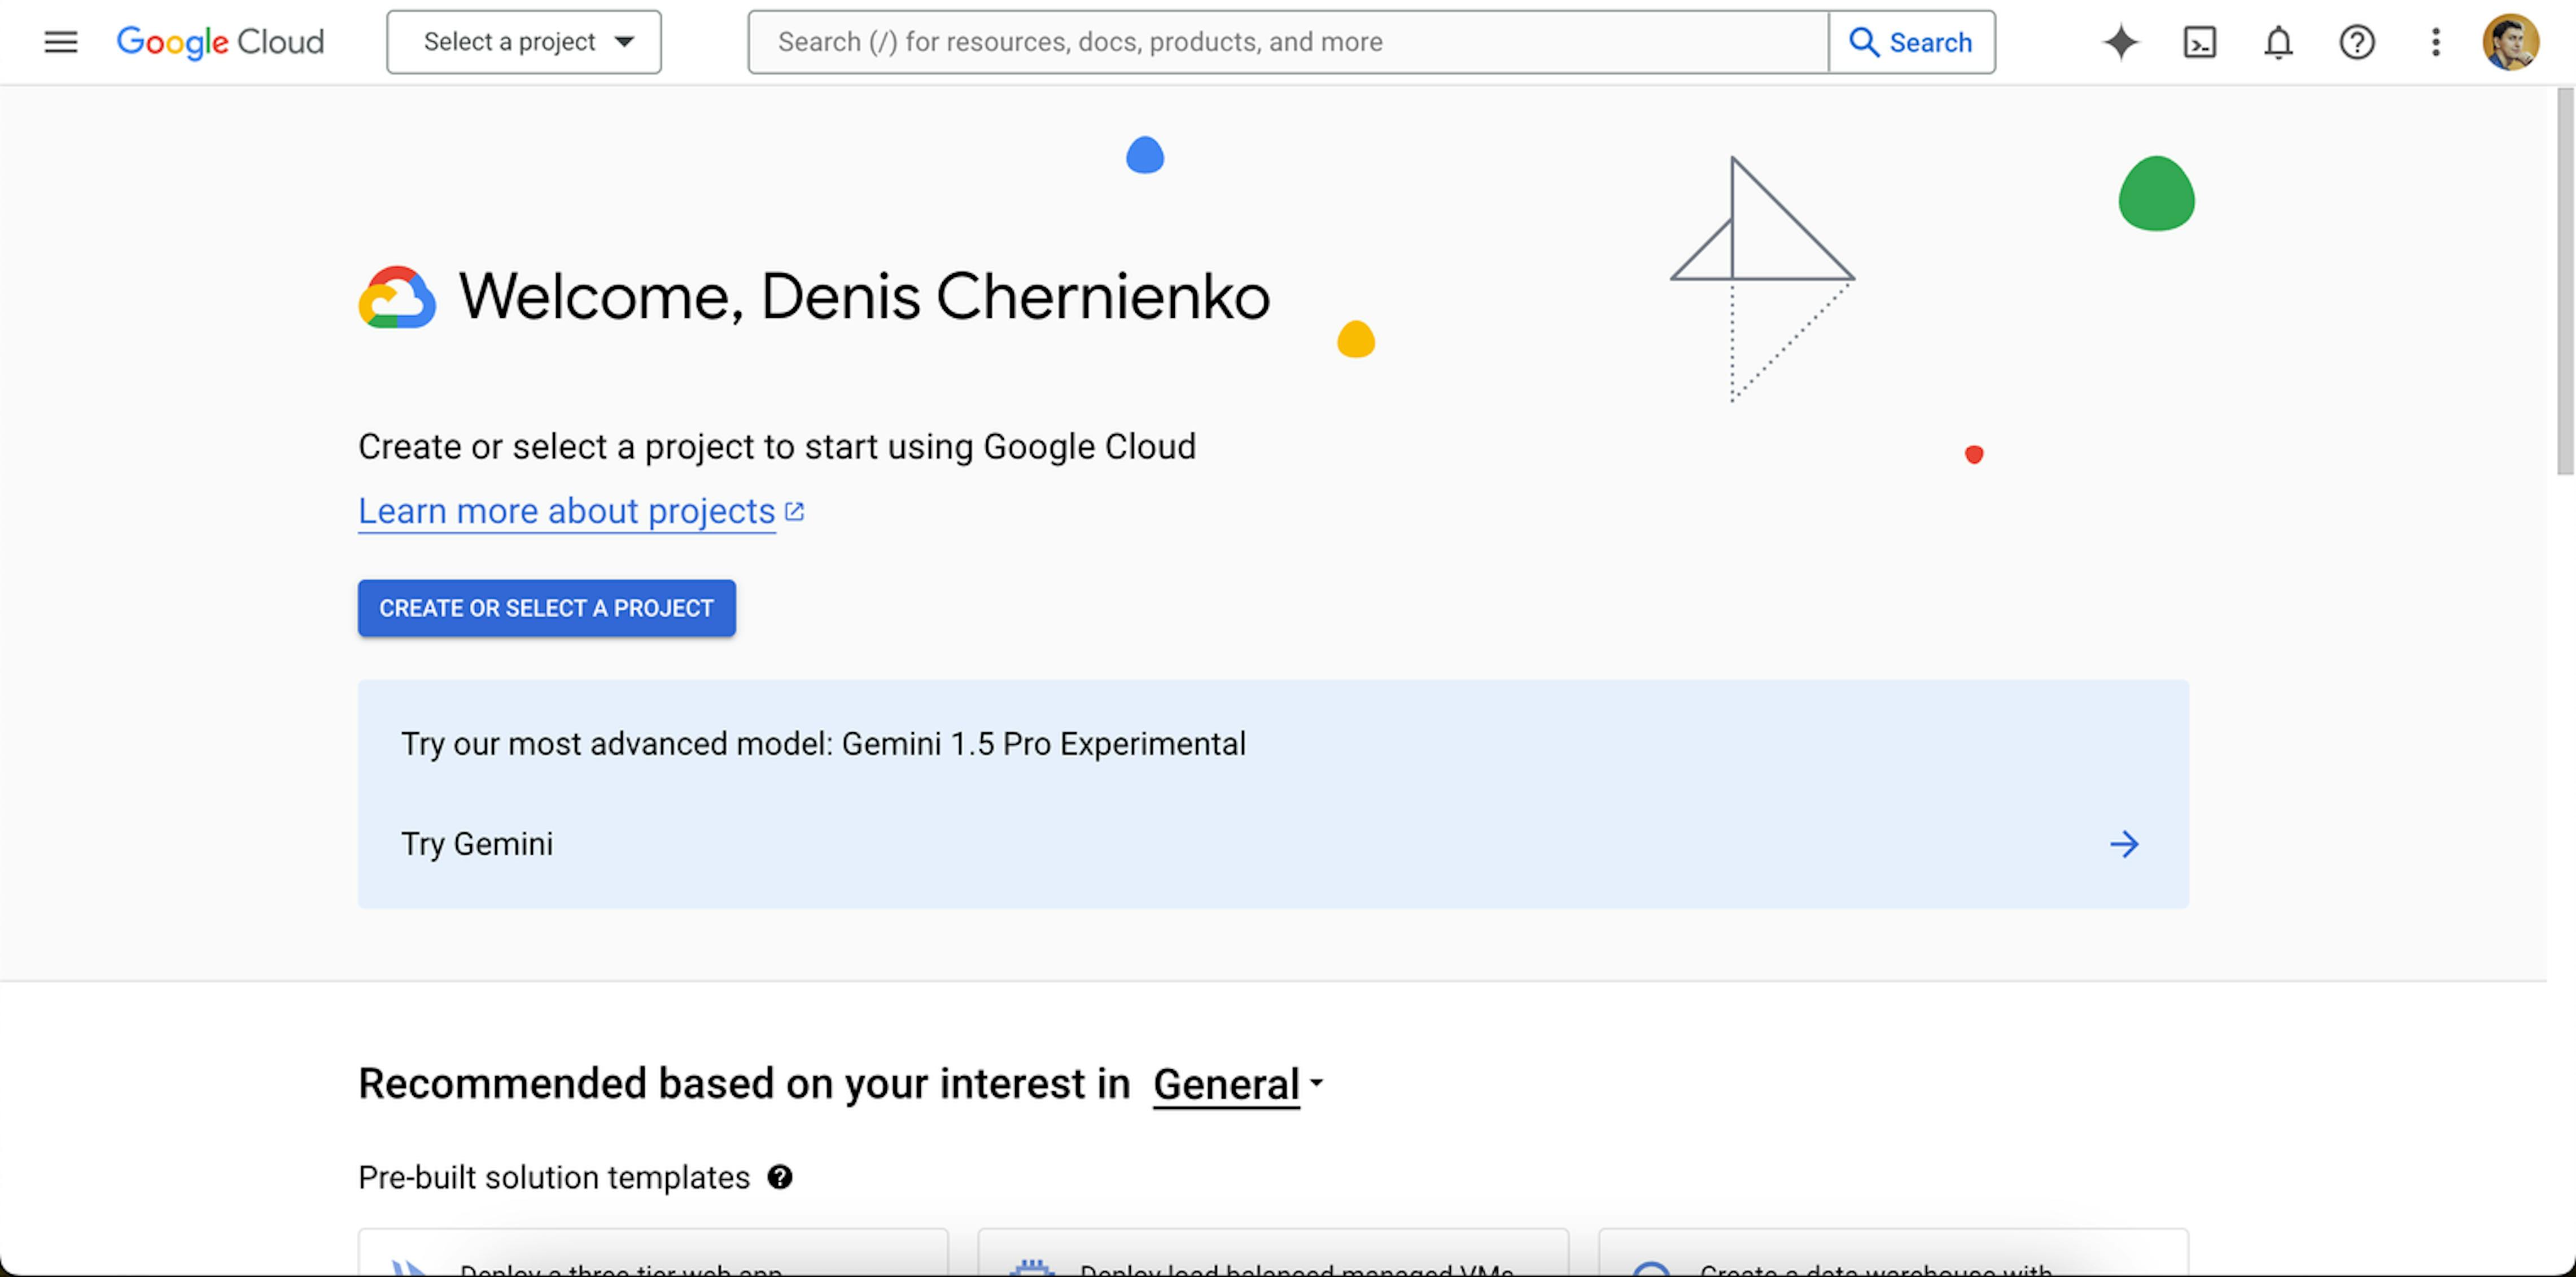
Click CREATE OR SELECT A PROJECT
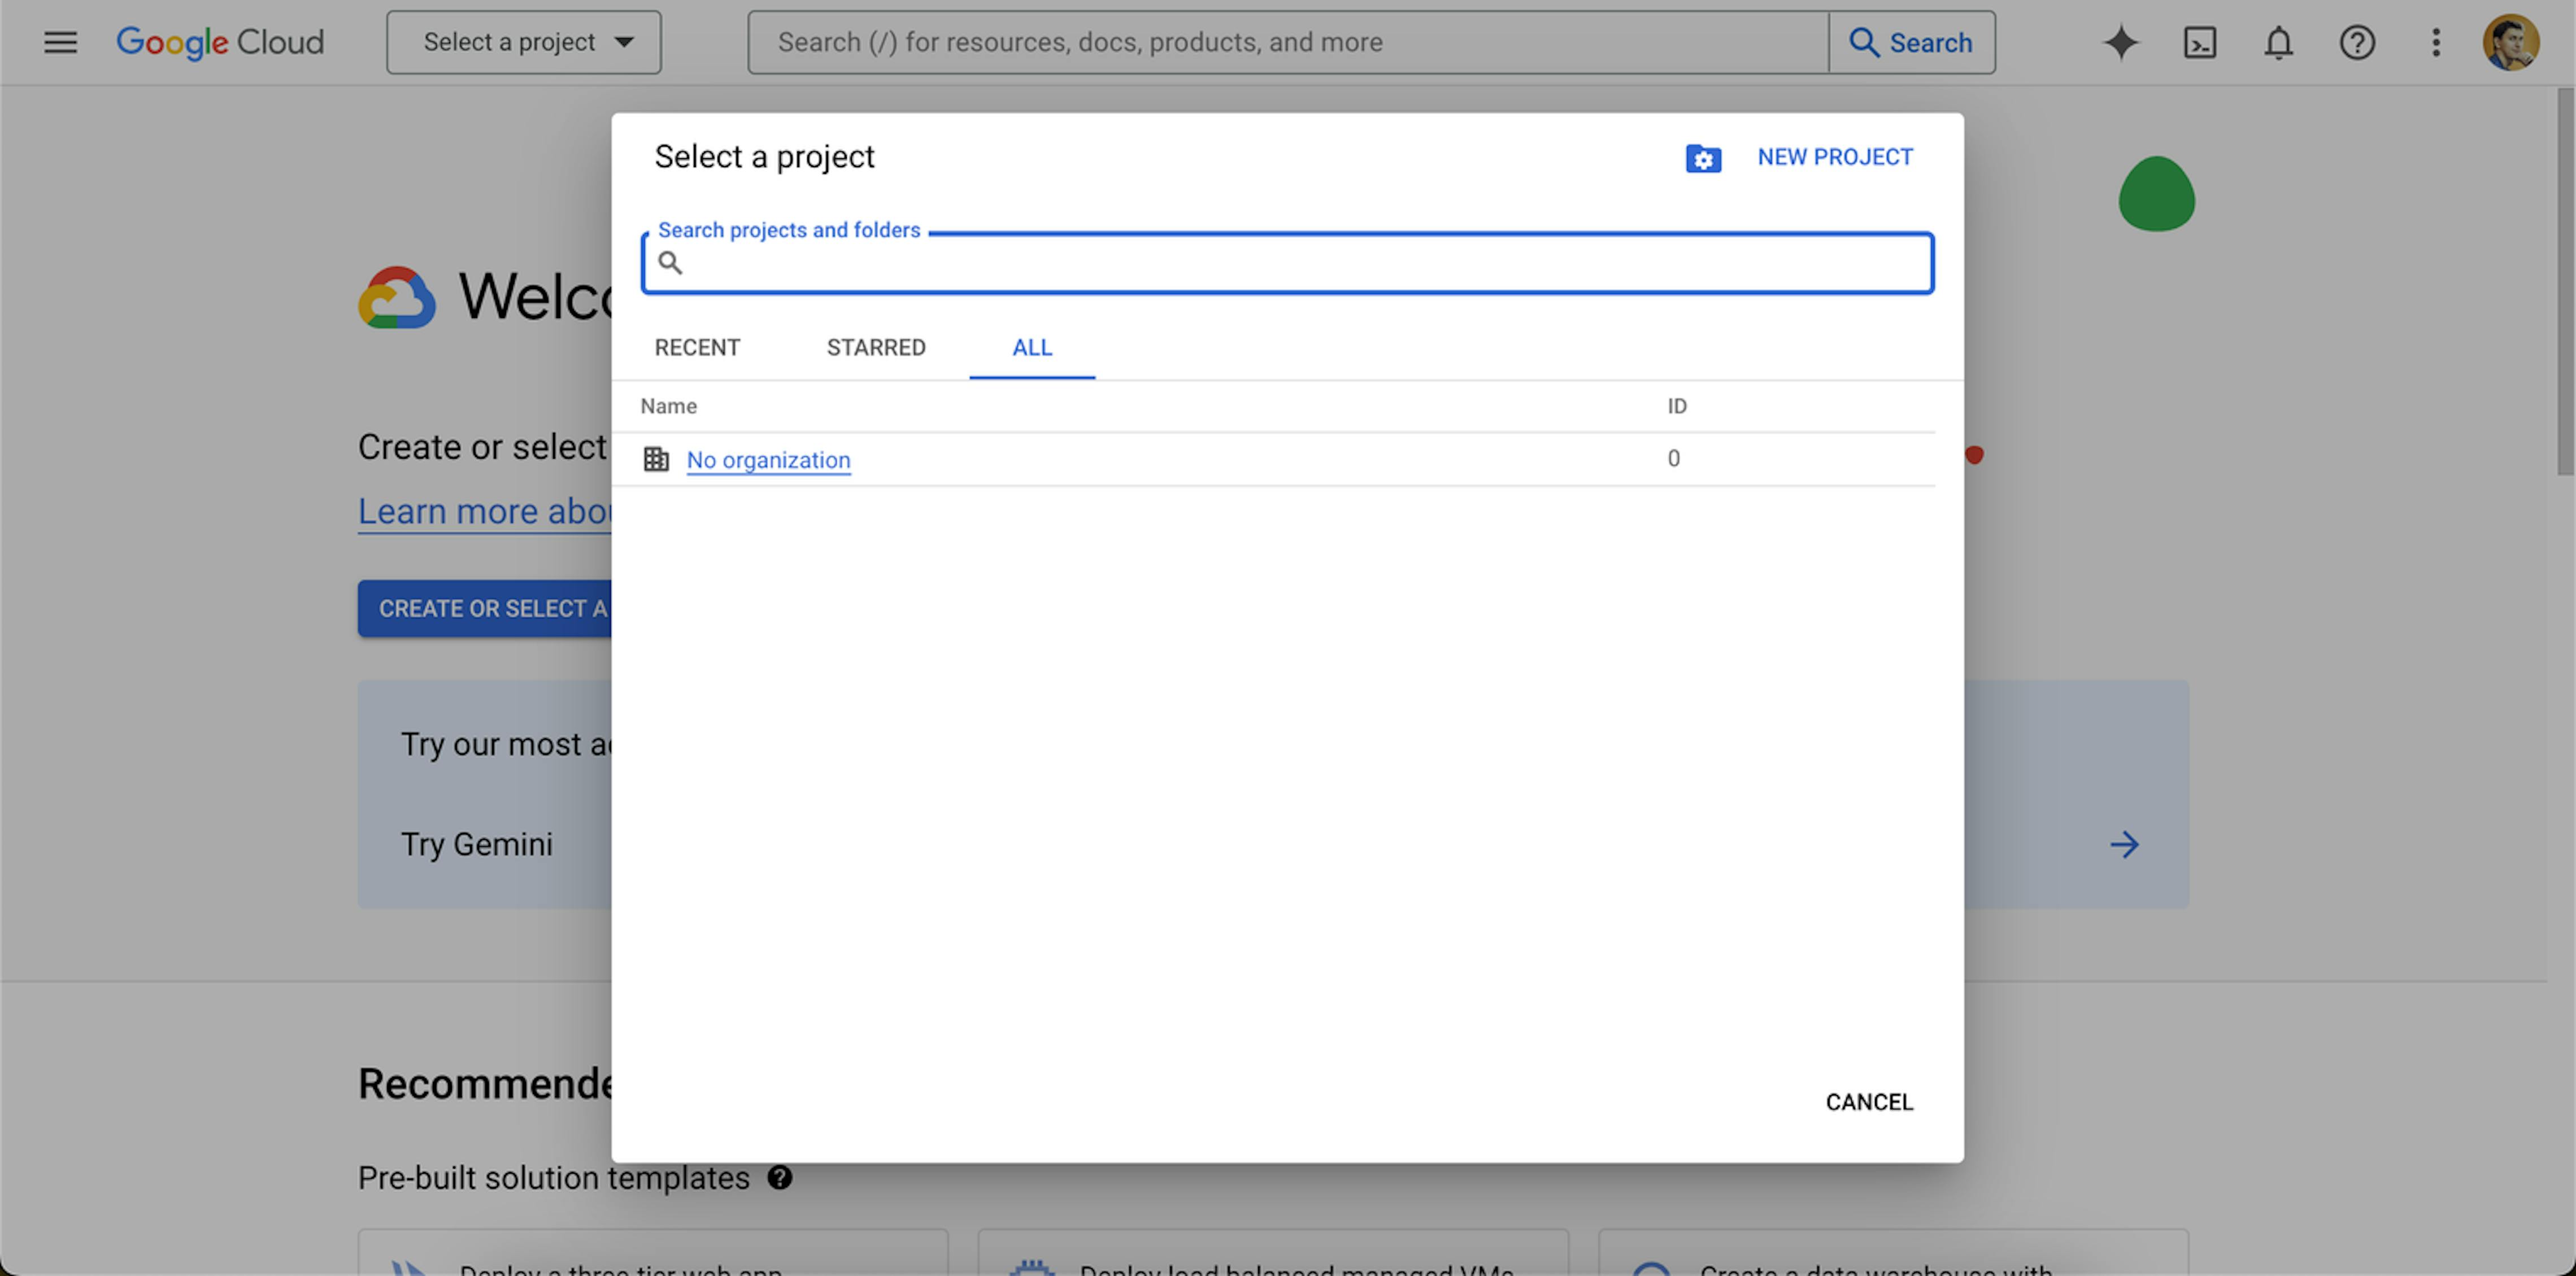
Then, NEW PROJECT
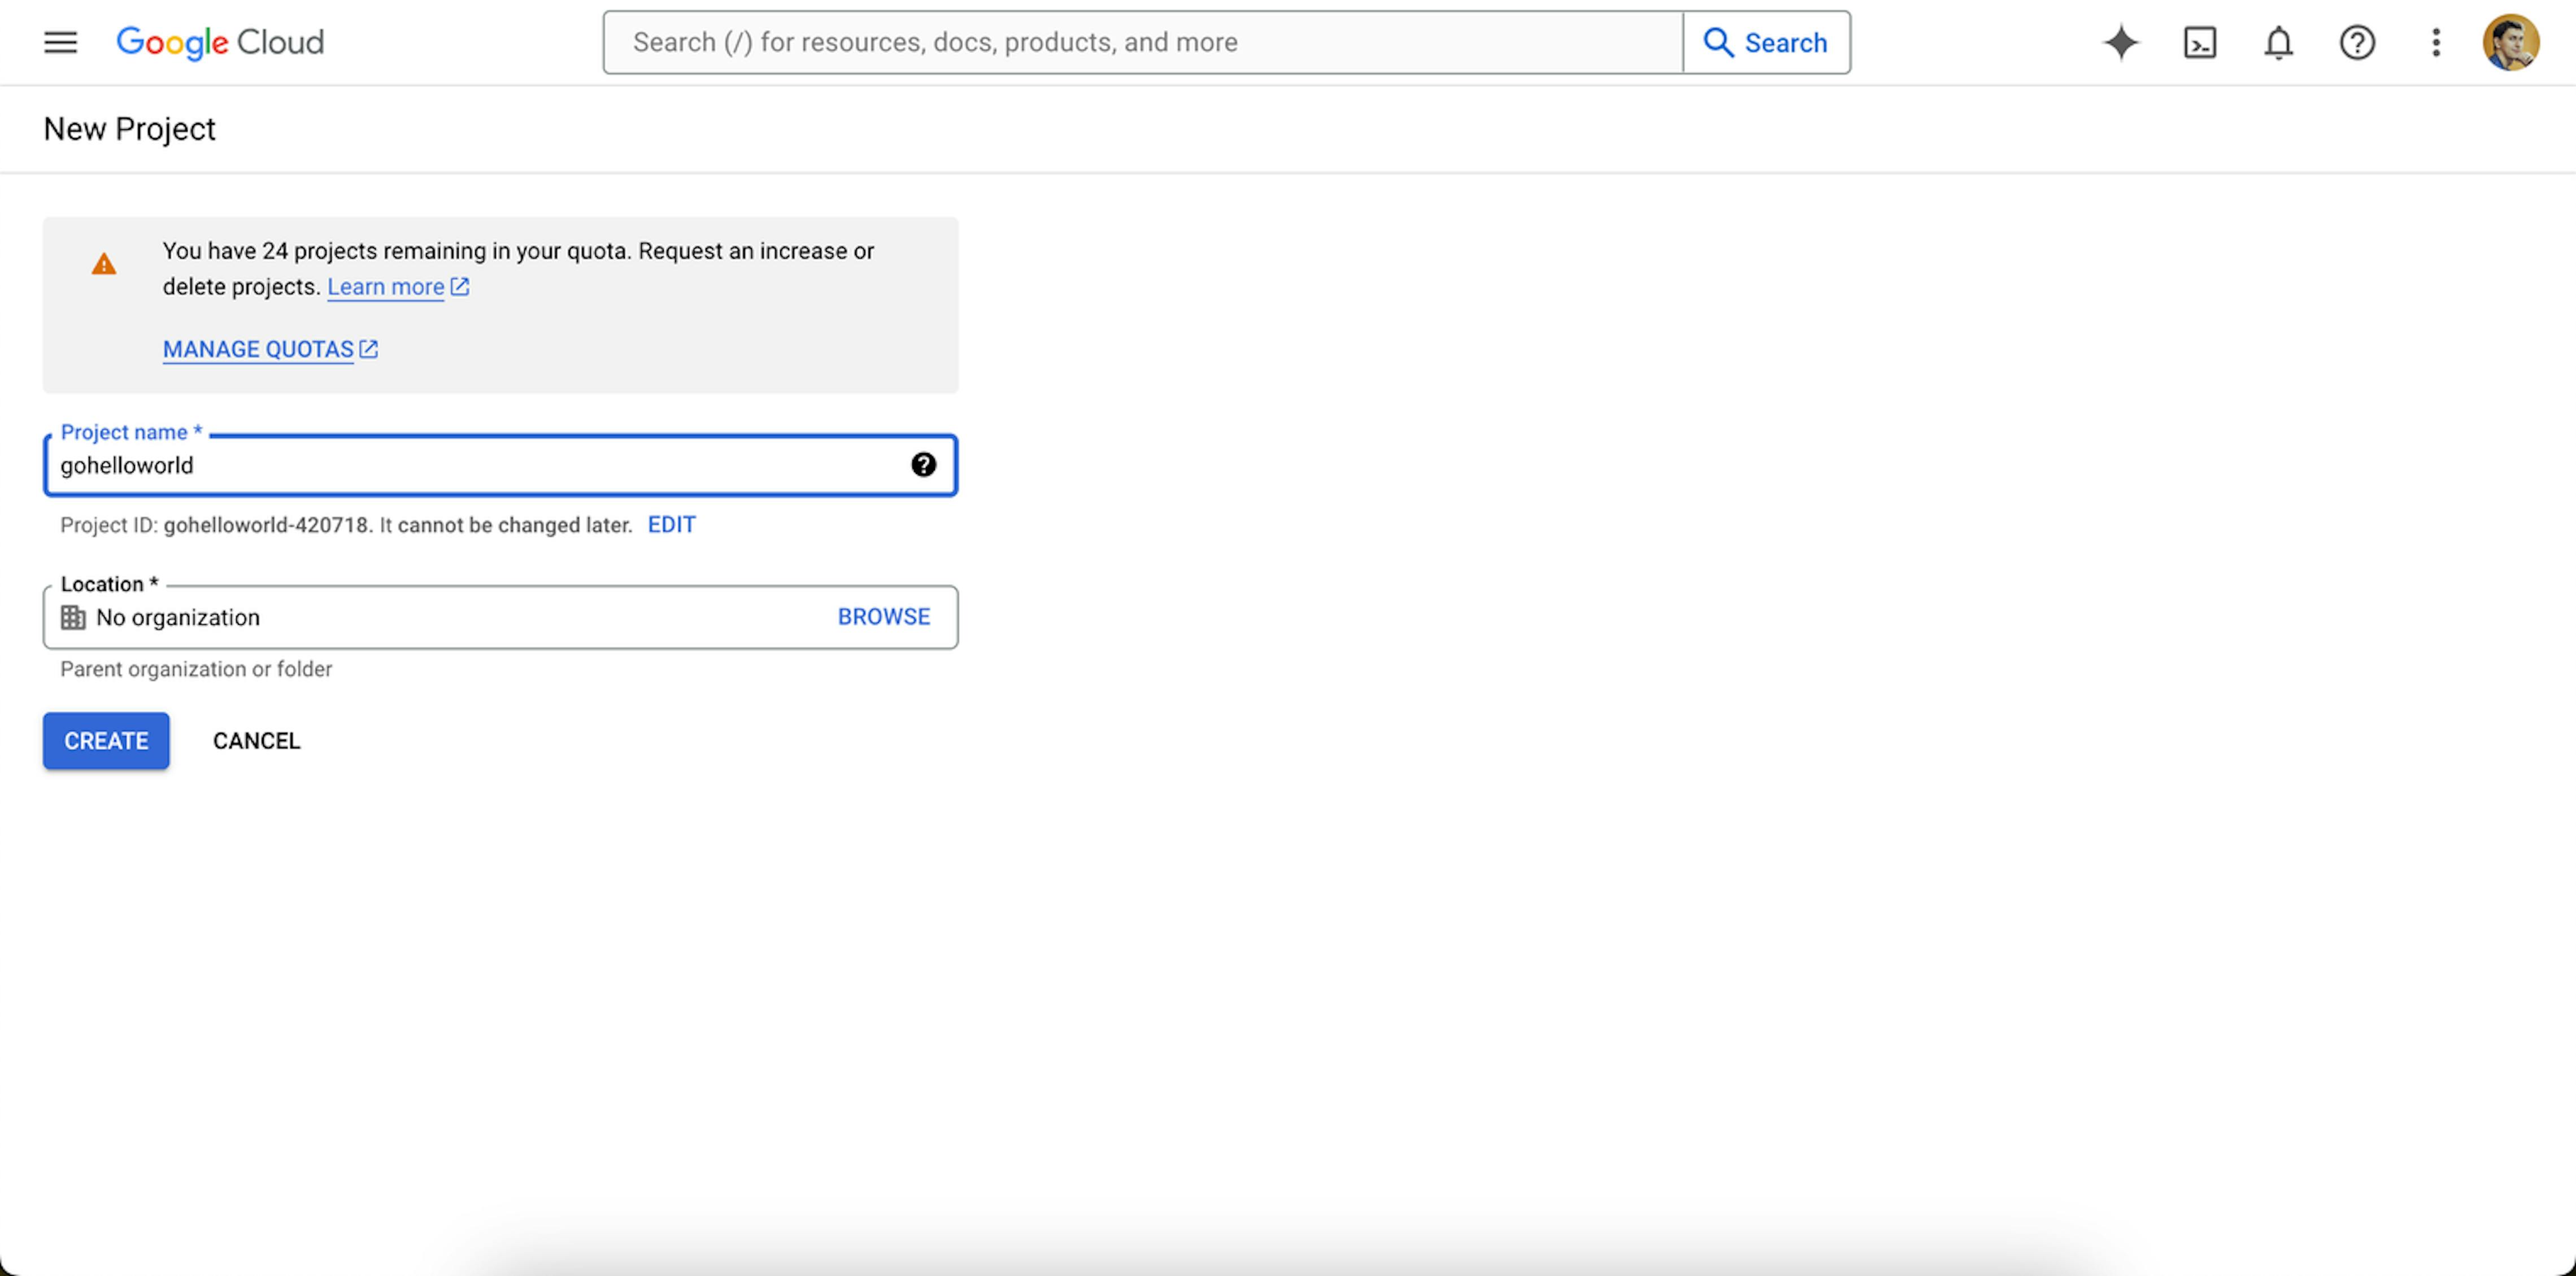
In the Project Name field, write the name of the project. I chose gohelloworld.
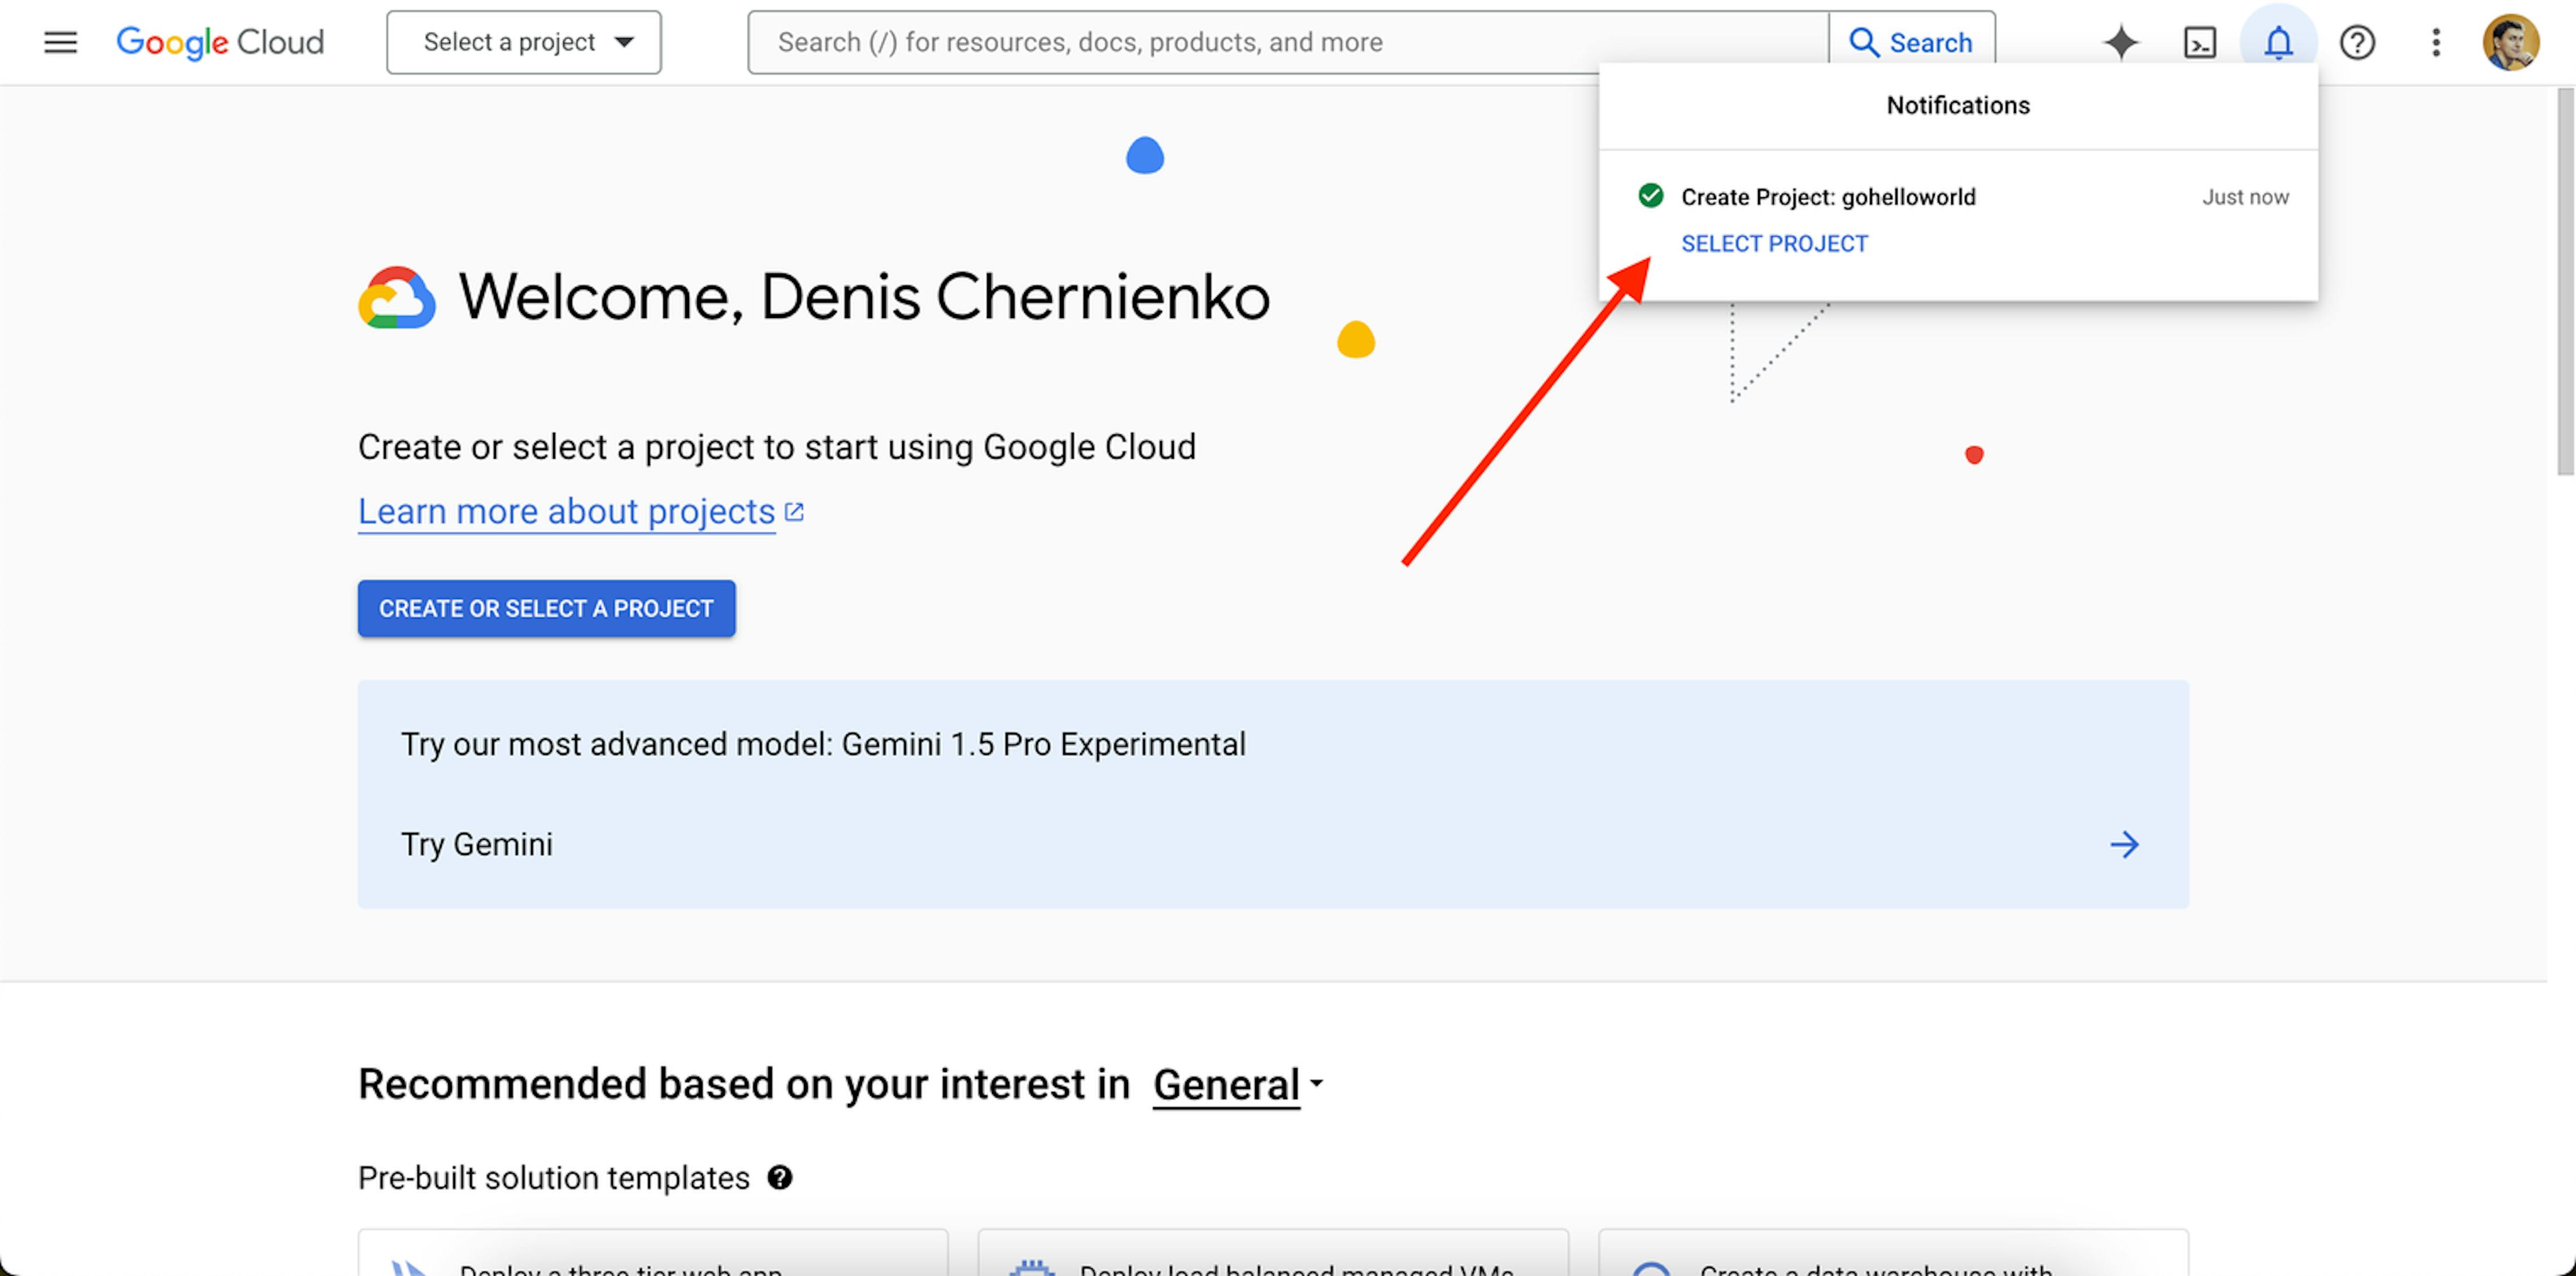
After successfully creating a project, go to the project's page and click SELECT PROJECT.

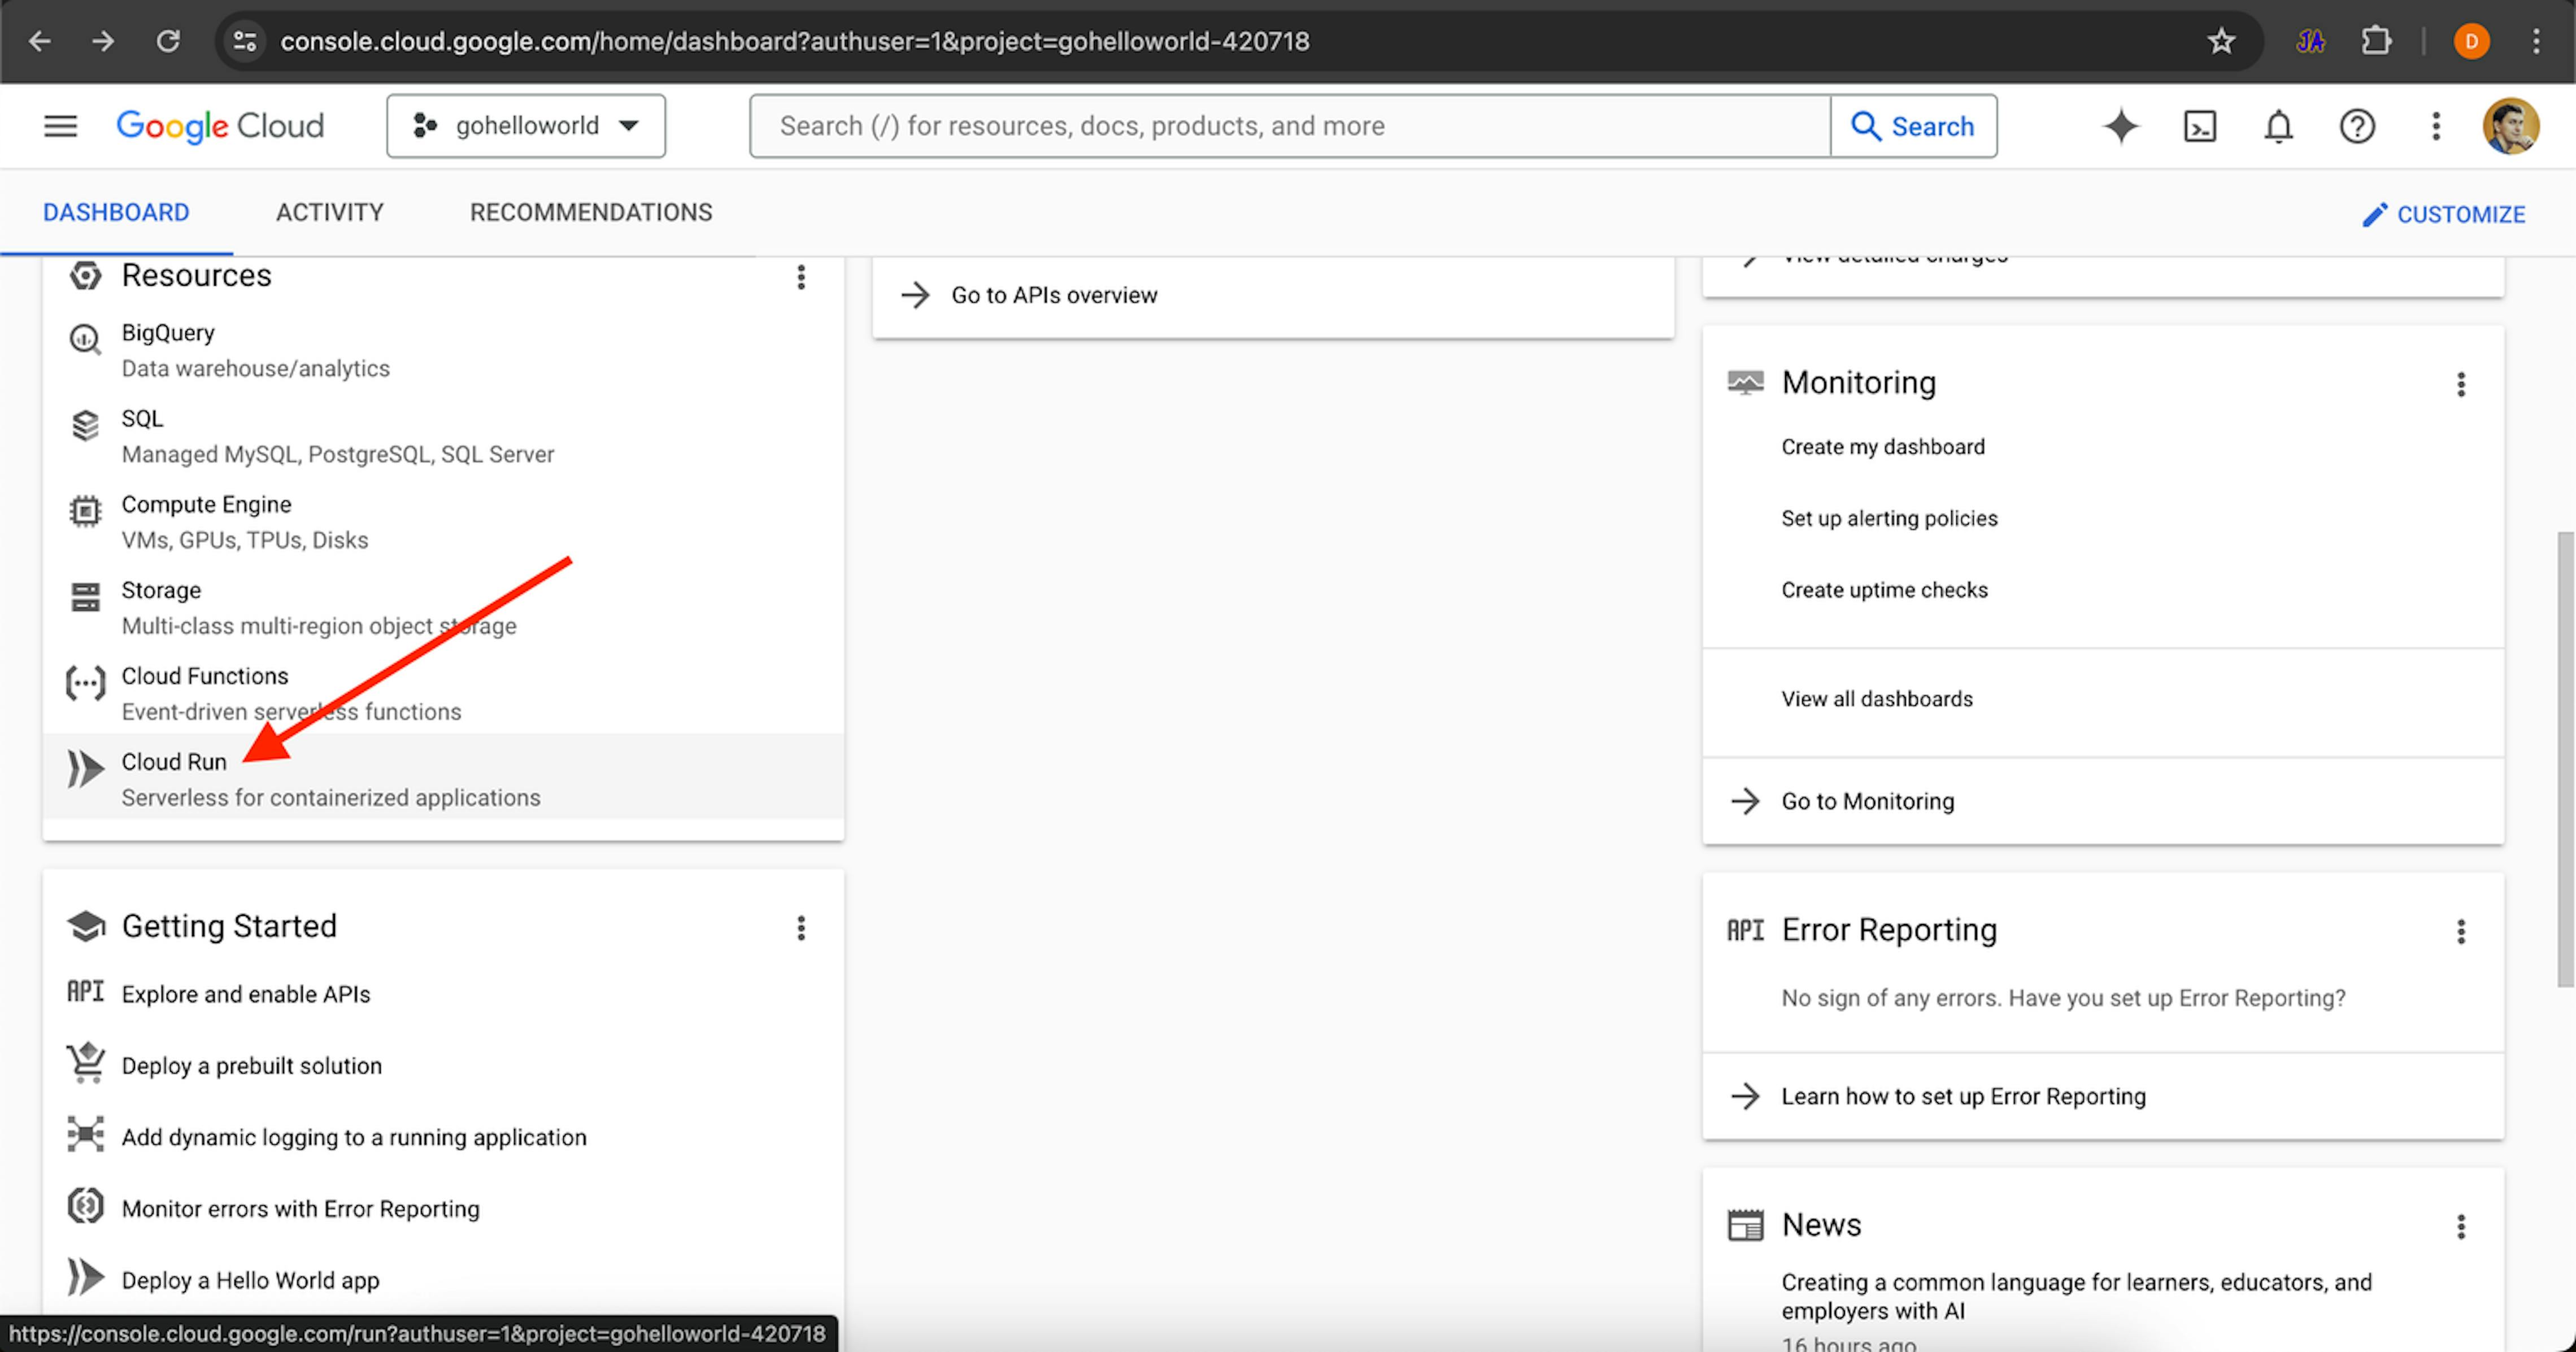
The Dashboard contains general information about the project's current state and the amount of money spent and also offers quick access to resources among other options.
Step 2. Creating a service in Google Cloud Run
Choose Cloud Run on the Resources panel.
Click CREATE SERVICE
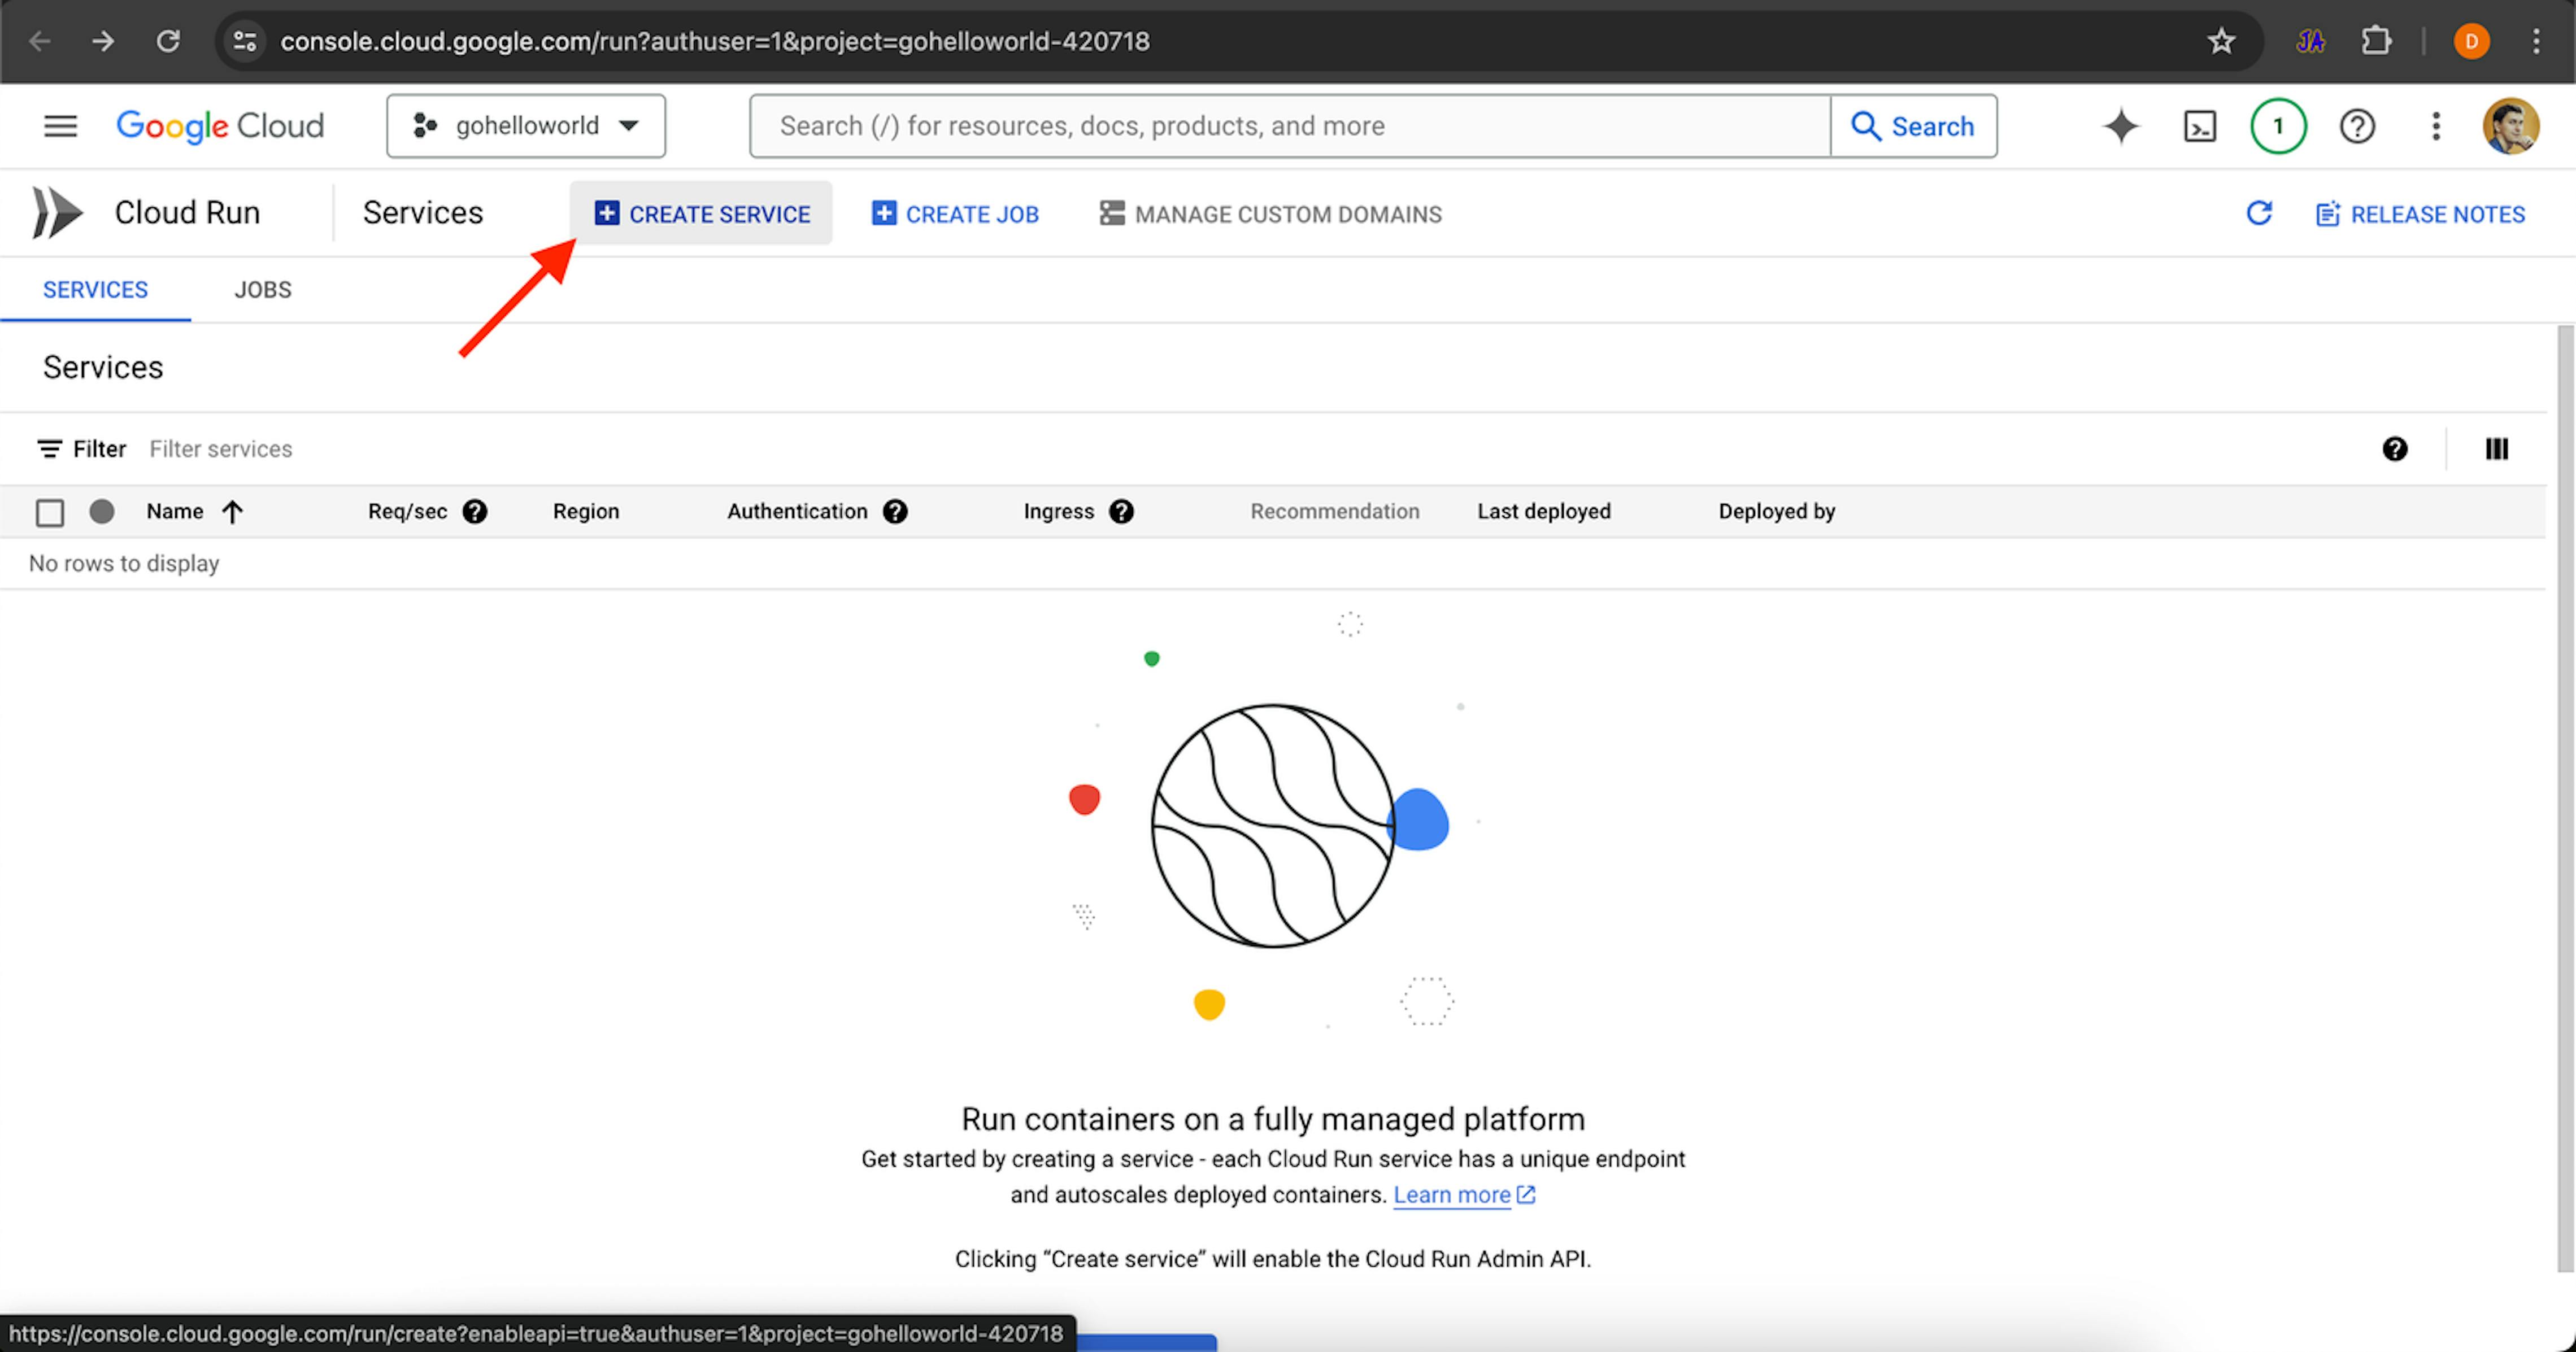
Cloud Run can launch the earlier versions or create versions from source code on GitHub using Cloud Build. The second option seems easier to me since it doesn't require you to create an additional version each time you make changes to the project. Cloud Build does it for us.
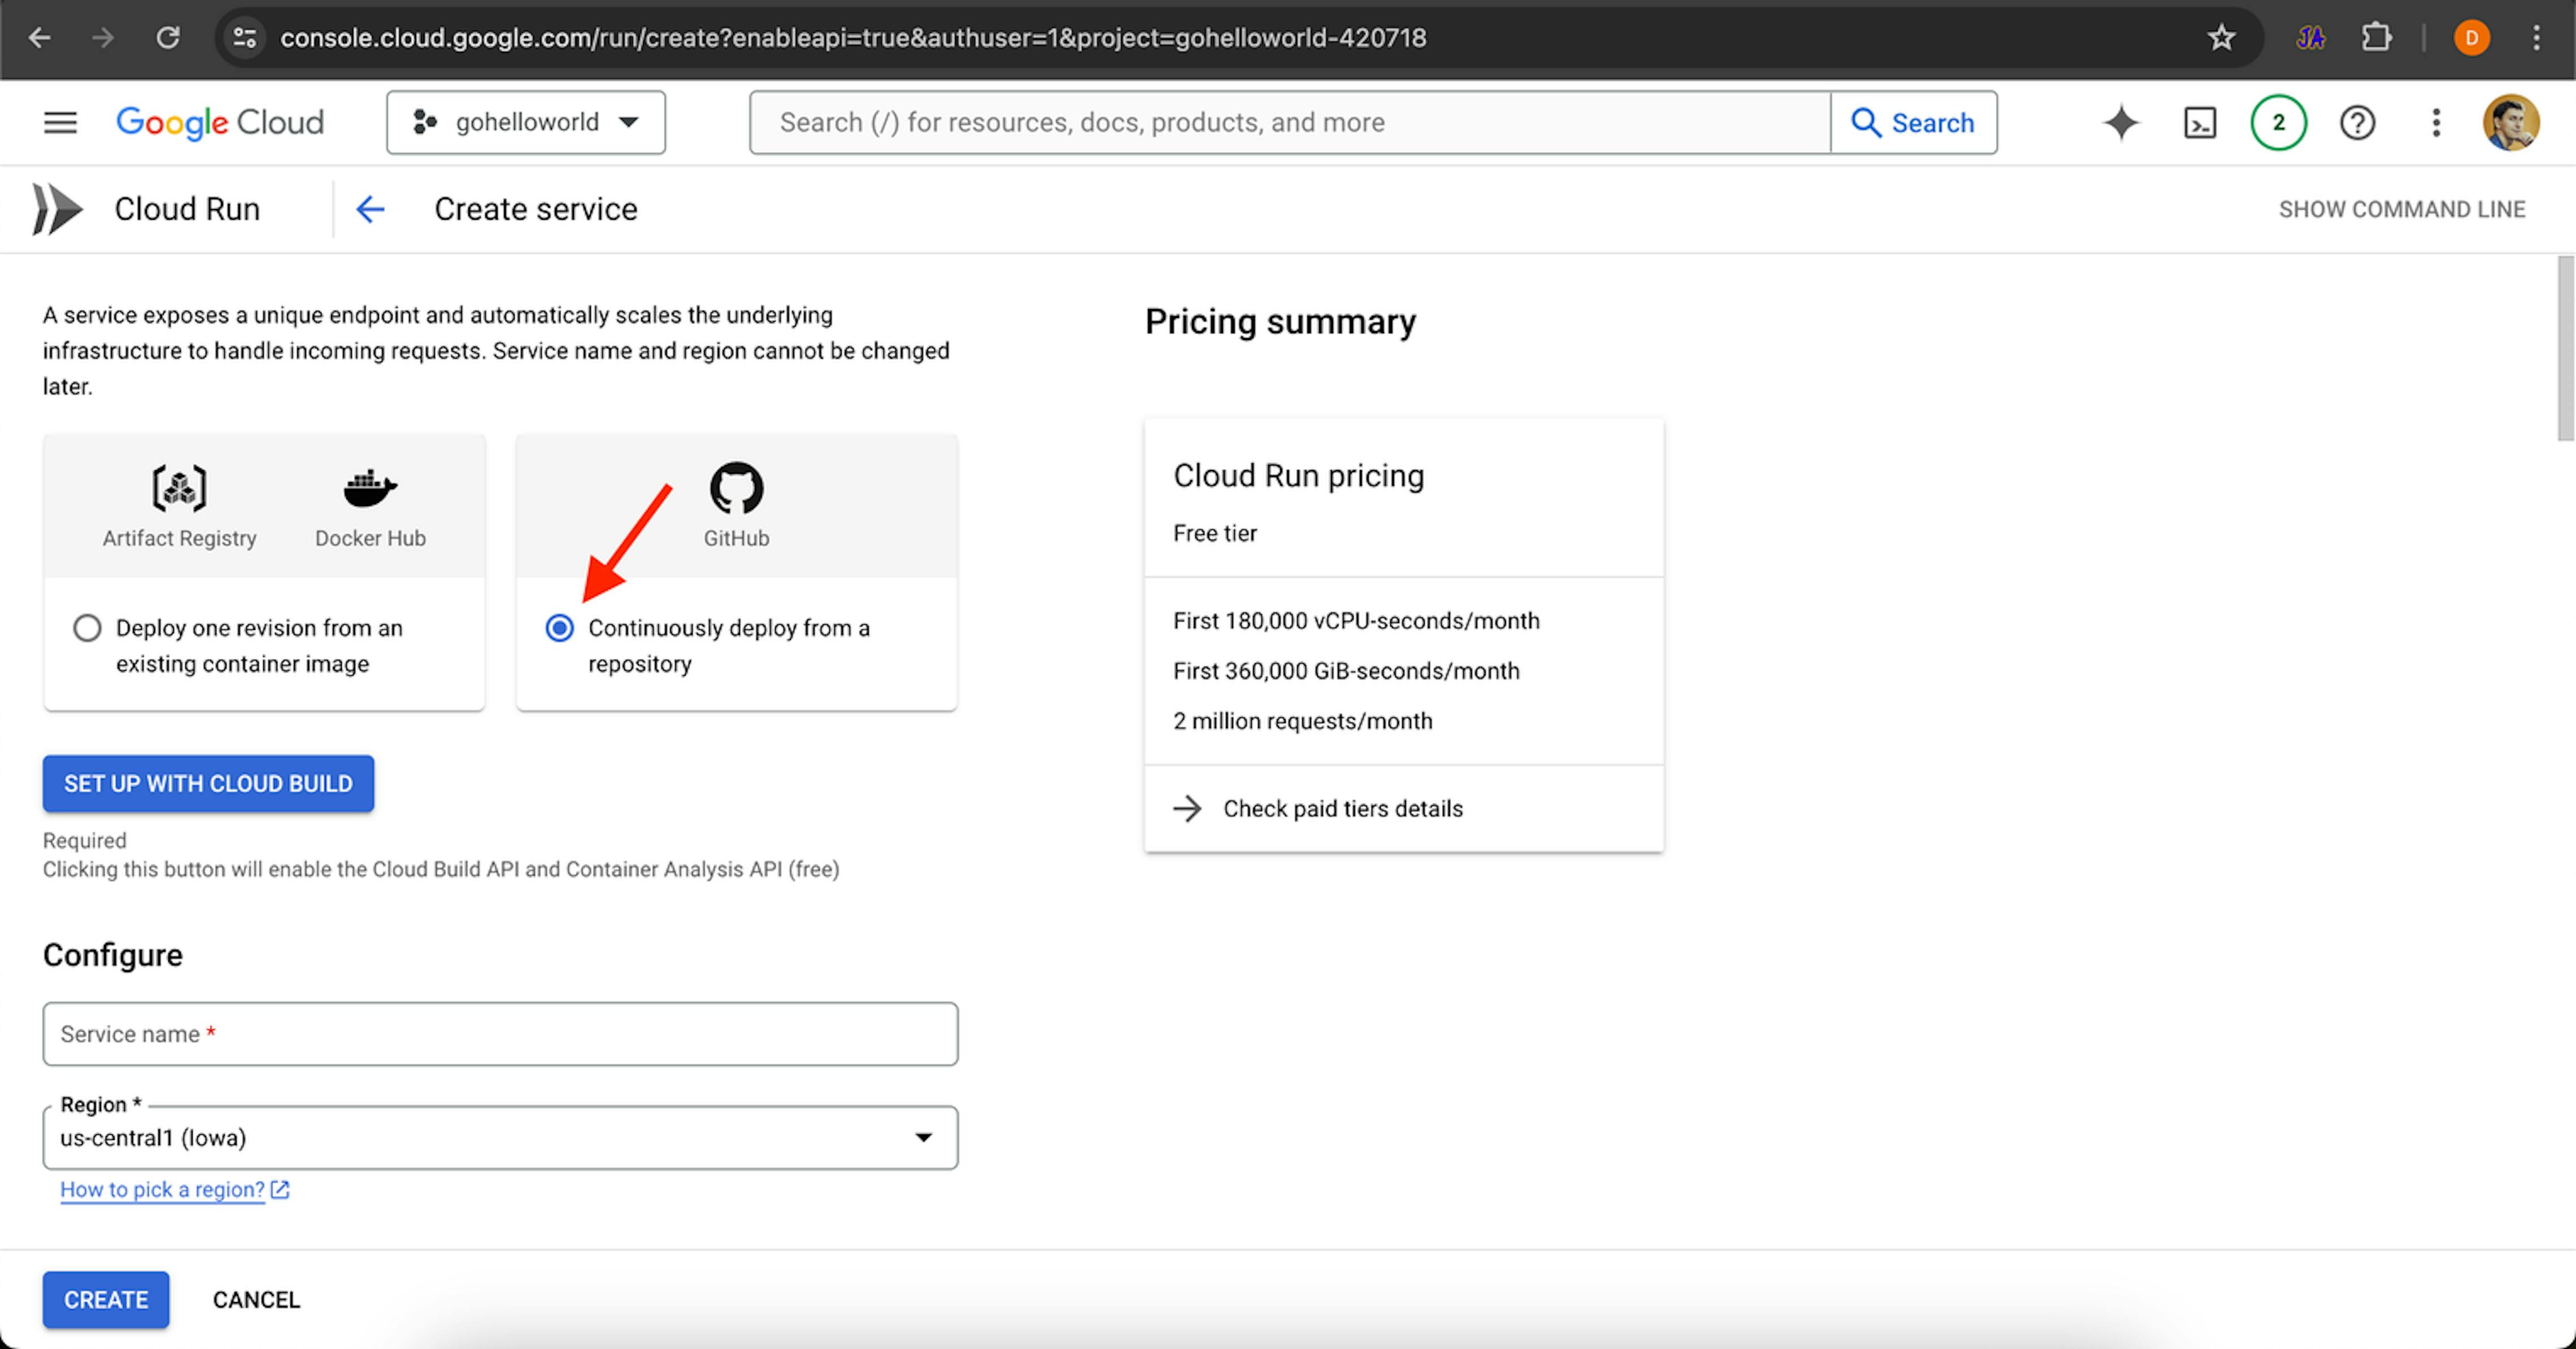
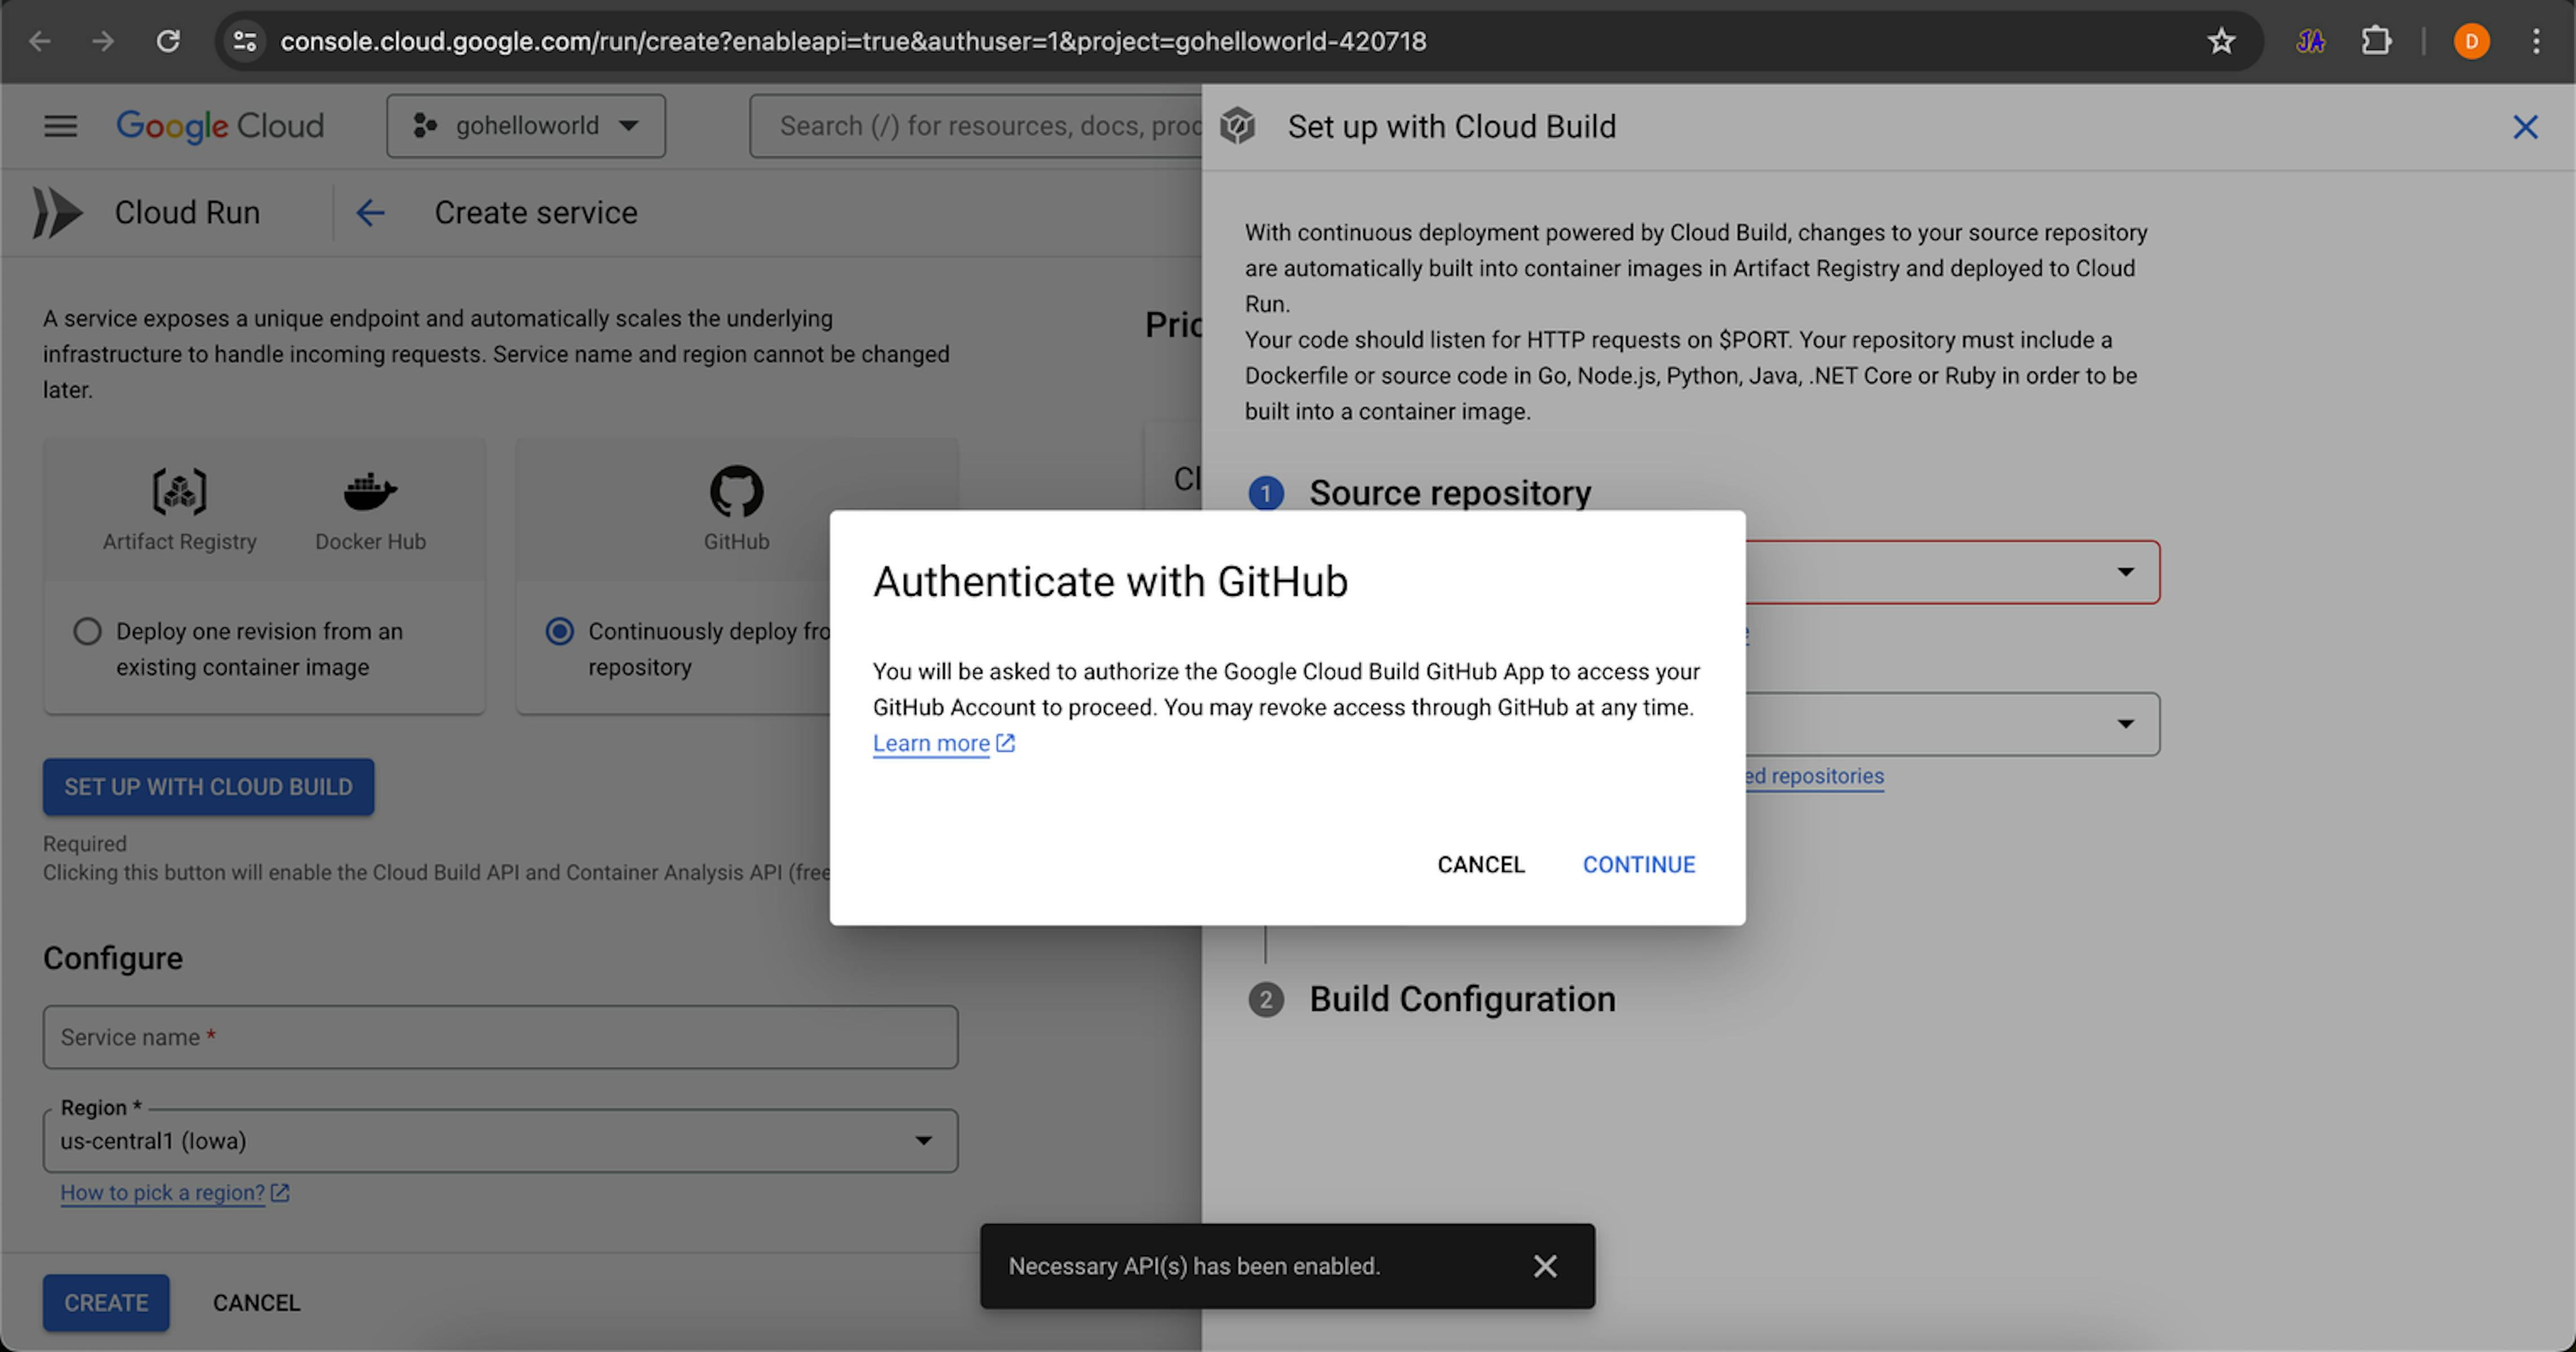
Click SET UP WITH CLOUD BUILD, and a window appears to set up the connection between our GitHub repository and Cloud Run. If we see the message Currently not authenticated under the Repository Provider field, we need to follow the Authenticate link. We do this so that Google Cloud has access to our GitHub repositories.
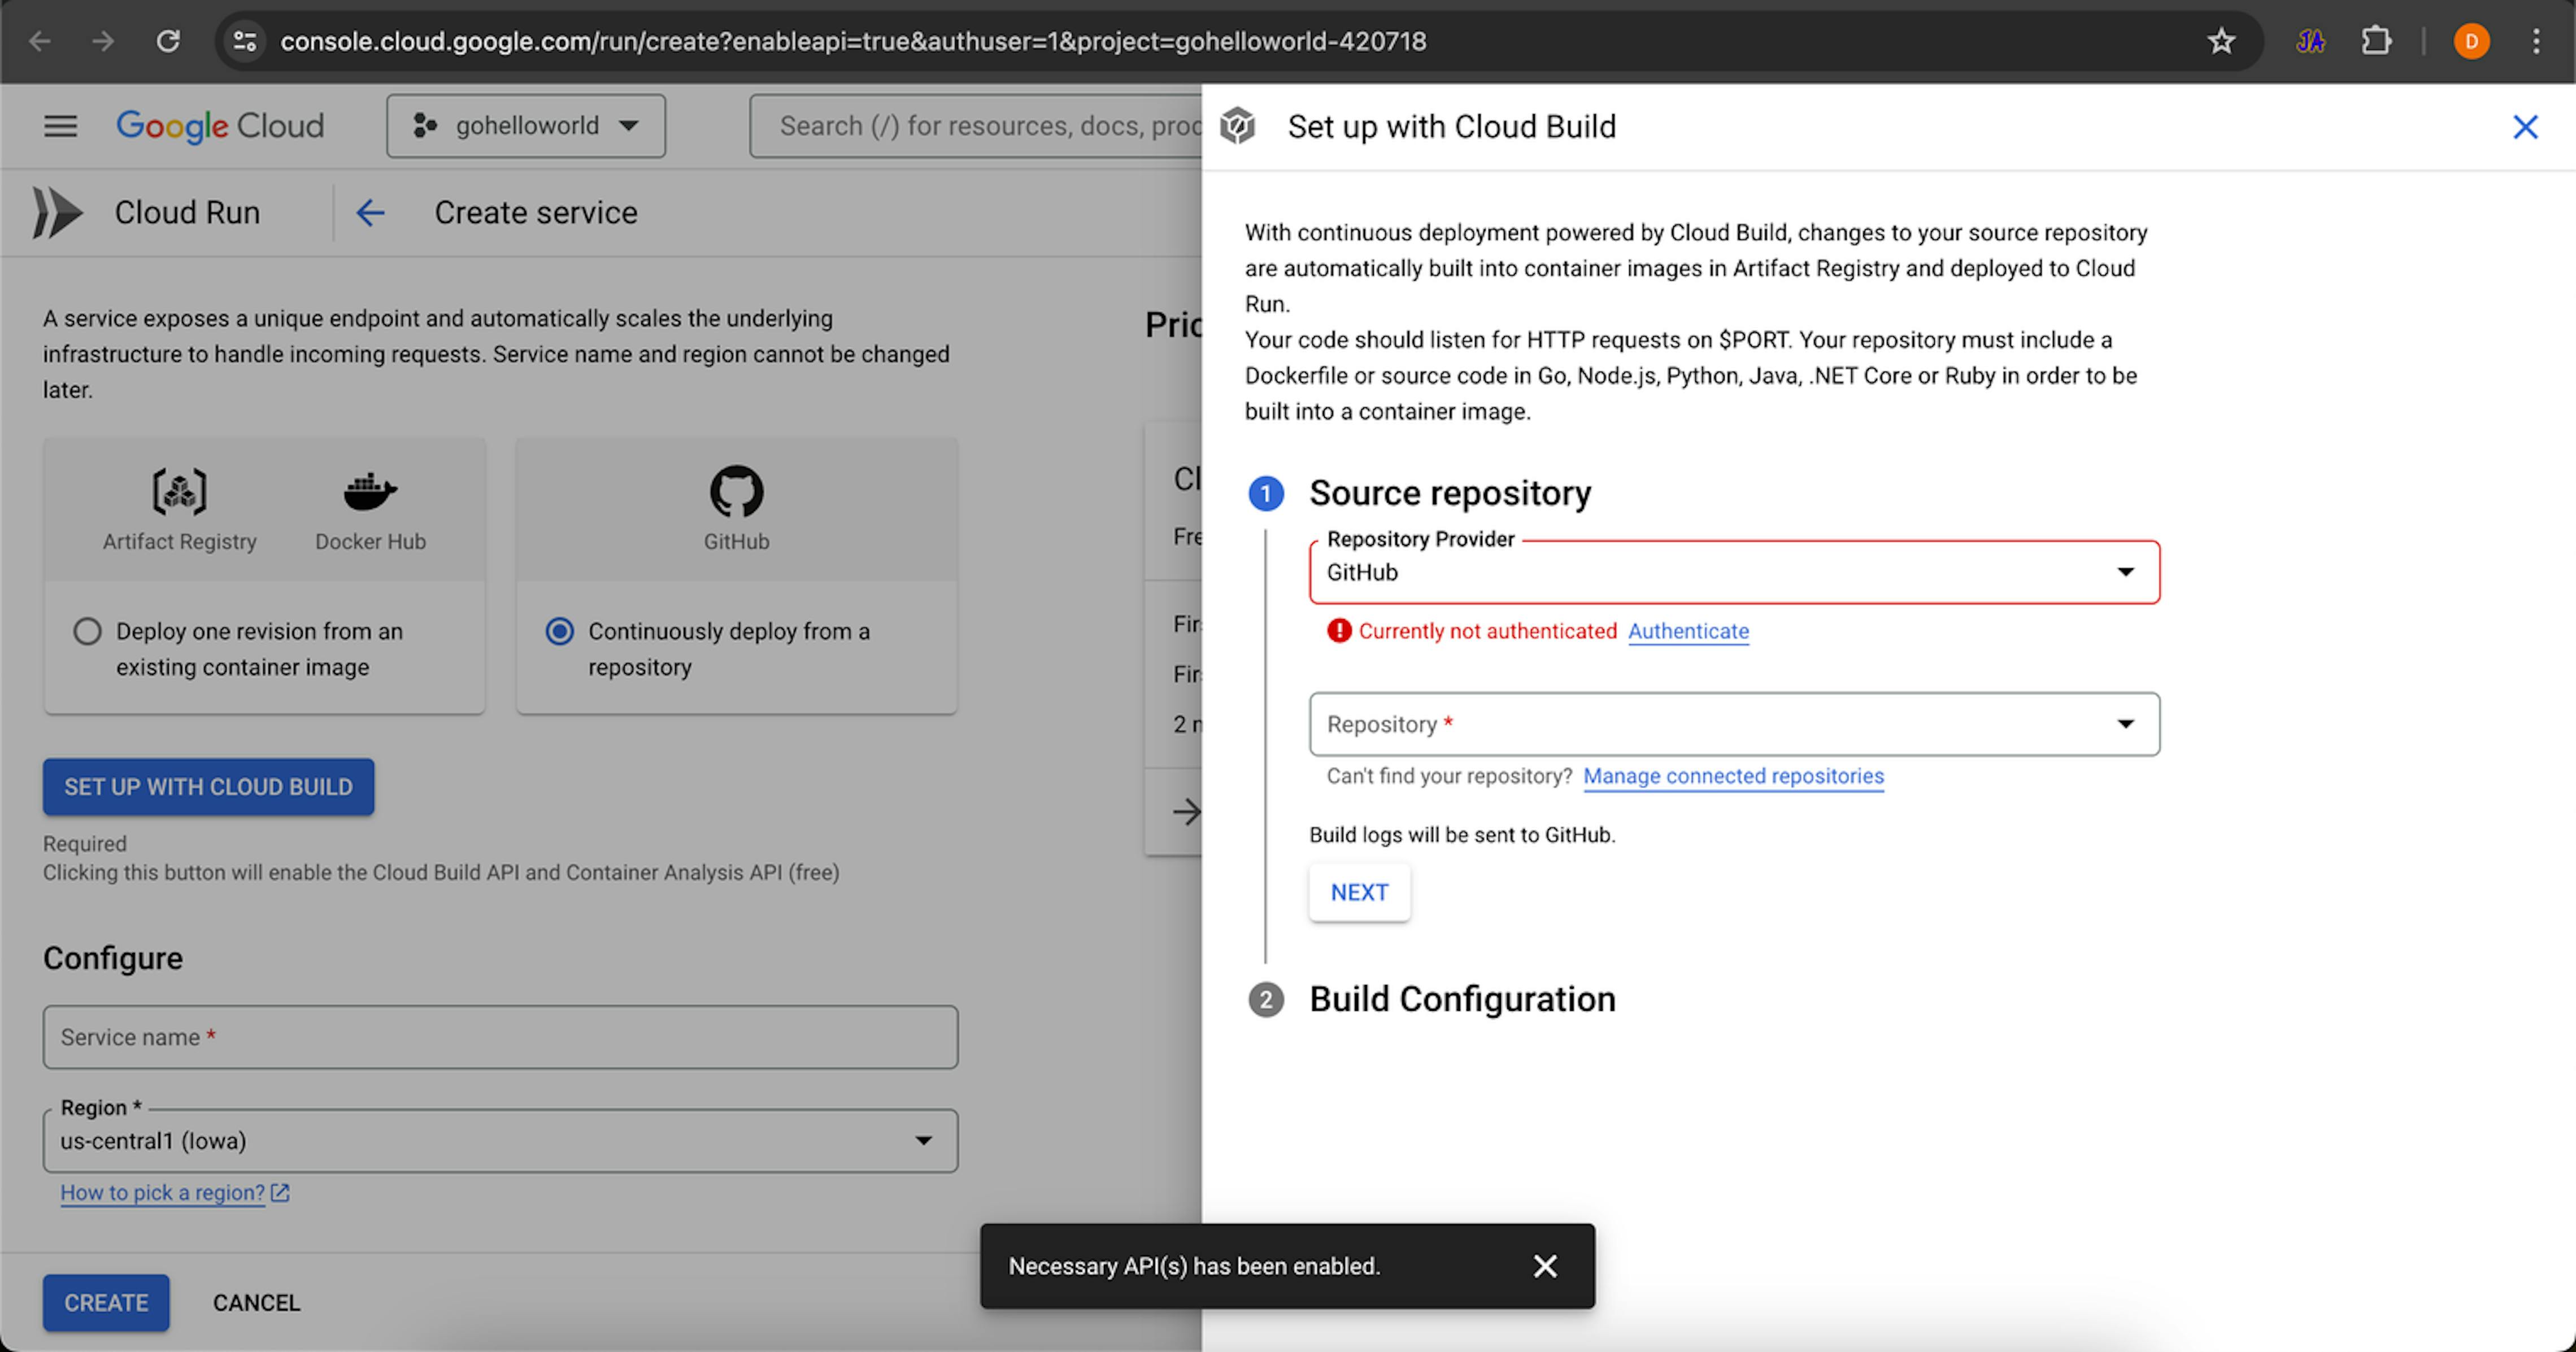
Then, click Authenticate → CONTINUE and follow the instructions in the next windows.
After successfully logging into GitHub, you need to install Google Cloud Build.
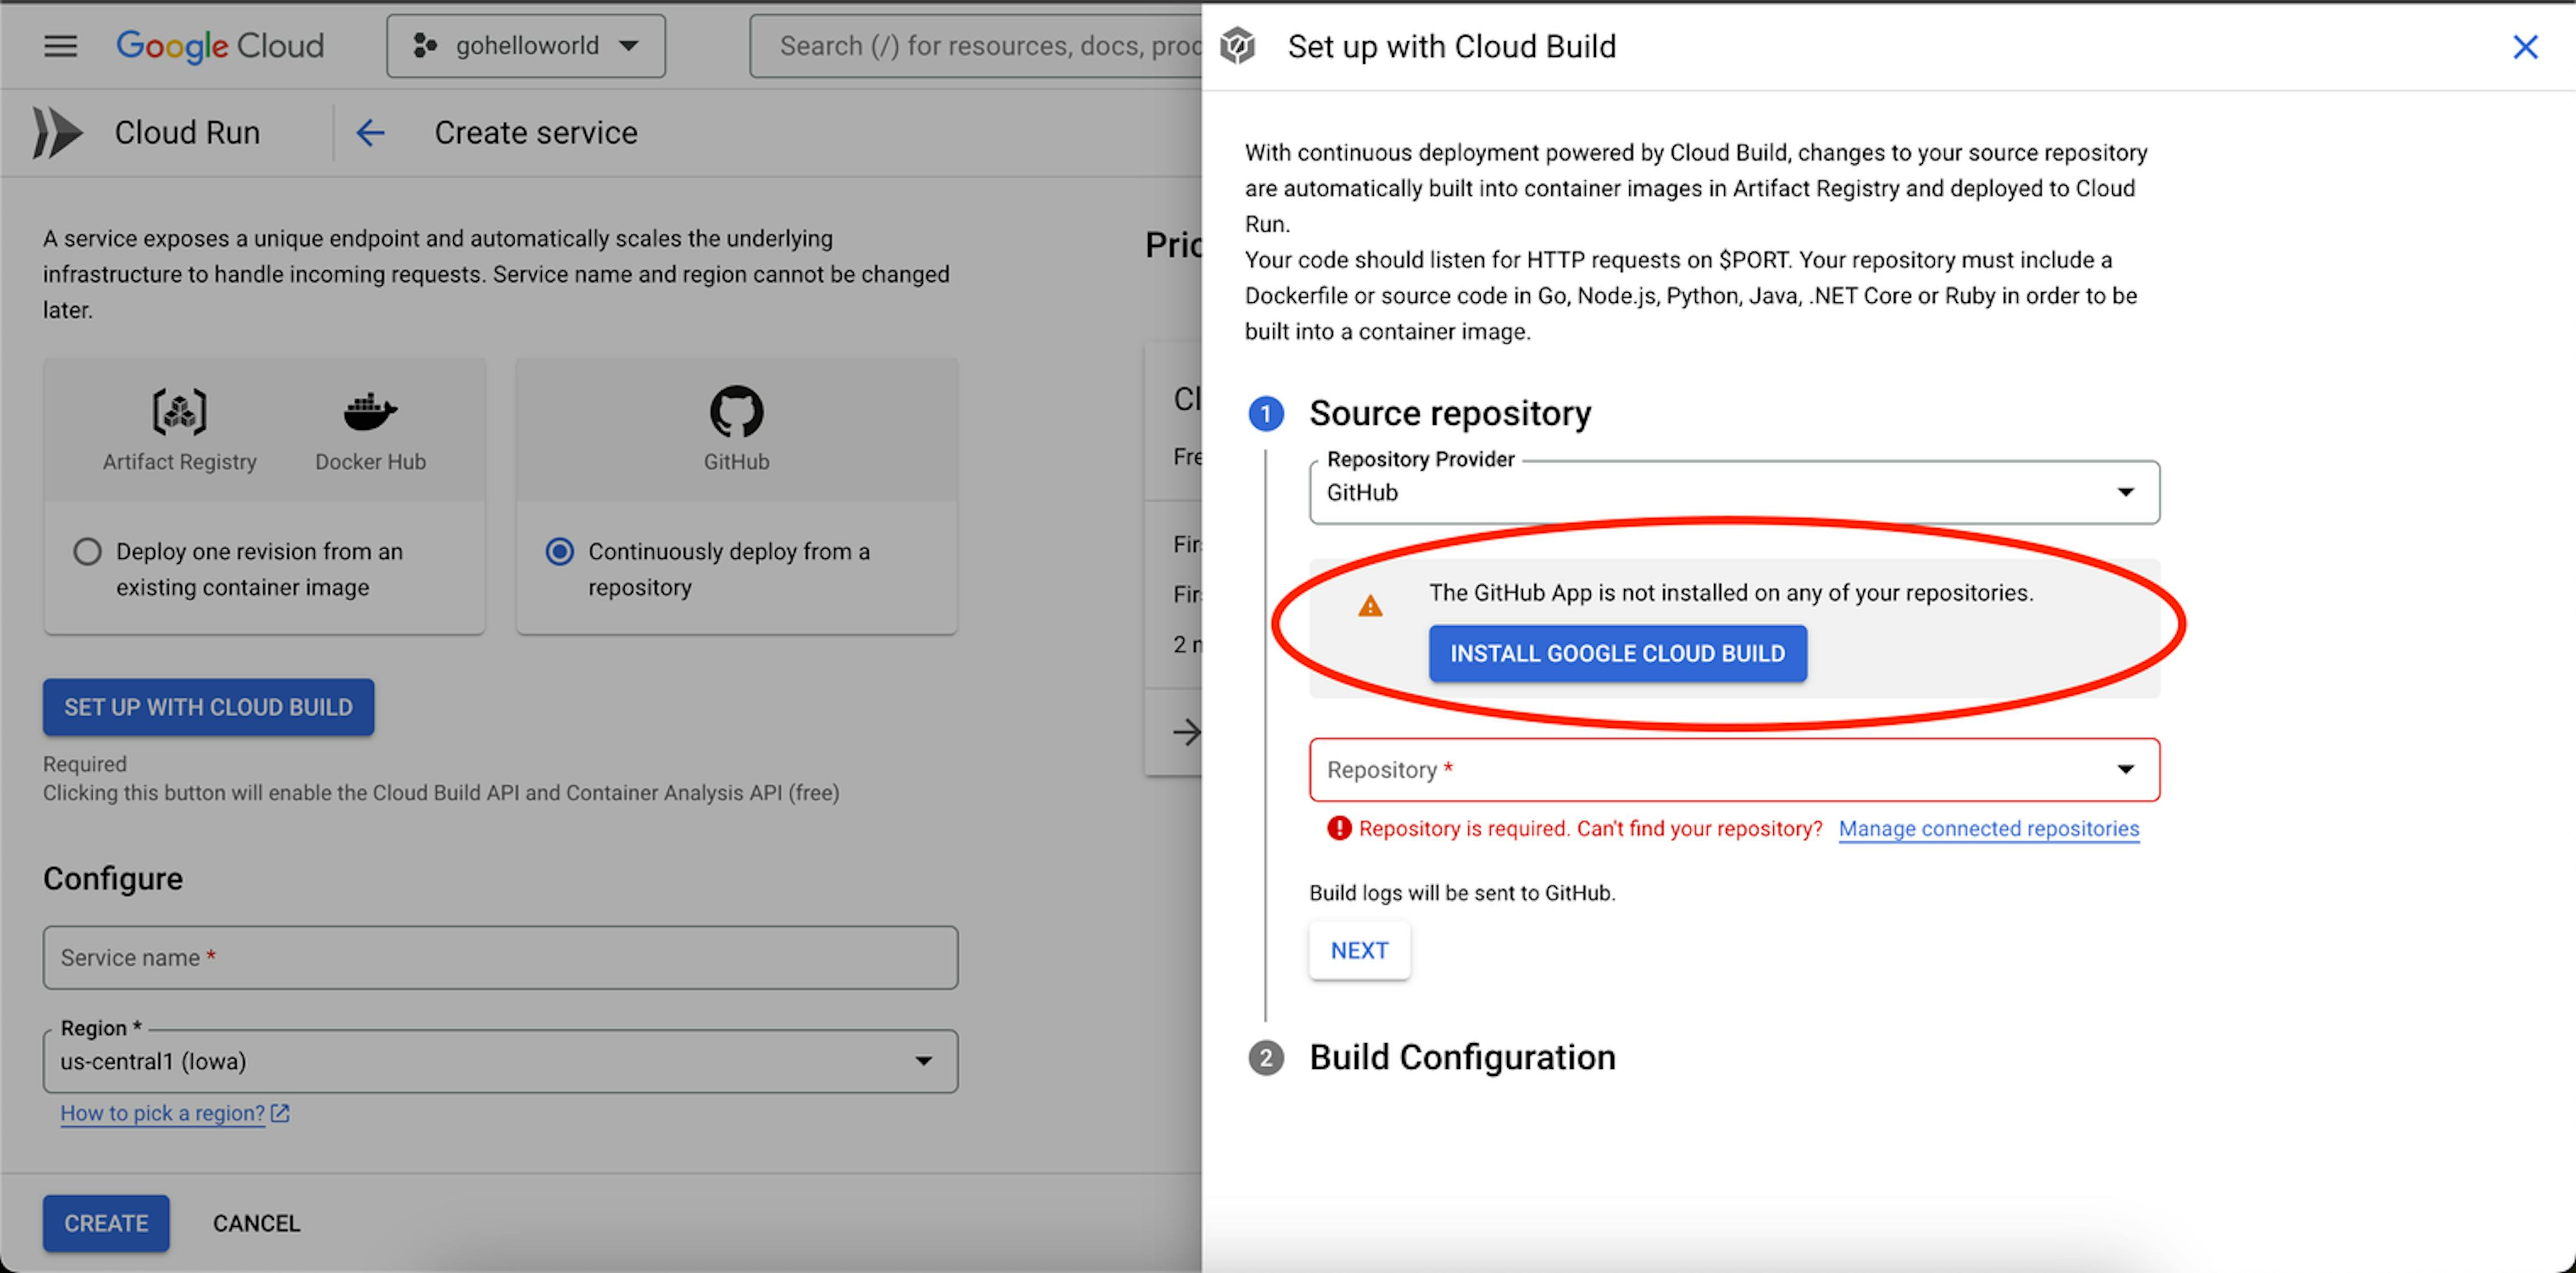
The next step is to create a repository in GitHub.
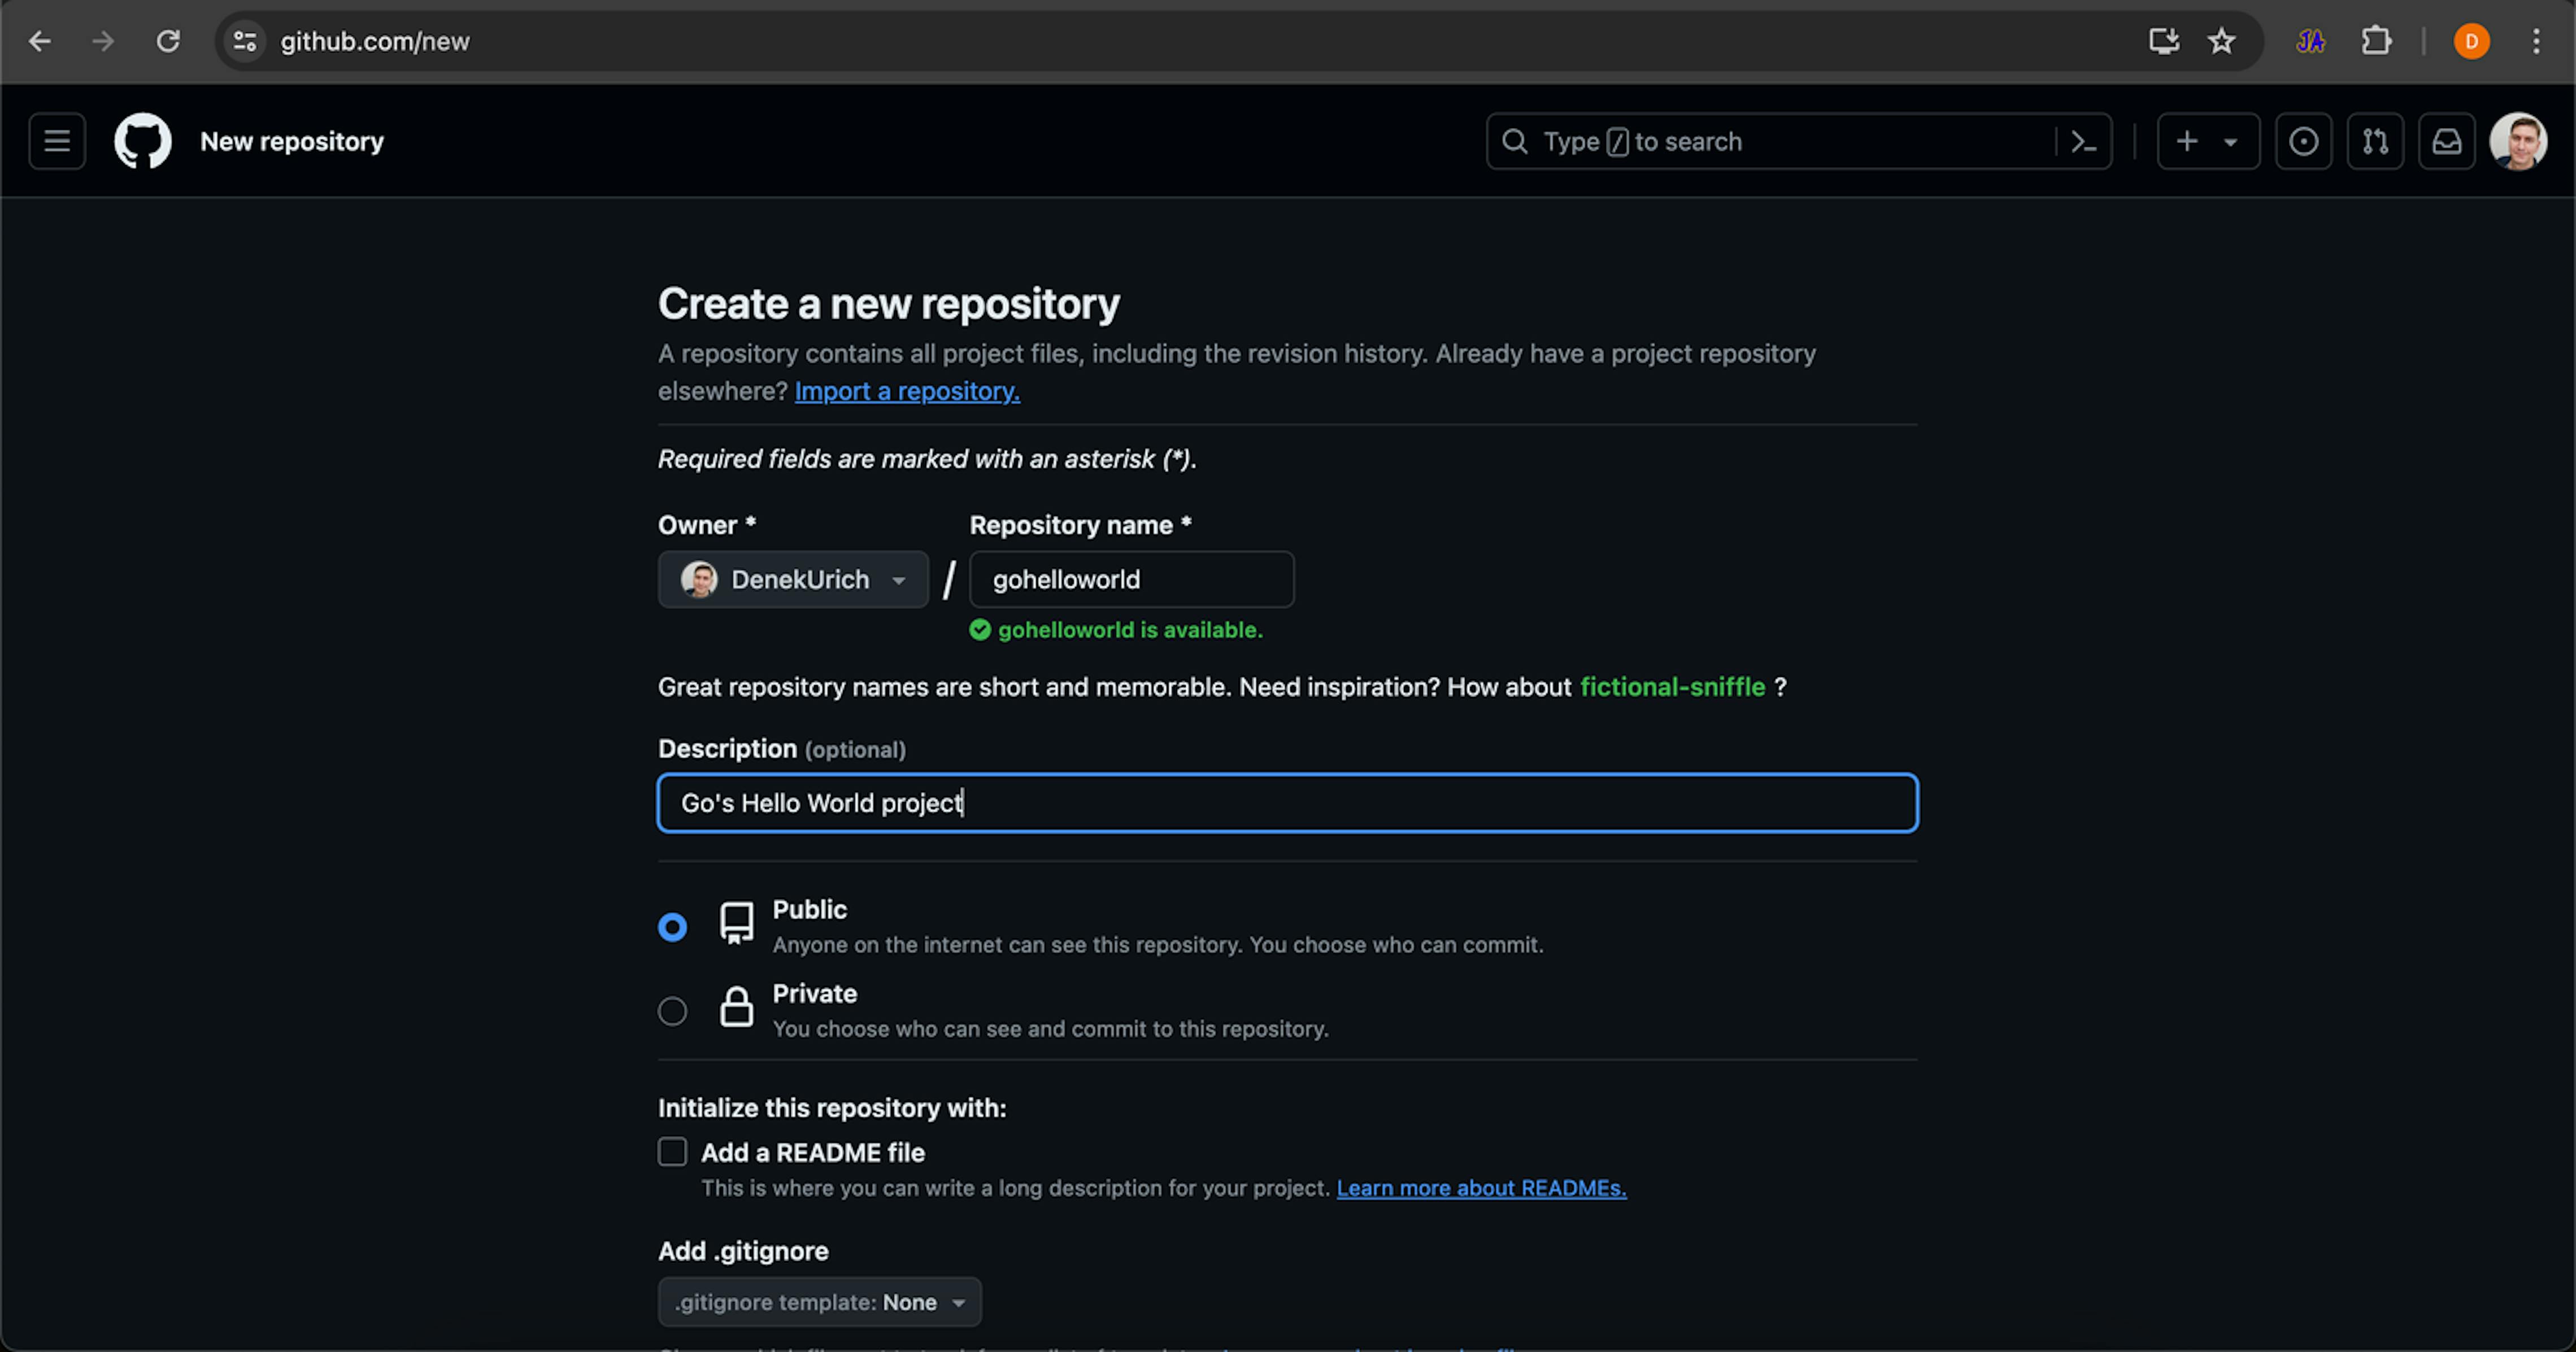
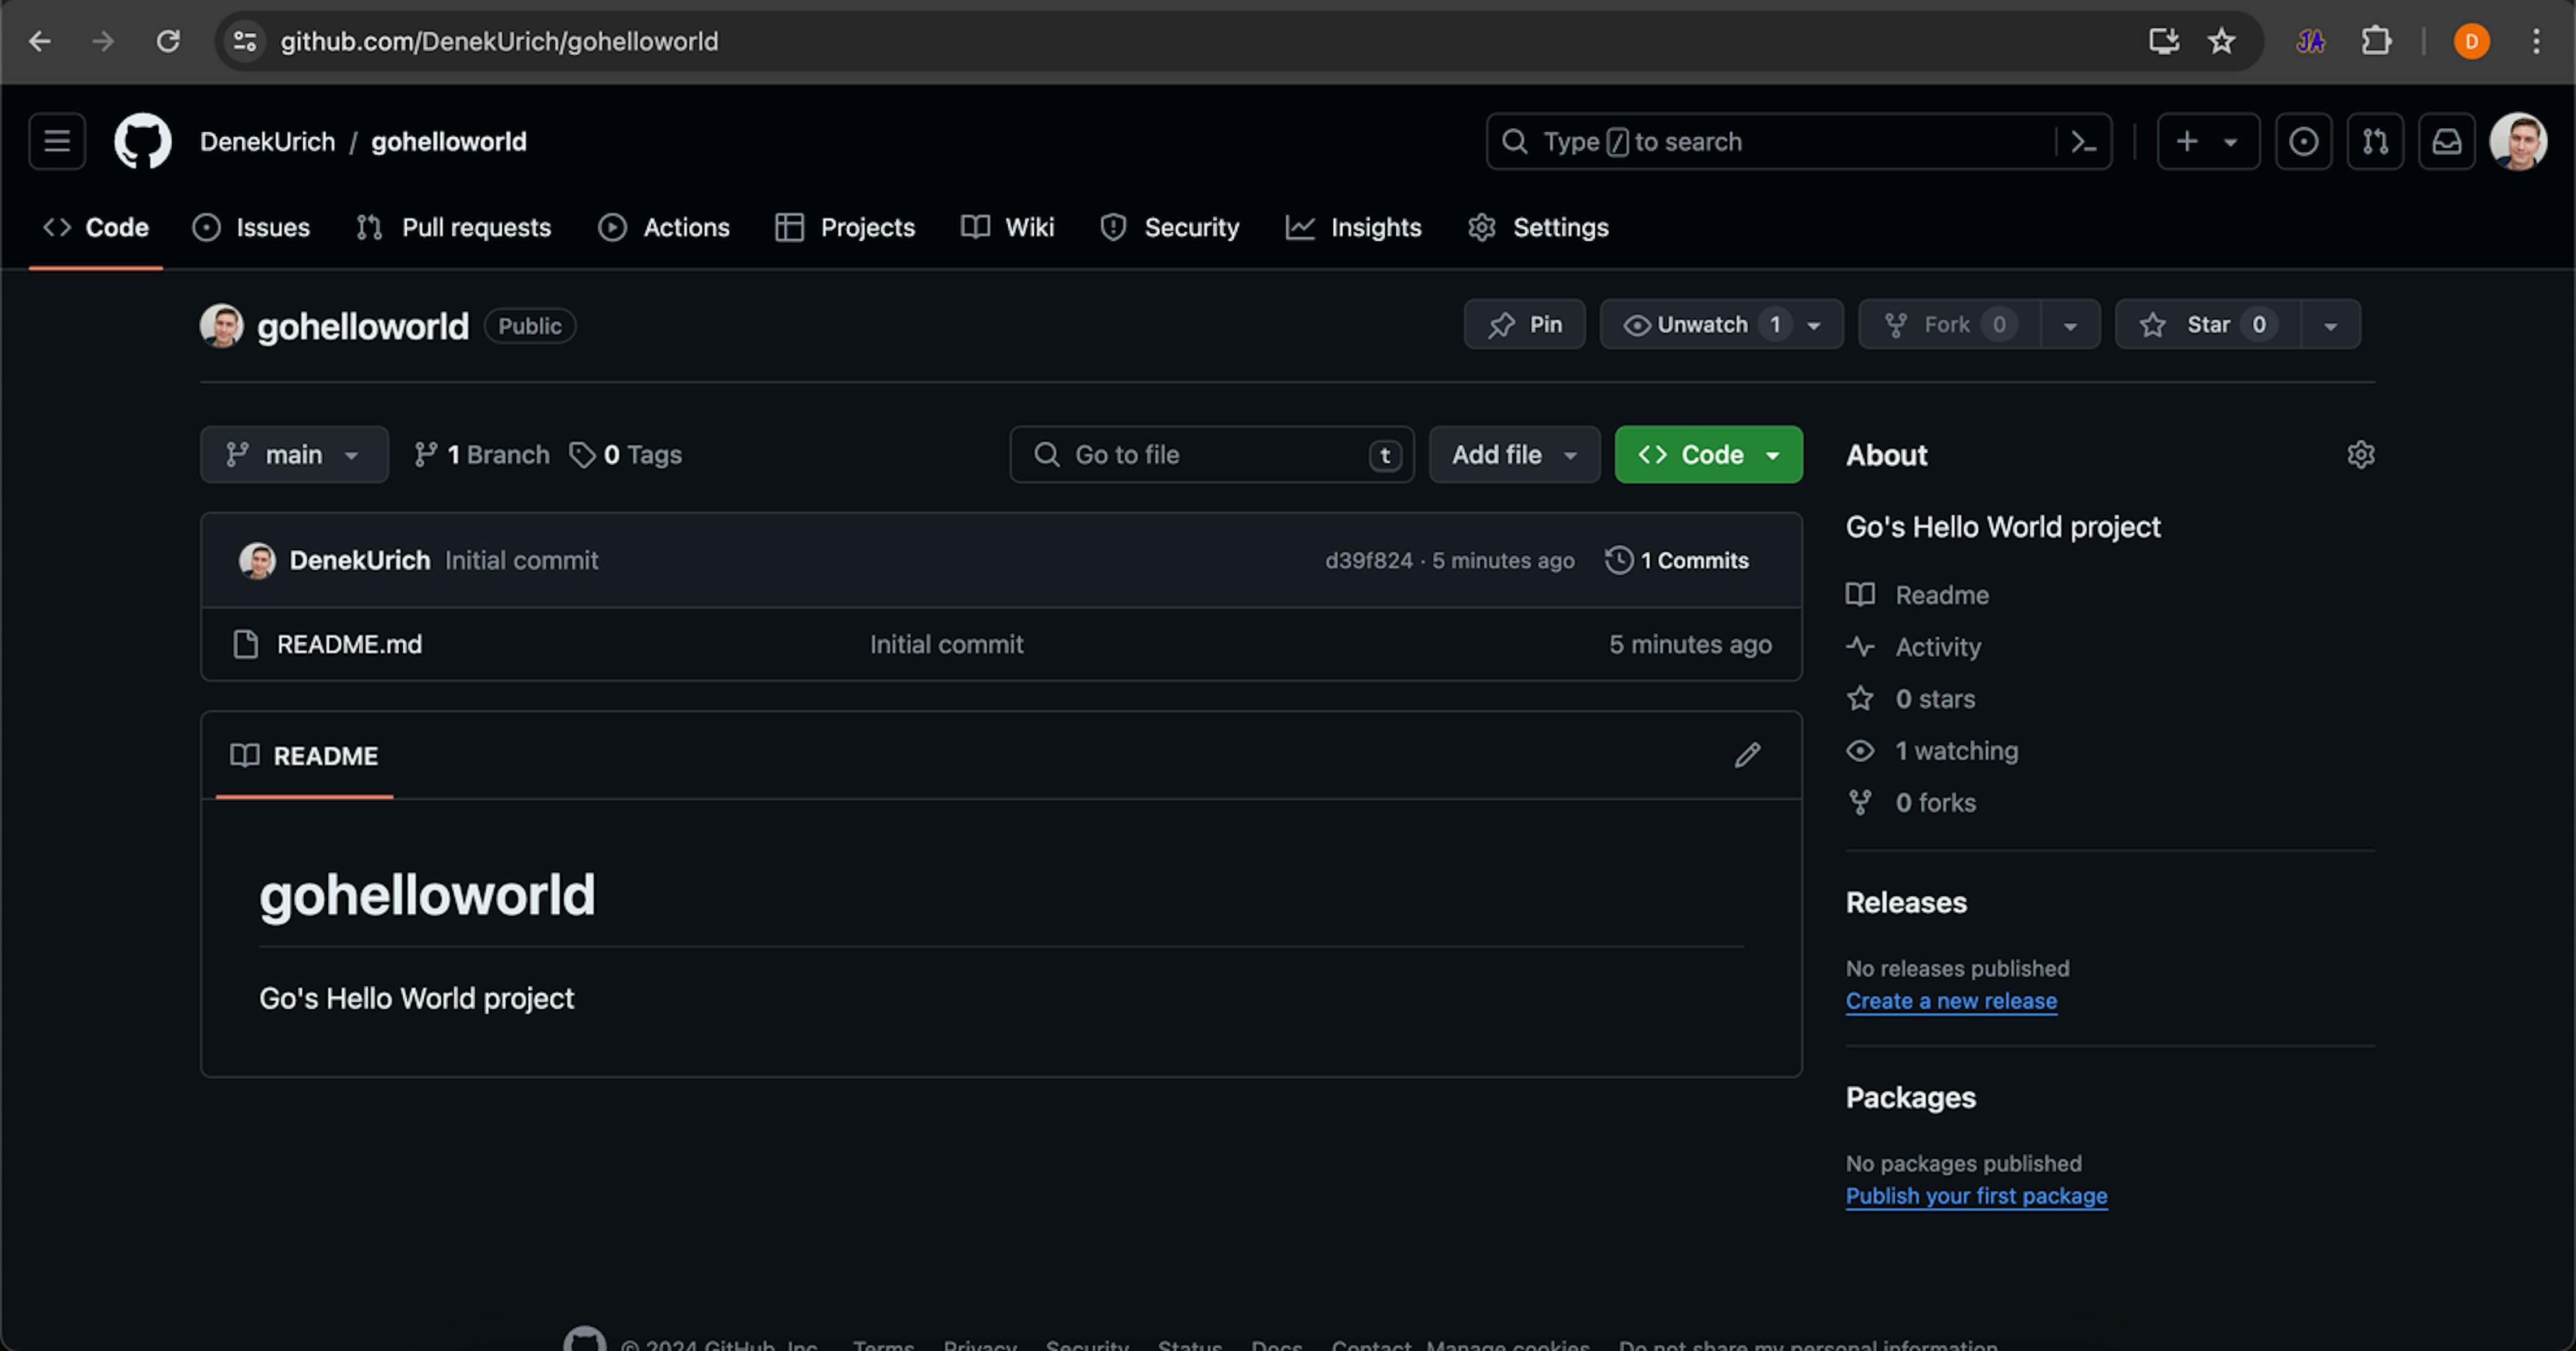
Clone the repo you made. This repo has been checked and will work in our example: https://github.com/DenekUrich/gohelloworld.
Let's return to the Set up with Cloud Build windows and press F5. If we've done everything correctly, then our new repo, DenekUrich/gohelloworld, should now be available.
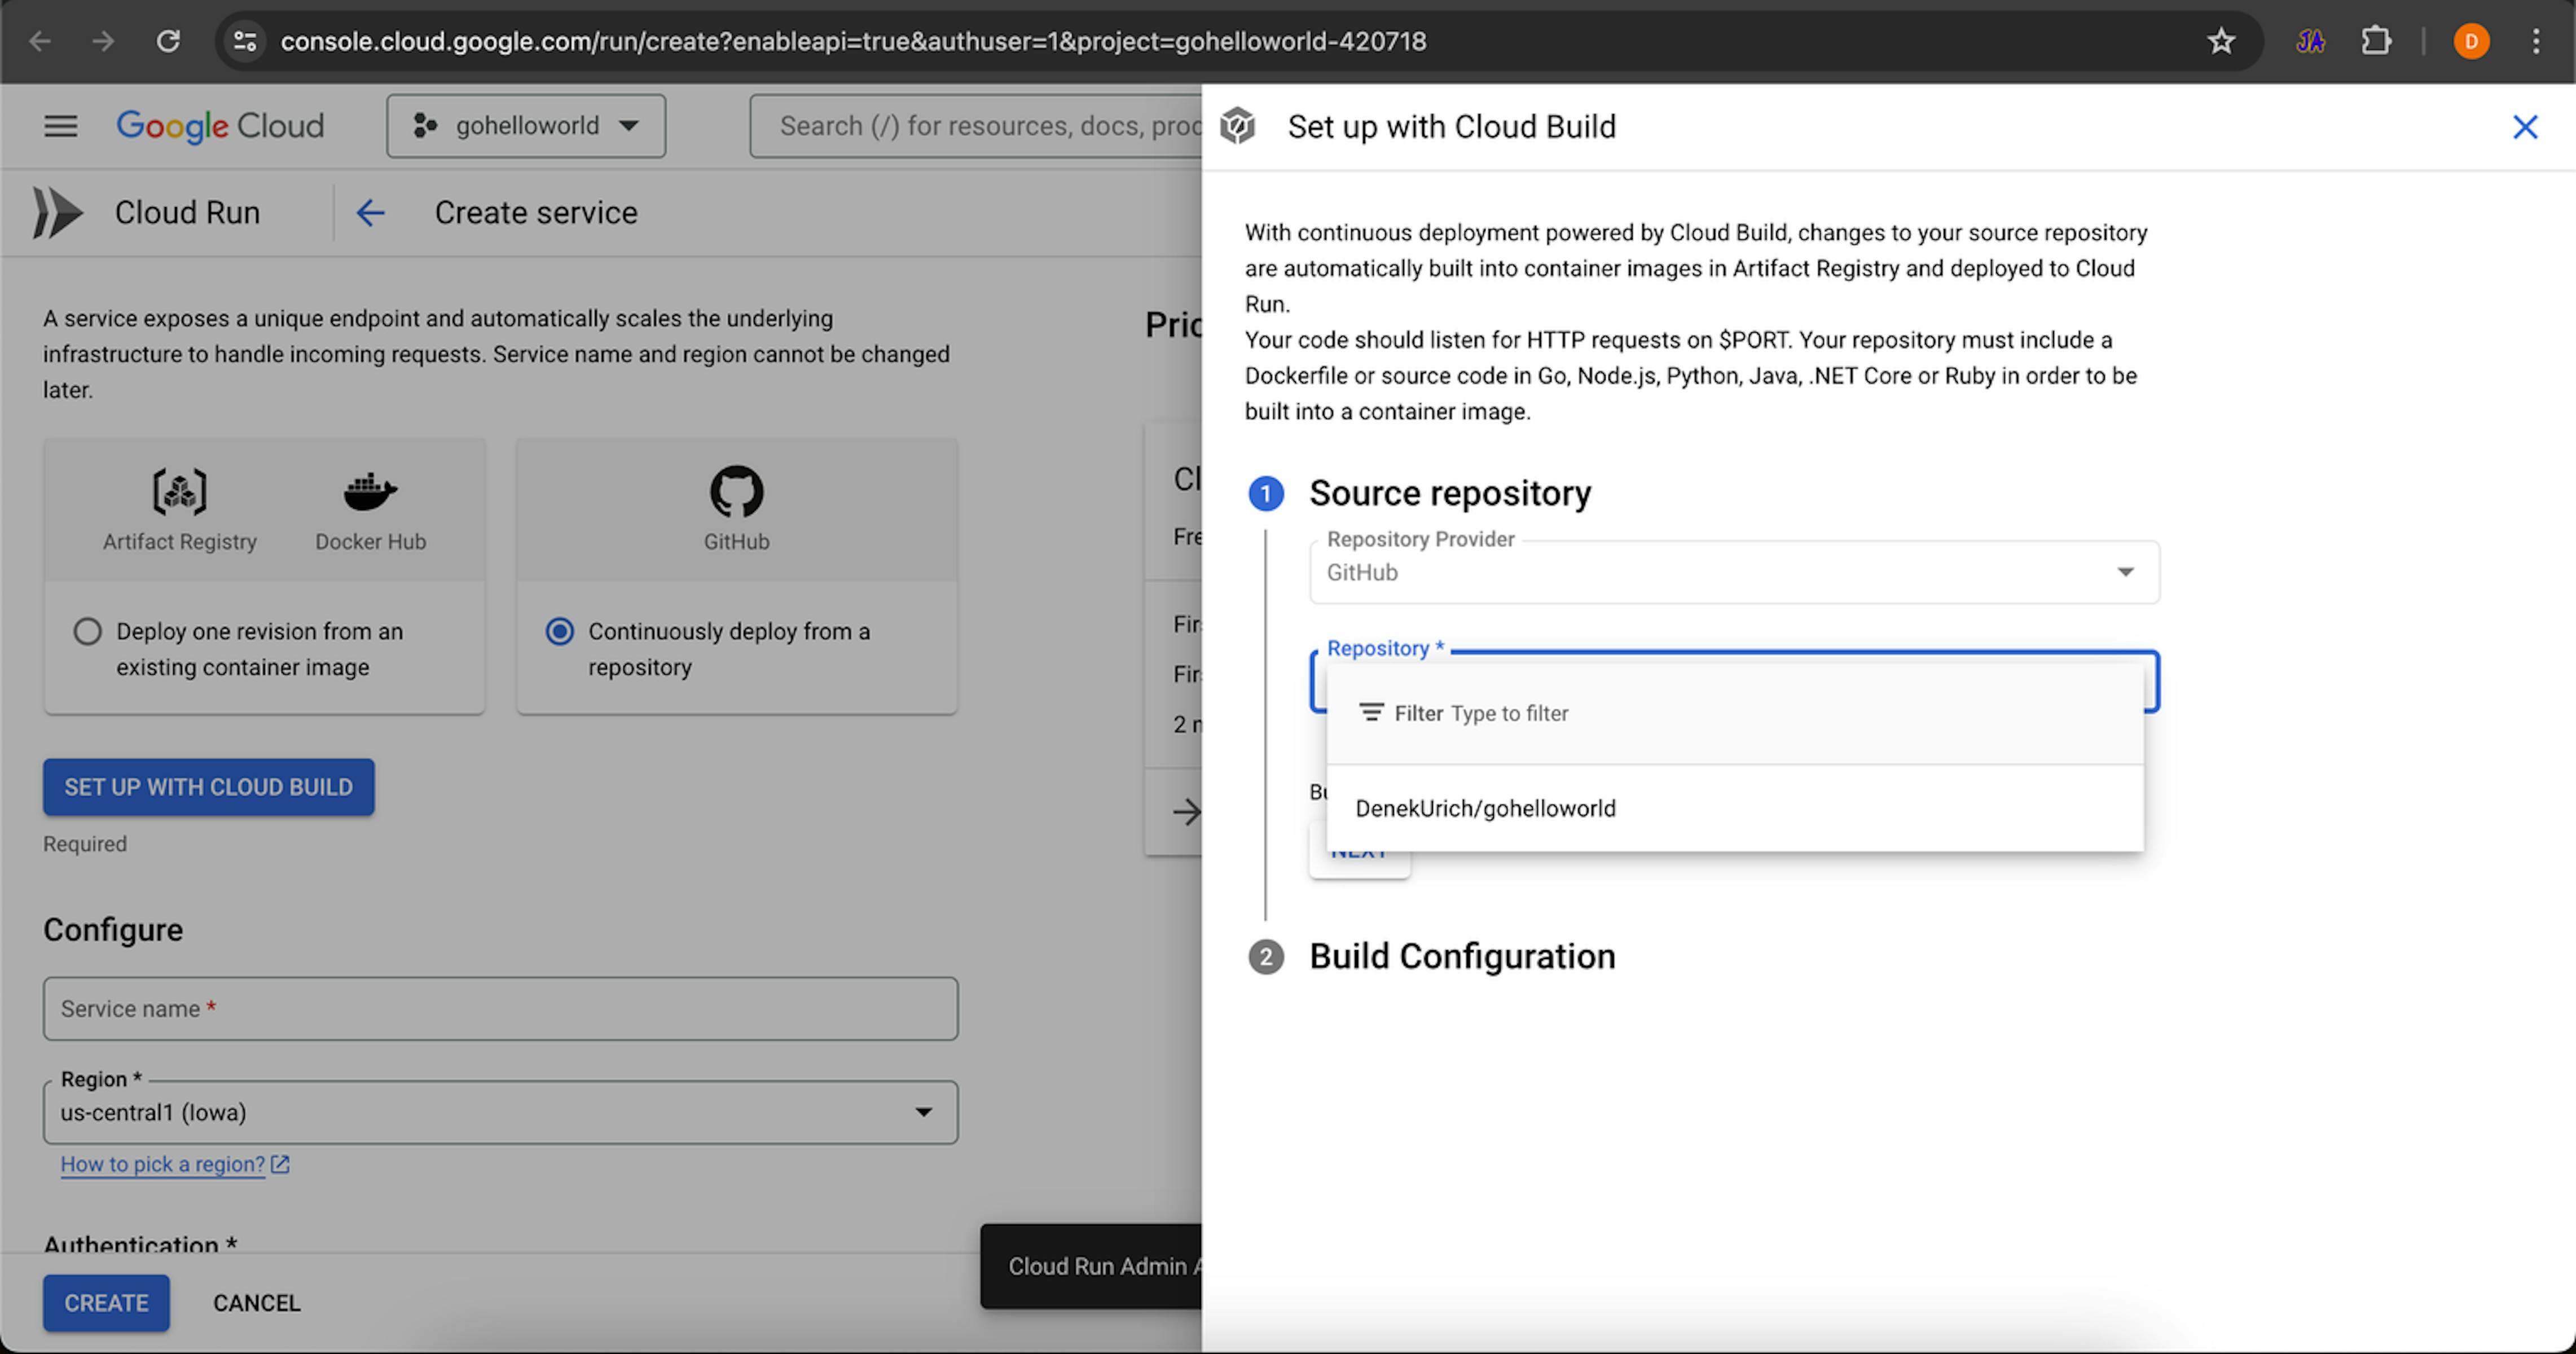
Choose your repository and click Next.
The Branch field shows which branch we're going to build. Leave the default ^main$ value.
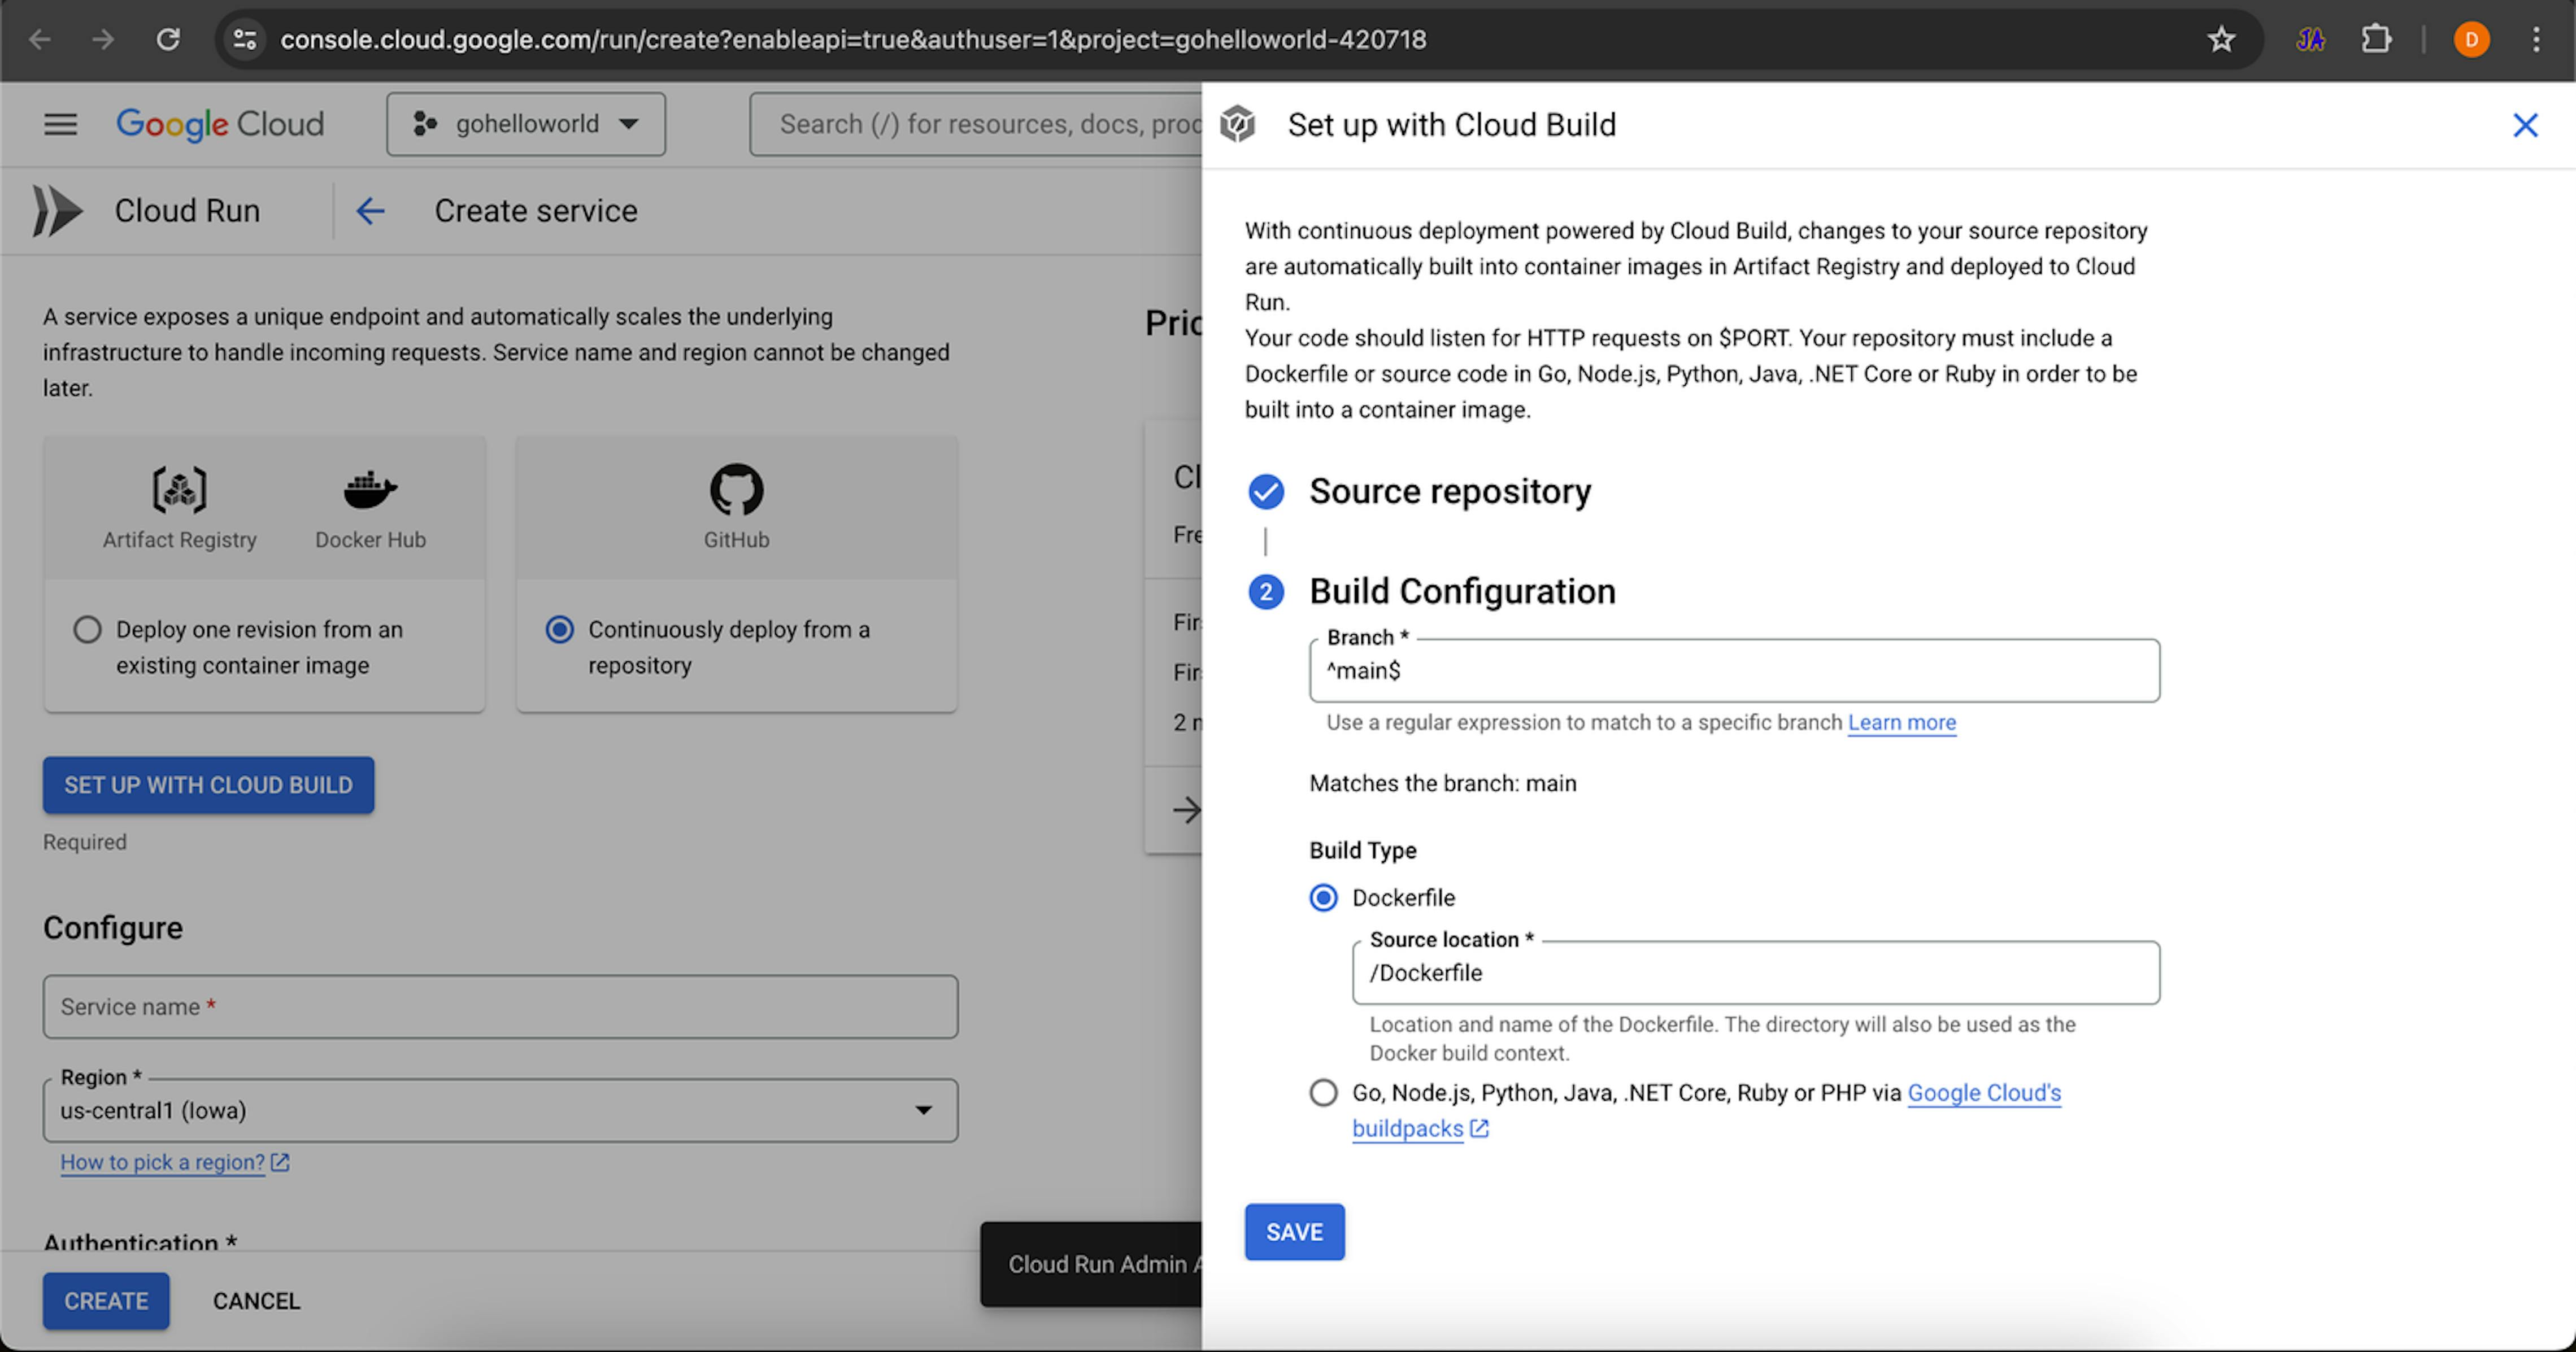
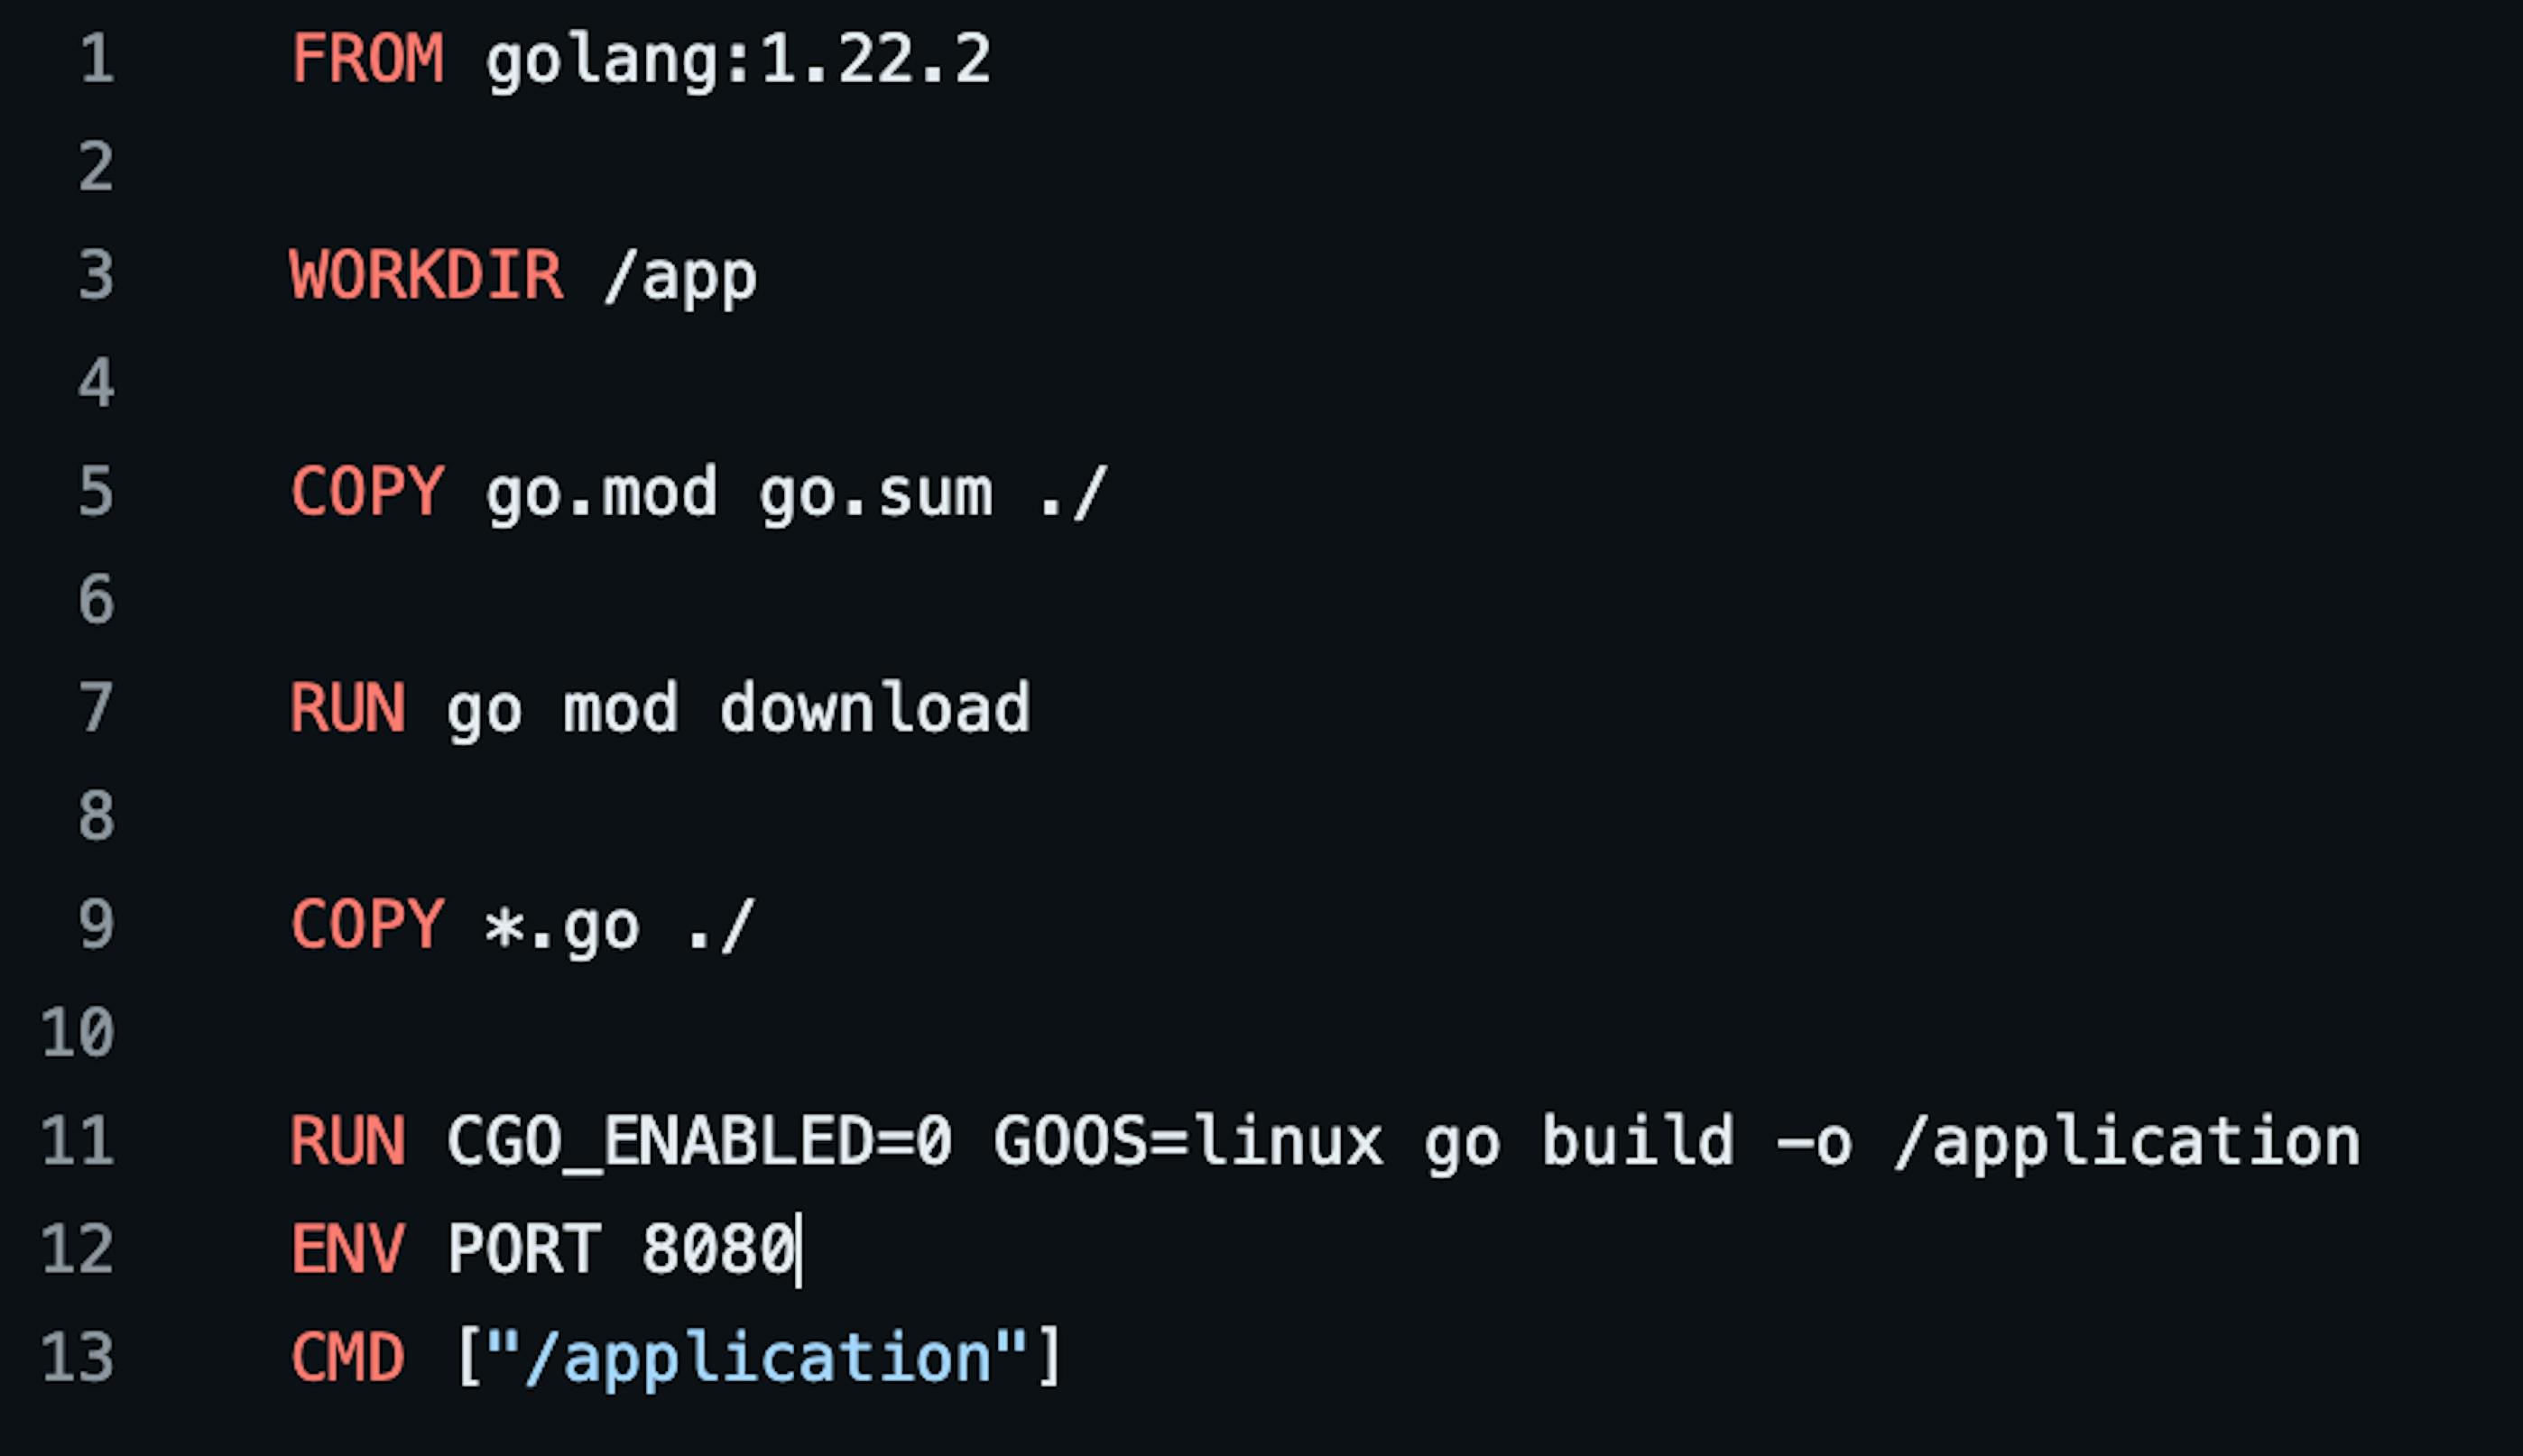
Select the Dockerfile Build Type to launch your container on Cloud Run and other container launch, management, and orchestration systems. Leave the default /Dockerfile as the Source location. Click SAVE.

If you've done it correctly, the service creation page should update and show the Source repository, which displays your repository and its name. Scroll down and continue adjusting the settings a bit 🙂
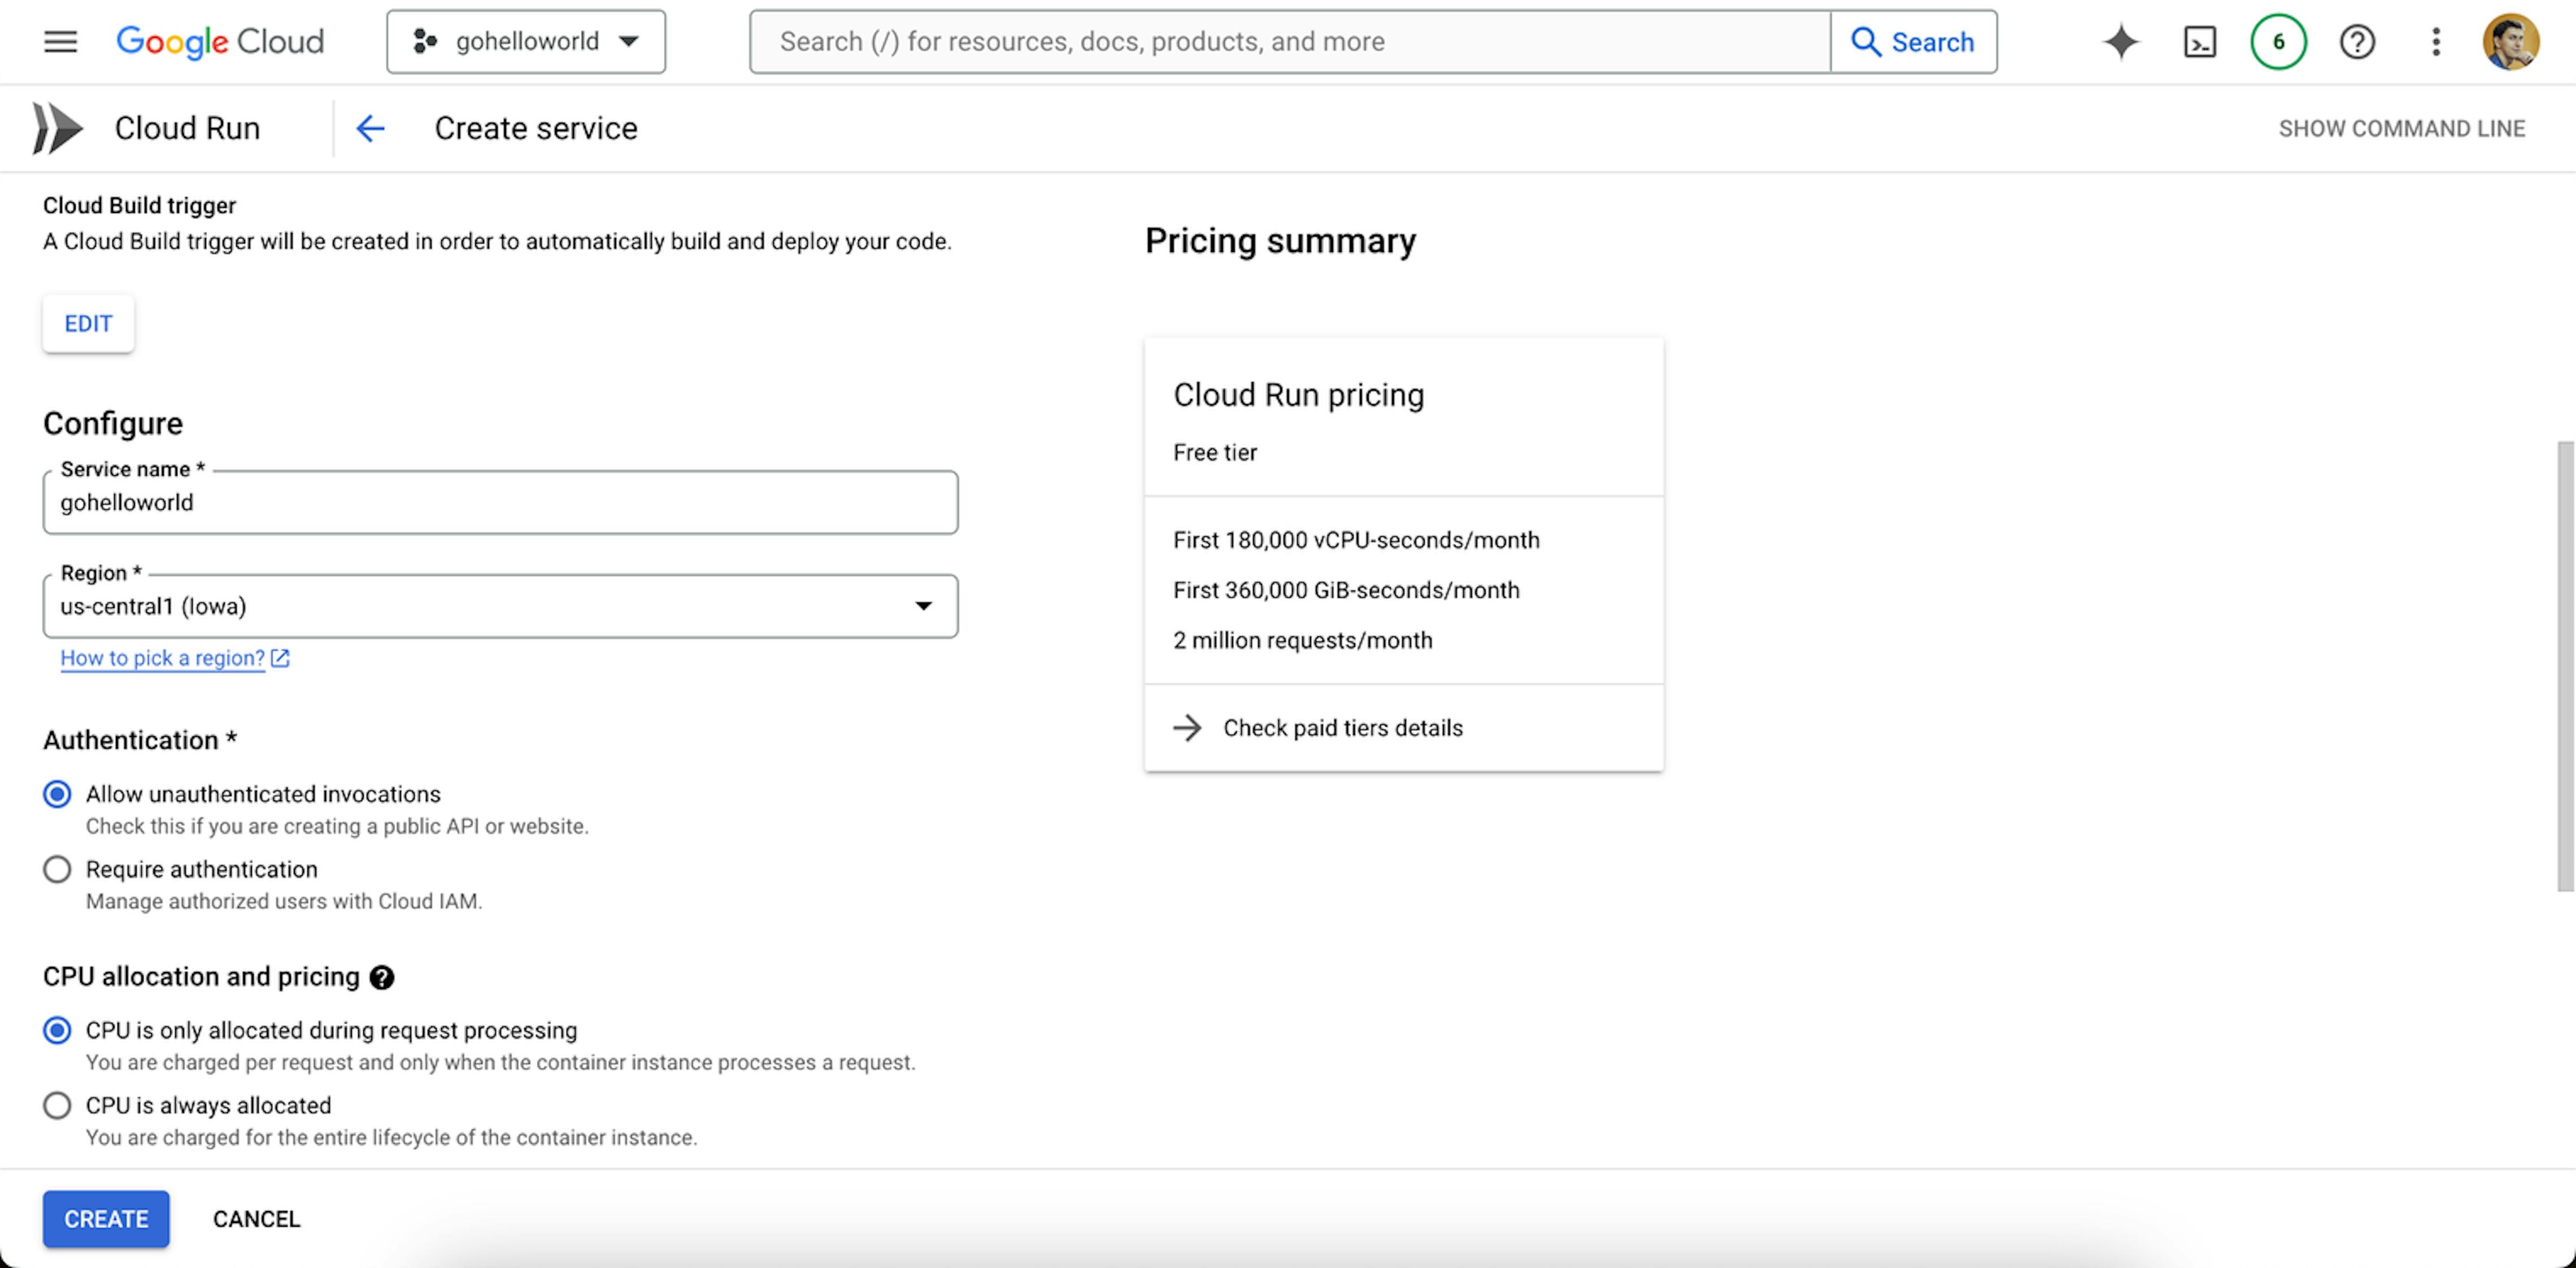
We'll select Authentication and choose Allow unauthenticated invocations since the service we're creating will be public and accessible to everyone on the Internet.
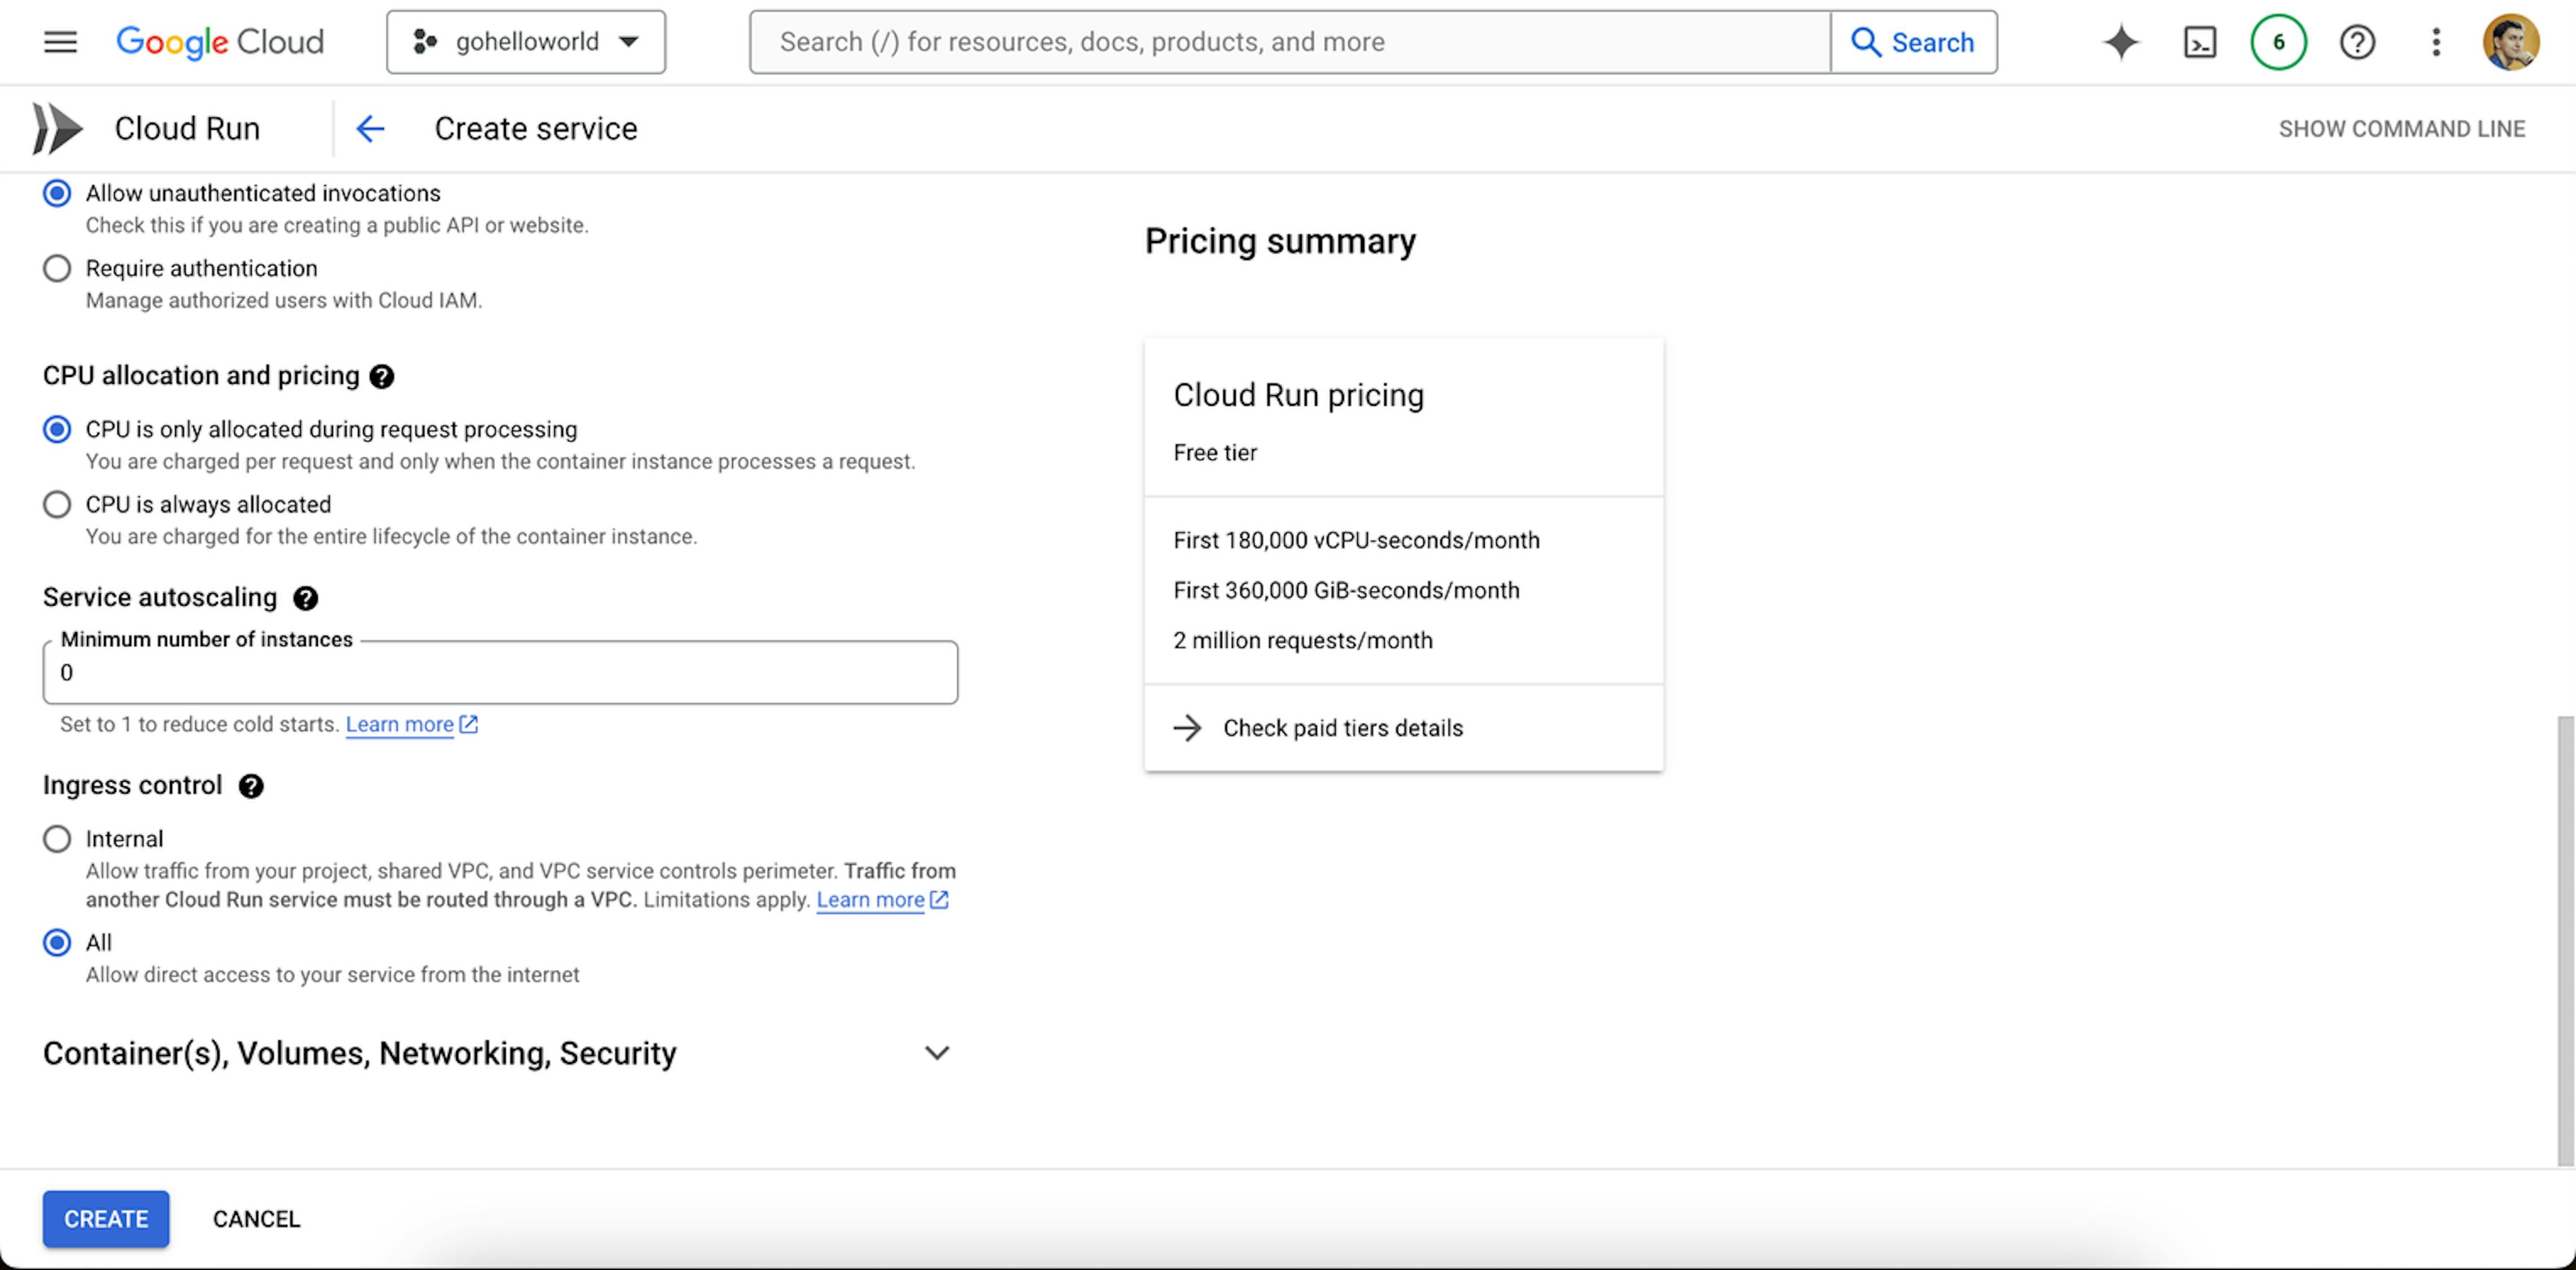
Open the Container(s), Volumes, Networking, Security panel. You don't need to change anything here, but you should check that Container port has the value 8080. You'll need this for more project settings. To change the port, you need to change the value in the Container port field and add the line ENV PORT 8080 to the Docker file. Instead of 8080 add your own value:
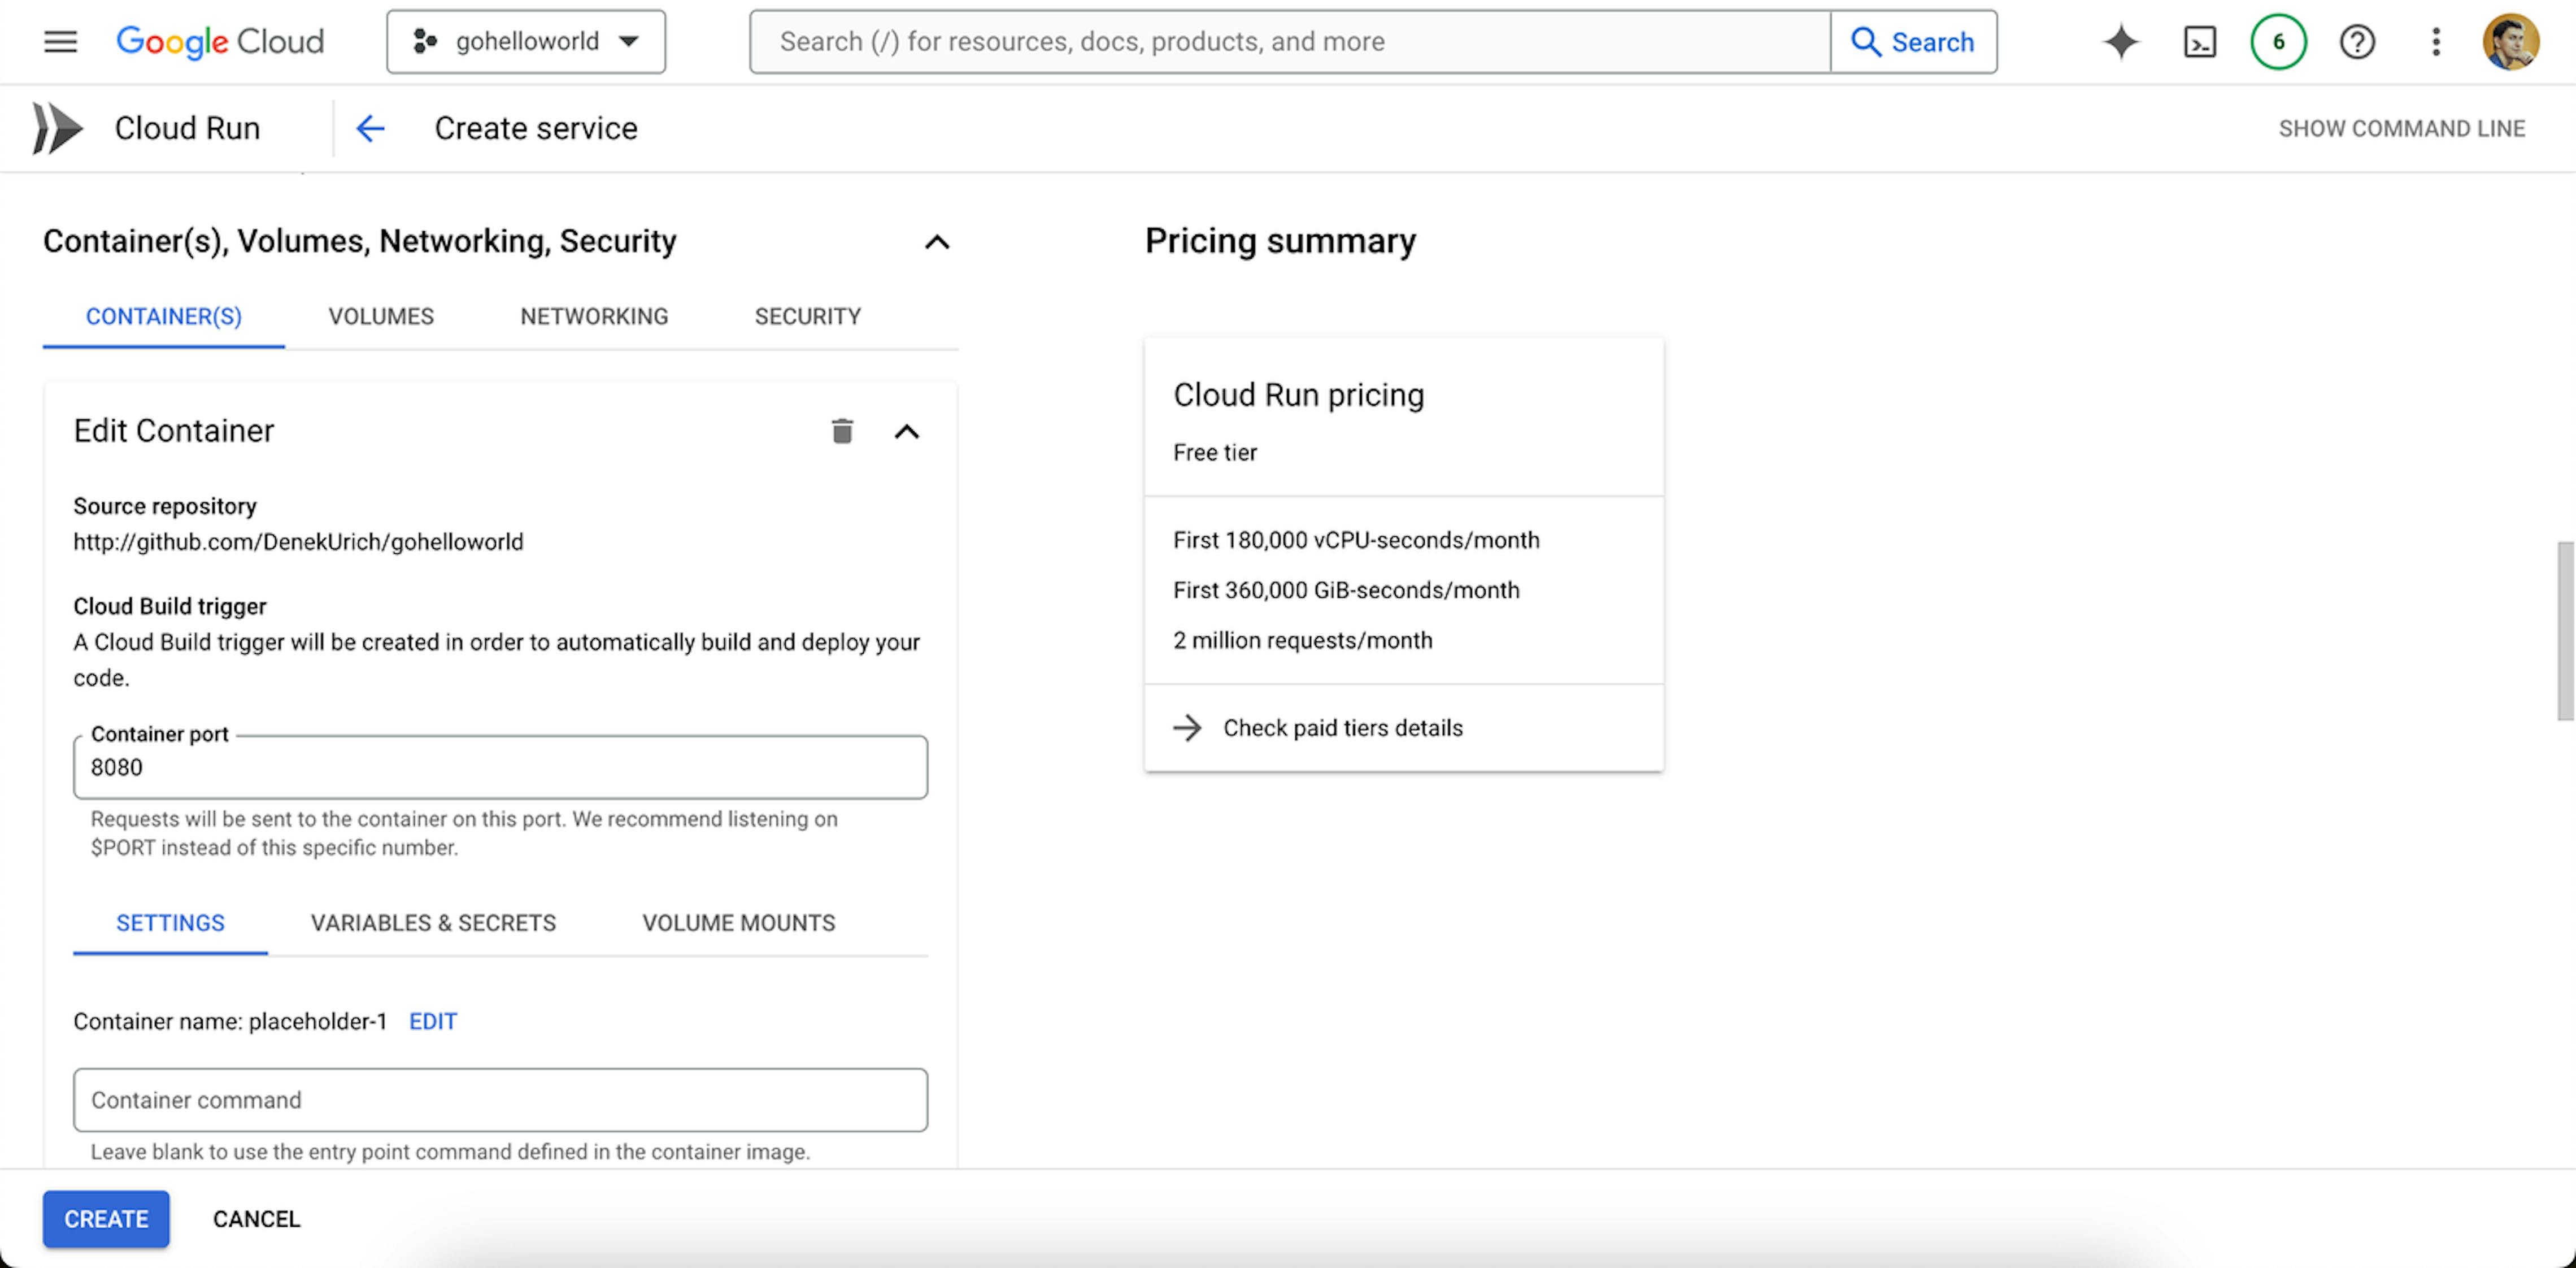
Click CREATE. After this, you'll be taken to the page of the service you created:
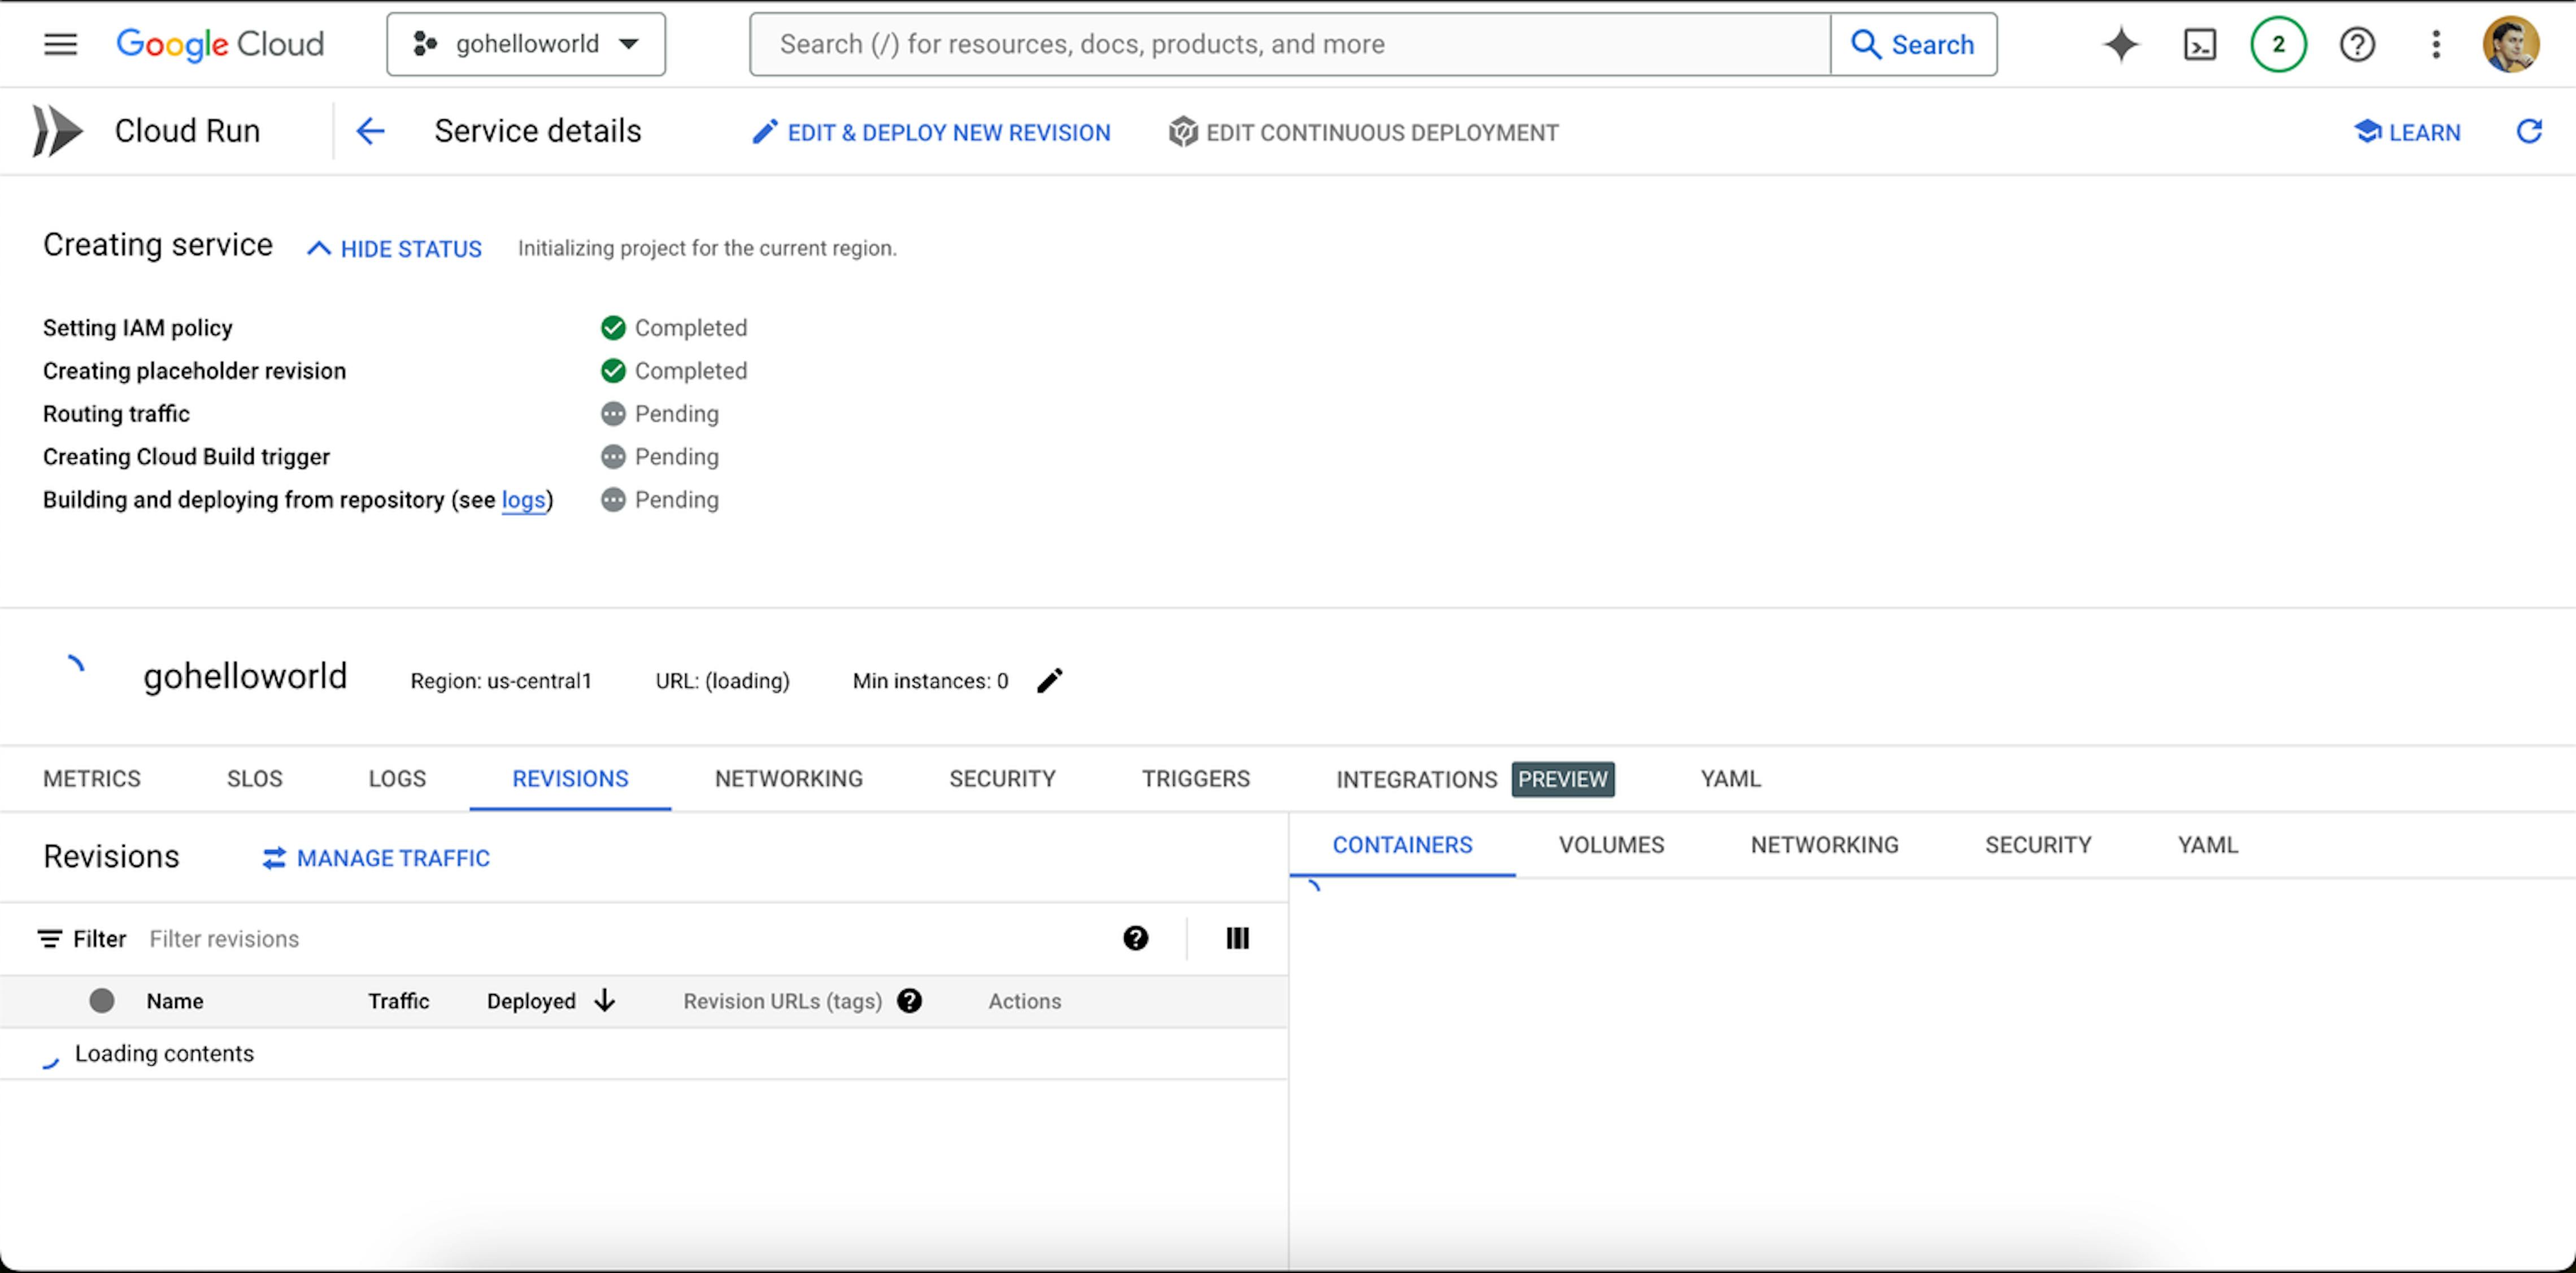
After pushing to the master branch and a successful build, the project is automatically deployed without any additional steps on your part:
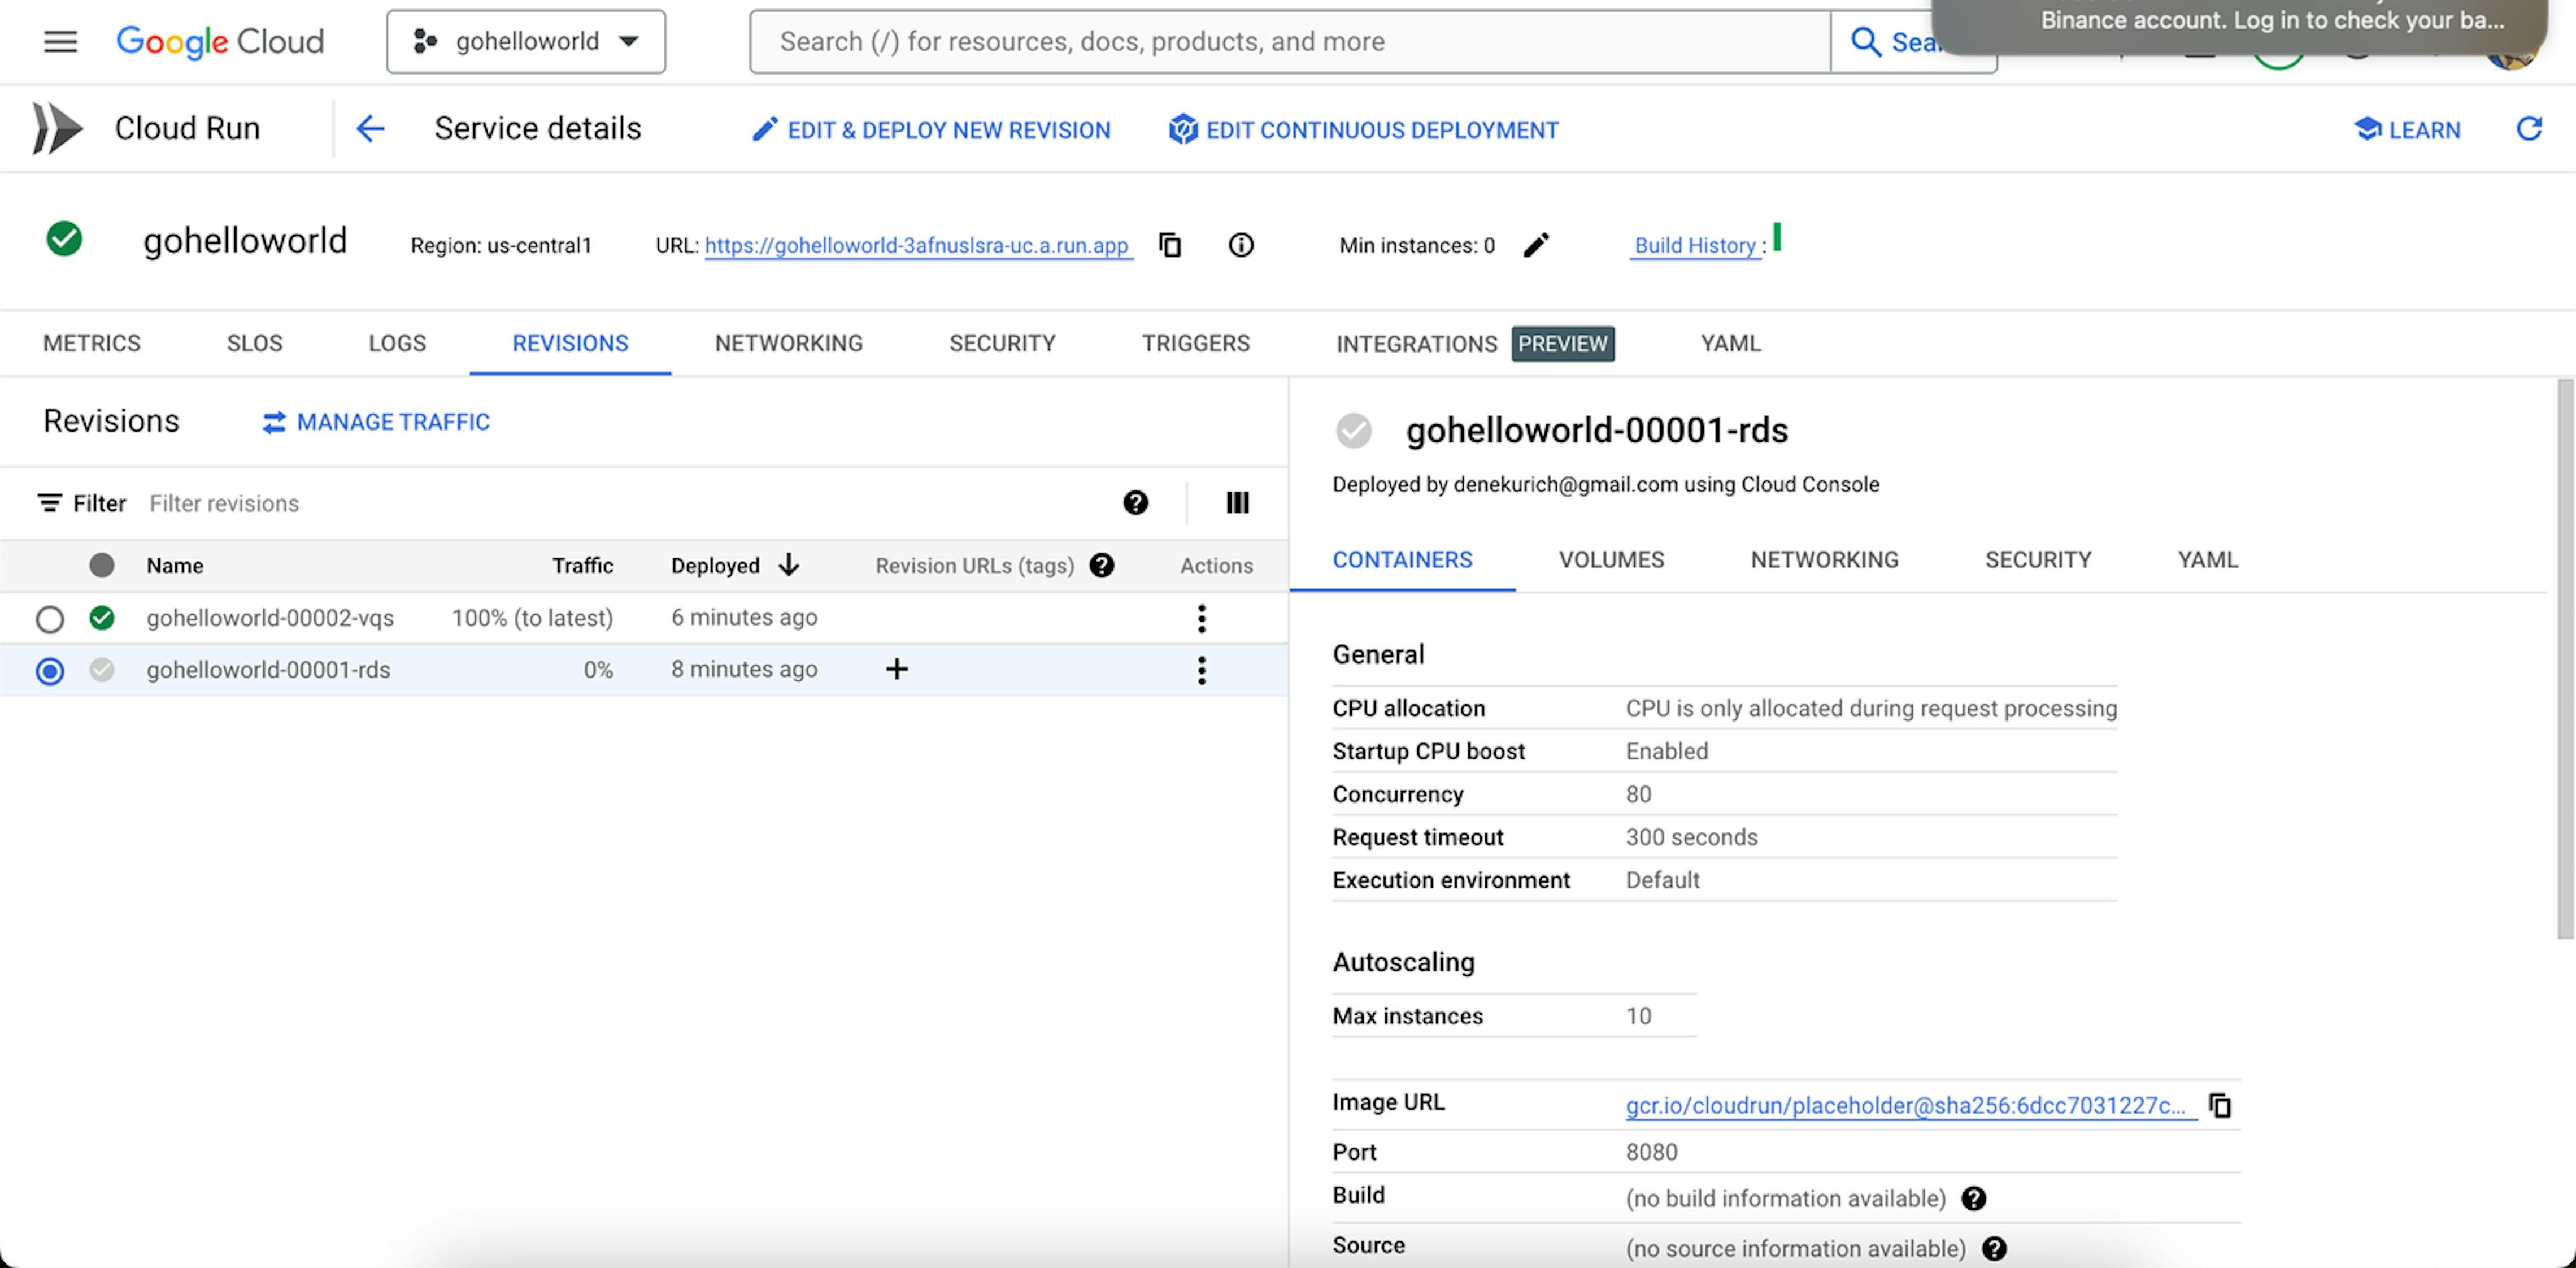
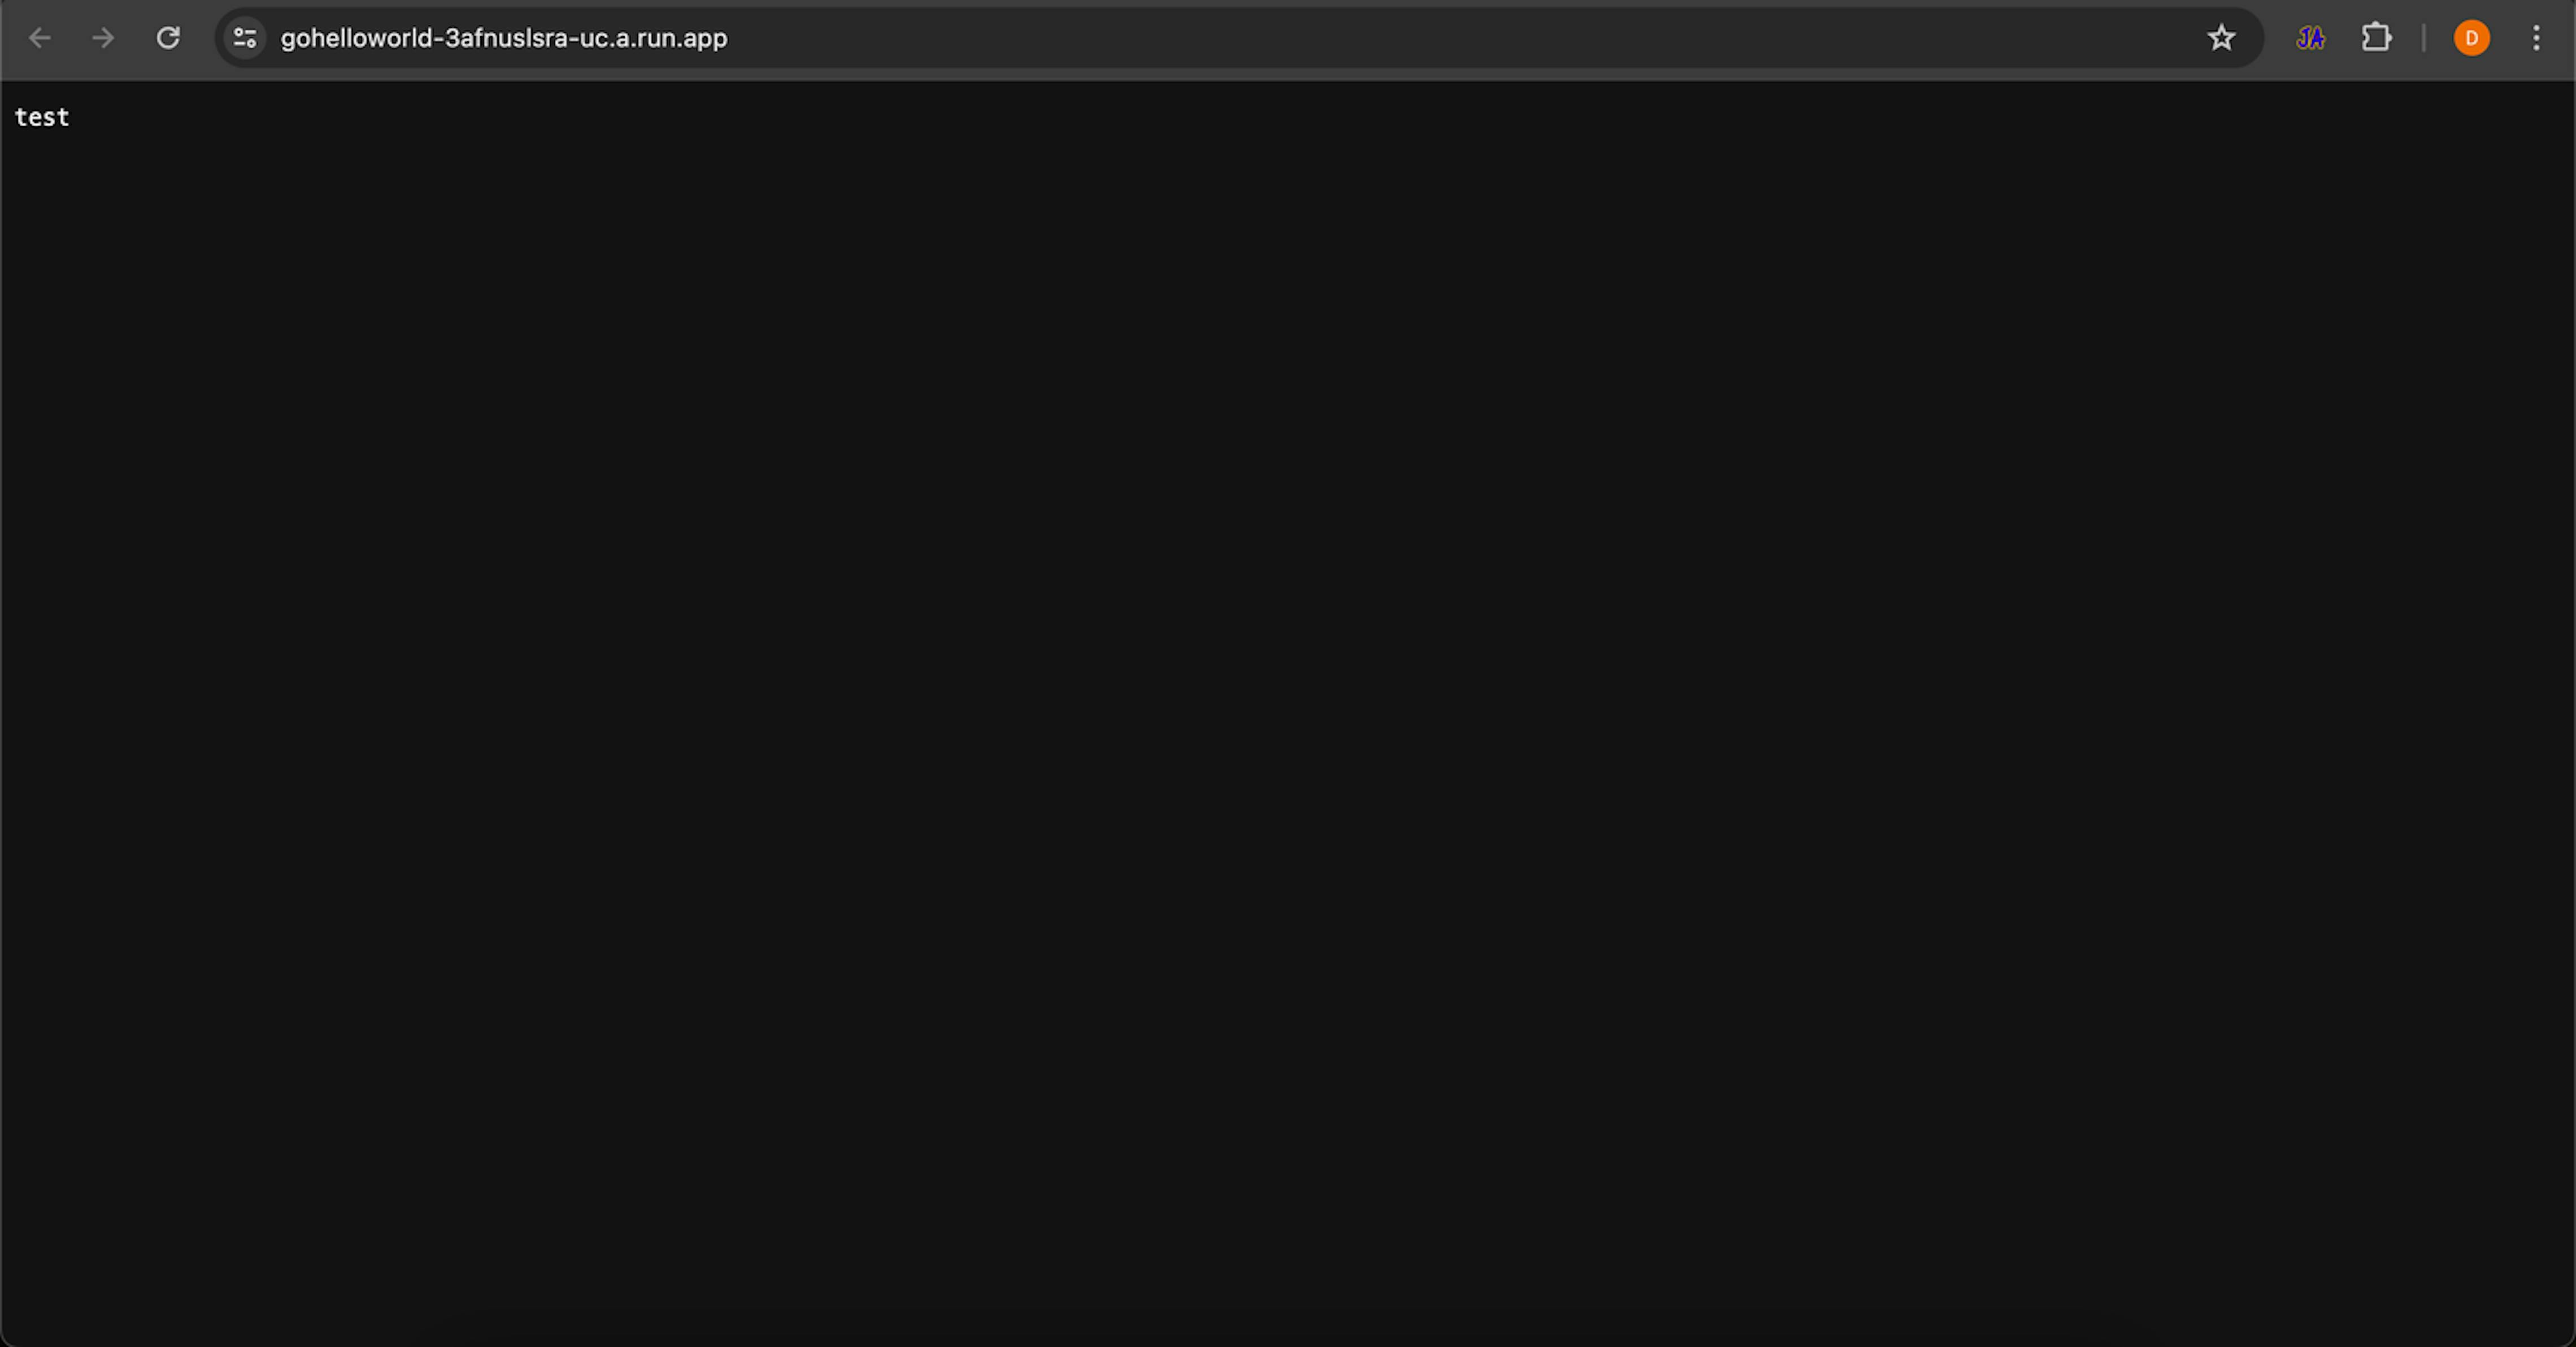
Your service will be available at a *.run.app URL. My example is here: https://gohelloworld-3afnuslsra-uc.a.run.app/
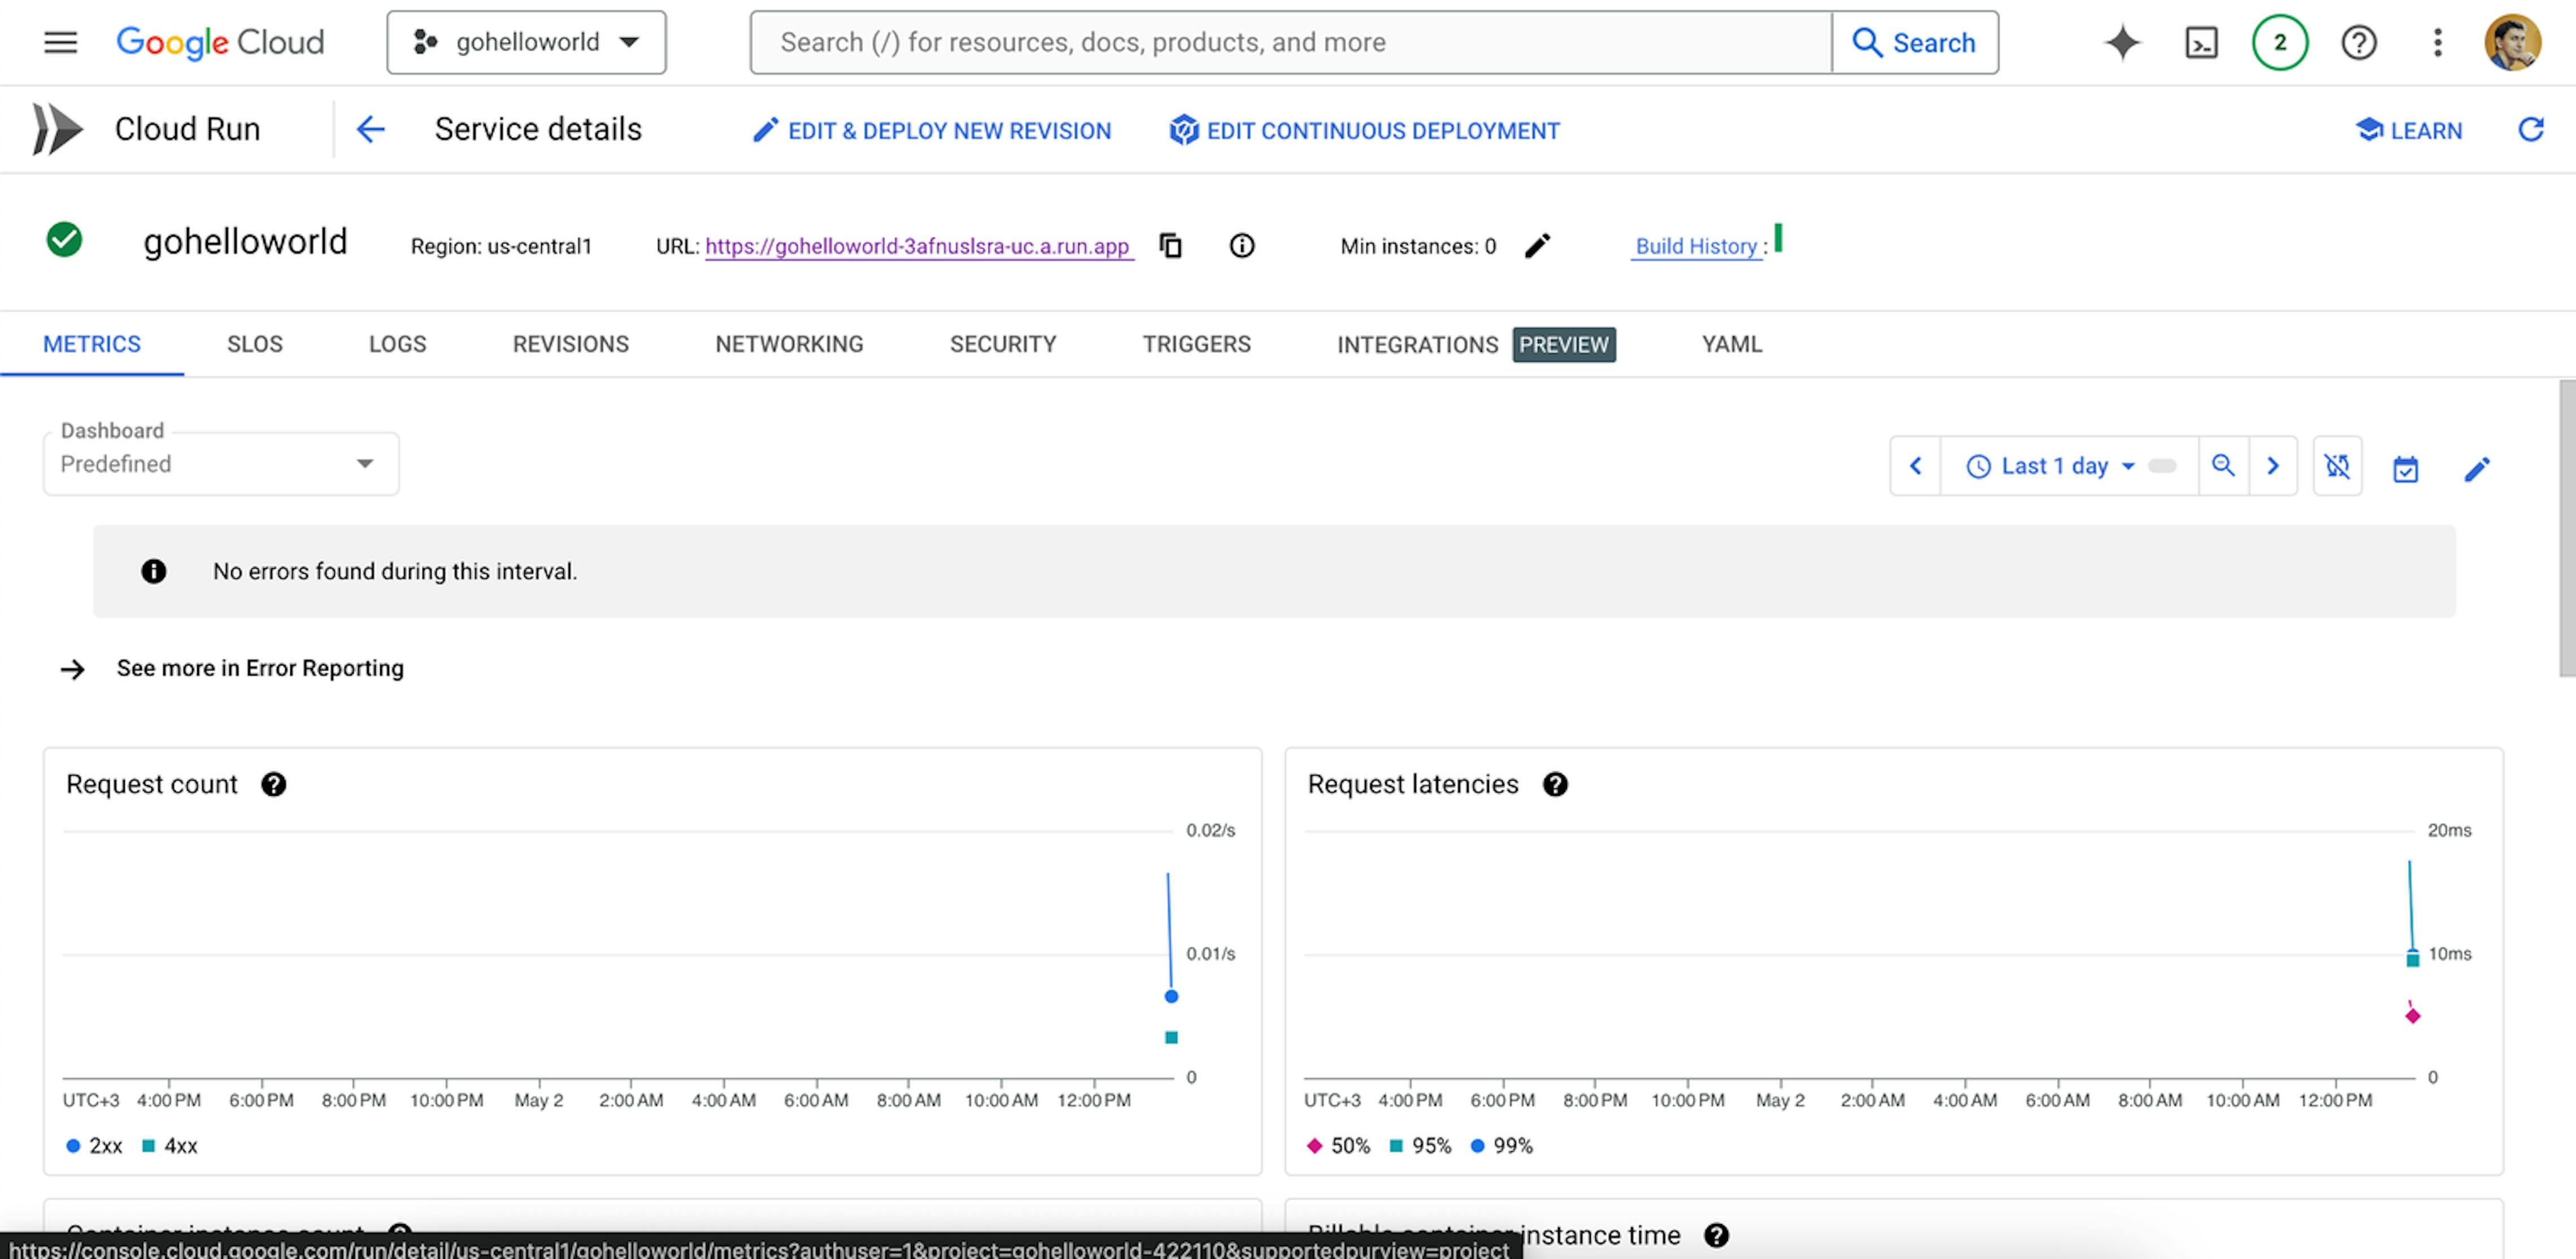
In the METRICS tab, check the project's current state:
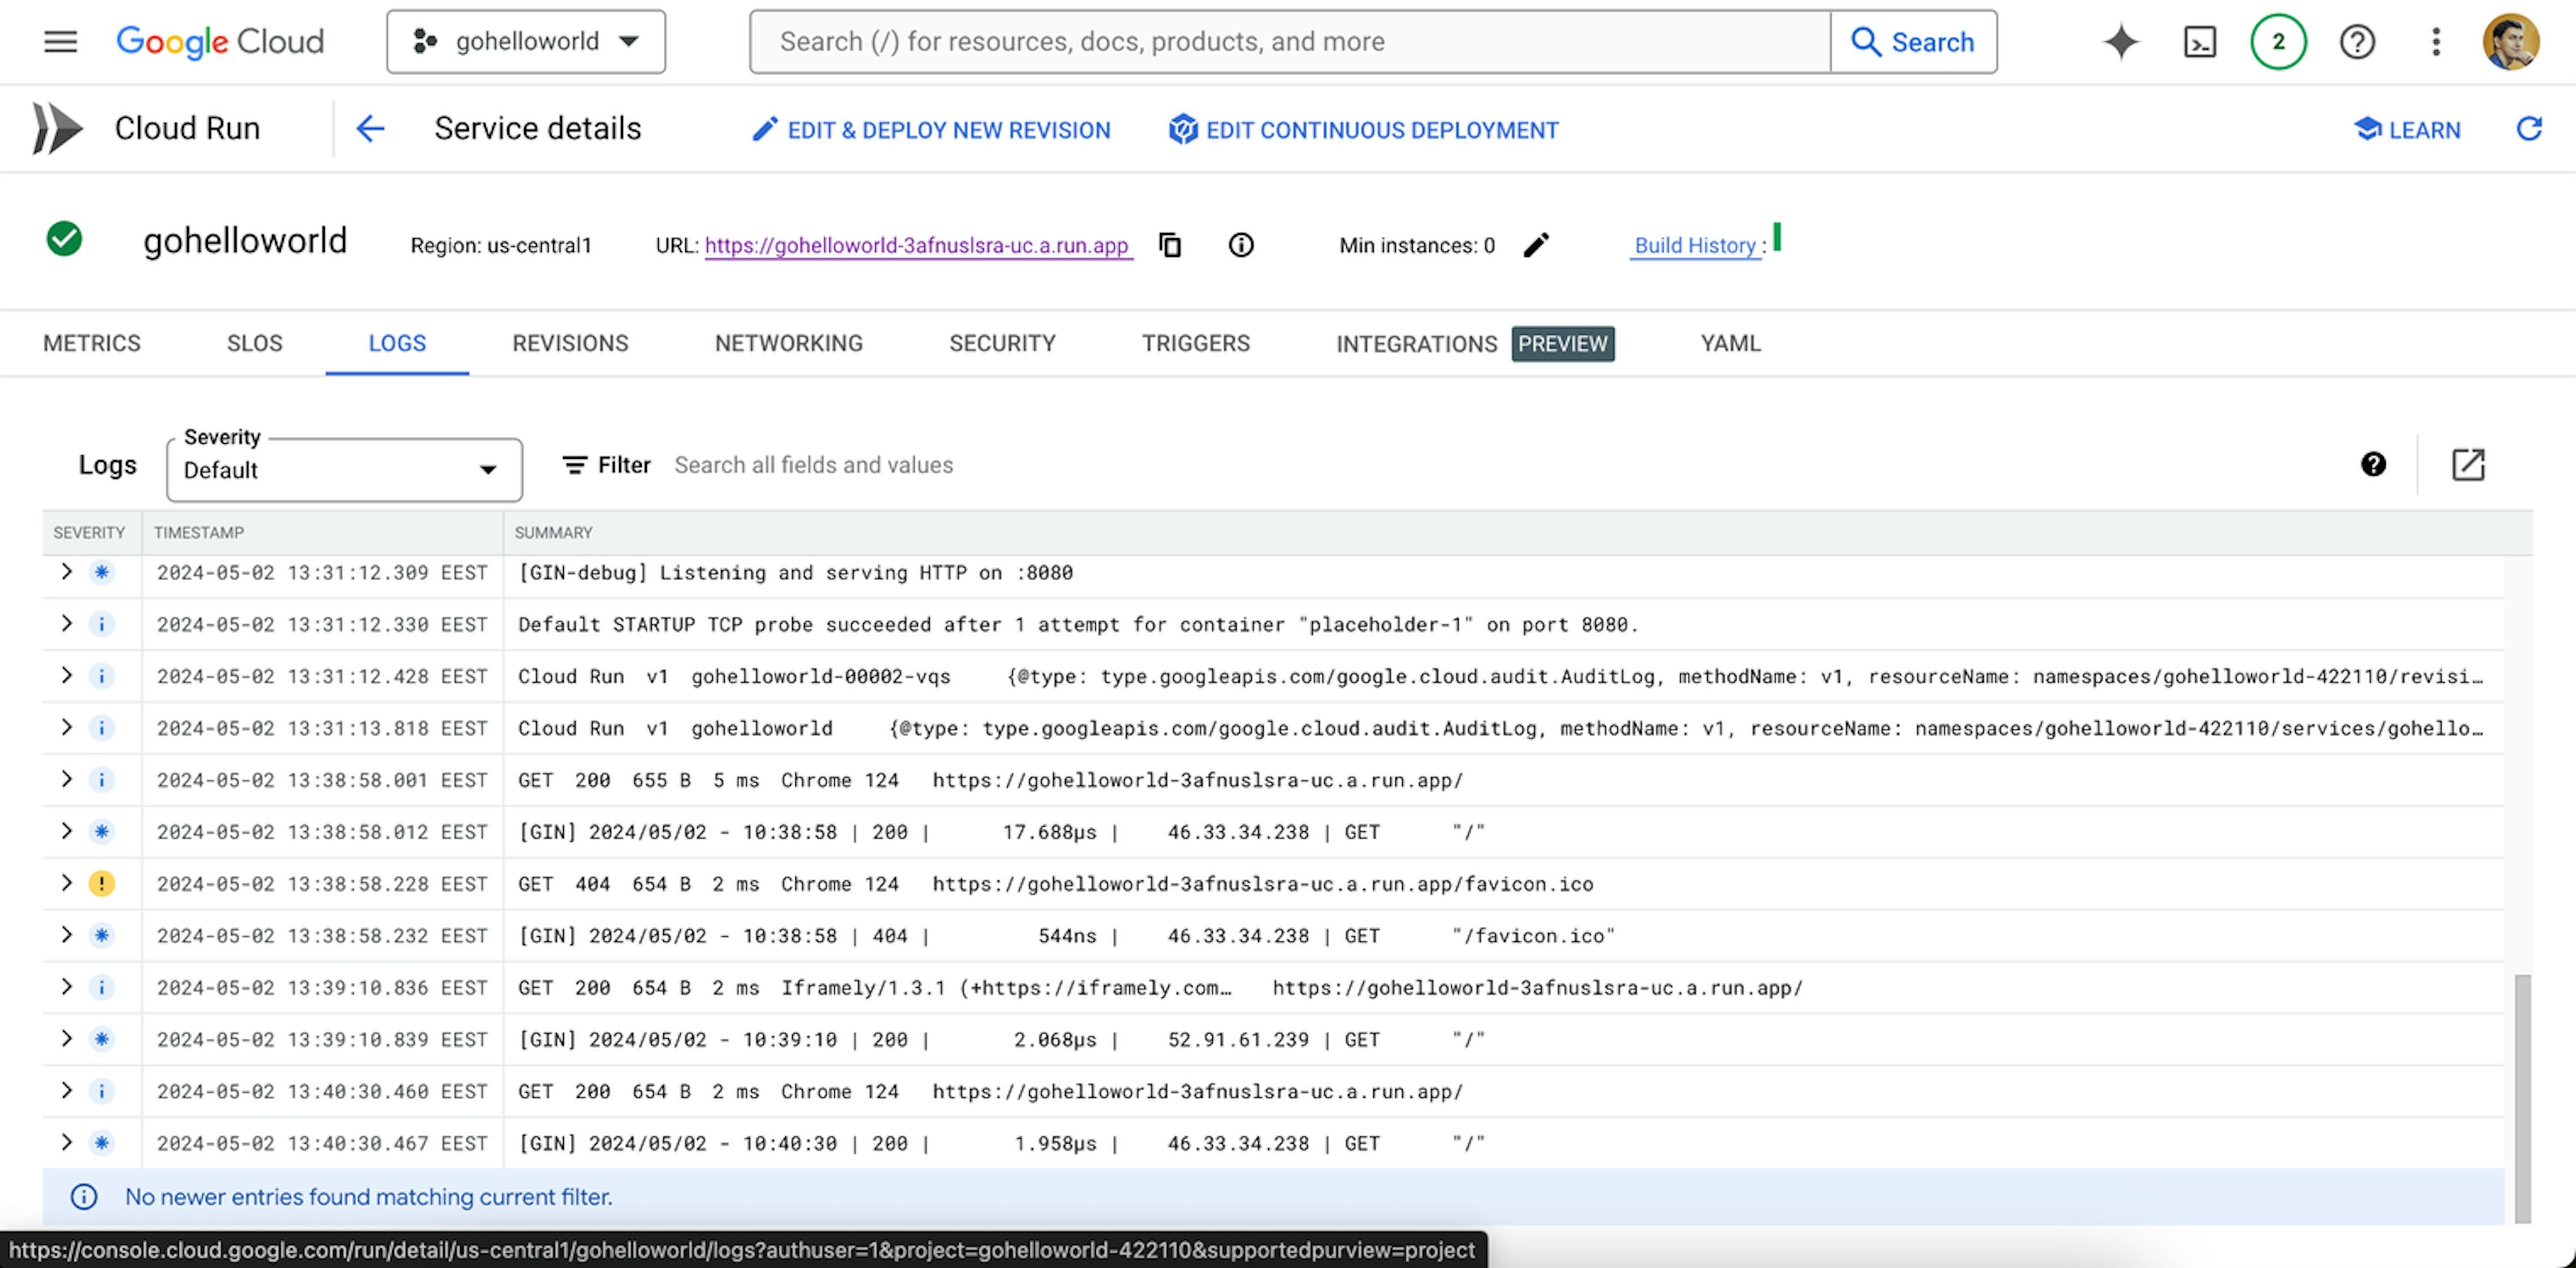
In the LOGS tab, create the necessary logs: infrastructure logs and those that the app will write:
Links
Google Cloud – https://cloud.google.com/
Project repository that we used for this example – https://github.com/DenekUrich/gohelloworld