
Analyze with AI
Get AI-powered insights from this Mad Devs tech article:
Sometimes, things that may seem complex to automate are very simple to do with the proper setup. 2FA is one of them. One of our recent projects required logging into a Google account through 2FA confirmation, and in this article, we will share how this process can be automated in two simple steps. The first is to set up your Google account properly. The second is to automate token generation. Let's start with Google account settings.
Setting up your Google account
In order to prepare our test Google account for 2FA automation, we need to perform the following steps:
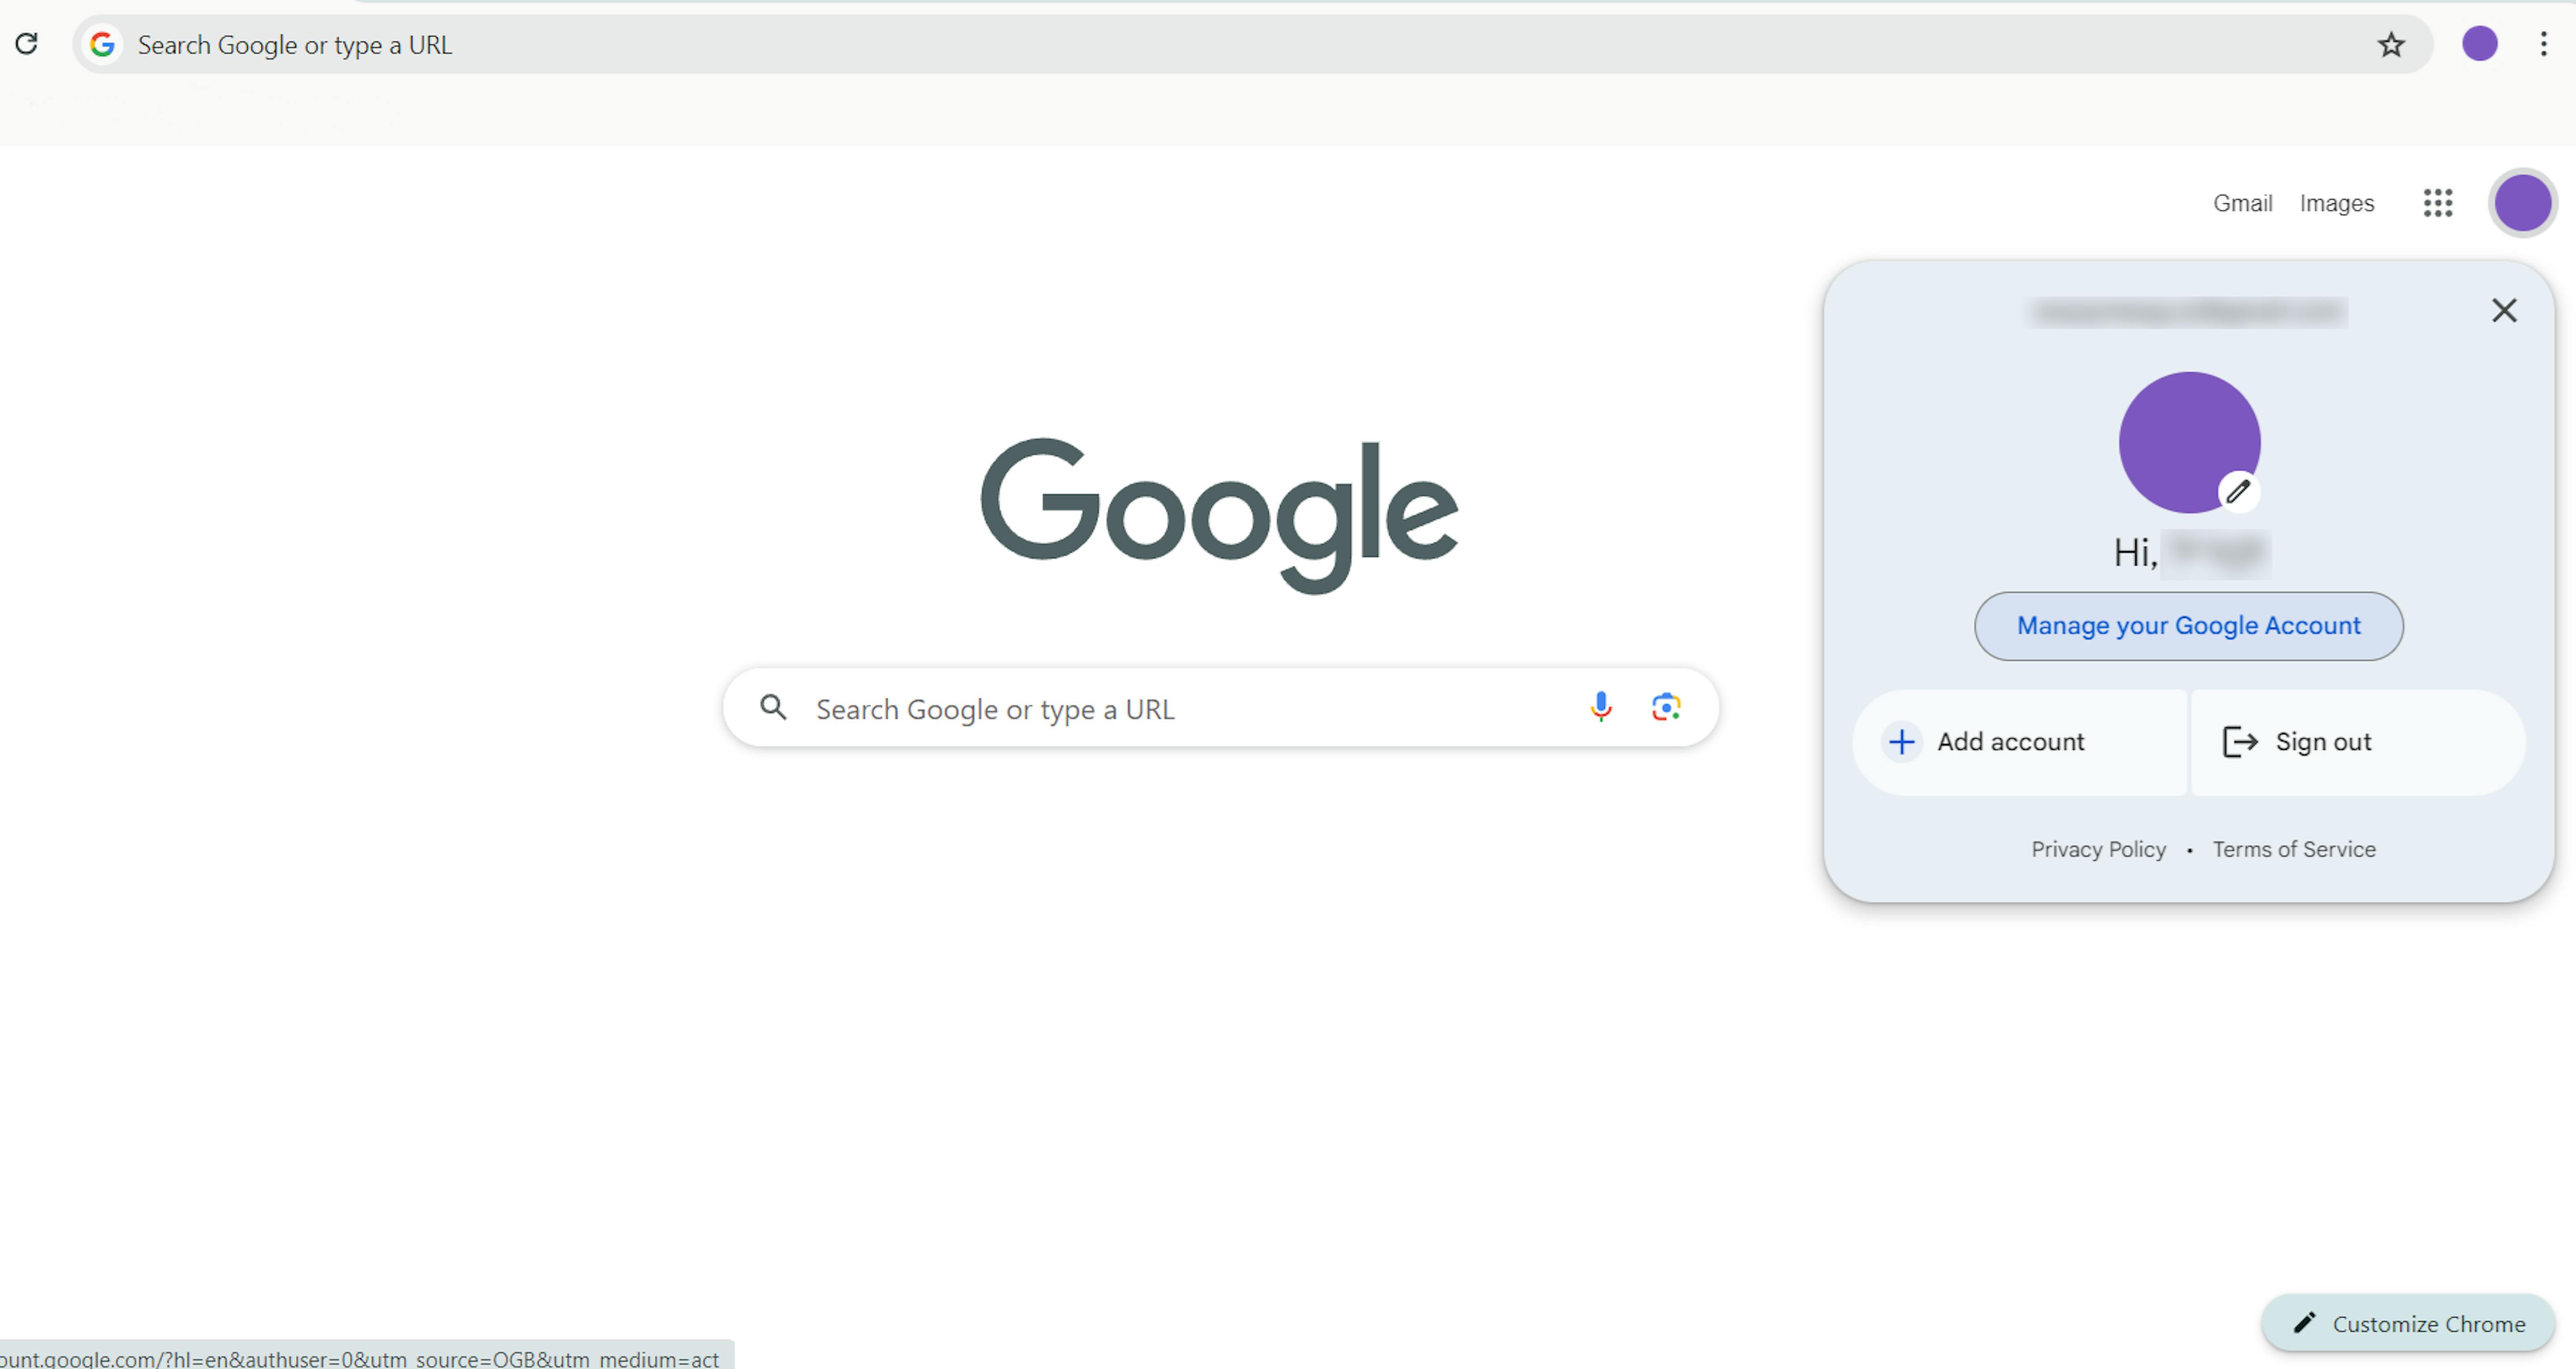
1. Click your Google profile icon in Chrome for the test account and select the "Manage your Google Account" option. Alternatively, you can follow the link.
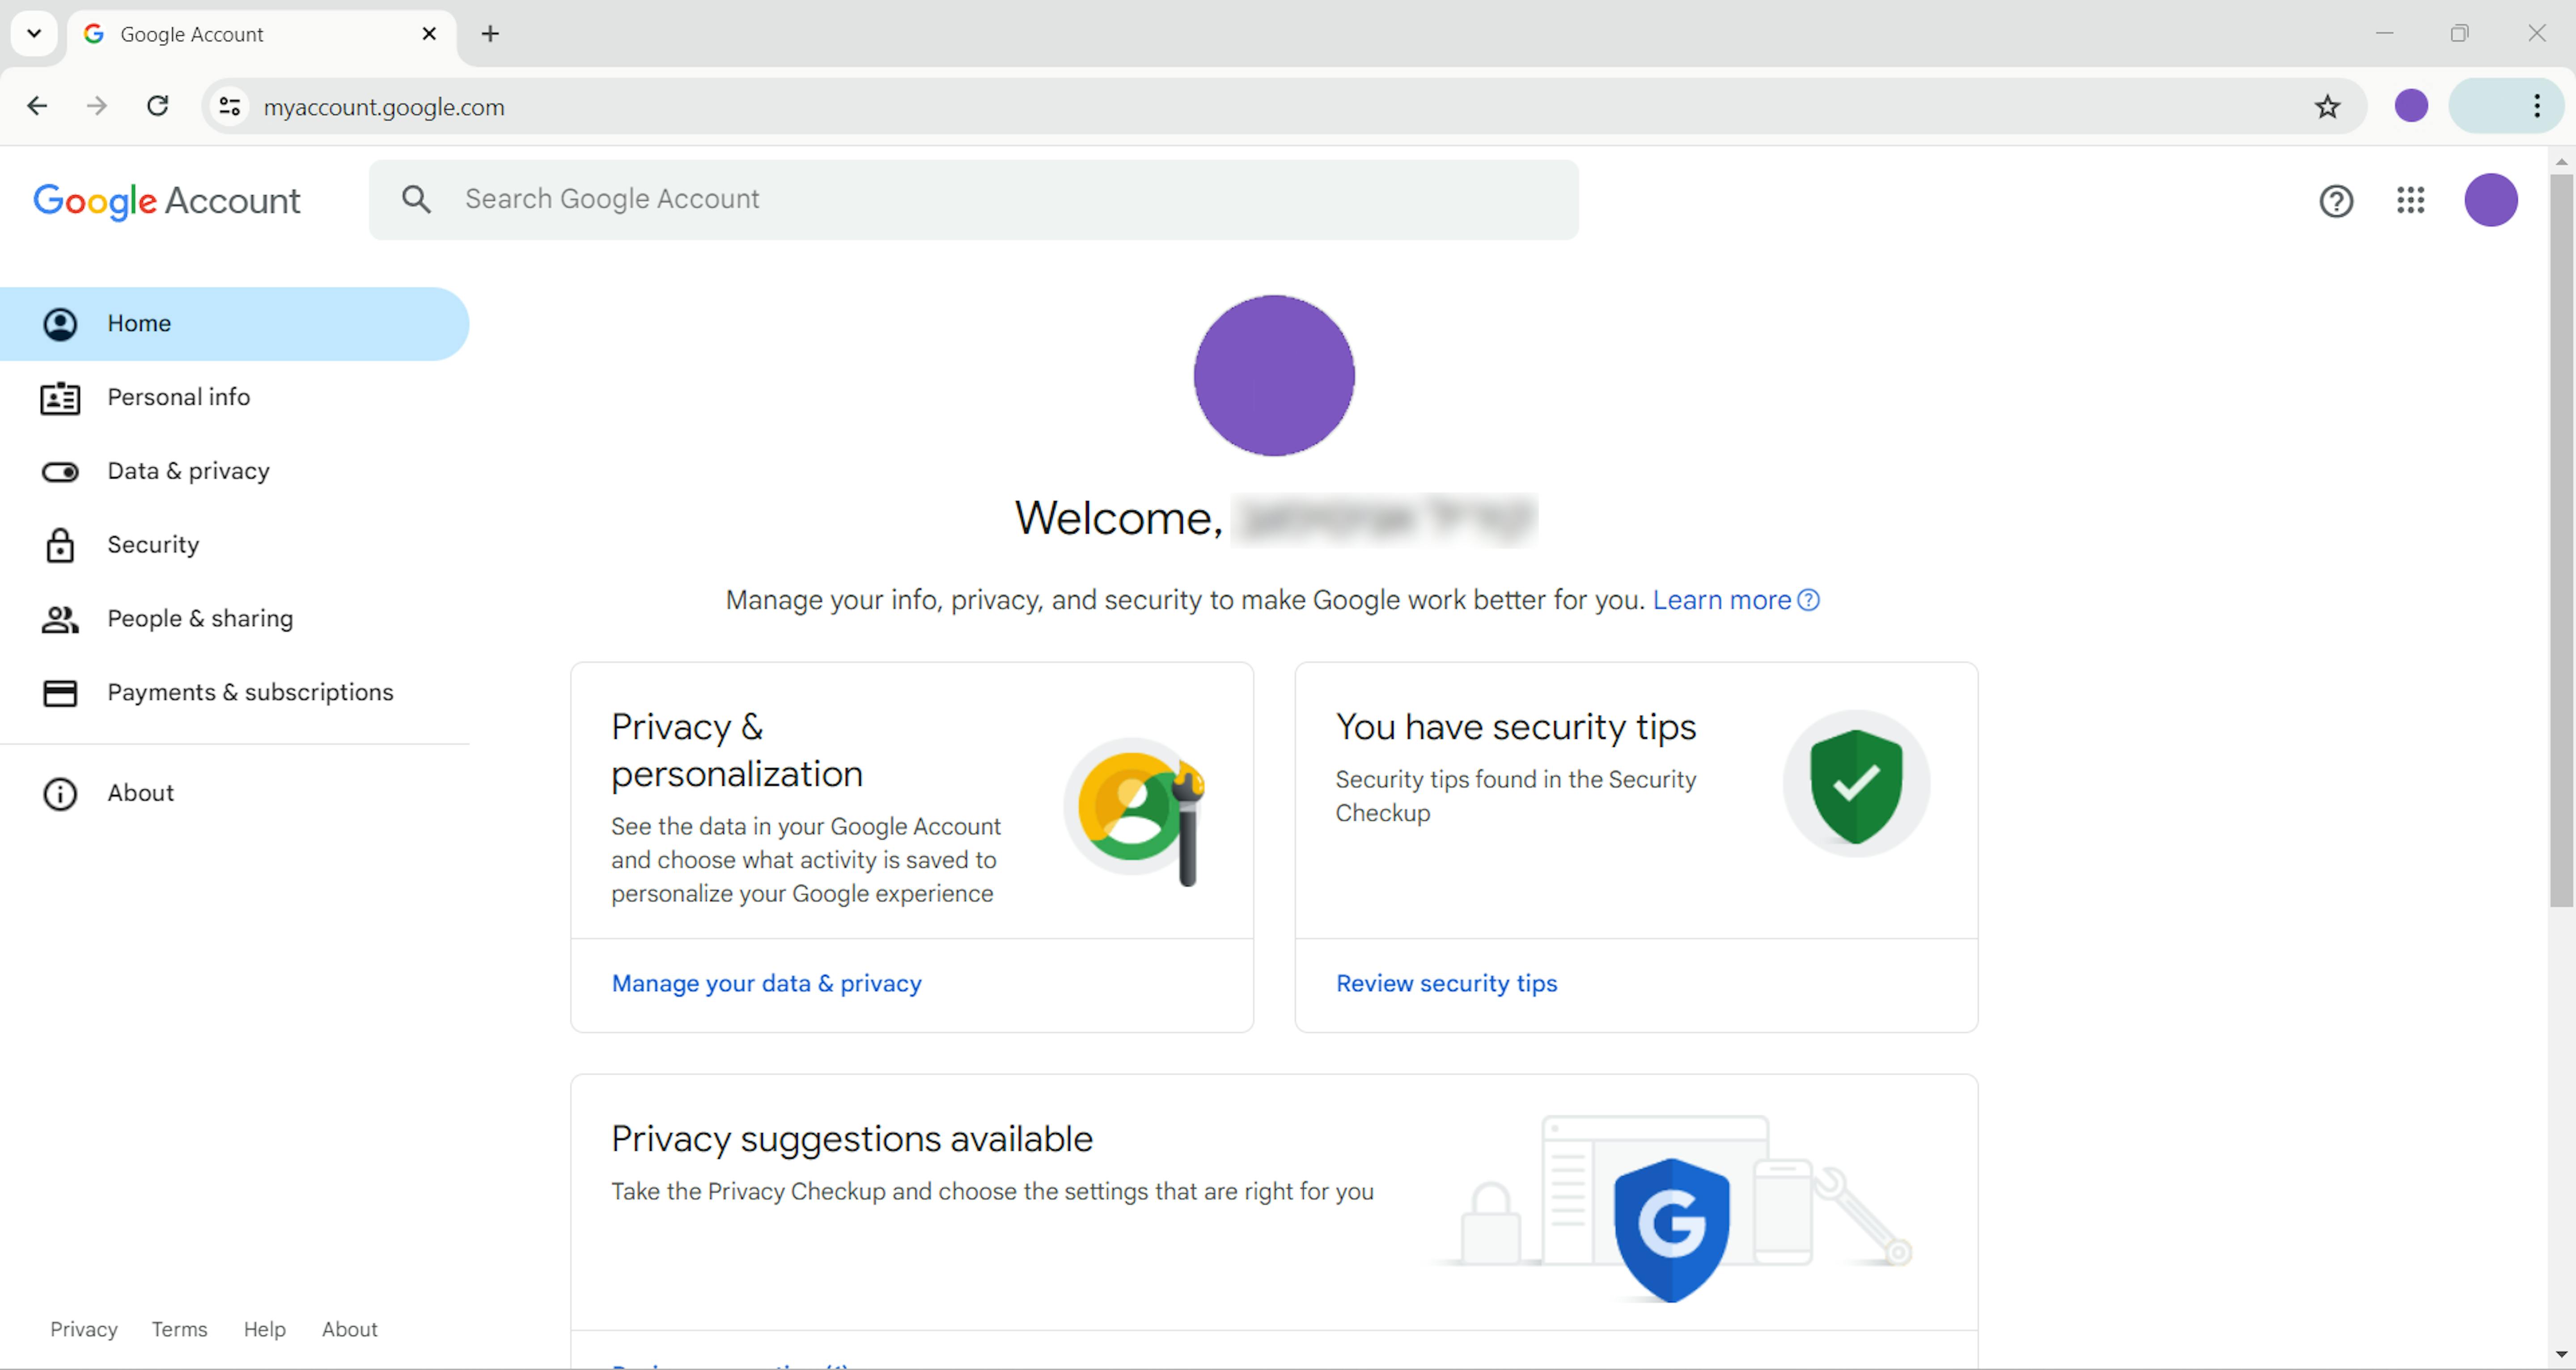
2. You'll see the following welcome screen. Click the "Security" option in the side menu.
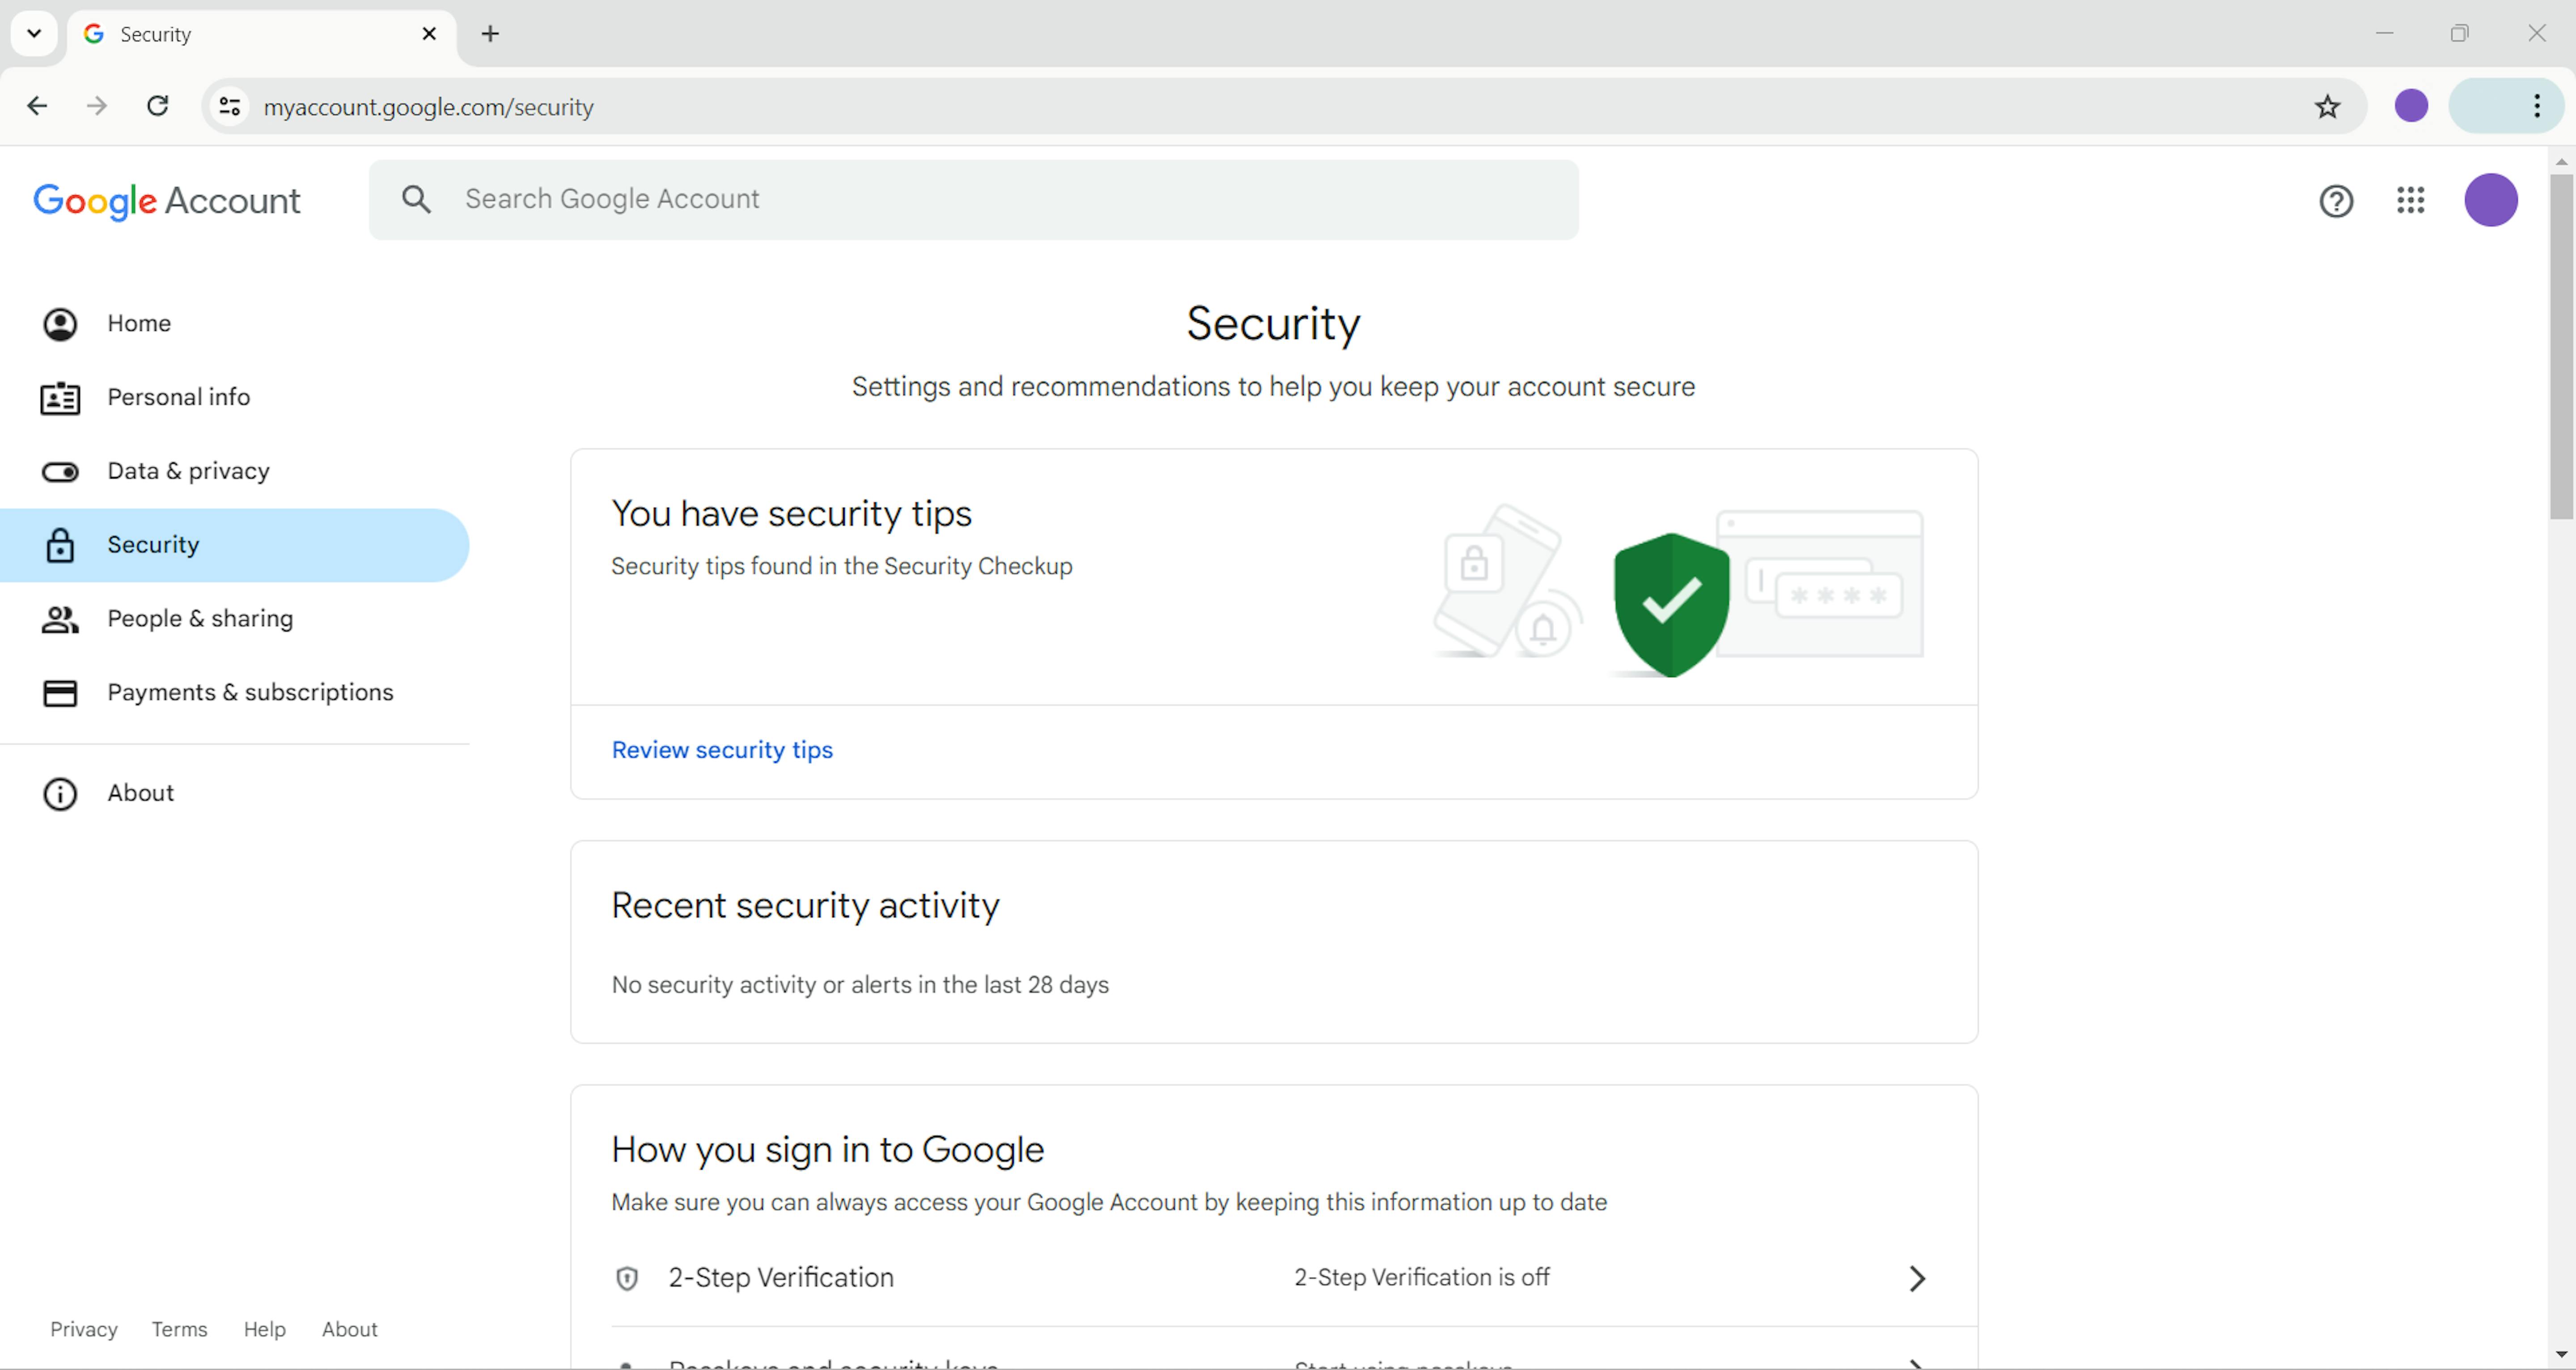
3. Now, you can see several security options for your test account. Let's choose "2-Step Verification" in the "How you sign in to Google" section.
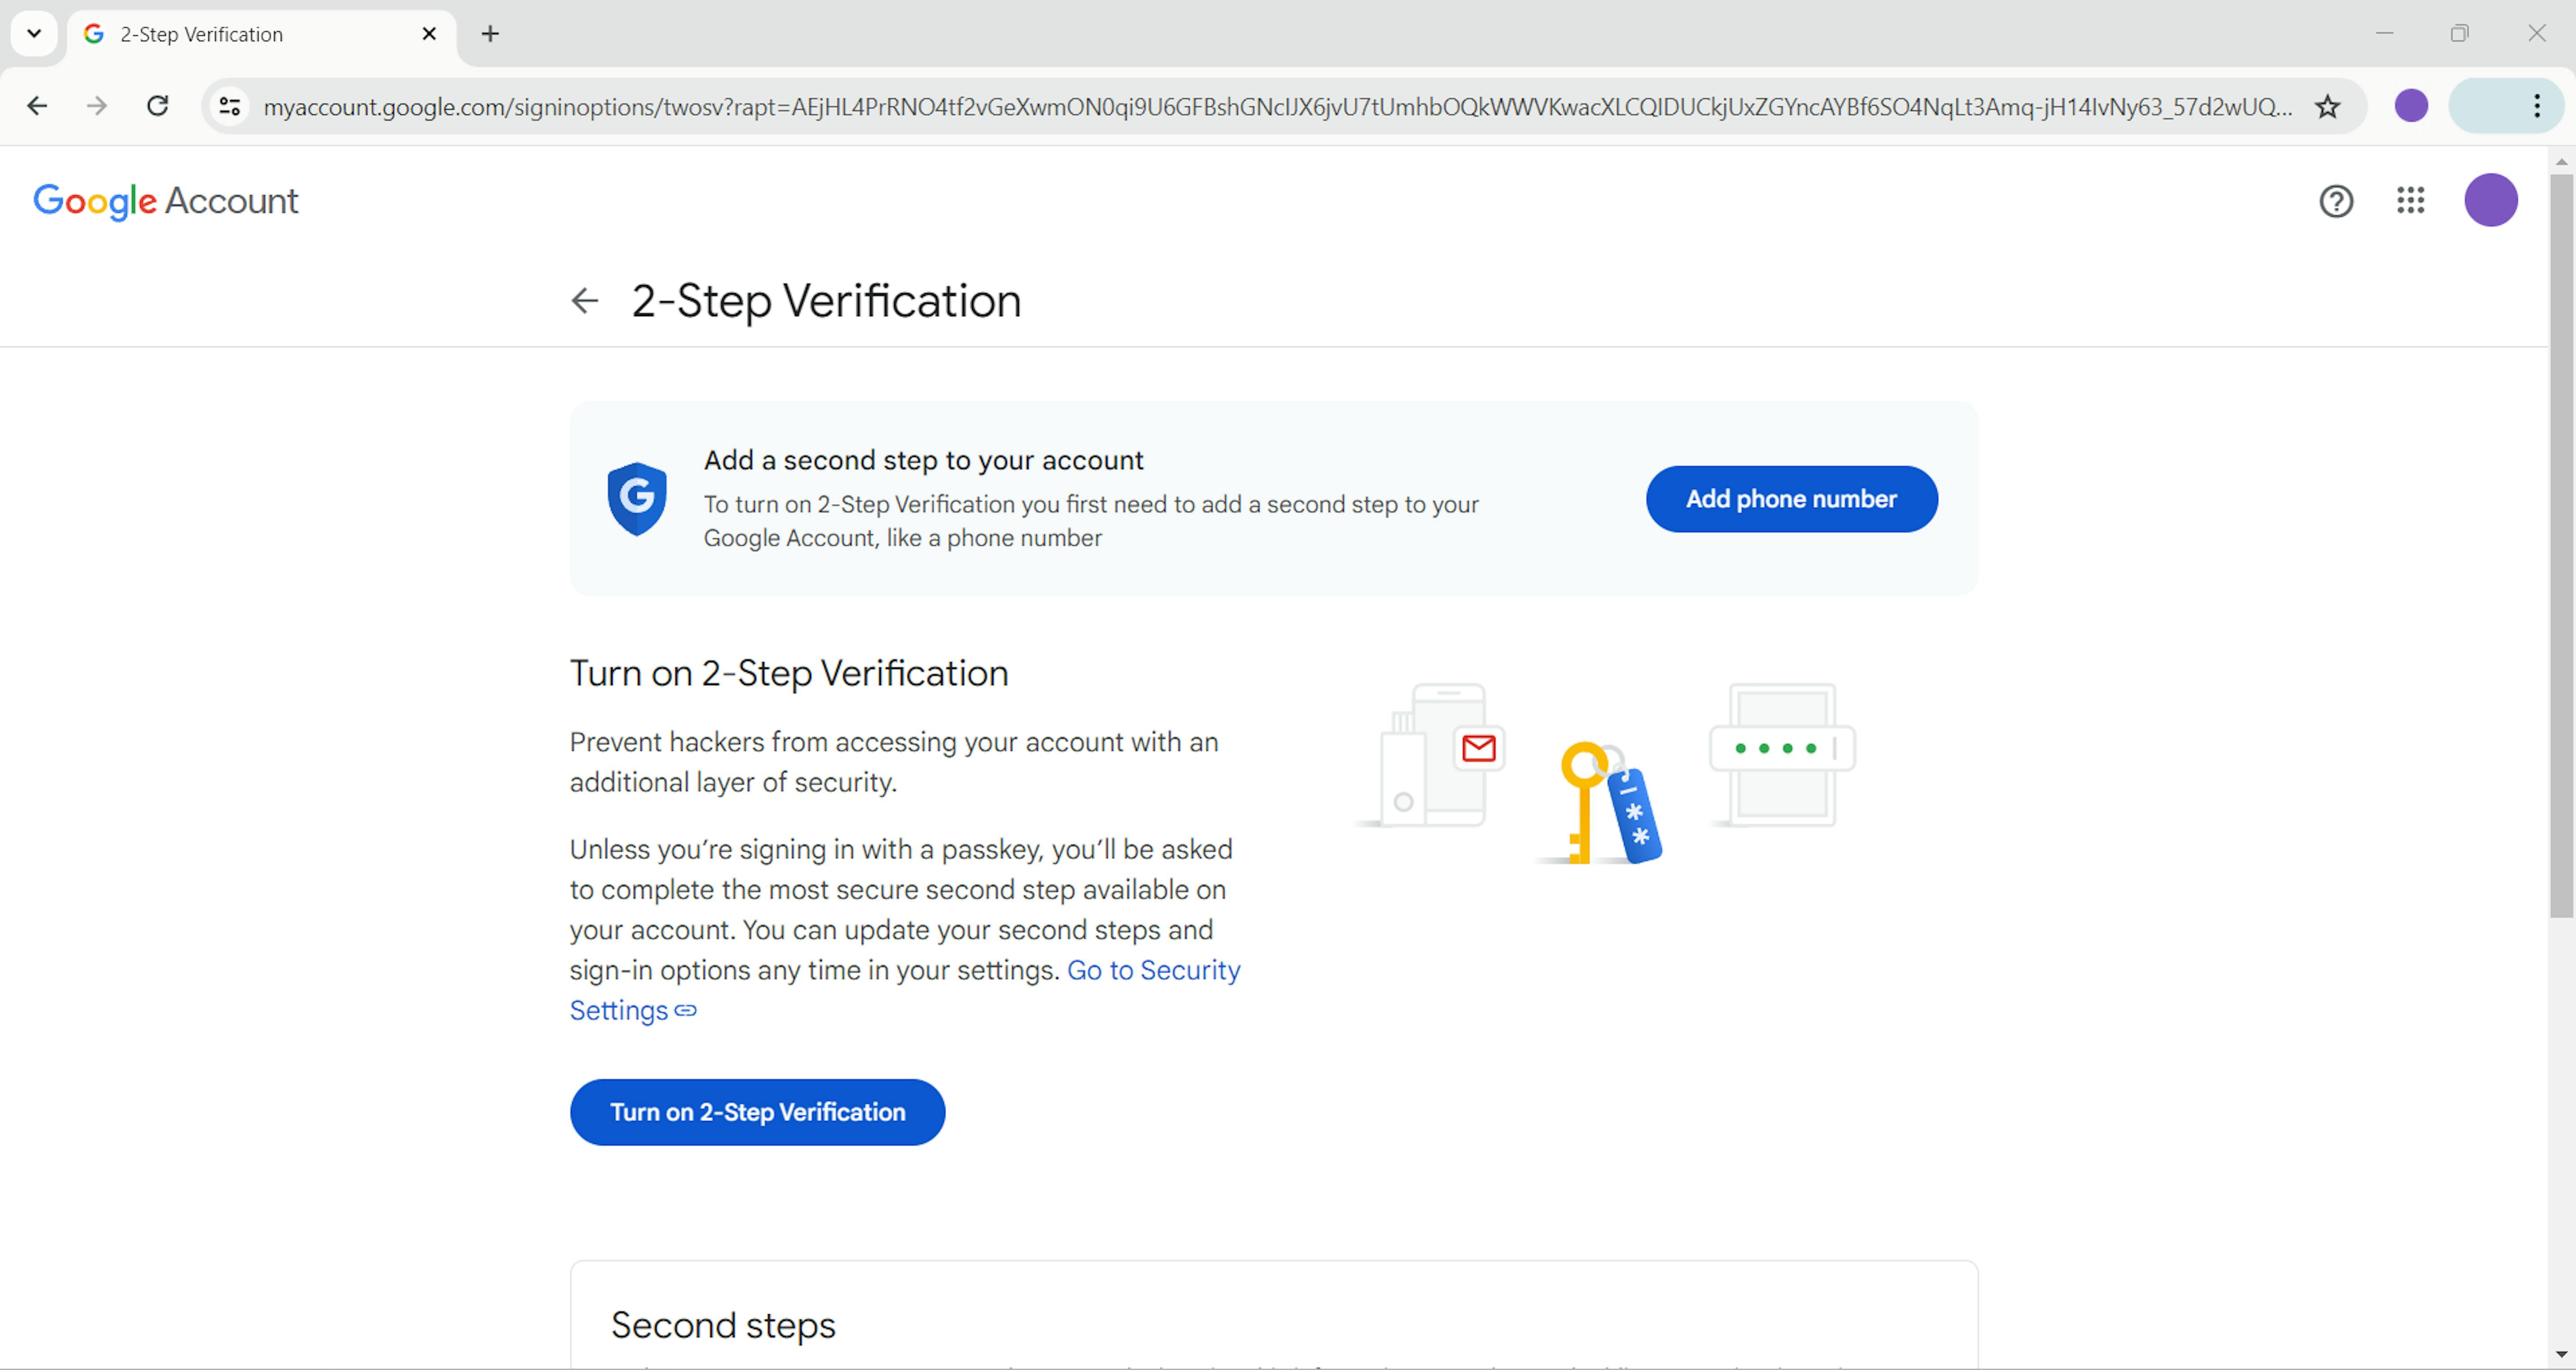
4. Select the "Turn on 2-Step Verification" button.
5. Several options are available, but we are interested in adding an authenticator app, so let's select the "Authenticator" option. In our example, we will use Google's "Authenticator" app. Keep in mind that other apps may have nuances.
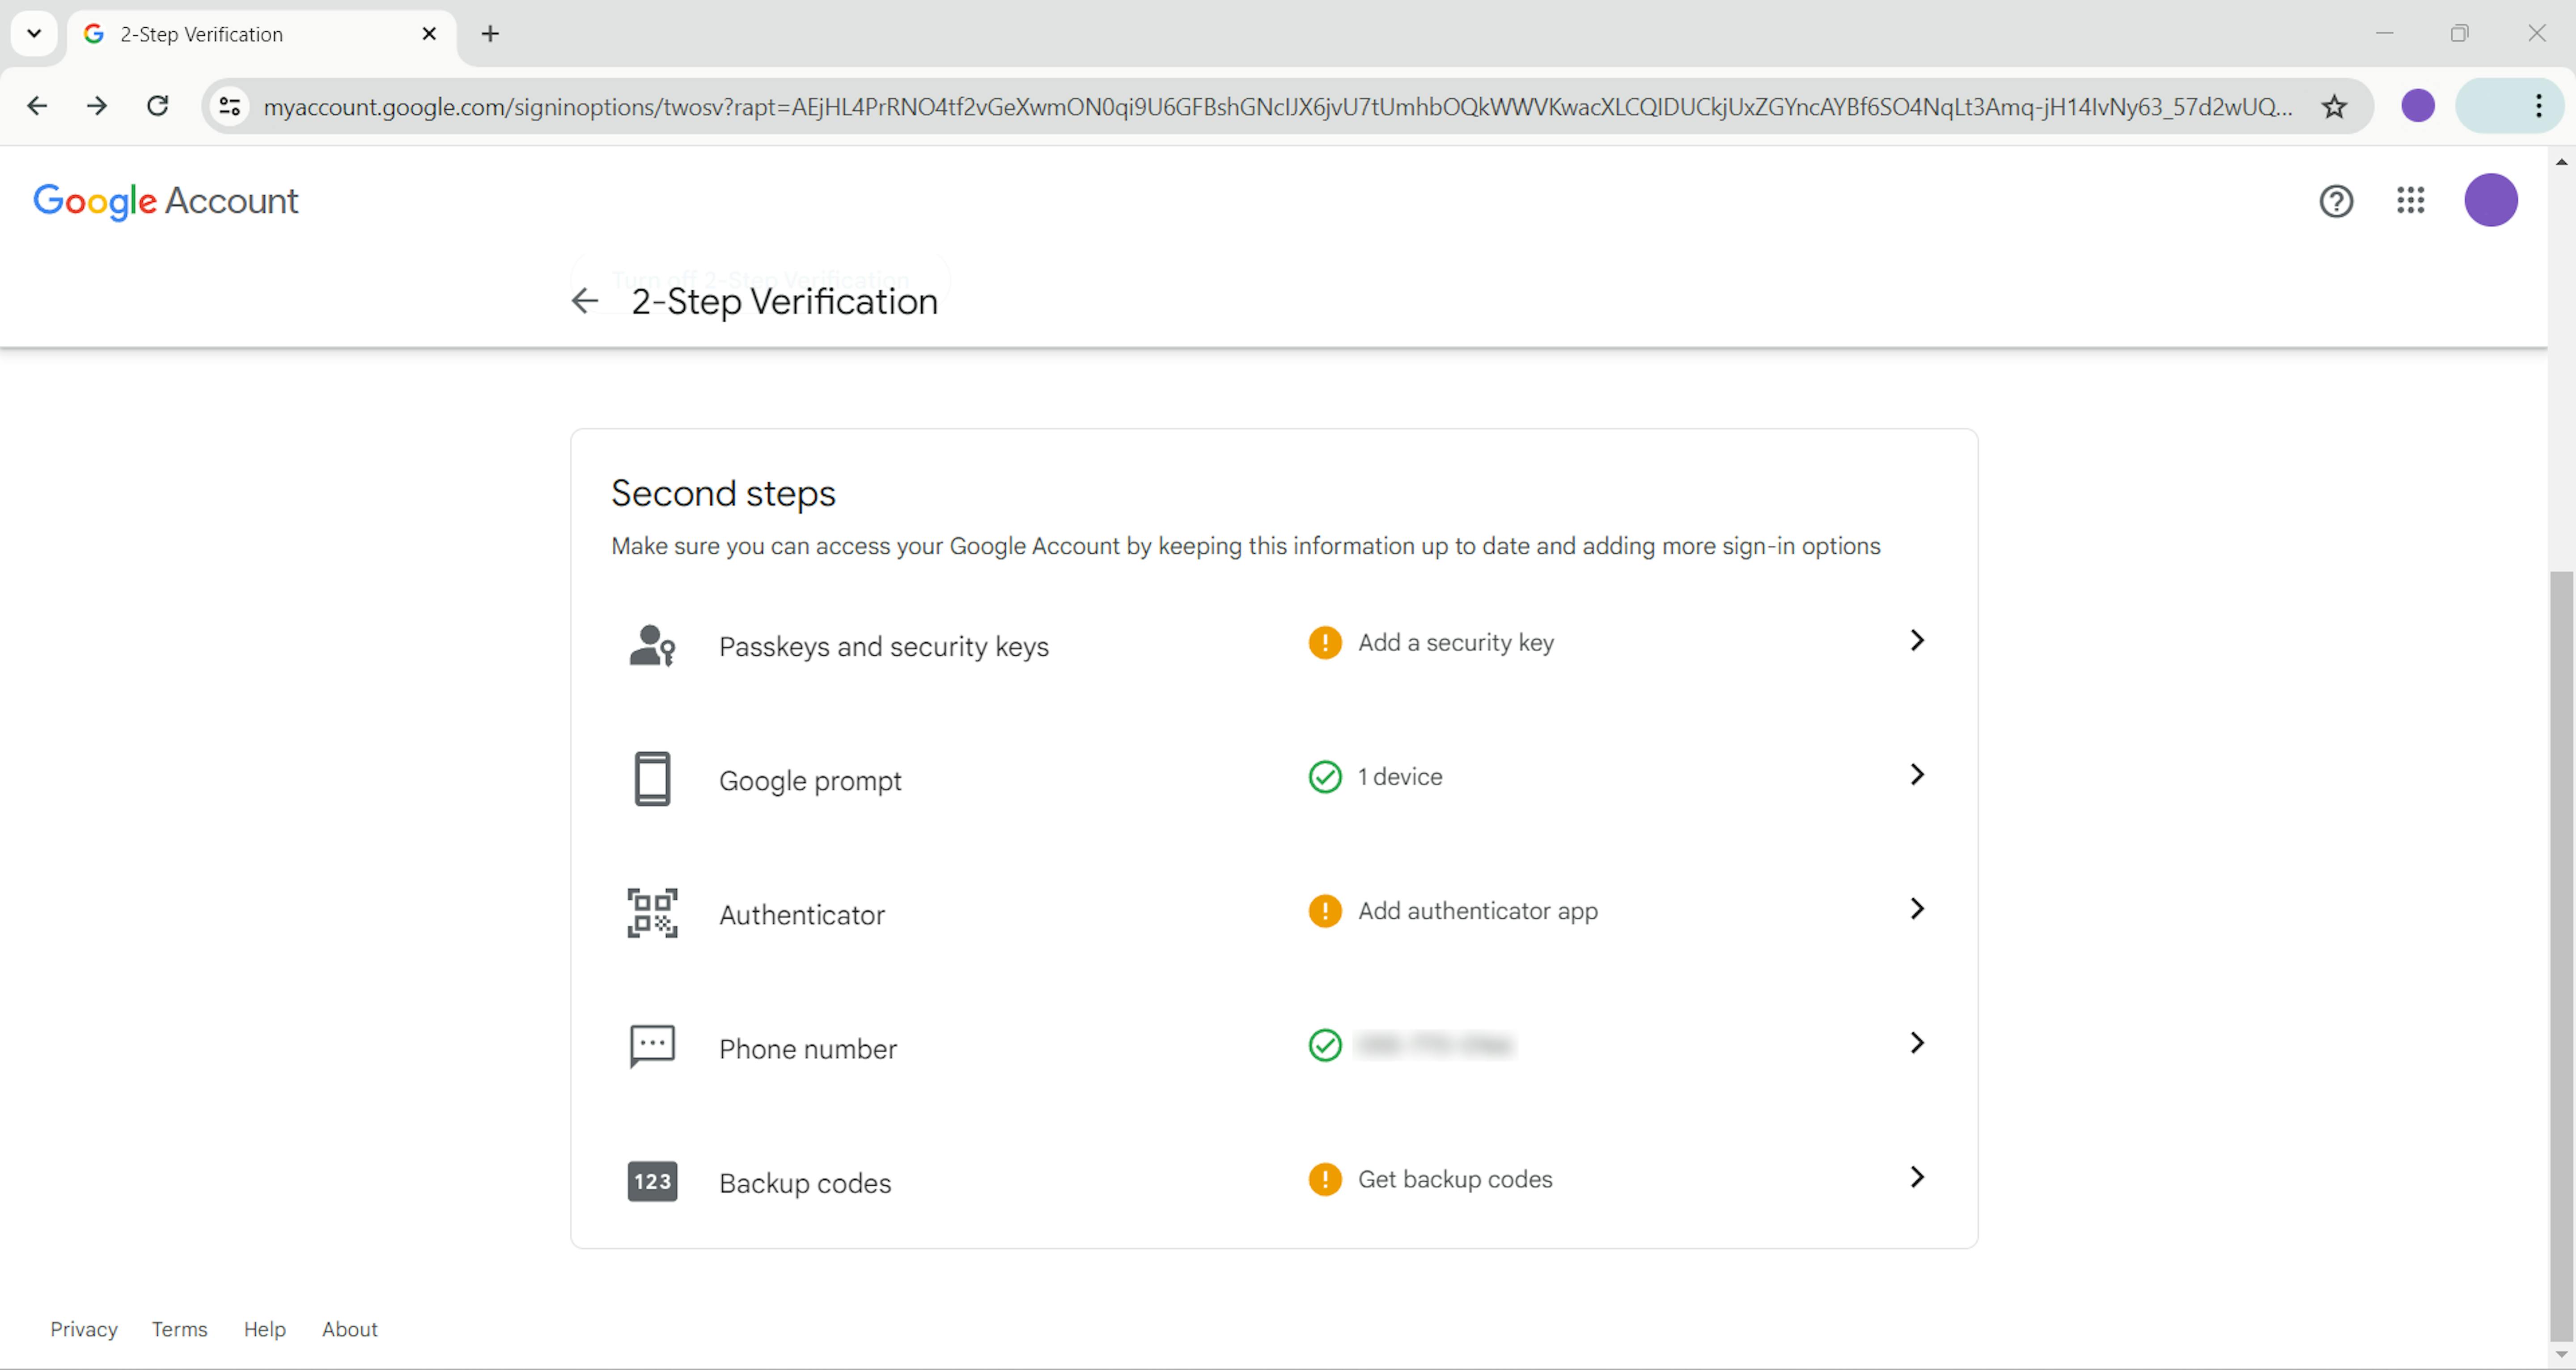
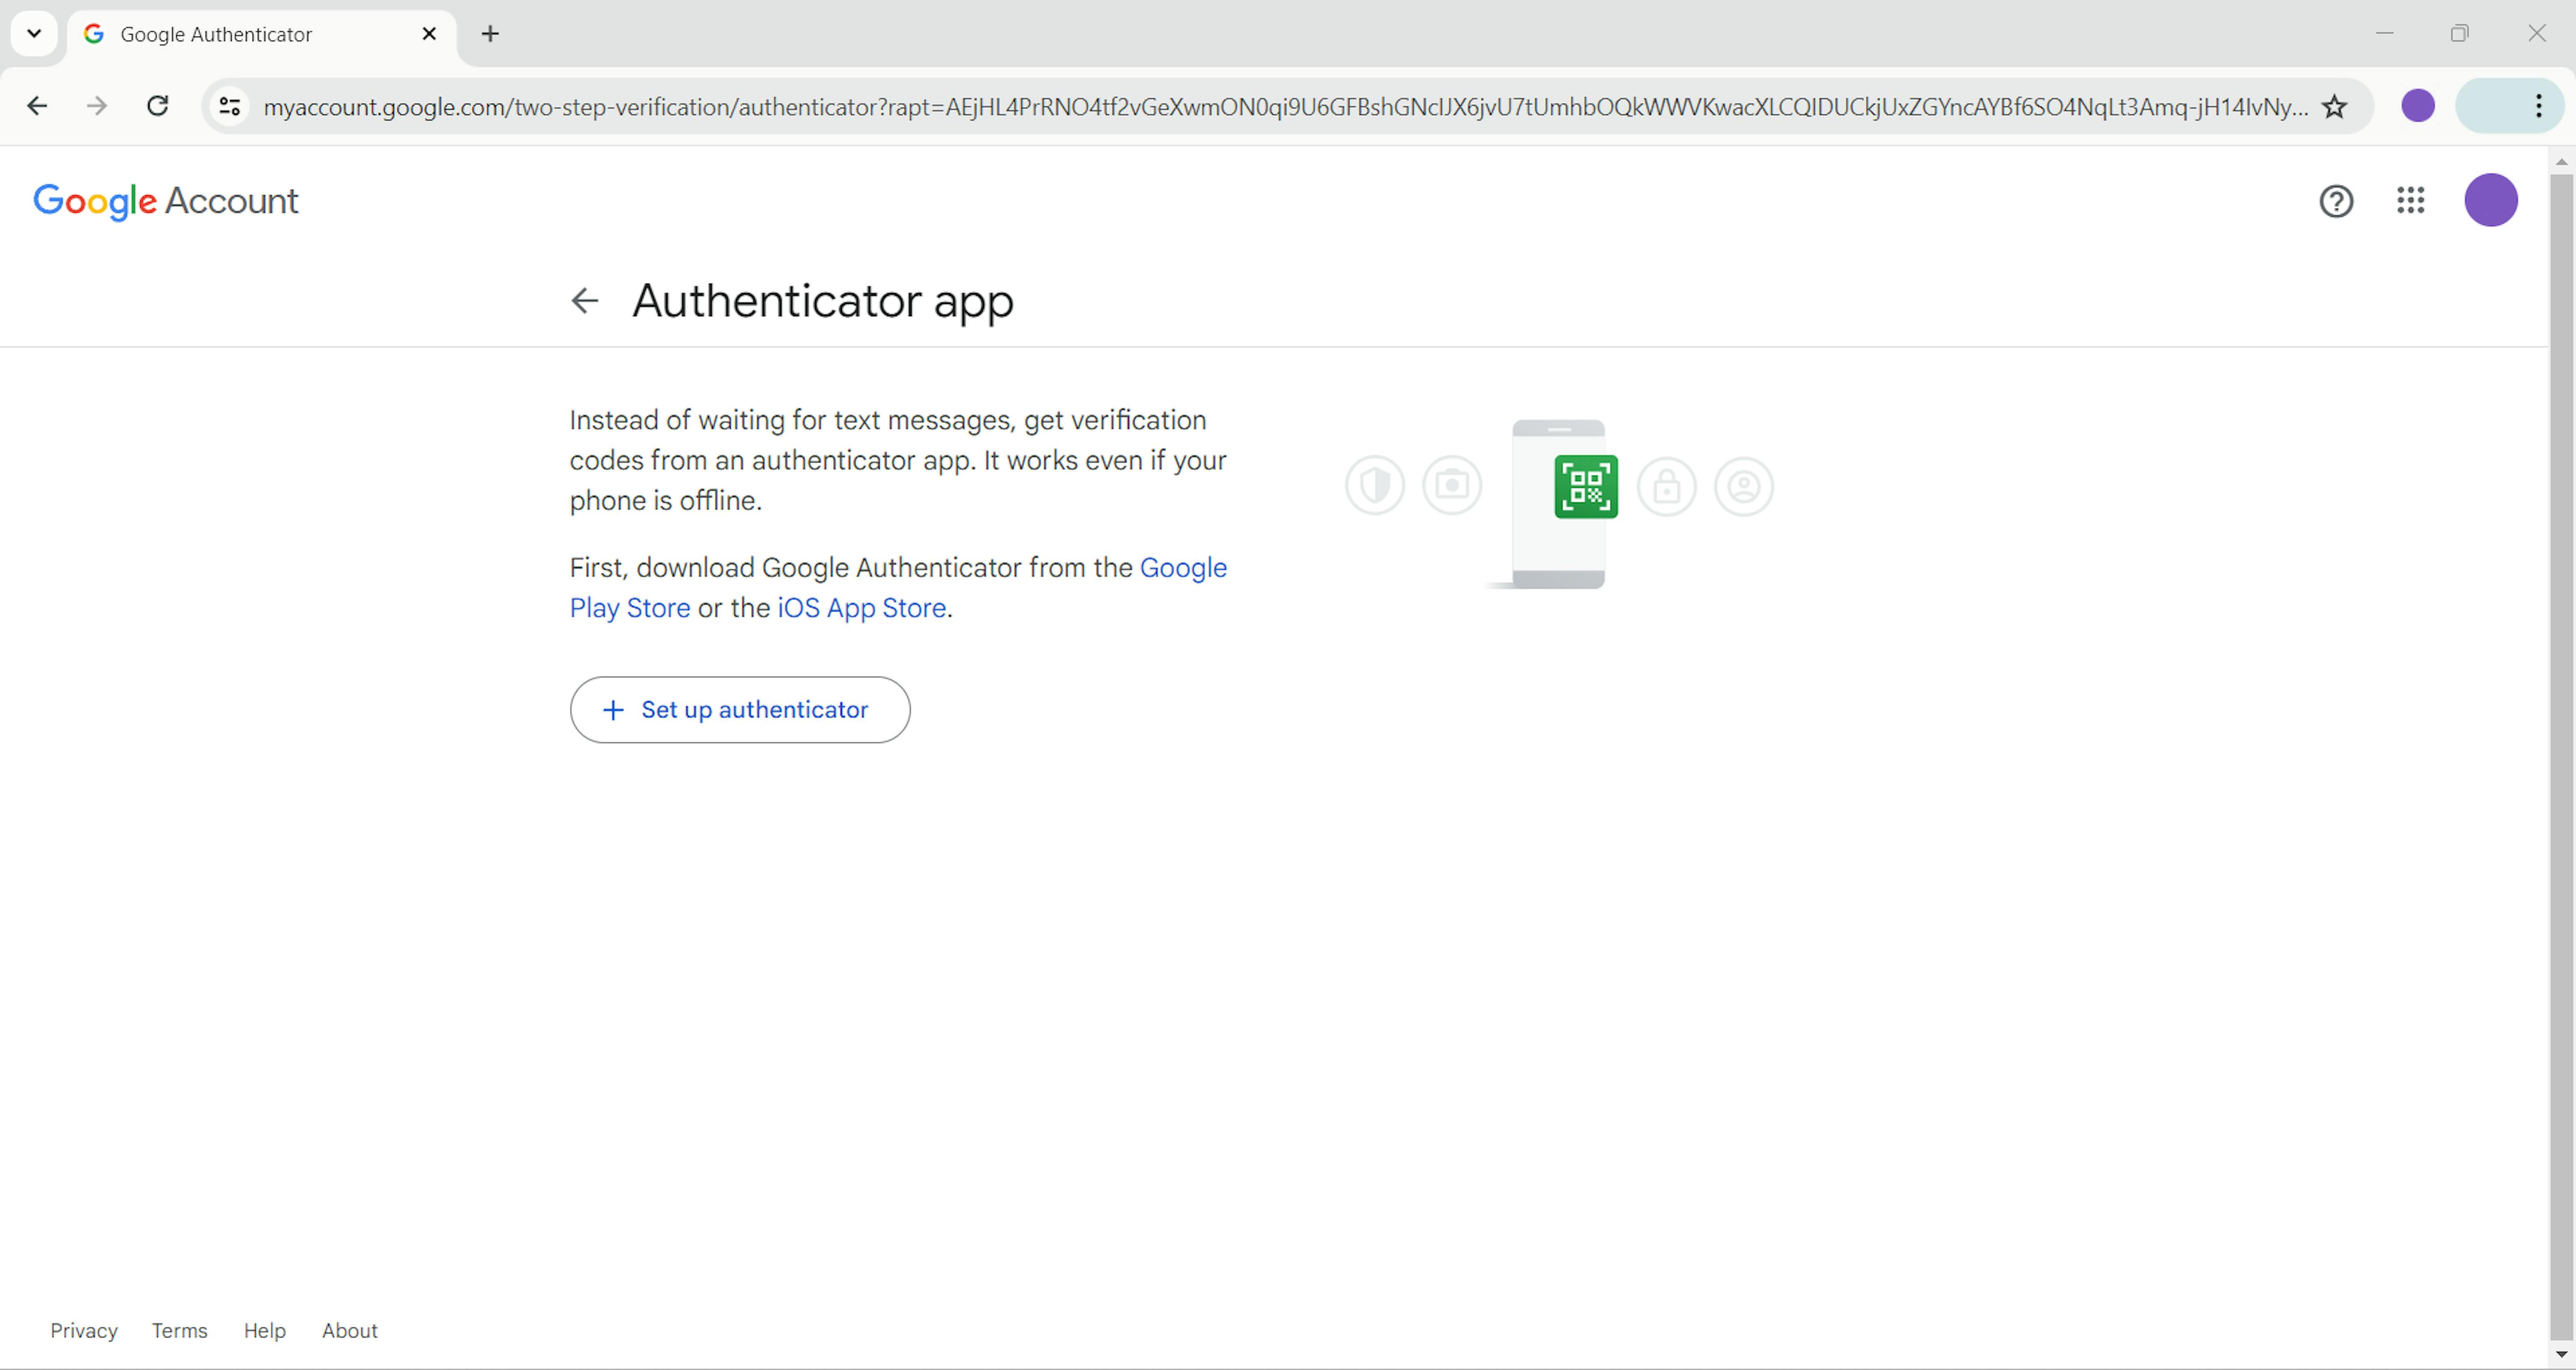
6. Select the "+ Set up authenticator" button.
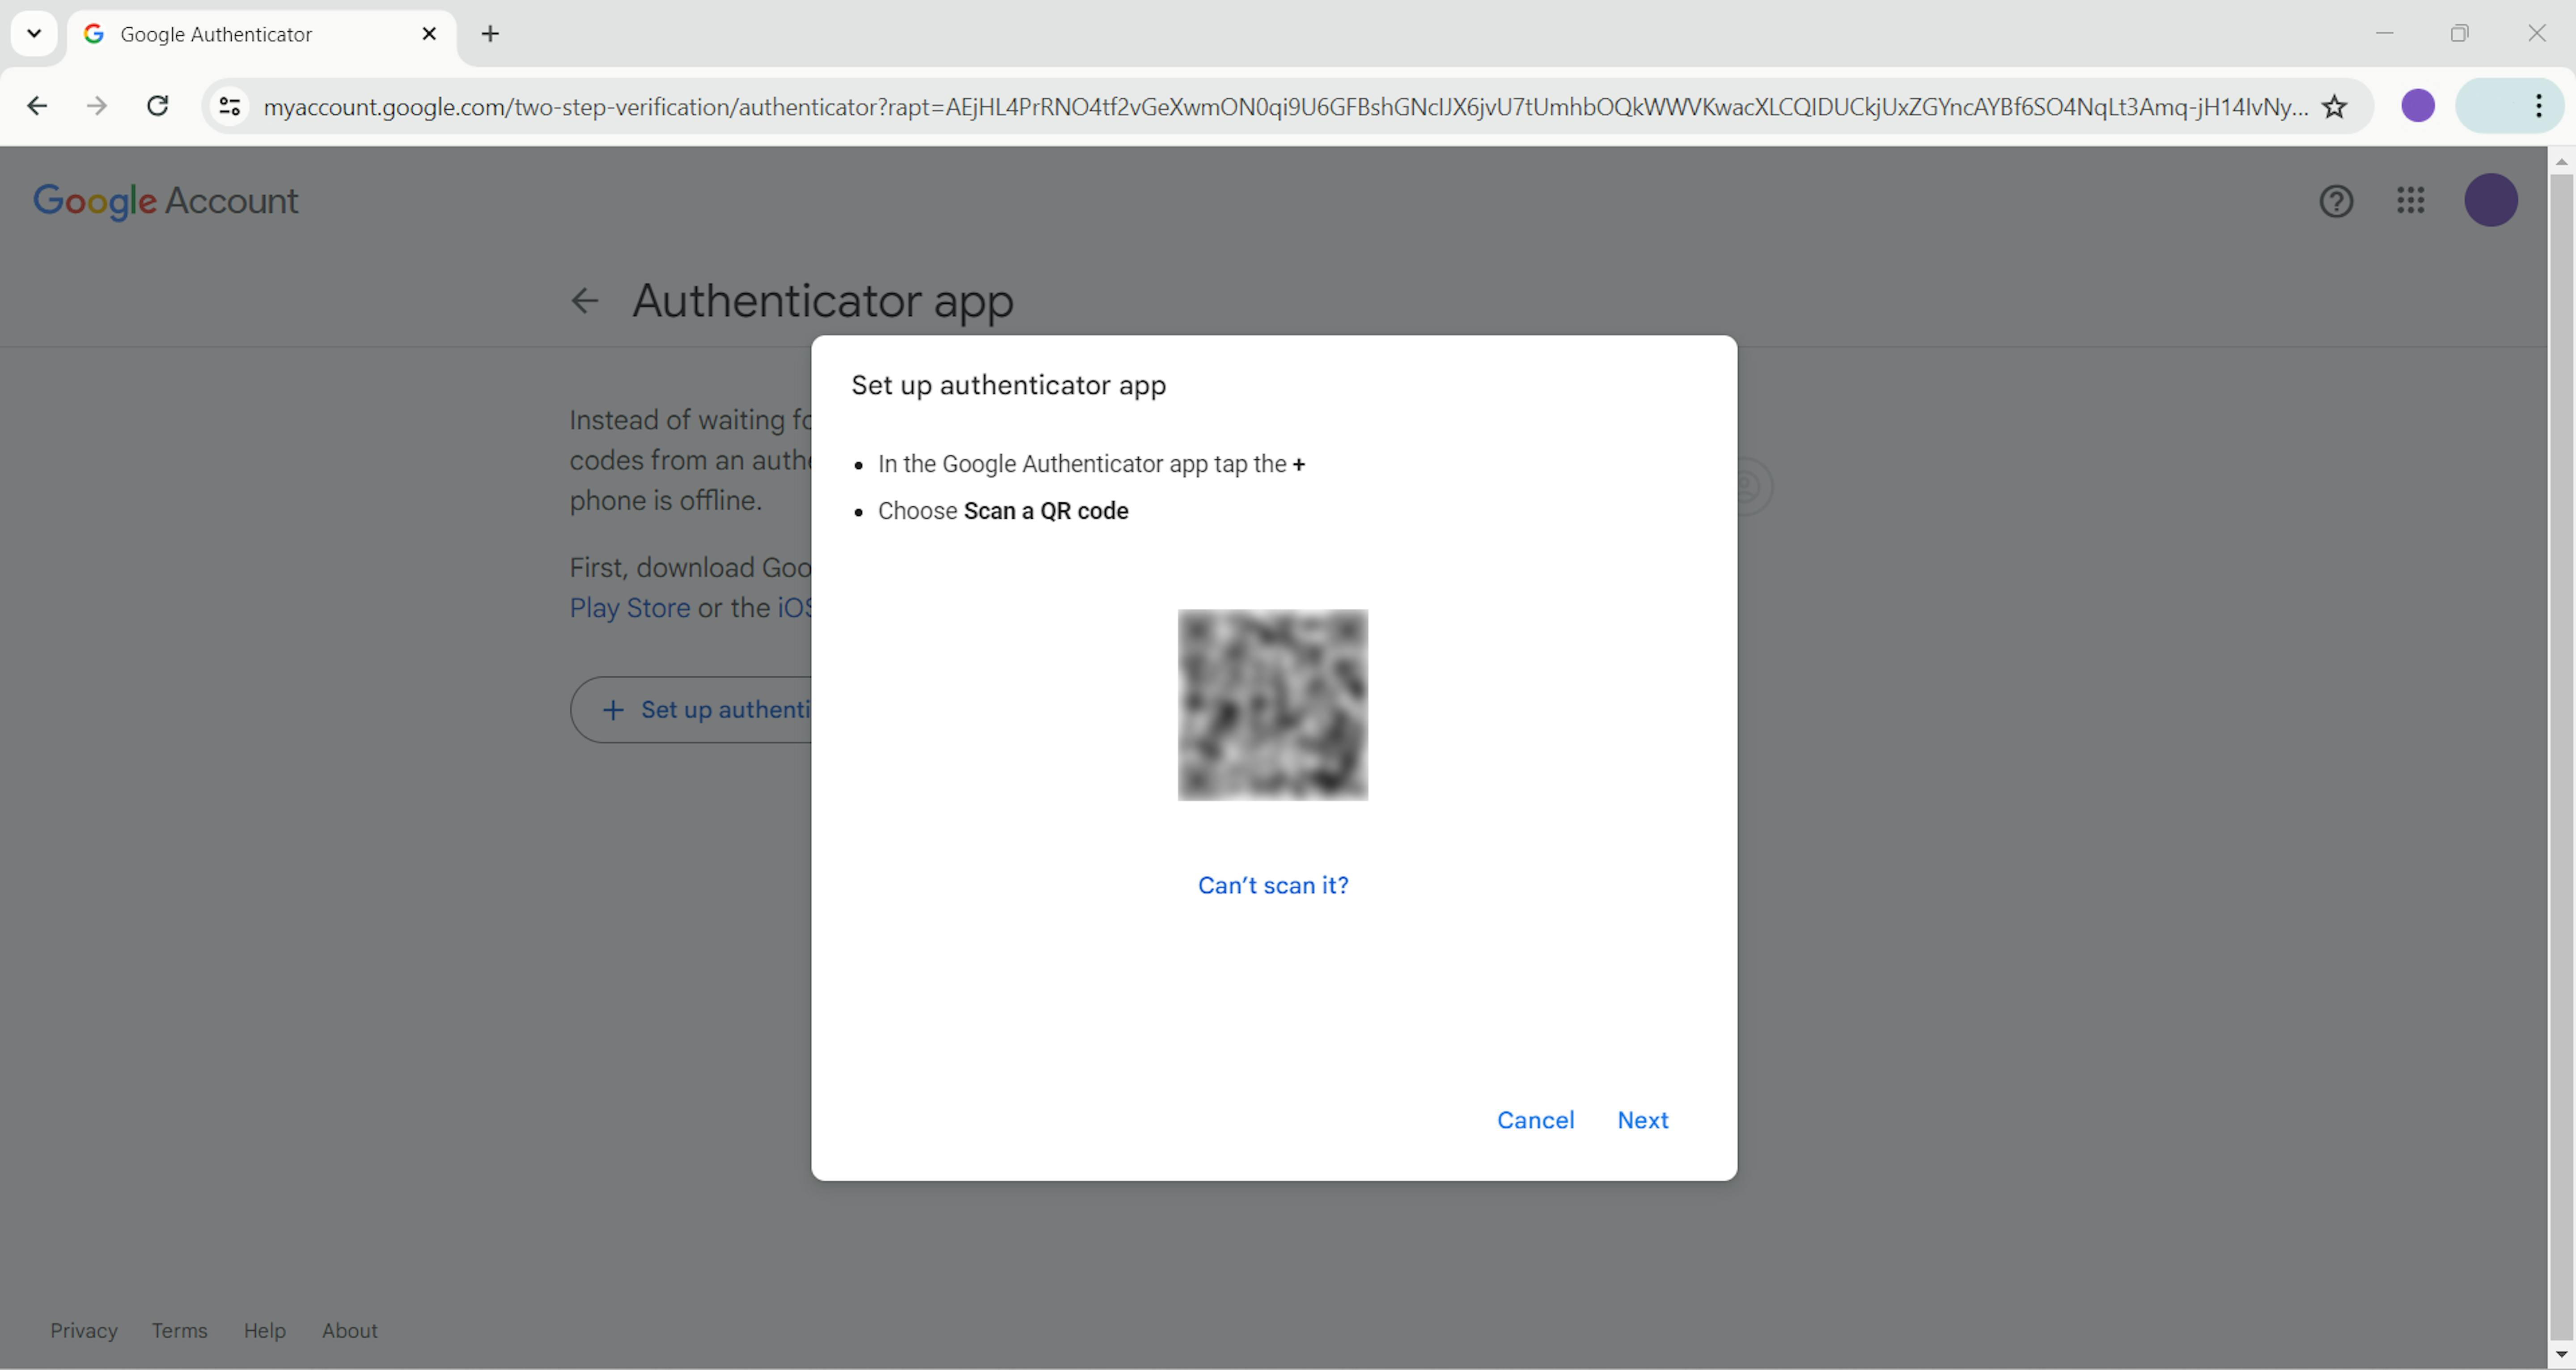
7. In the next step, Google presents us with a QR code that we are supposed to scan to set up our authenticator, but there is a trick. Instead of scanning the QR code, we select the "Can't scan it?" option.
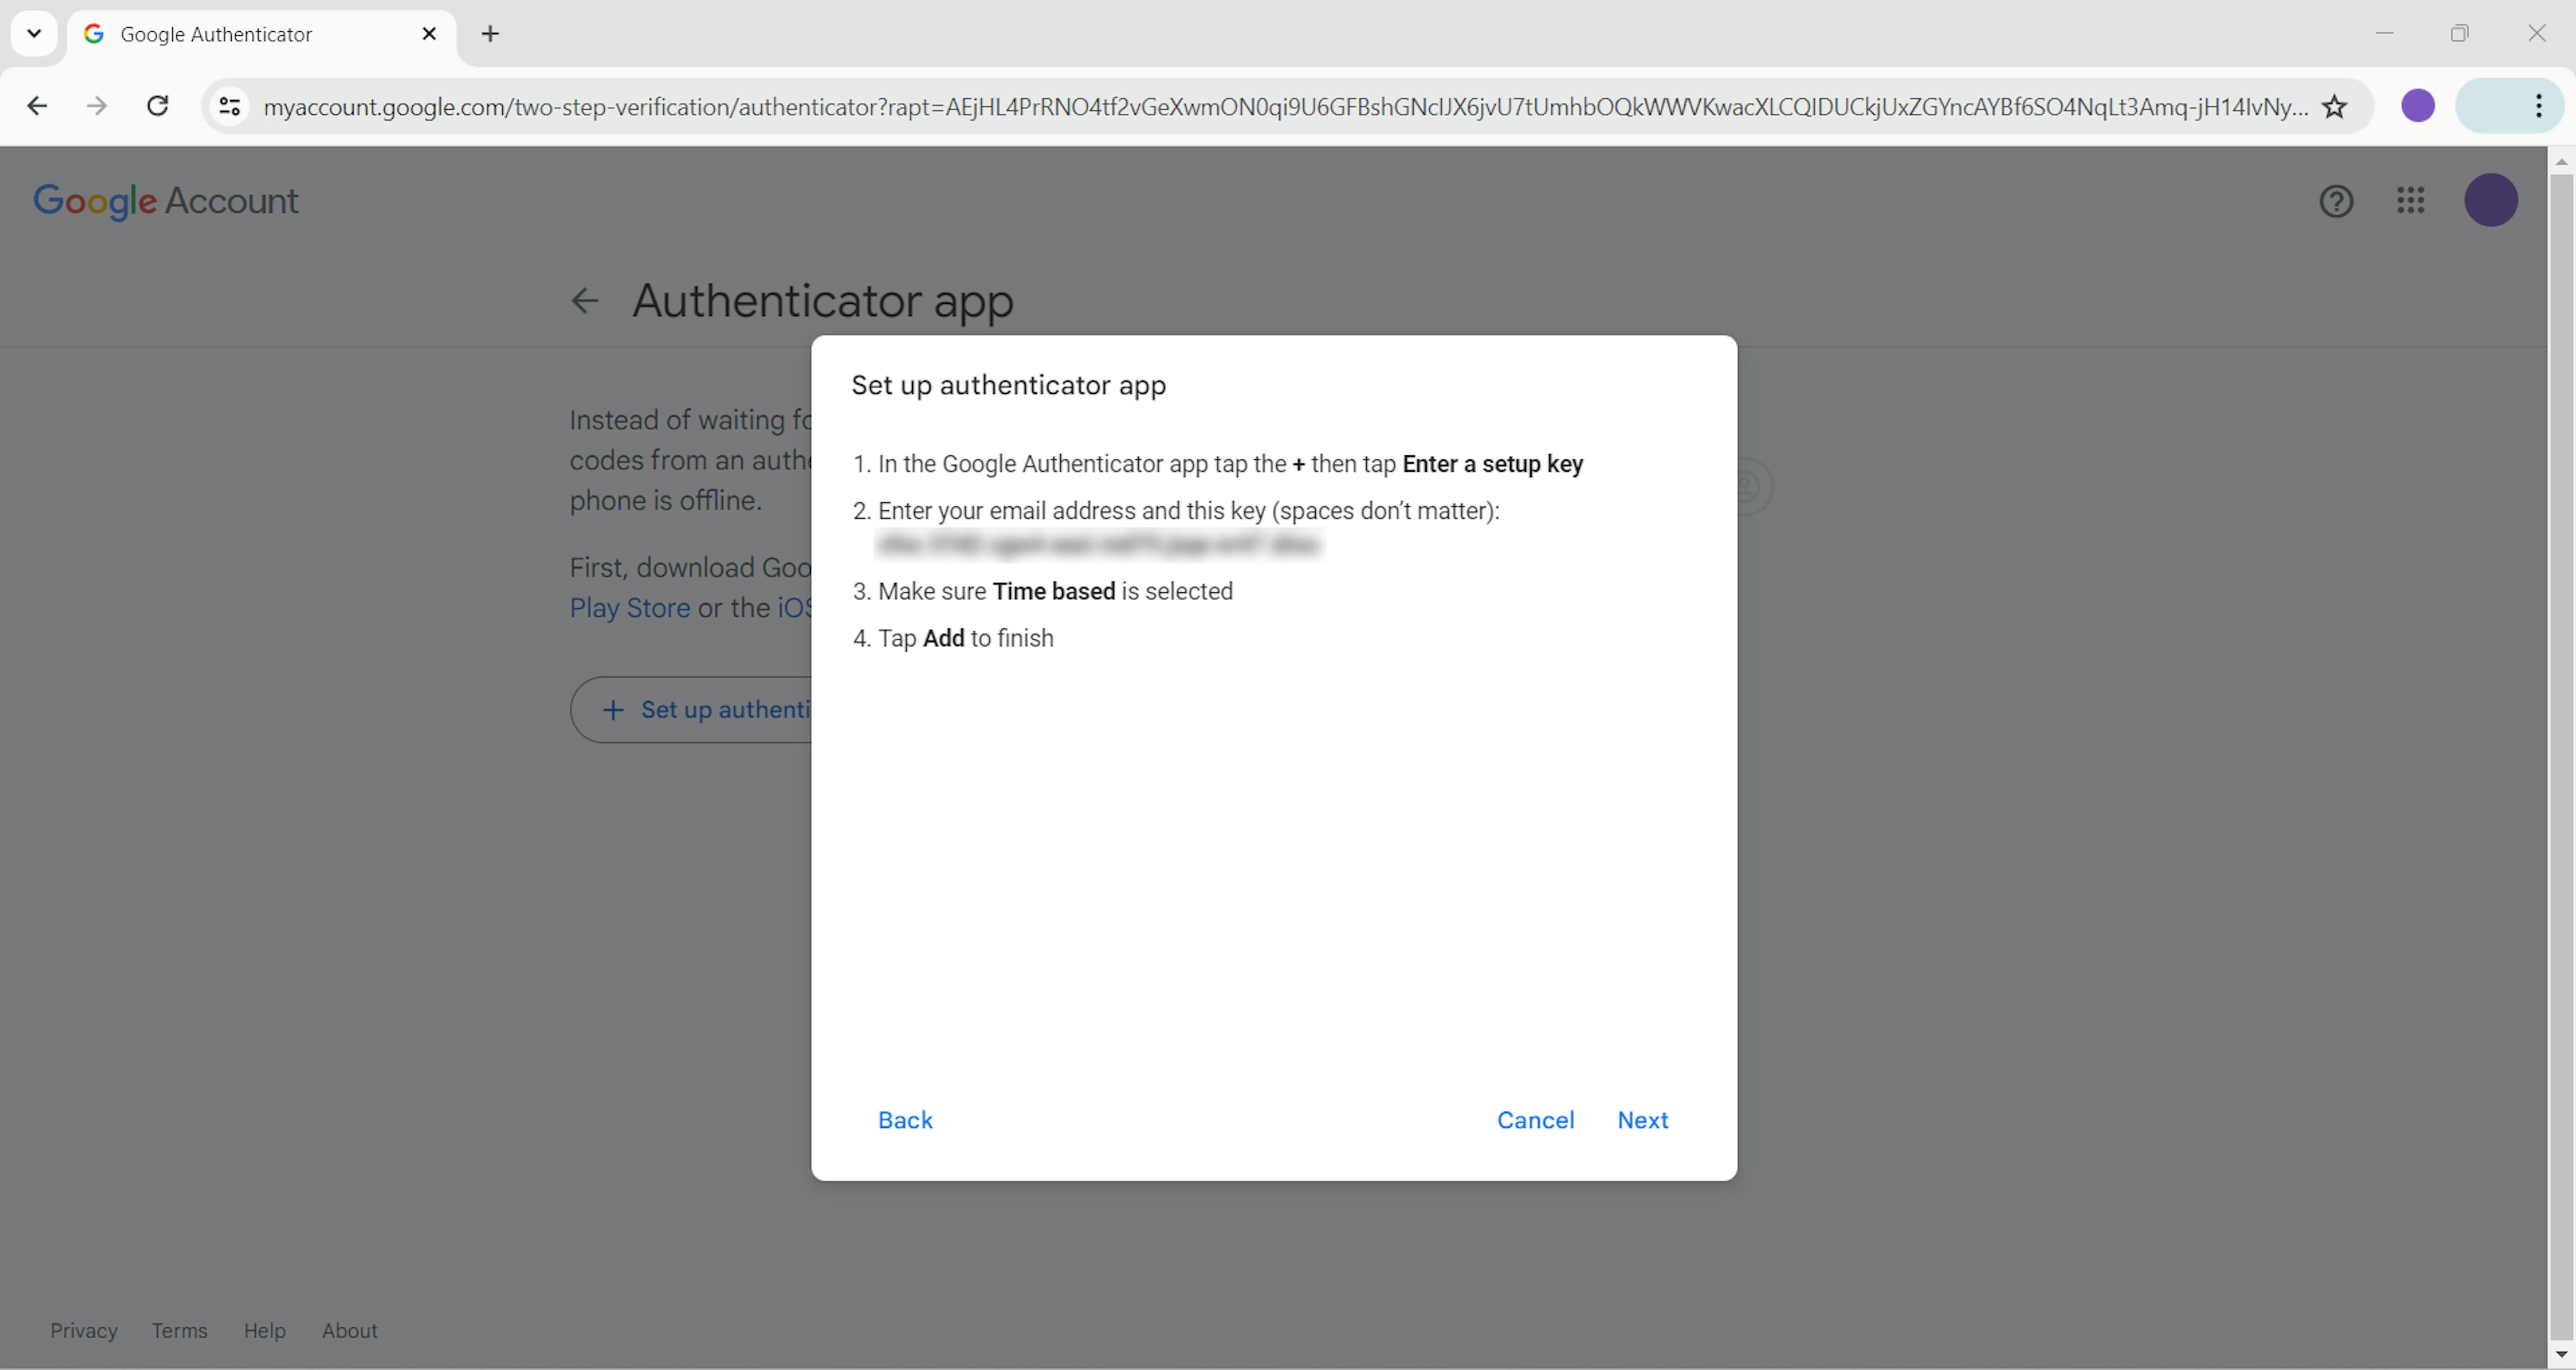
8. Using the security key provided by Google, we can set up time-based generation of 2FA tokens, which will then allow us to use special libraries to generate tokens programmatically.
9. Follow the instructions on the screen and select the "Next" button once completed.
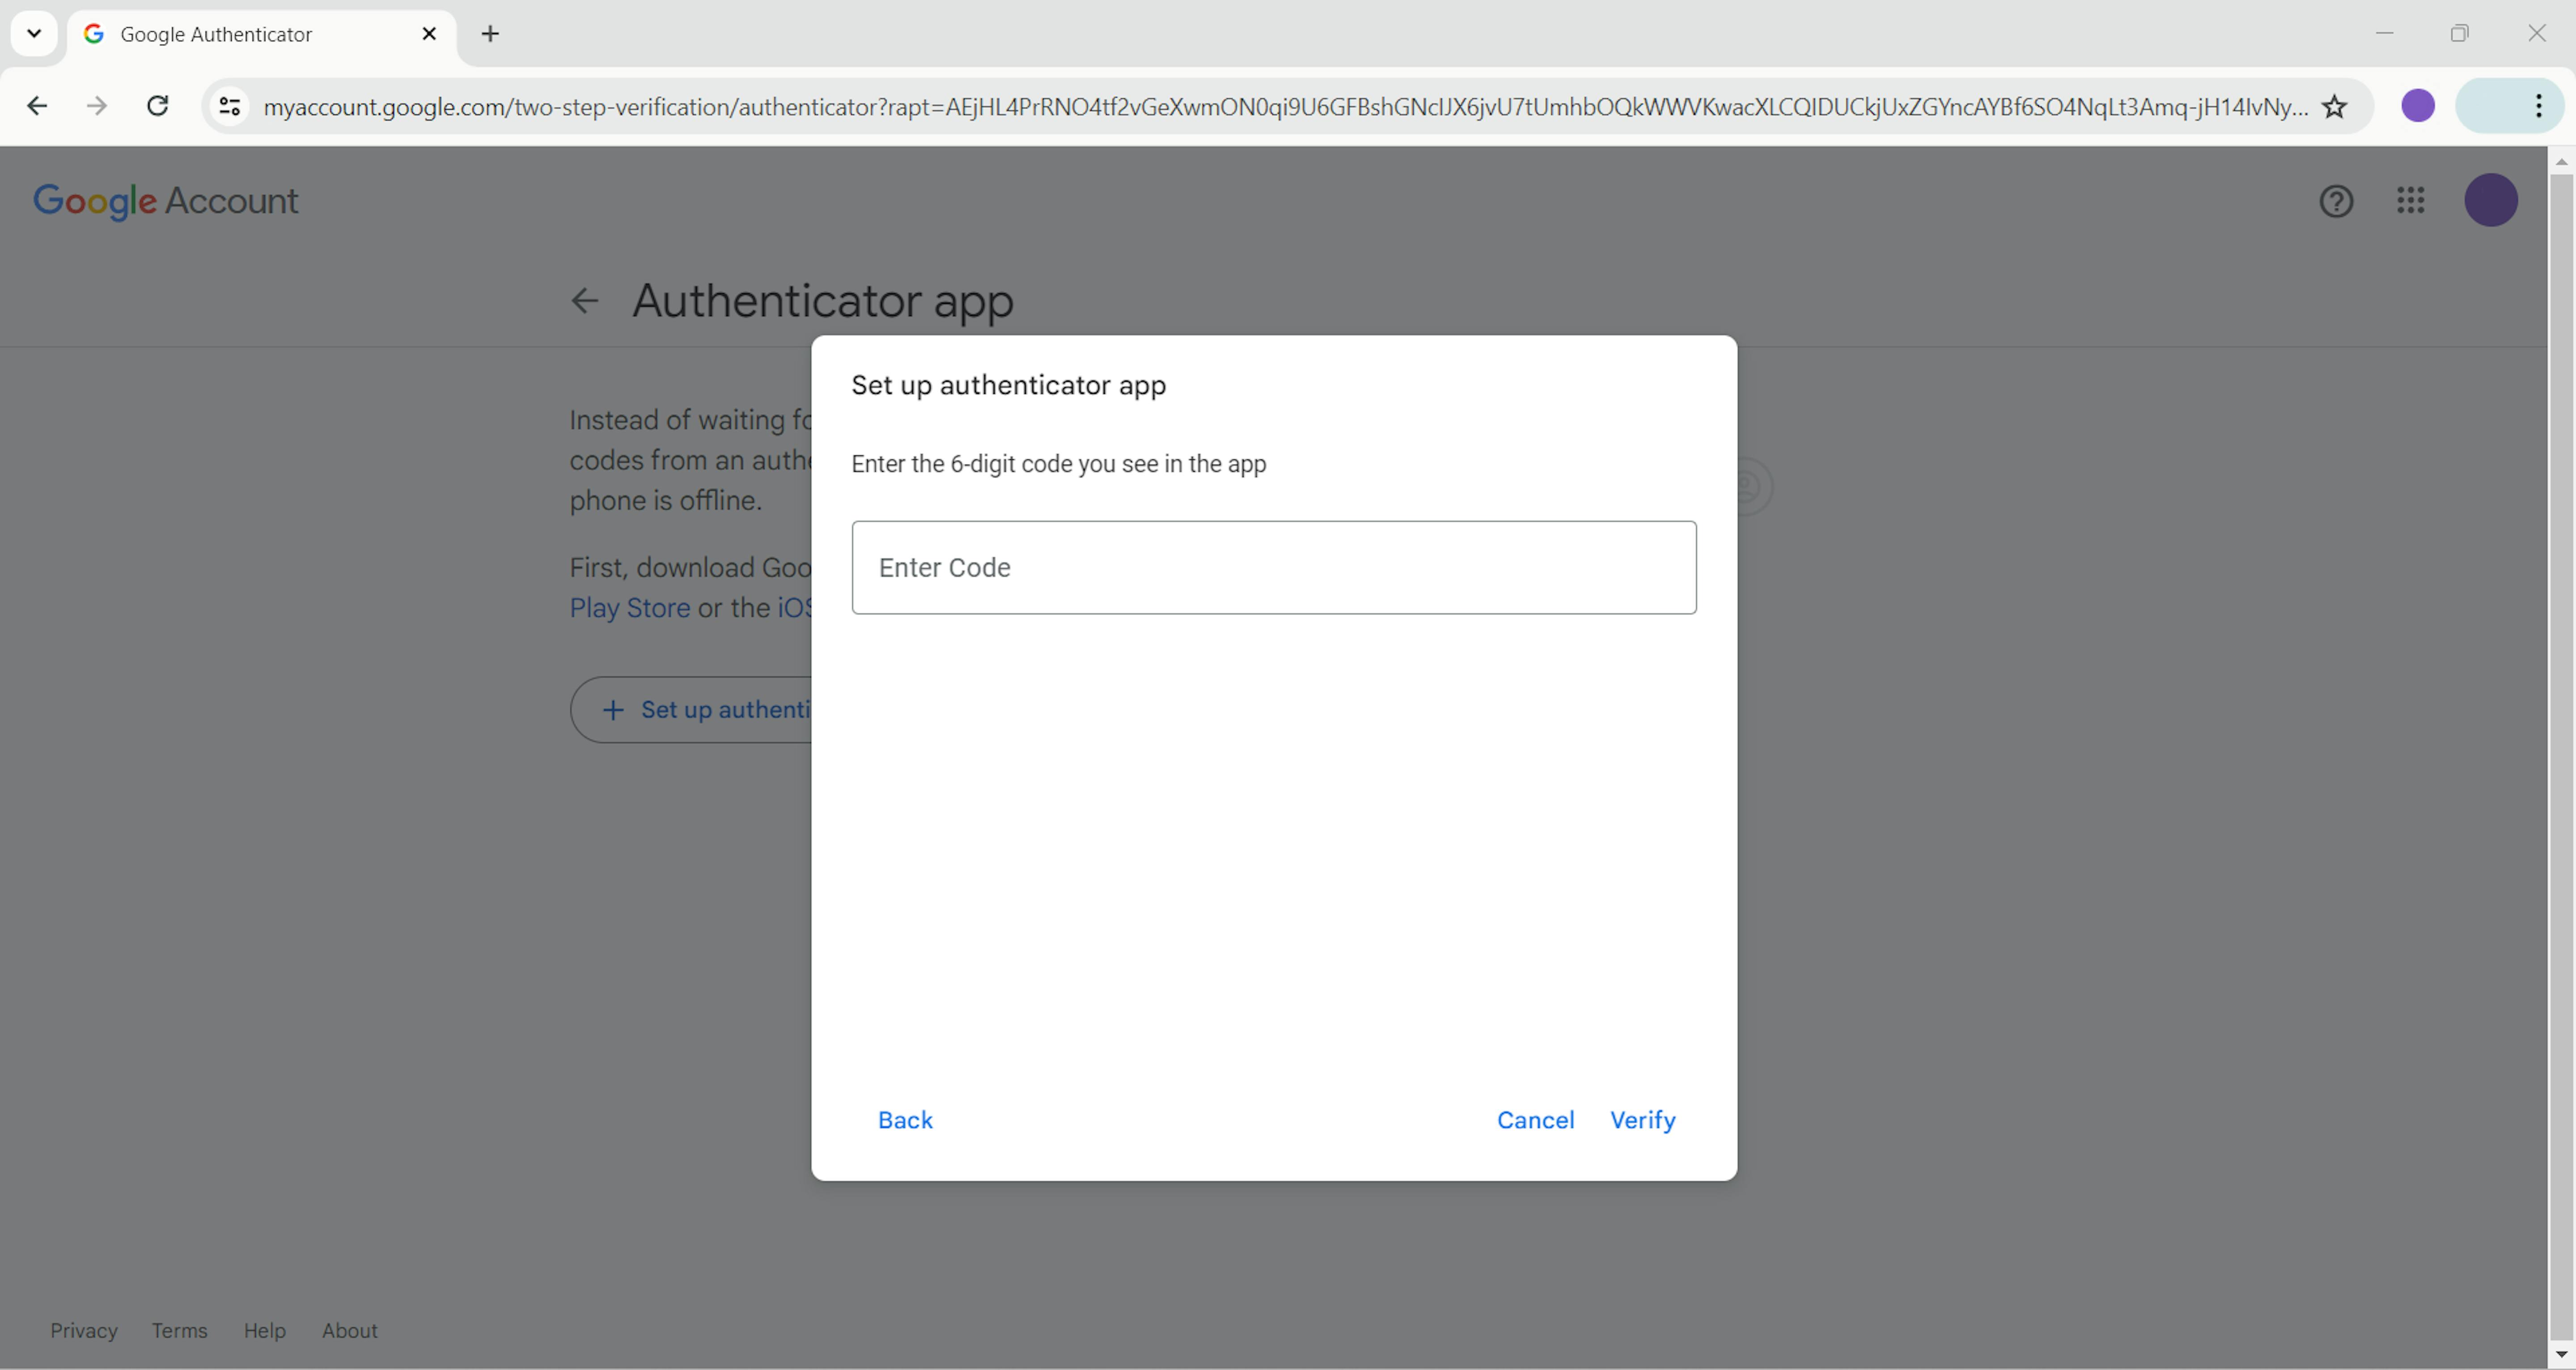
10. Google will require you to submit the token you can see in your authenticator app to validate the correct settings. Put the token in the "Enter Code" field and select "Verify".
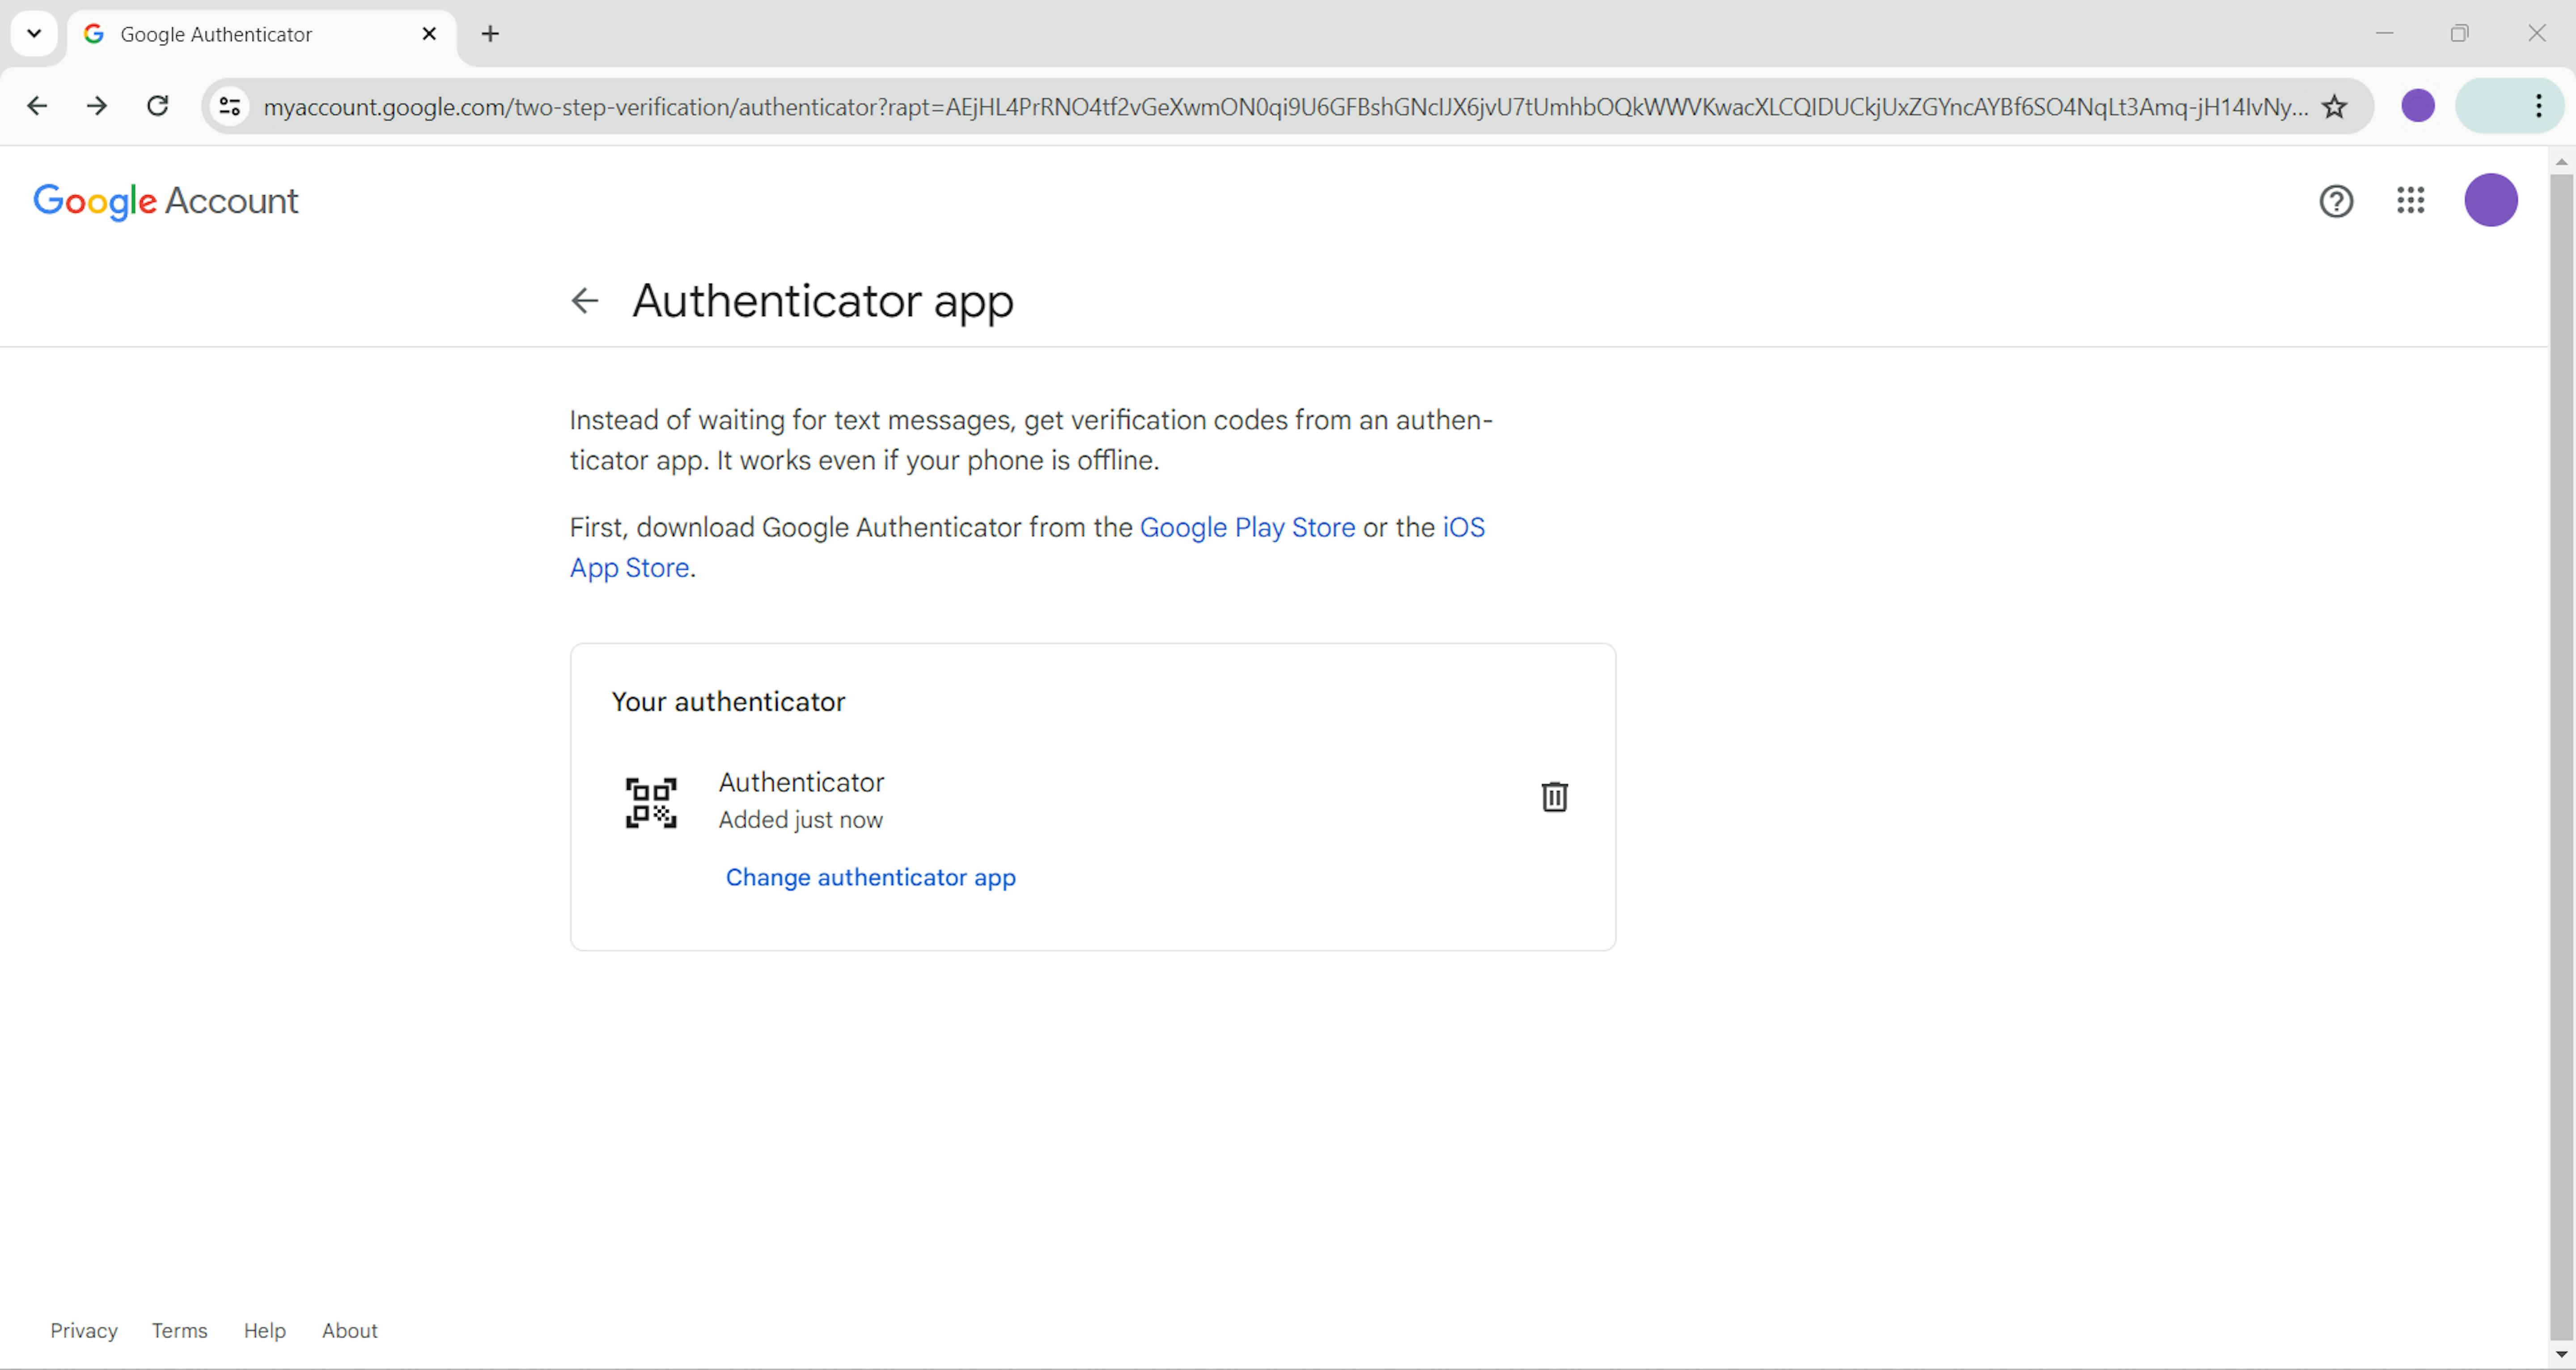
11. Google confirms that the authenticator was added to your account.
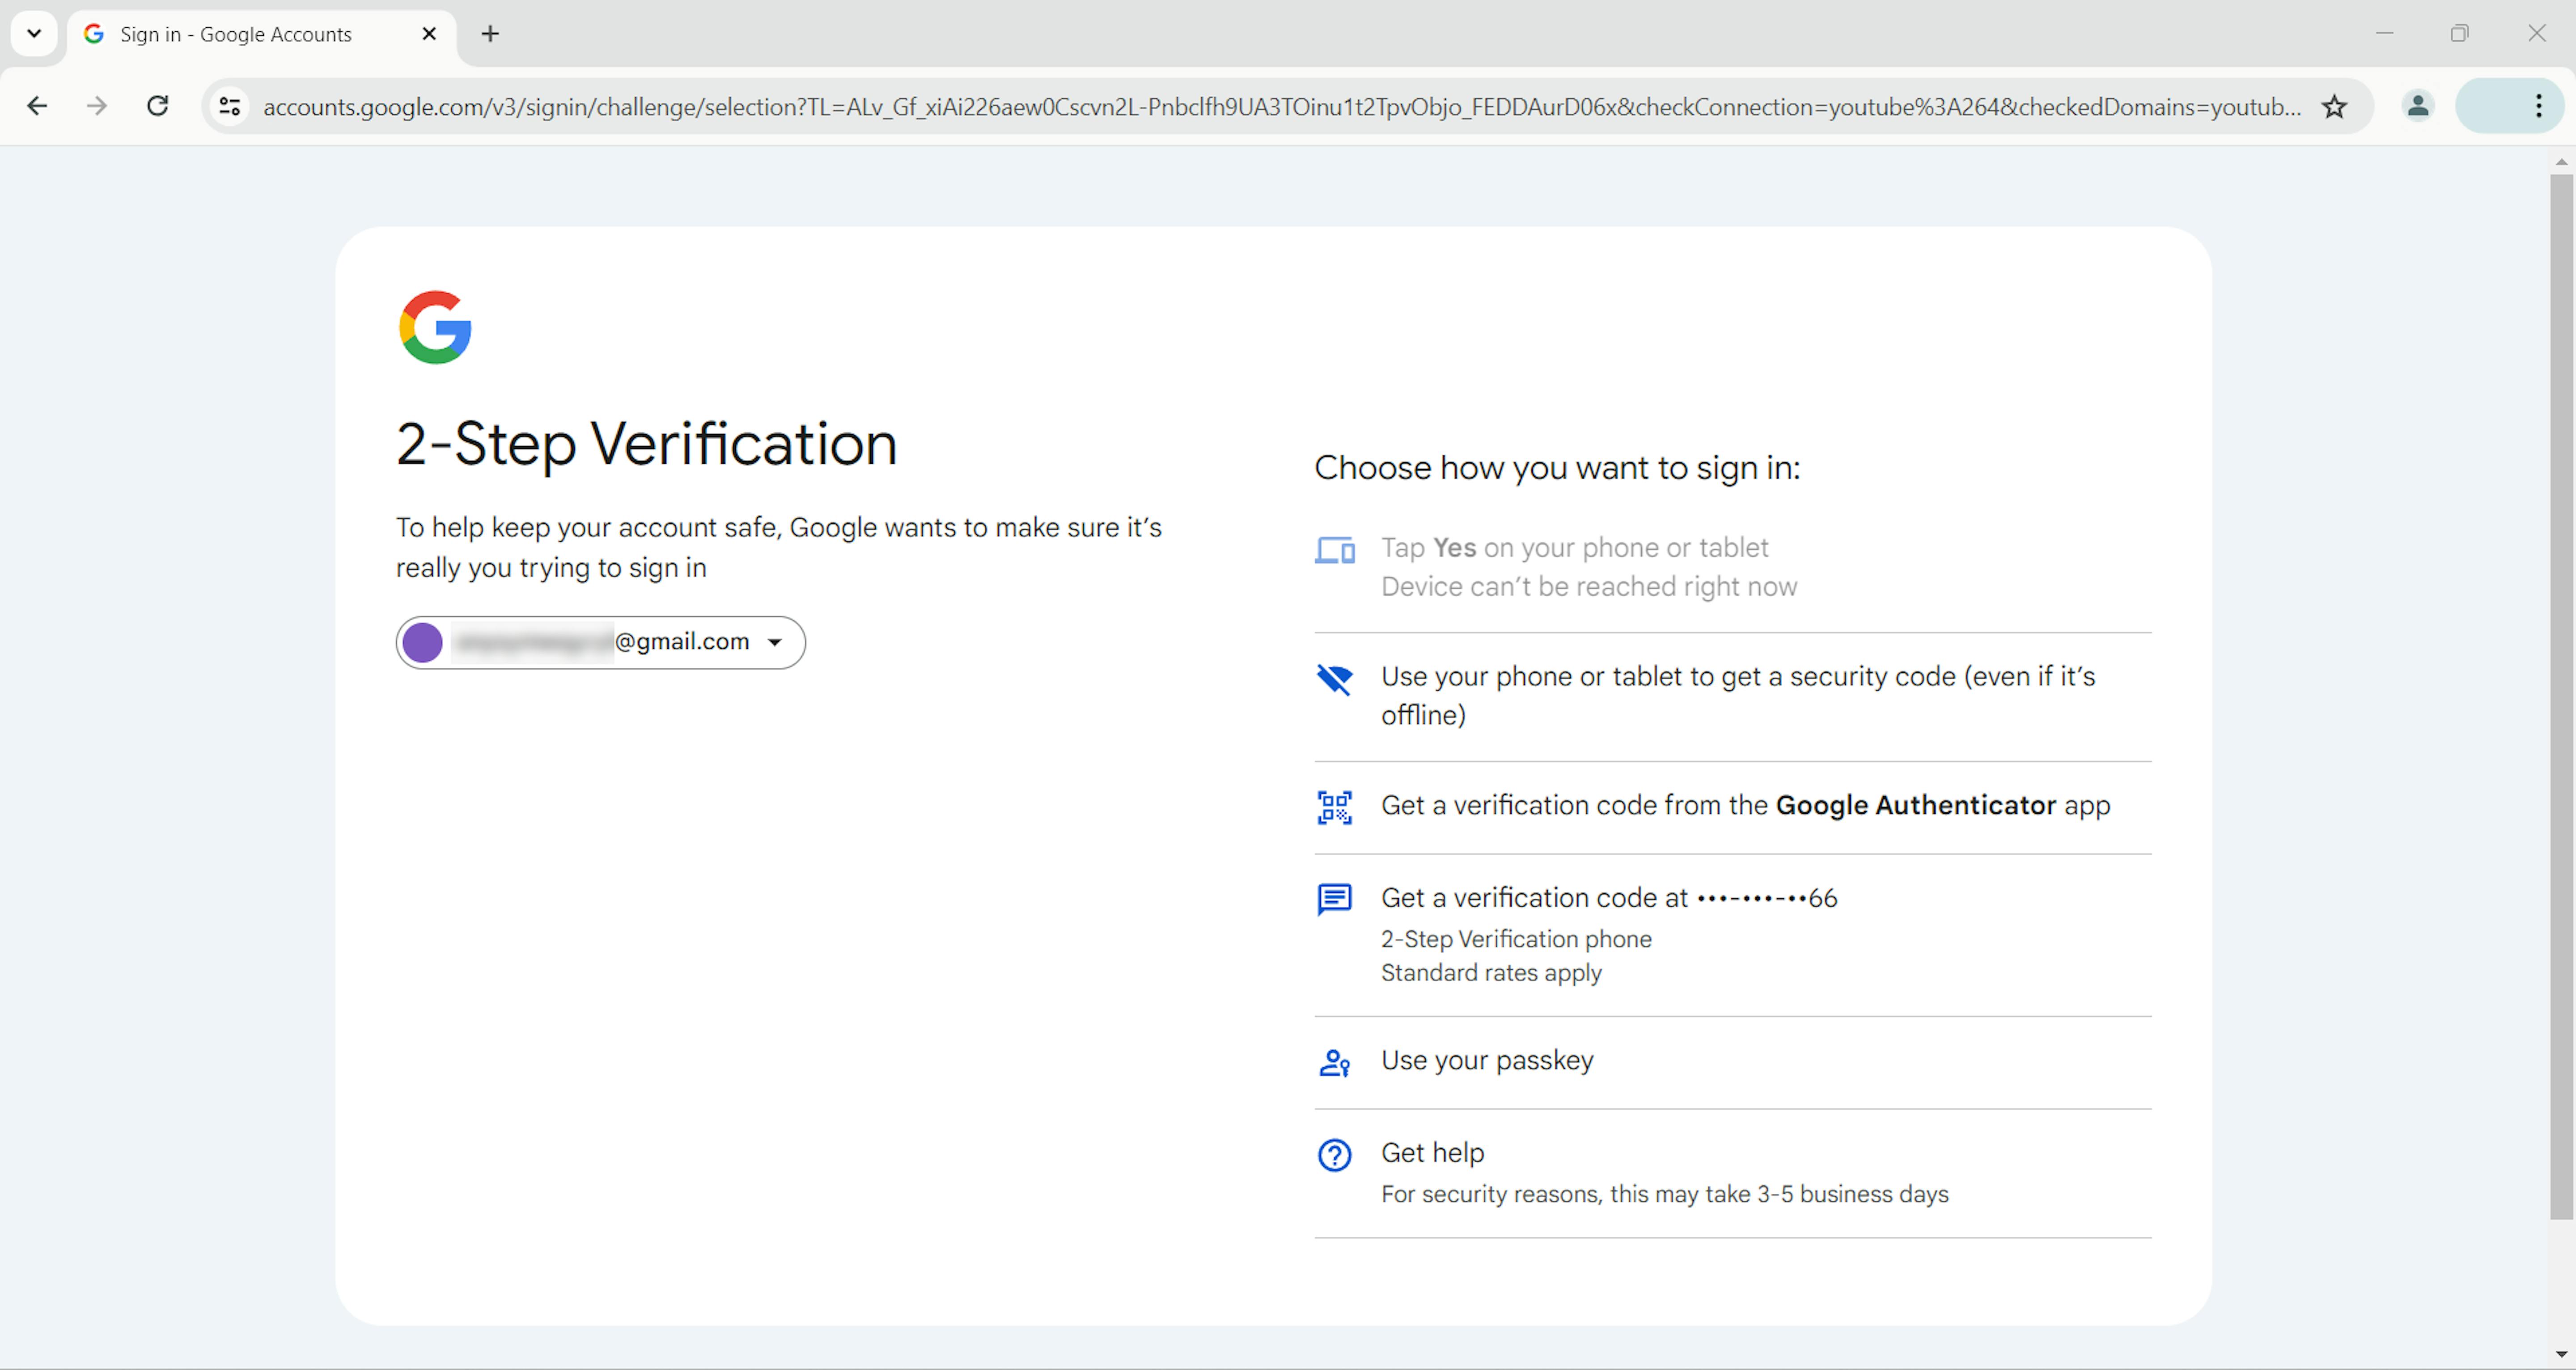
12. Please note that Google may log you out of your account to select a primary 2FA method, or it may request that you choose one upon your next login. Choose the authenticator app option.
That's it! Your test account is now ready for the next steps.
Setting up Python to serve as an authenticator app
In Python, we will use the PyOTP (Python One-Time Password) library. It can generate time-based 2FA tokens, just like authentication apps. To install the library, please run the following command: pip install pyotp.
For the sake of security, it's better to create an environment variable that will store the security key obtained in step eight of the Google settings. This way, we won't need to put it explicitly into our code. Let's name it MY_2FA_SECRET_KEY. We won't elaborate here on the creation of environment variables because the process is different for each operating system. We encourage you to do your own research on doing this.
Let's take a look at the Python code below:
from pyotp import *
import os

SECRET_KEY = os.getenv("MY_2FA_SECRET_KEY")
print(f"Current TOTP is {TOTP(SECRET_KEY).now()}")
First, we import the required libraries, PyOTP and os. On line 4, we read the environment variable MY_2FA_SECRET_KEY and store its value in the script variable SECRET_KEY. The last line will print the current 2FA token, which is the same token we can find in our Authenticator app.
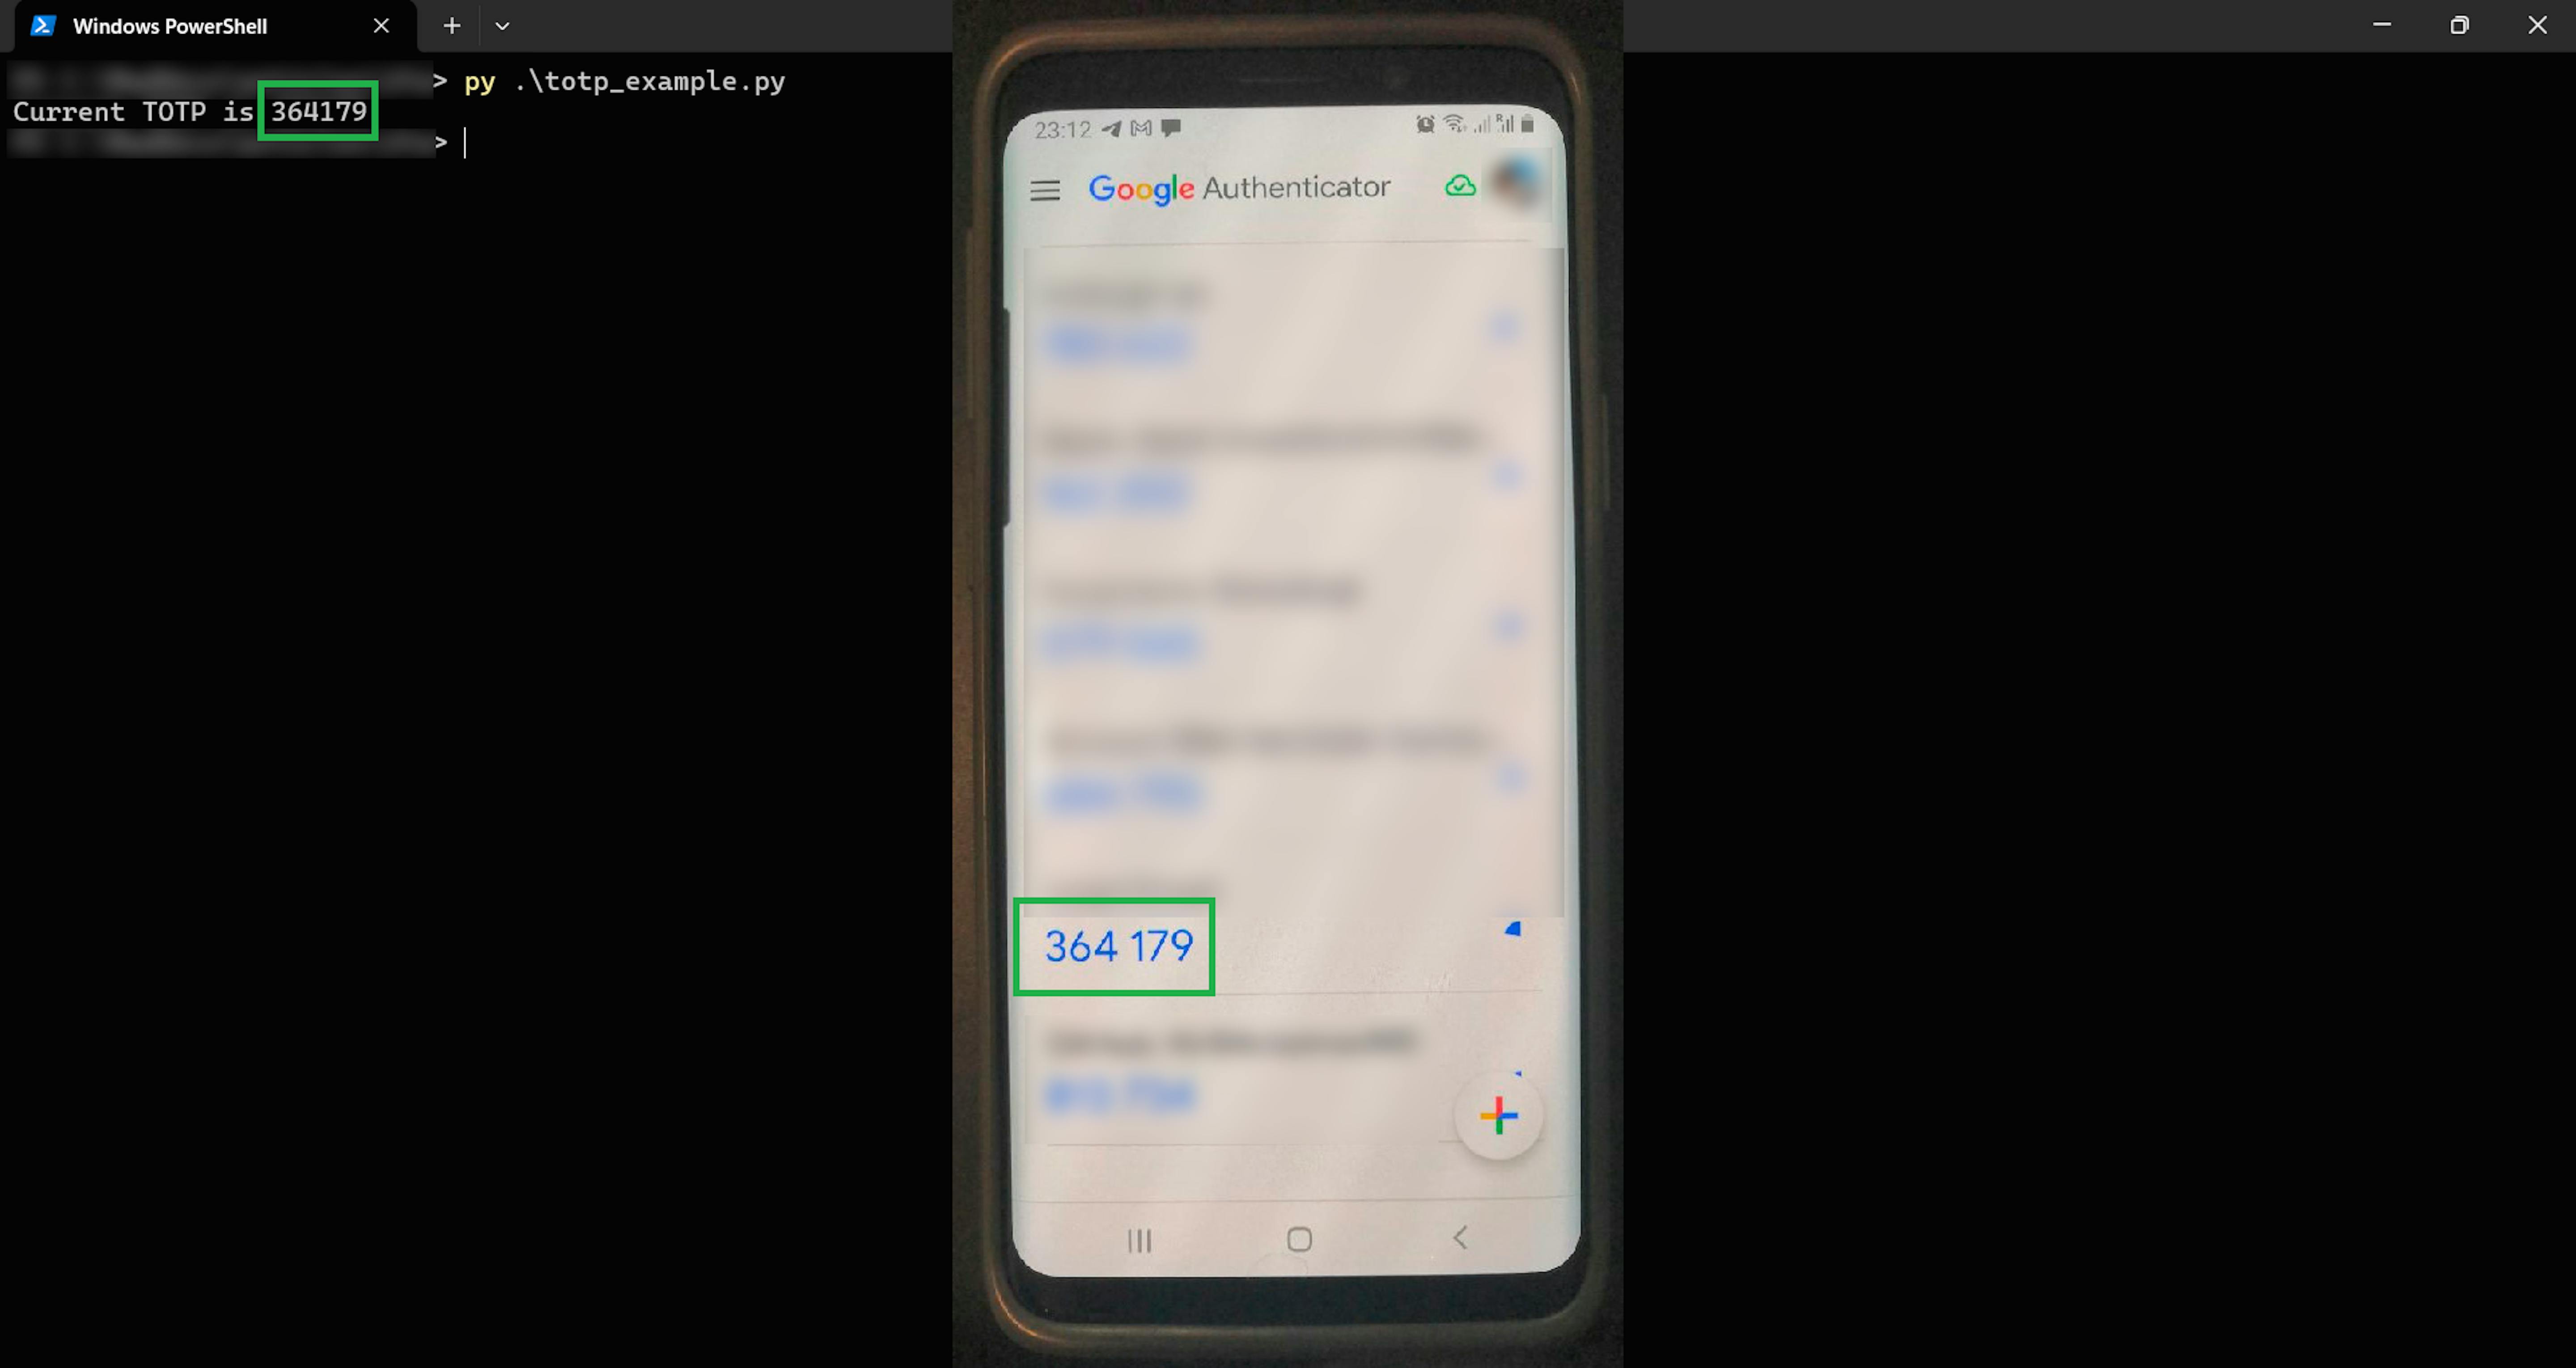
Now, with this script, we can get a 2FA token when one is required in our tests; for instance, when automating login into an application via a Google account. Once the application being tested asks us to enter a token, we call the script and provide it.