Analyze with AI
Get AI-powered insights from this Mad Devs article:
Today I want to show you how you can quickly and easily set up form validation in Vue. I hope this article will save you time and provide you with actionable insights. This article summarizes the most important points you'll face while setting up form validation.
So, let's go!
In this article you will learn:
- What is form validation;
- Types of form validation;
- How to validate forms in Vue.
What is form validation
Validation is the confirmation of the specified requirements.
To put it simply, it is an instruction that the user must follow when filling out the form. It will protect your application from unexpected or even malicious data. That is, you will be sure that the user will send a valid email instead of typed characters, or valid phone number instead of a name, etc.
Types of form validation
Let's start with the types of validation. There are only two:
- Client-side validation is a check that happens in the browser before the data is sent to the server. It is more convenient than server-side validation because it gives an instant response. It can be divided into JavaScript validation and HTML5 form validation functions. JavaScript validation, which is executed using JavaScript. Fully customizable. Built-in form validation using HTML5 form validation functions. It usually doesn't require JavaScript. Built-in form validation has better performance, but it's not as configurable as using JavaScript.
- Server-side validation is a check that occurs on the server after data is sent. Server-side code is used to validate the data before it is saved to the database. If the data doesn't pass the validity check, the response is sent back to the client to tell the user what corrections should be made. Server-side validation is not as convenient as client-side validation because it does not produce errors until the entire form has been submitted. Nevertheless, server-side validation is the last line of defence for your application against incorrect or even malicious data. All popular server-side frameworks have functions to validate and clean up data (making them secure).
In the real world, developers tend to use a combination of client-side and server-side validation.
Client-side validation
Continuing with the topic of client-side validation, there are three types: instant, by loss of focus, and by form submission.
- Instant: Triggers the moment the user enters data. The check is triggered for each character entered.
- On loss of focus: As soon as the field loses focus, for example, if the user has selected another field, validation is triggered.
- When the form is submitted: validation is triggered at the moment when the data is sent to the server, that is when the button is clicked.
Of course, it's preferable to use Instant Validation, since it will tell the user right away that something went wrong. The earlier the interface reports the error, the better—it's easier for the user to go back and fix it.
How to validate forms via Vee-Validate?
By far, the best form validator for Vue, in my opinion, is Vee-Validate.
It positions itself as a framework with many features:
- Support for Vue 3
- SSR support
- Template-based validation, familiar and easy to set up
- 🌍 Support for i18n with already translated bugs in 40+ languages
- 💫 Support for asynchronous and custom rules
- 💪 Written in TypeScript
- Has no dependencies in the form of third-party libraries
Let me tell you right away, we're going to work with Vue version 2. Of course, I'd like to show you Vue 3 as an example, but I don't think many people have had time to migrate to this version yet.
So, let's slowly switch over to writing code. And let's do this:
Step 1: Clone the example project.
git clone https://github.com/denisoed/how-to-validate-form-in-vue.git
Step 2: Look at the code to partially understand what we are going to talk about.
Step 3: And then I'll tell you everything I wrote there.
I will show you using Nuxt.js as an example. If you are not familiar with it yet, I suggest you read my previous article.
As we remember, all plugins in Nuxt.js should be stored in the /plugins folder, in the root of the project. Go to this folder and open the file vee-validate.js.
This file will contain all the rules and settings. Vee-validate offers more than 25 ready-made rules. This list includes validation of passwords, mail, numeric values, images, etc. You can also add your own custom rules, which we will try to do now.
Custom form validator
Actually, it's not hard to add your own rule. Let's write a validator for the phone, which will output the error "The Phone field must contain only numbers and dashes." if you enter any other characters except numbers and dashes.
Let's deal with the code above.
To add a custom validator, you need to use the extend function. Its first parameter will be the name of your rule, in our case, it's a phone, and the second parameter will be an object that has two methods:
- Validator: it will process the value entered by the user.
- Message: a method that will return a prepared message in case of an error.
And that's it. This is enough to make our custom rule work.
Insert this code anywhere in the vee-validate.js file and now the new rule is available globally and can be used in any component.
Testing our new validator
It's time to check what we've got. Open the index.vue file in the pages folder, create a new field with these parameters and don't forget to add the variable phone to the data.
Our custom validator has been added to the rules attribute, which stores the list of rules for the field. You can use the | symbol to add as many rules as you want.
Run the project with the command:
npm i && npm run dev
After launching, the field for the phone should appear in the list of fields.
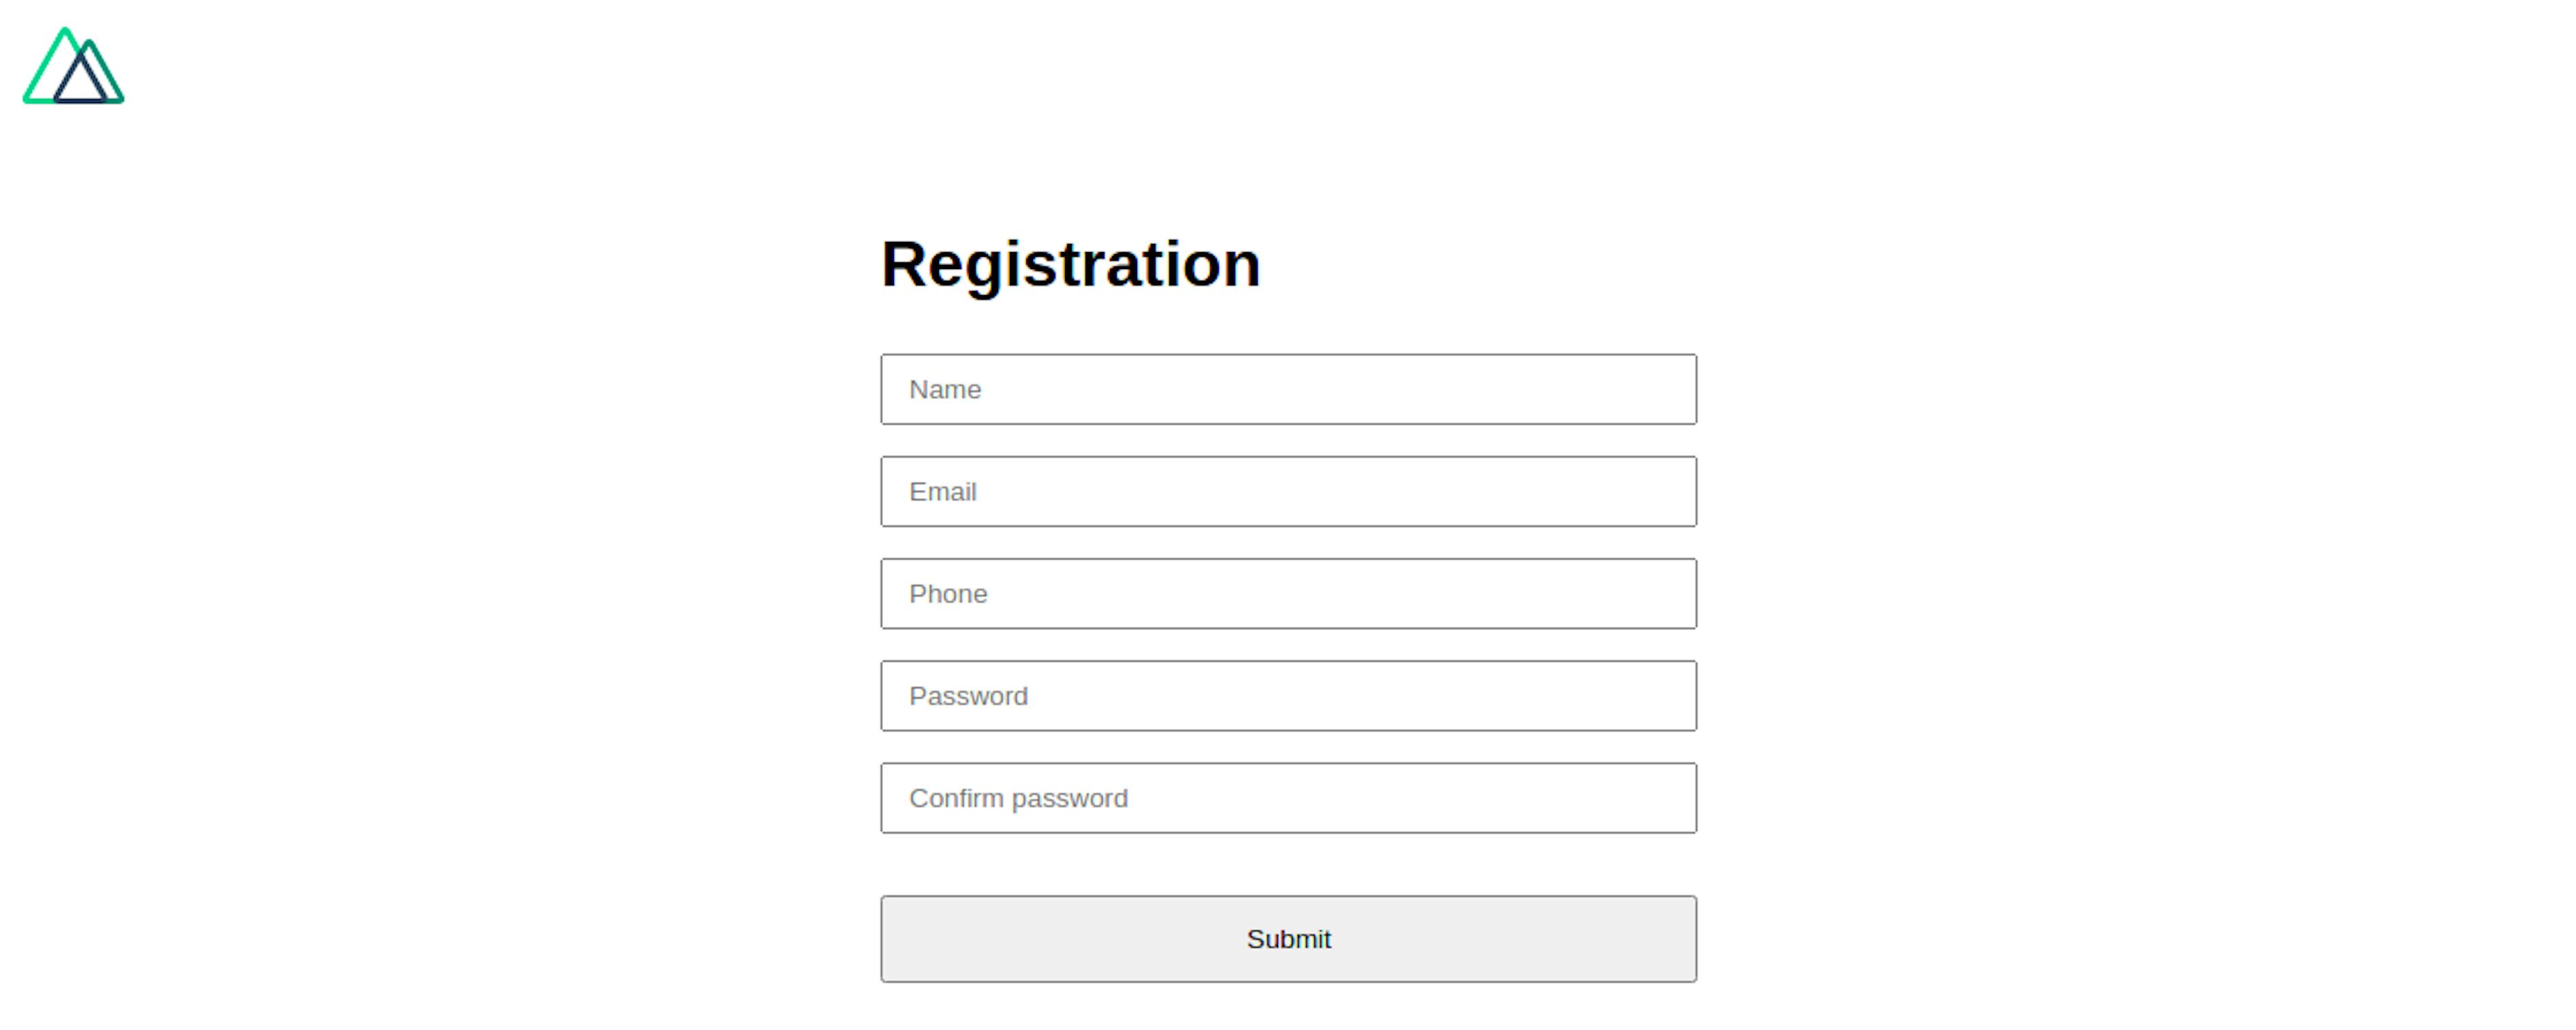
If you try to enter letters into it, an error message appears. If you enter numbers, the message will disappear.

Our custom rule works!
So you can write any validators you want, but don't forget about the built-in validators, there are more than 25 pieces.
ValidationObserver and ValidationProvider components
The wrapper for the ValidationProvider component is ValidationObserver. It will help to track the state of all fields and return the corresponding status in case of any errors. For example, the parameter invalid will return false if all fields are valid, or true if one of the fields is invalid.
I will not list and describe all parameters and attributes of the ValidationObserver component, you can read in more detail in this link. The same I can say about the ValidationProvider. Read here.
Localization of error messages
You probably have a question: How do I translate the error message into another language?
The first thing to do is import the desired locales into the vee-validate.js settings file
import en from 'vee-validate/dist/locale/en.json';
import ru from 'vee-validate/dist/locale/ru.json';
Then initialize them in the localize method
localize({ en, ru });Now let's go to the index.vue file and add a couple of changes there.
We need a new function that will change error messages into different languages. To do this, we import the same localize method
Adds a new switchLocale method to the methods hook
And the last thing you should do is add a language switch button. You could put it under the header, for example:
That's enough. And if you open the page, enter the incorrect data in the Email field and click the change language button, the error message will change to another language.
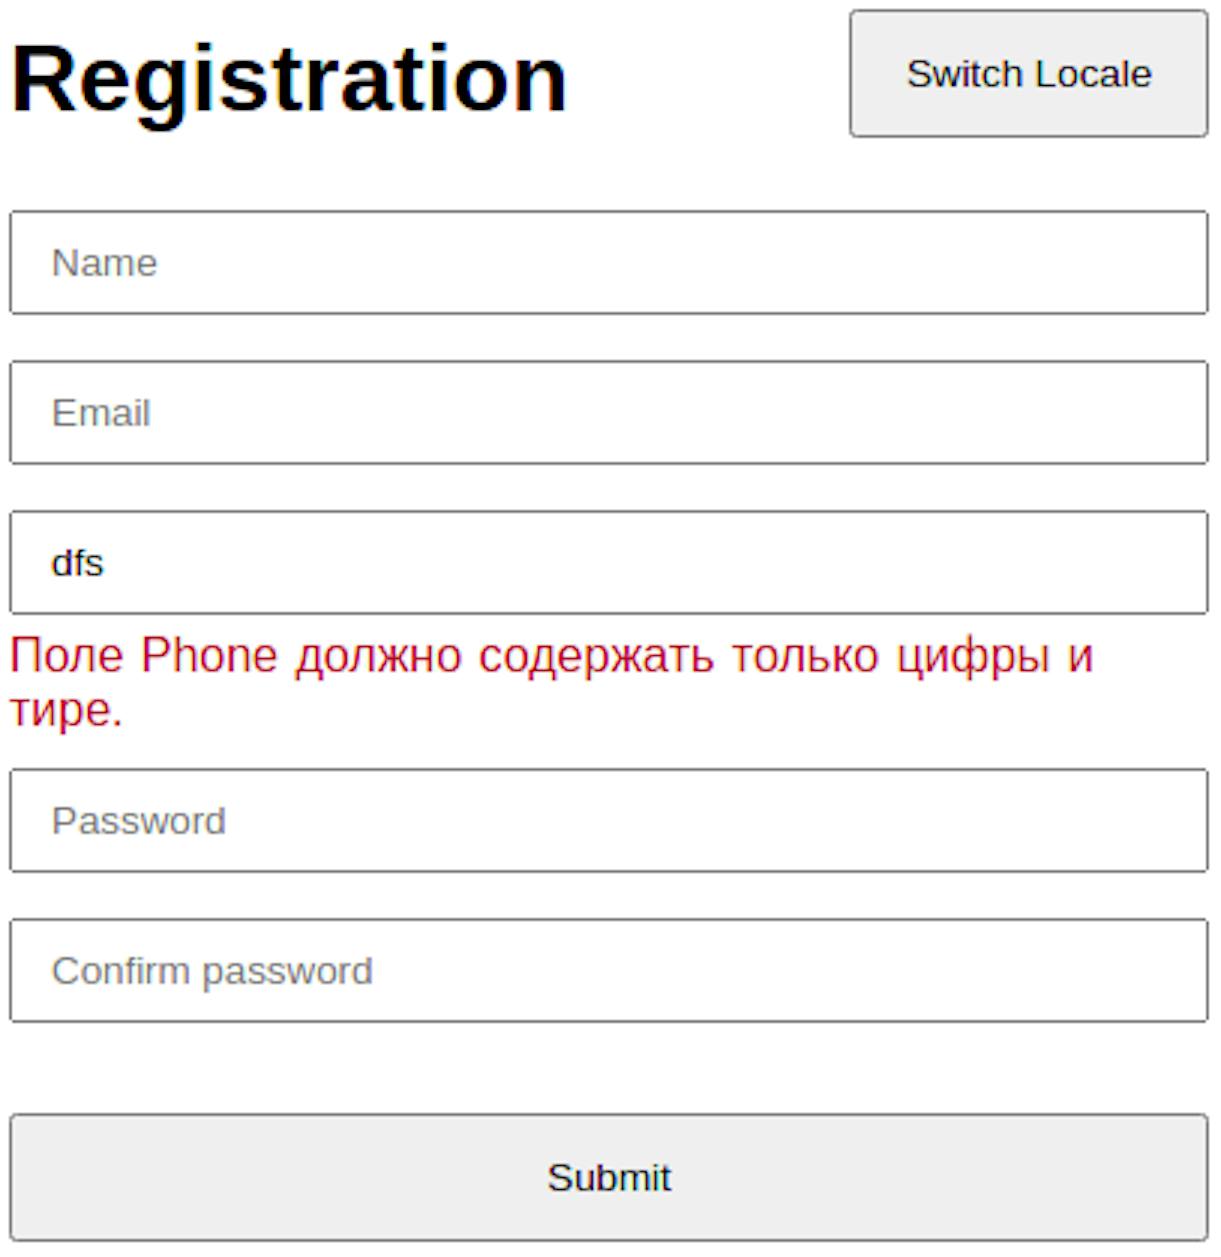
Now let's try to translate the message for the custom phone validator.
Go back into the vee-validate.js settings file and change the code in the localize method like this:
Don't forget to remove the message key in the custom validator. It should be like this:
That's it, we can go check. Enter invalid data in the phone field, our new message will appear, which you can translate by clicking on the Switch Locale button.
Conclusion
I think we can end here. The main points I've shown and this will be enough to set up a basic level of validation in your application or website.
For more specific information, refer to the official documentation.
Thank you!

