

Analyze with AI
Get AI-powered insights from this Mad Devs article:
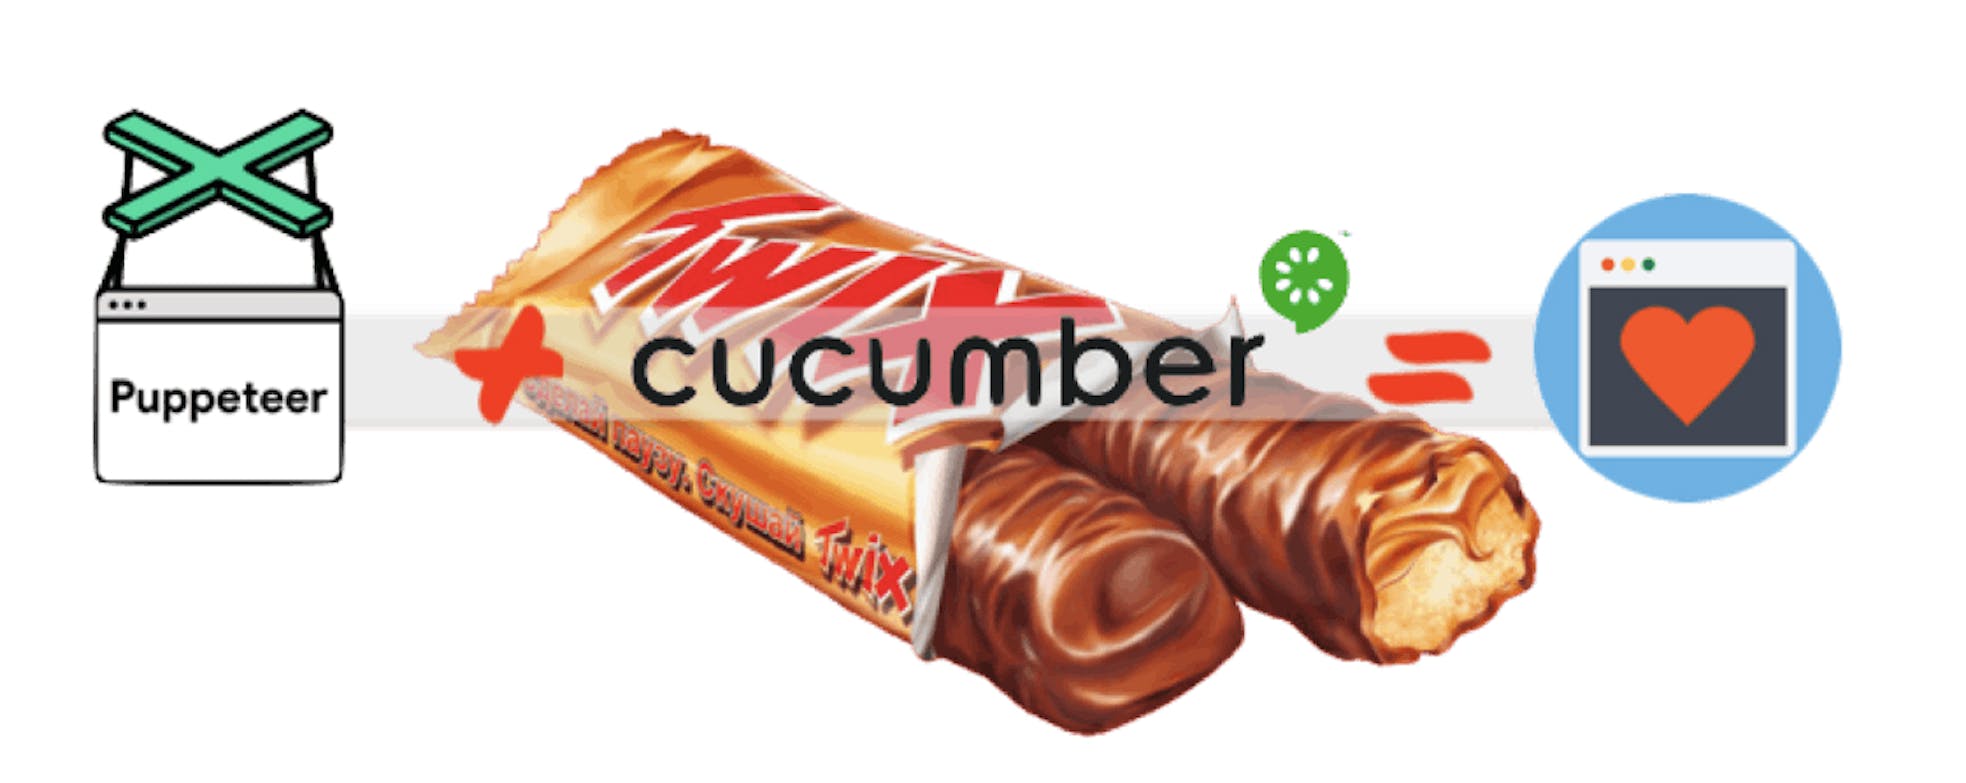
This article will talk about some points that will save time for those who will write tests using the tools: Cucumber.js + Puppeteer. I hope it will be interesting. And so let's get started.
Flaky steps or periodically failed steps in a scenario
This symptom is not associated with timeouts or poorly implemented steps. The problem is different because we have a browser—this is, in fact, an environment that we do not fully control, even using the puppeteer, the Chrome puppeteer.
It's just at some point in time, the planets in space are in an awkward position and affect the Chrome browser in your Docker file. Alas, nothing can be done; such is life. And you are surprised — your step from some scenario failed, at that moment when you really want to escape from the work or praise yourself for the passed tests. In the end, you don't want to wear the BoJack Horseman on your face.
Enough of the lyrics, it's time to start solving this problem. For this, cucumber.js has the necessary options for the step.
{ wrapperOptions: { retry: 3 }, timeout: 30000 }And as you already intuitively understood:
retry— key indicating the number of retries of failed steps +1. Since the first launch is also taken into the total count of retries. And if this fails, it will be repeated 3 times before this step is declared as a failed step.timeout—a key that overrides the default timeout for a specific step. If you have a default timeout of 5000 milliseconds (5 seconds), then if you specify a timeout of 30,000 milliseconds (30 seconds), you extend this timeout for the current step. And this step will be classified as a failed step after 30 seconds.
Then('Some step definition', { wrapperOptions: { retry: 4 }, timeout: 30000 }, () => {
   return 'pending';
});
And in the above example, you can see the real usage of the step's parameters. Let me remind you what the parameters of any step look like from the cucumber.js documentation.
defineStep(pattern[, options], fn)
pattern: A regular expression or string describing a Gherkin step.options: An object with options that consists of:
timeout- timeout for a step that overrides the default timeout.wrapper Options: step-specific options that are passed to the wrapper of the definition function.
fn— JS step declaration function.
Thus, this approach allows you not to look for any hacks, how to wait for responses from the server on the client, or wait for a response from the client on the server. Confused, right? So let's not get confused and apply the options to those steps that suffer from the problem of instability.
retry parameter was selected experimentally, but in general, 3 retries are enough, and this is the worst case. One restart is enough.
What about the restarting of the scenario? Unfortunately, in the stable release of cucumber.js, there is no such possibility yet. In cucumber.js, which is derived from Ruby, scenario retrying is provided.
A normal implementation of the --retry option will be available here for rerunning test scenarios. And here is a closed issue with heated discussions about rerunning test scenarios N times when they failed. Judging by the documentation of the not-yet-accepted PR
Use — retry
<int>to rerun tests that have been failing. This can be very helpful for flaky tests.
To only retry failing tests in a subset of test use — retryTagFilter<EXPRESSION>(use the same as in Use [Tags](#tags))
It will be possible to indicate the total number of reruns for the scenario through the —retryTabFilter key to indicate which tagged scenarios should be restarted N times. I think it will be a convenient feature.
And these are patterns born of reality, since not always restarting the step can help; sometimes you need to repeat the previous steps of the scenario. But I, personally, did not need such a feature in my project. But who knows what will happen in the future?
Testing pasting text from the clipboard
When using Puppeteer, do not forget that you have full access to the Chrome settings through the Puppeteer settings. For this reason, you should often turn to the documentation of your testing tool first, and then look for solutions on the Internet.
I must say right away, I checked that the tricks with document.executeCommand('copy') and htmlElement.select() do not work. Also, to use the new asynchronous Clipboard API, you need permissions to execute copy operations to the buffer or read it.
All these restrictions exist for security reasons. The problem is that if there were no restrictions in the browser on writing/reading to the buffer, then some website that wasn't clean at hand could replace the link copied to the buffer or some data that you were going to copy to the form on the site. Or read your password that you copied to the clipboard, credit card details, and so on.
But besides security, there are also hardware issues.
For example, synchronous copying and pasting may seem good for small fragments of text, but there are a number of cases where blocking a page to transfer data from the clipboard leads to poor results. It may take a long time to sanitize or decode before content can be safely inserted into the browser DOM. The browser may need to download related resources from the inserted document — this will block the page while waiting for disk or network operation completion.
In this article, you can read about all the nuances of writing/reading to the buffer.
You can solve this problem with puppeteer settings:
const context = scope.browser.defaultBrowserContext();await context.overridePermissions(scope.host, ['clipboard-write', 'clipboard-read']);
First, you need to get the current browser context using:
scope.browser.defaultBrowserContext()
Next, you need to call the method:
context.overridePermissions('http://localhost:9001', ['clipboard-write', 'clipboard-read'])As the first parameter, specify the URL of the resource for which you want to set permissions, which are indicated as an array. A full list of permissions can be found here.
After setting permissions, you can easily copy the data to the buffer and then use the actions familiar to the user to paste text and, accordingly, check the functionality.
Then we get such an elegant way of writing action for use in the step. Everything is very clear.
async function copyTextToClipboard(text) {
   const page = scope.context.currentPage;
   return page.evaluate(textValue => {
      return navigator.clipboard.writeText(textValue);
   }, text);
}
Skip some scenarios
Those who have come across Ruby's Cucumber know that you can tag different scripts with tags that start with @ and allow you to separate heavy tests from simple ones and create test groups. But in this case, we'll talk about a simple case when you need to exclude several scenarios when running all the tests.
And so here there are so-called significant differences from the ruby's cucumber. In Ruby Cucumber, you can specify --tags=~@skip, then in cucumber.js, you need to use the expression --tags="not @skip", which is more understandable for an ordinary person. And in general, the command will look like this:
npx cucumber-js --tags="not @skip"
This way, all tests will be executed, except for those that were tagged with @skip.
Need to run the whole feature file or one scenario in it
There are no problems with this in cucumber.js. No need to specify long paths to the scenario file or count the number of lines before the first scenario step. As in the previous case, you just need to mark the entire feature file or a specific script, put a tag in front of the scenario, or specify a tag at the beginning of the feature file. In this case, your command to run only a certain scenario or feature file will look like this:
npx cucumber-js --tags=@only
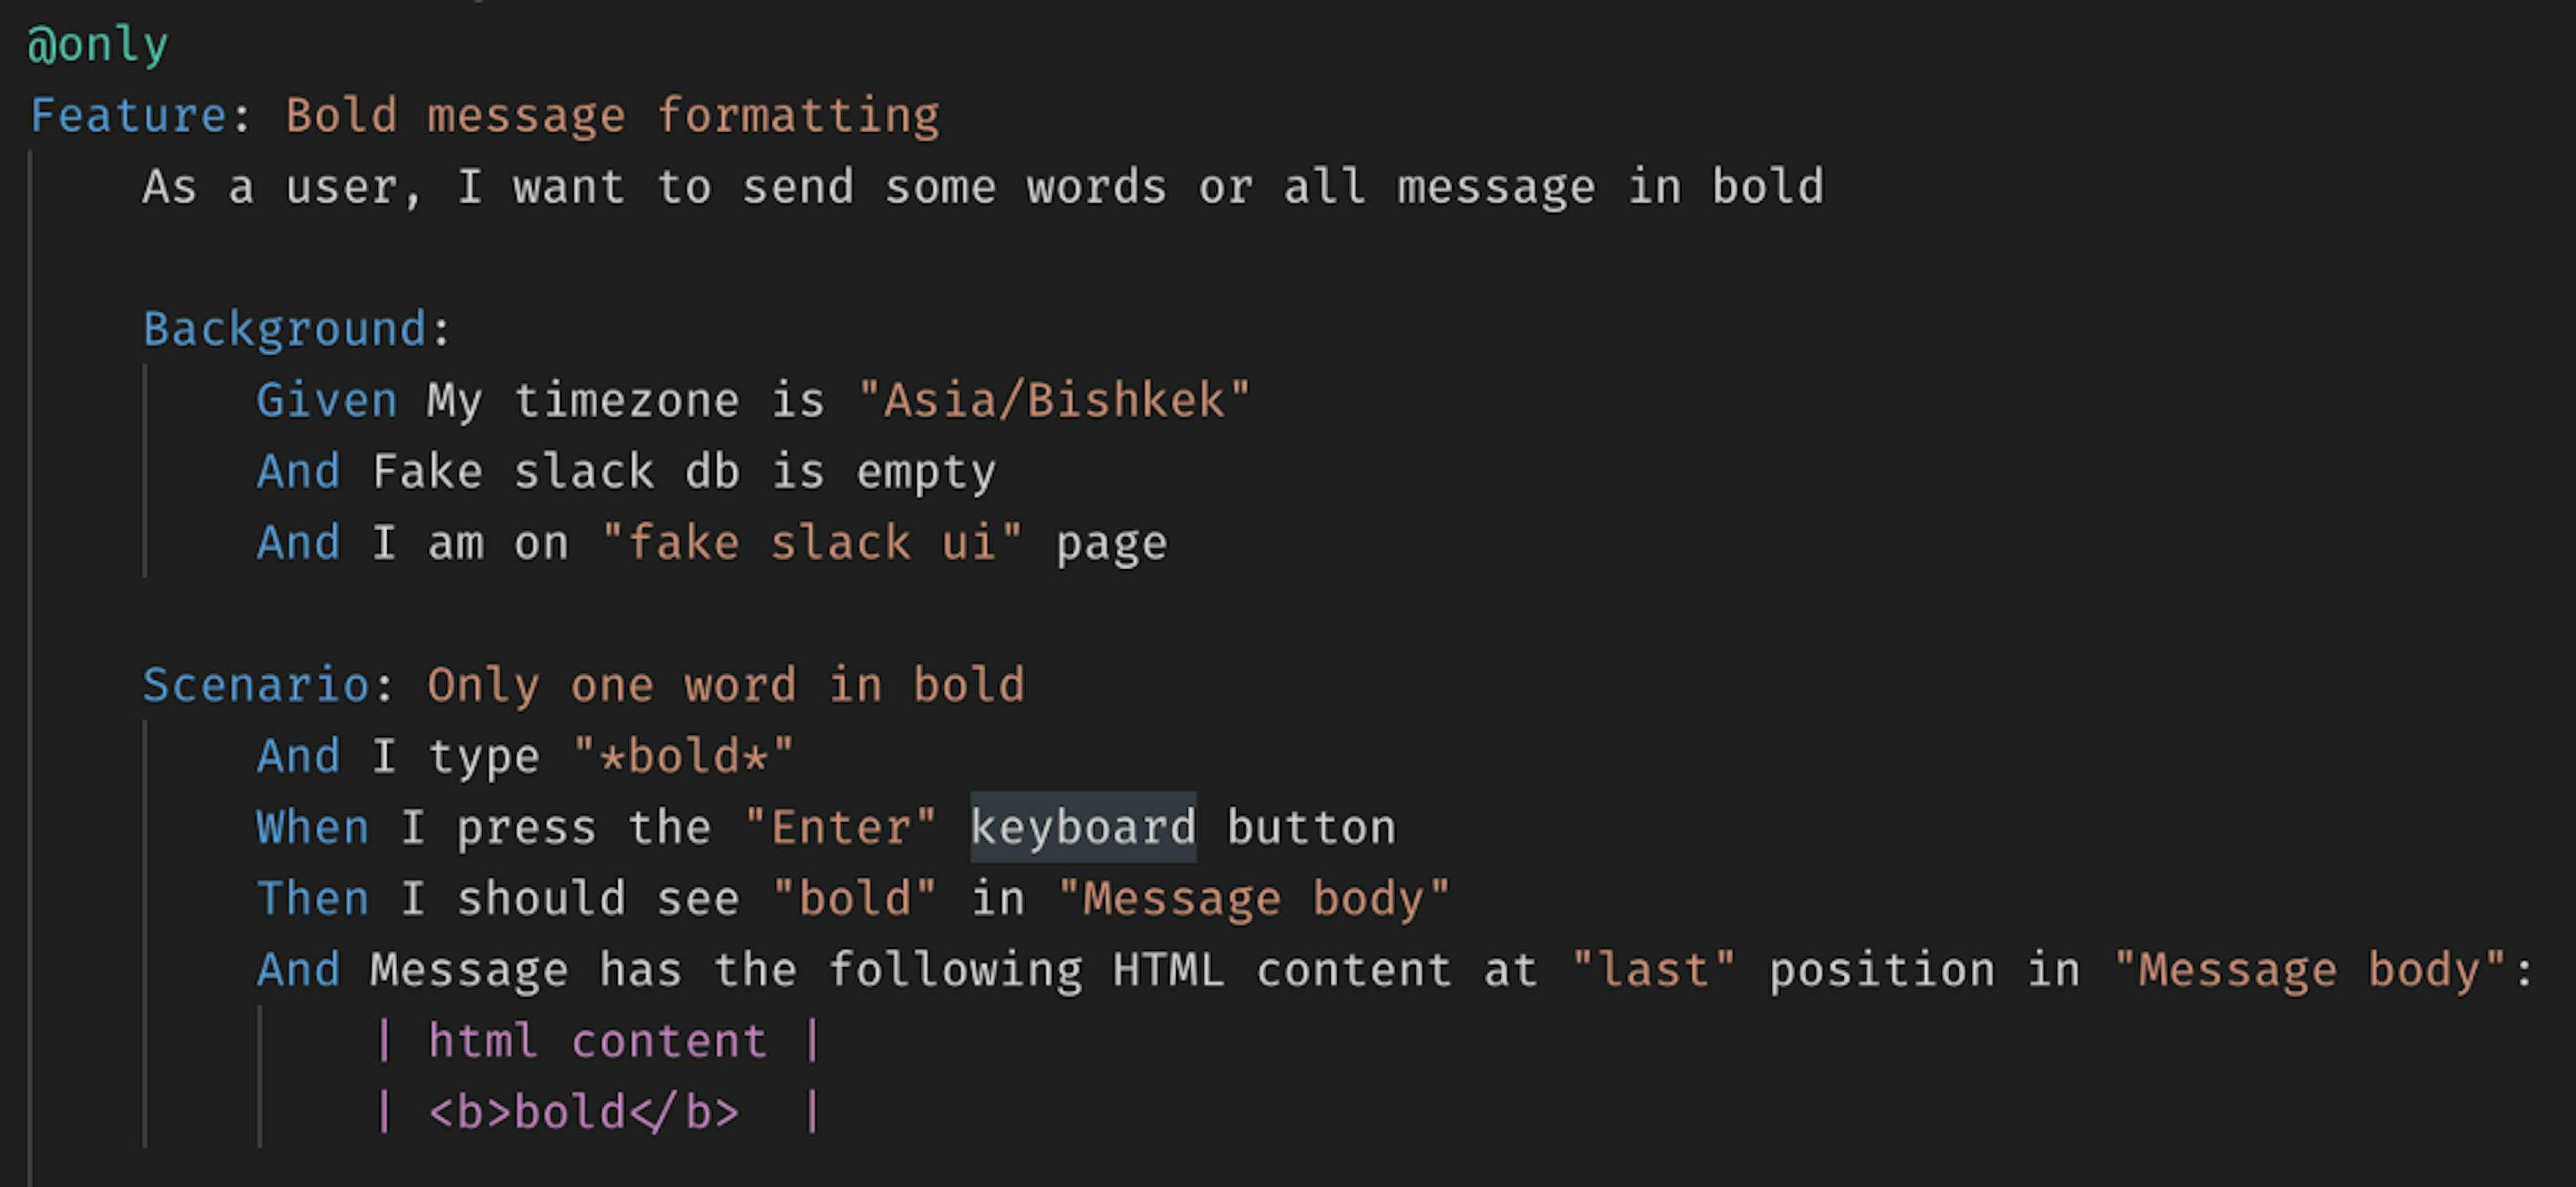
In this case, the whole feature file will be launched

And so, specifically, one scenario will be launched, in the feature file
If one scenario fails, skip all others
Another option in cucumber.js, which will save time, in the case of a fallen scenario, is --fail-fast.
By specifying this option, in the command to run all tests, when some scenario crashes, the following scenarios in the queue will be skipped.
npx cucumber-js --fail-fast --tags="not @skip"
It's convenient since you don't want to wait for the rest of the scenarios to pass if a problem has already been detected. This option is suitable for local tests running and for running tests on CI.
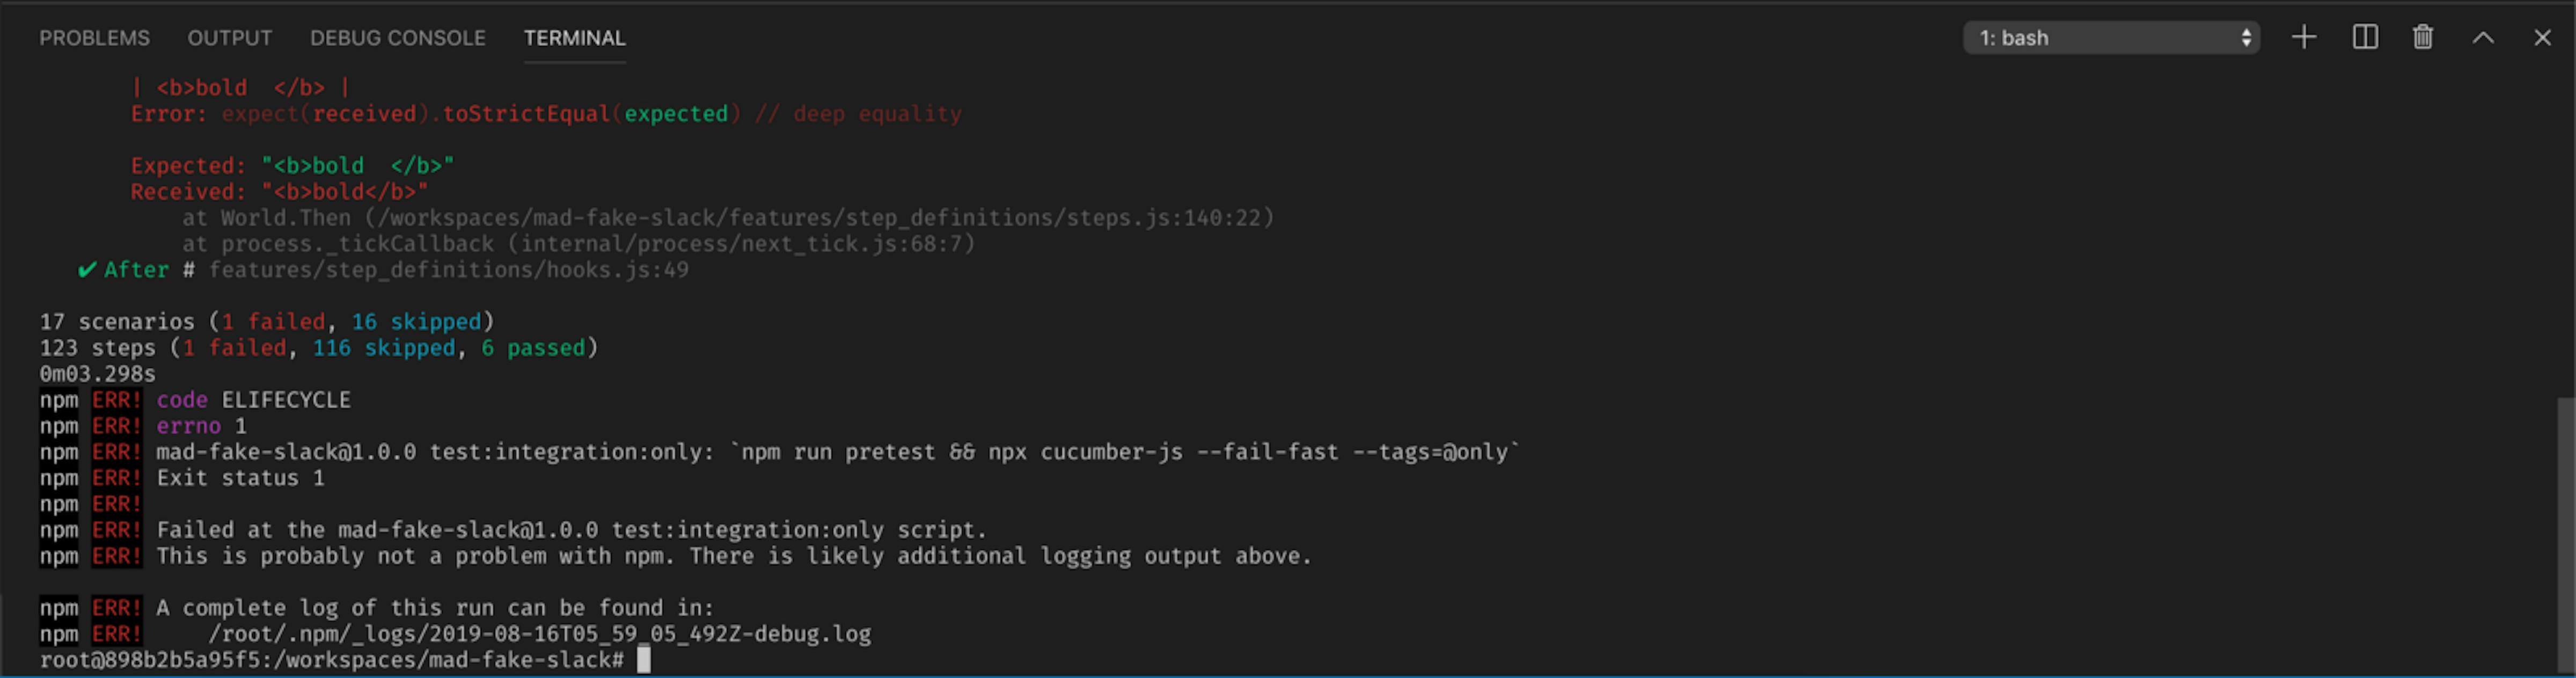
If one scenario fails, all the others are skipped and it is written in the console how many are skipped.
Use Puppeteer API methods which begin with the wait prefix
In the case when you need to wait for the appearance of any text or element on the page, you should use the existing API in puppeteer. We must try to minimize the usage of timeouts since the local environment and CI behaves differently. Different capacities and resources.
For example, if you need to check for text on a page, then you should use the following trick:
async function waitForText(text) {
 await scope.context.currentPage.waitForXPath(
`//*[contains(normalize-space(string(.)), '${text}')]`);
}
This example uses XPath. In general, it's sometimes more convenient to use than CSS selectors.
If by analogy, you need to wait until a certain element is hidden or invisible, then you can write the next action:
async function waitForElementHides(elementType, elementName) {
  const selector = scope.context.currentSelectors[elementType][elementName];
  await scope.context.currentPage.waitForXPath(selector, { hidden: true });
}
Option is used { hidden: true }
Or you can wait until an element with a specific CSS selector appears:
await scope.context.currentPage.waitForSelector(selector, { visible: true });We need to wait for the visible element, as indicated by the option { visible: true }.
Write steps that can give more information about fail
Such steps should be based not only on the presence of an element in the DOM, but also be able to compare (if possible) its content. In order to unambiguously guarantee verification of the element being tested, and not of the same similar element. This most often applies to menu lists, messages, and so on.
For example, here is a step for clicking on an element in the DOM:
GitHub Gist is loading...
In this case, you first verify that there is an element in the DOM with specific content using the custom findElement method. And only after that, click on the element. All due to the fact that it is difficult to create such a CSS or xpath selector that would satisfy the necessary requirements.
GitHub Gist is loading...
Pass regex to puppeteer API method handlers as text
There is one problem when serializing a RegExp object, which is passed to the parameters of any of the puppeteer API methods, which allows code to be executed in a browser context. Here is a closed issue on this issue. It's all about serializing objects to transfer data between the browser and puppeteer.
GitHub Gist is loading...
In the example above, you can see that the array is more convenient than two different parameters. Thus, we sort of parse RegExp into two components source and flags. And then, collect again.
Problem with 160 character code
Since to save spaces inside some HTML elements, HTML entity and <wbr> tag, a 160 symbol appears, which alas does not lend itself to RegEx /\s+/gm. I found a strange moment when working with content inside the browser context, if you are working with text content, through RegExp in the API handler of the Puppeteer method — the character with code 160 is not processed and is not replaced with space, in the case of replace method. Although the declaration for \s+ contains the character code as \u00a0(Unicode encoding) or \x0A in hexadecimal format.
If you use the browser consoles, the character is cleared without problems using \s+, but for puppeteer, you need a slightly different solution — using the 160 characters in the RegEx declaration, inside the method handler.
.replace(new RegExp(String.fromCharCode(160), 'g'), ' ')
Only in this way, I managed to replace the character with code 160 with space.
Conclusion
I hope that the practical tips presented in this article, which I learned from my OSS project, will be useful to you too!
Thank you very much for reading!


Latest articles here