Analyze with AI
Get AI-powered insights from this Mad Devs tech article:
The Elastic Stack supports SAML single-sign-on (SSO) in Kibana, using Elasticsearch as a backend service. In SAML terminology, the Elastic Stack is operating as a Service Provider.
The other component needed to enable SAML single-sign-on is the Identity Provider, a service that handles credentials and performs user authentication.
This article will describe setting up single sign-on in Kibana (Elastic Cloud), where AWS SSO (IAM Identity Center) will serve as the identity provider.
Elastic Cloud deployment version v8.12.0.
1. We prepare the SAML configuration from the IAM Identity Center.
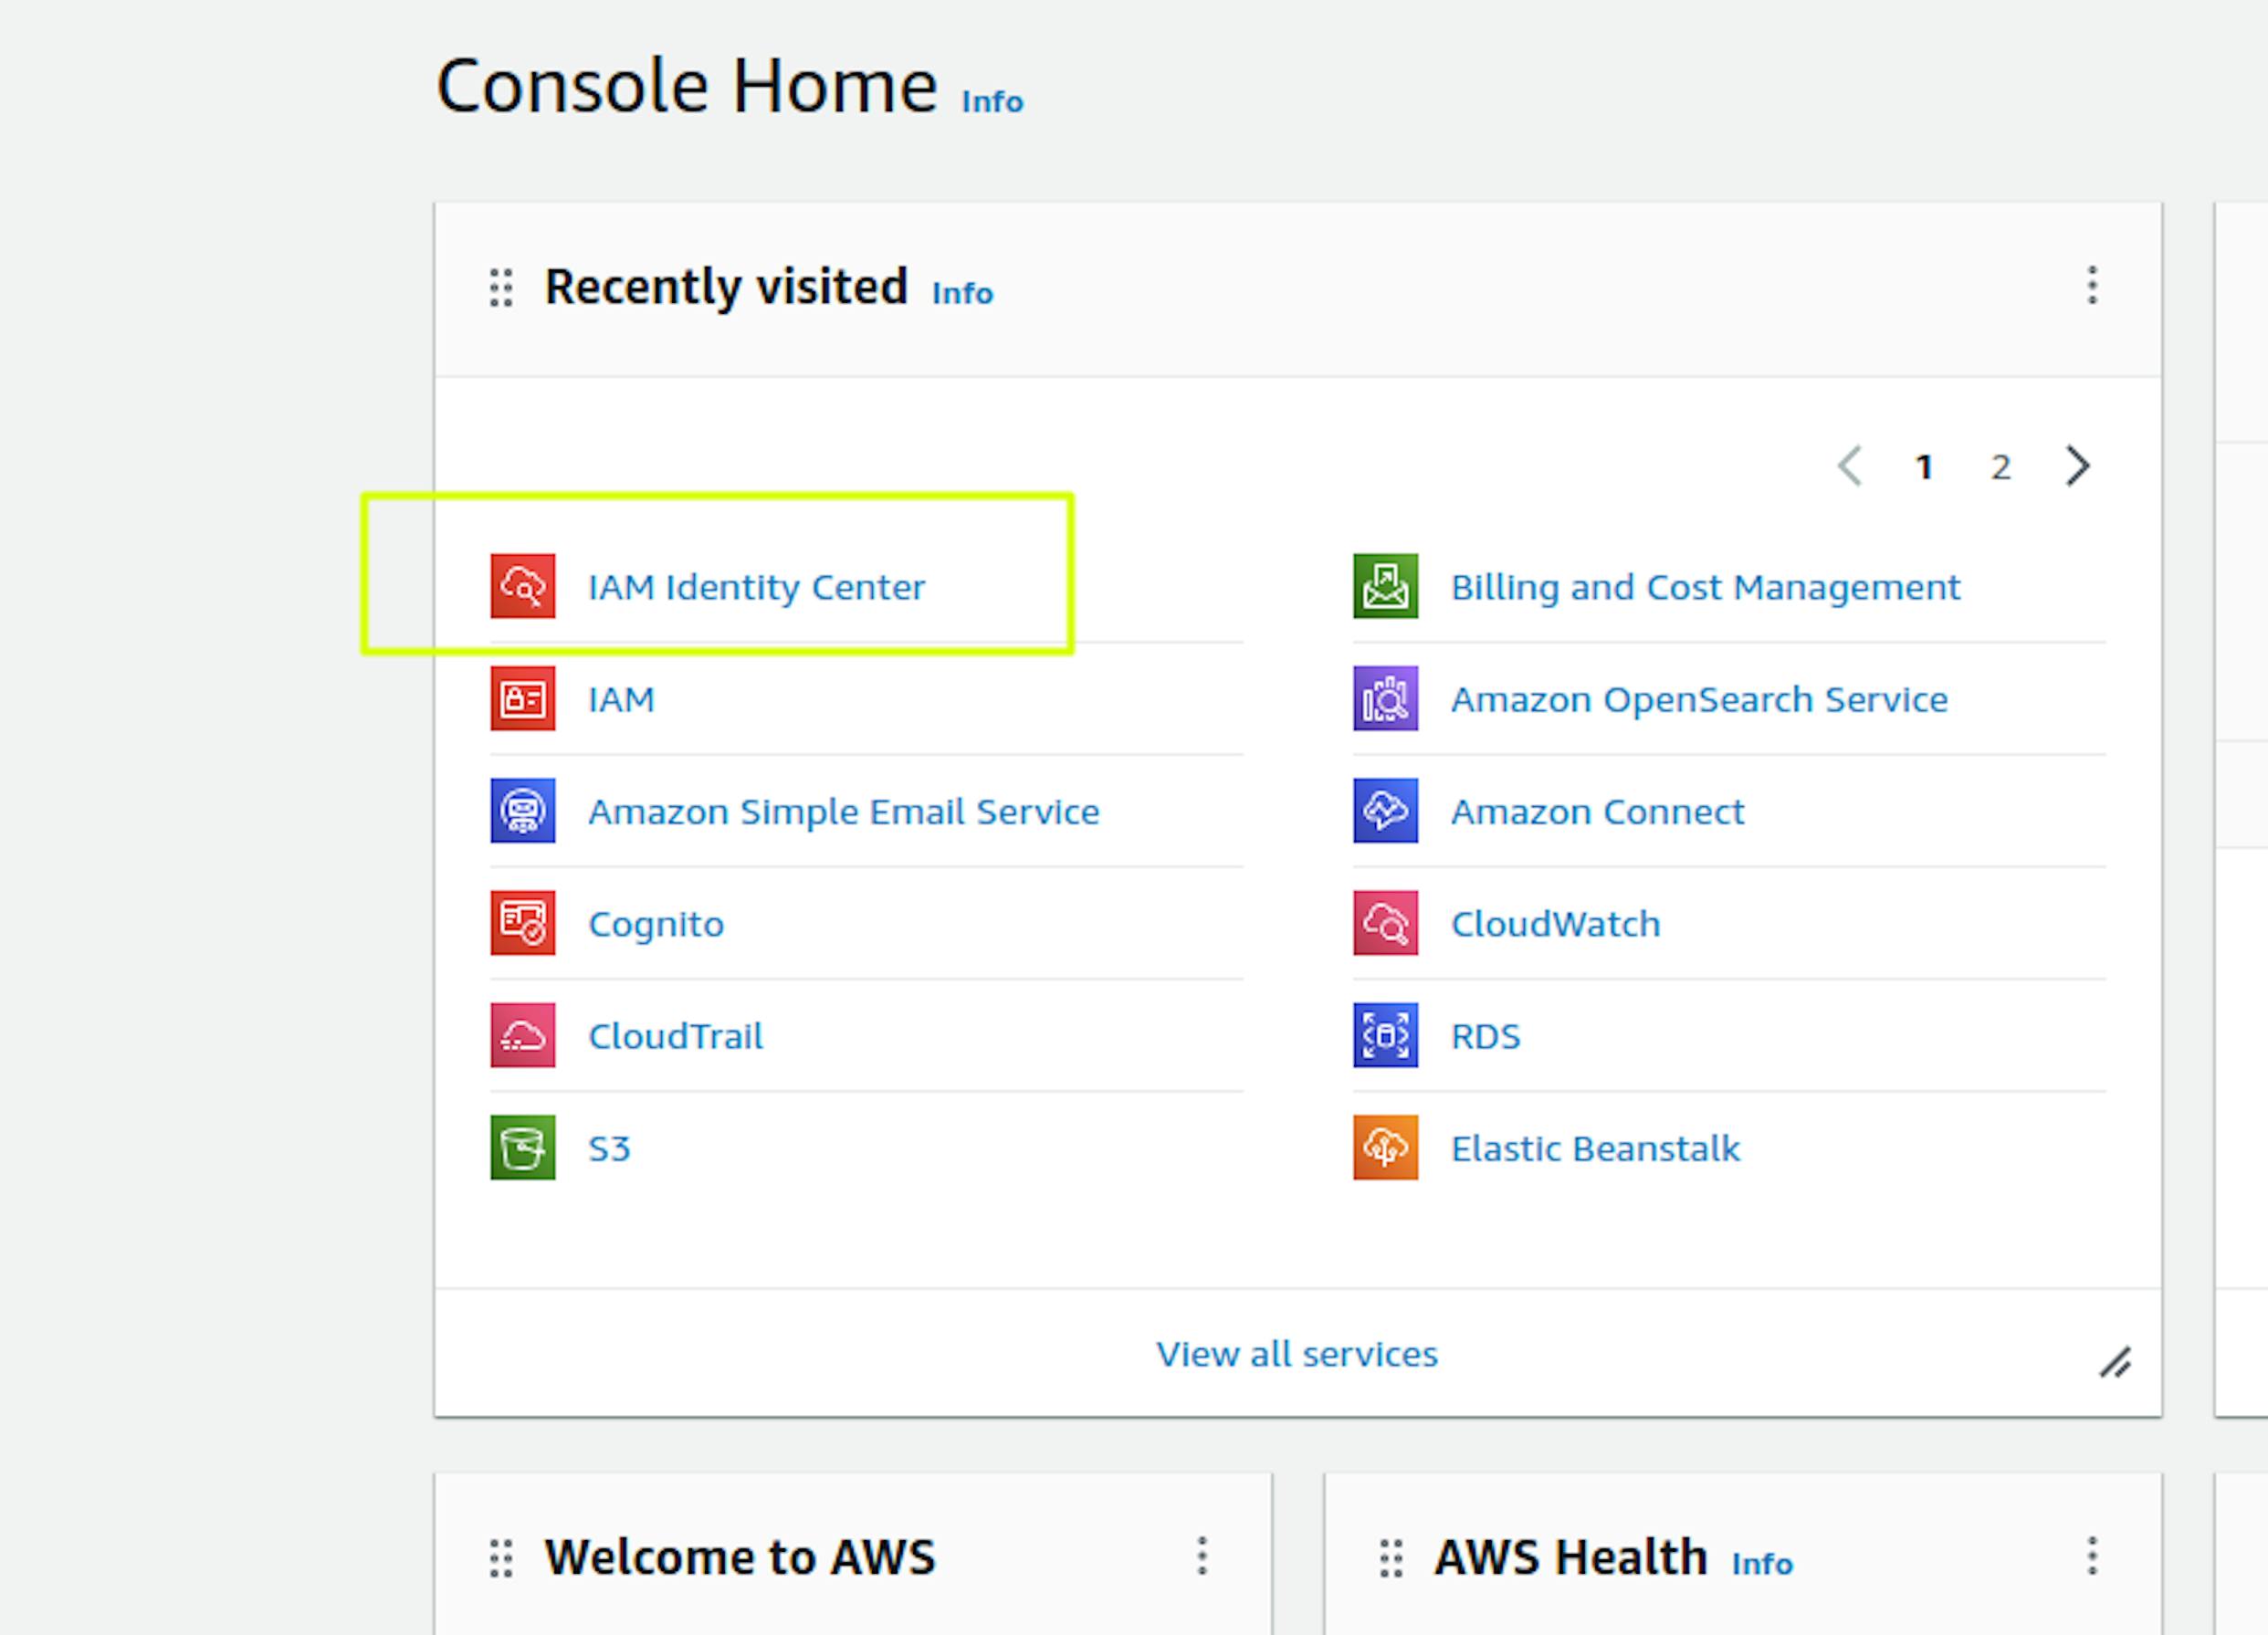
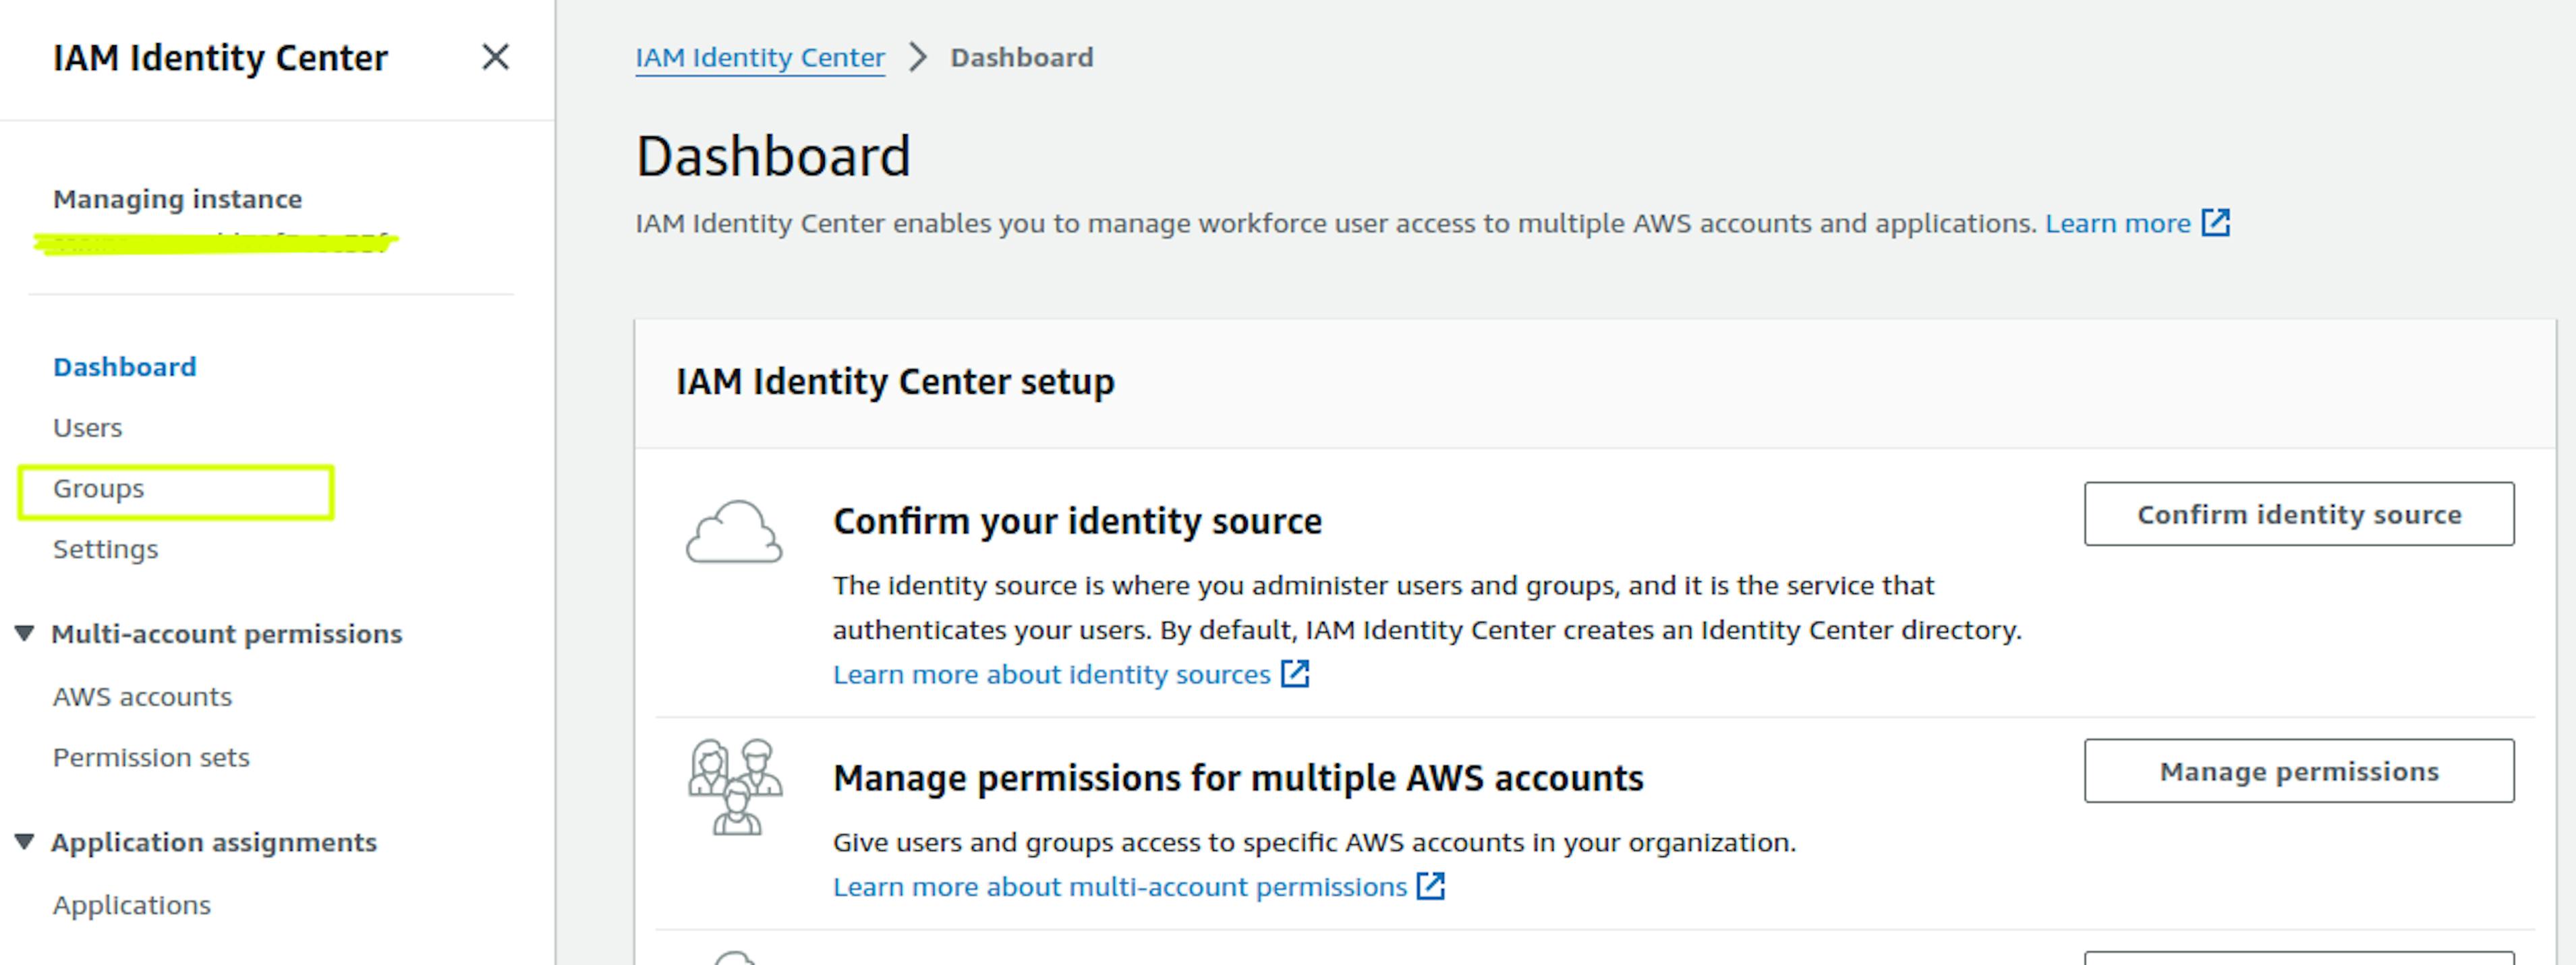
In the AWS console, go to the "IAM Identity Center" section:
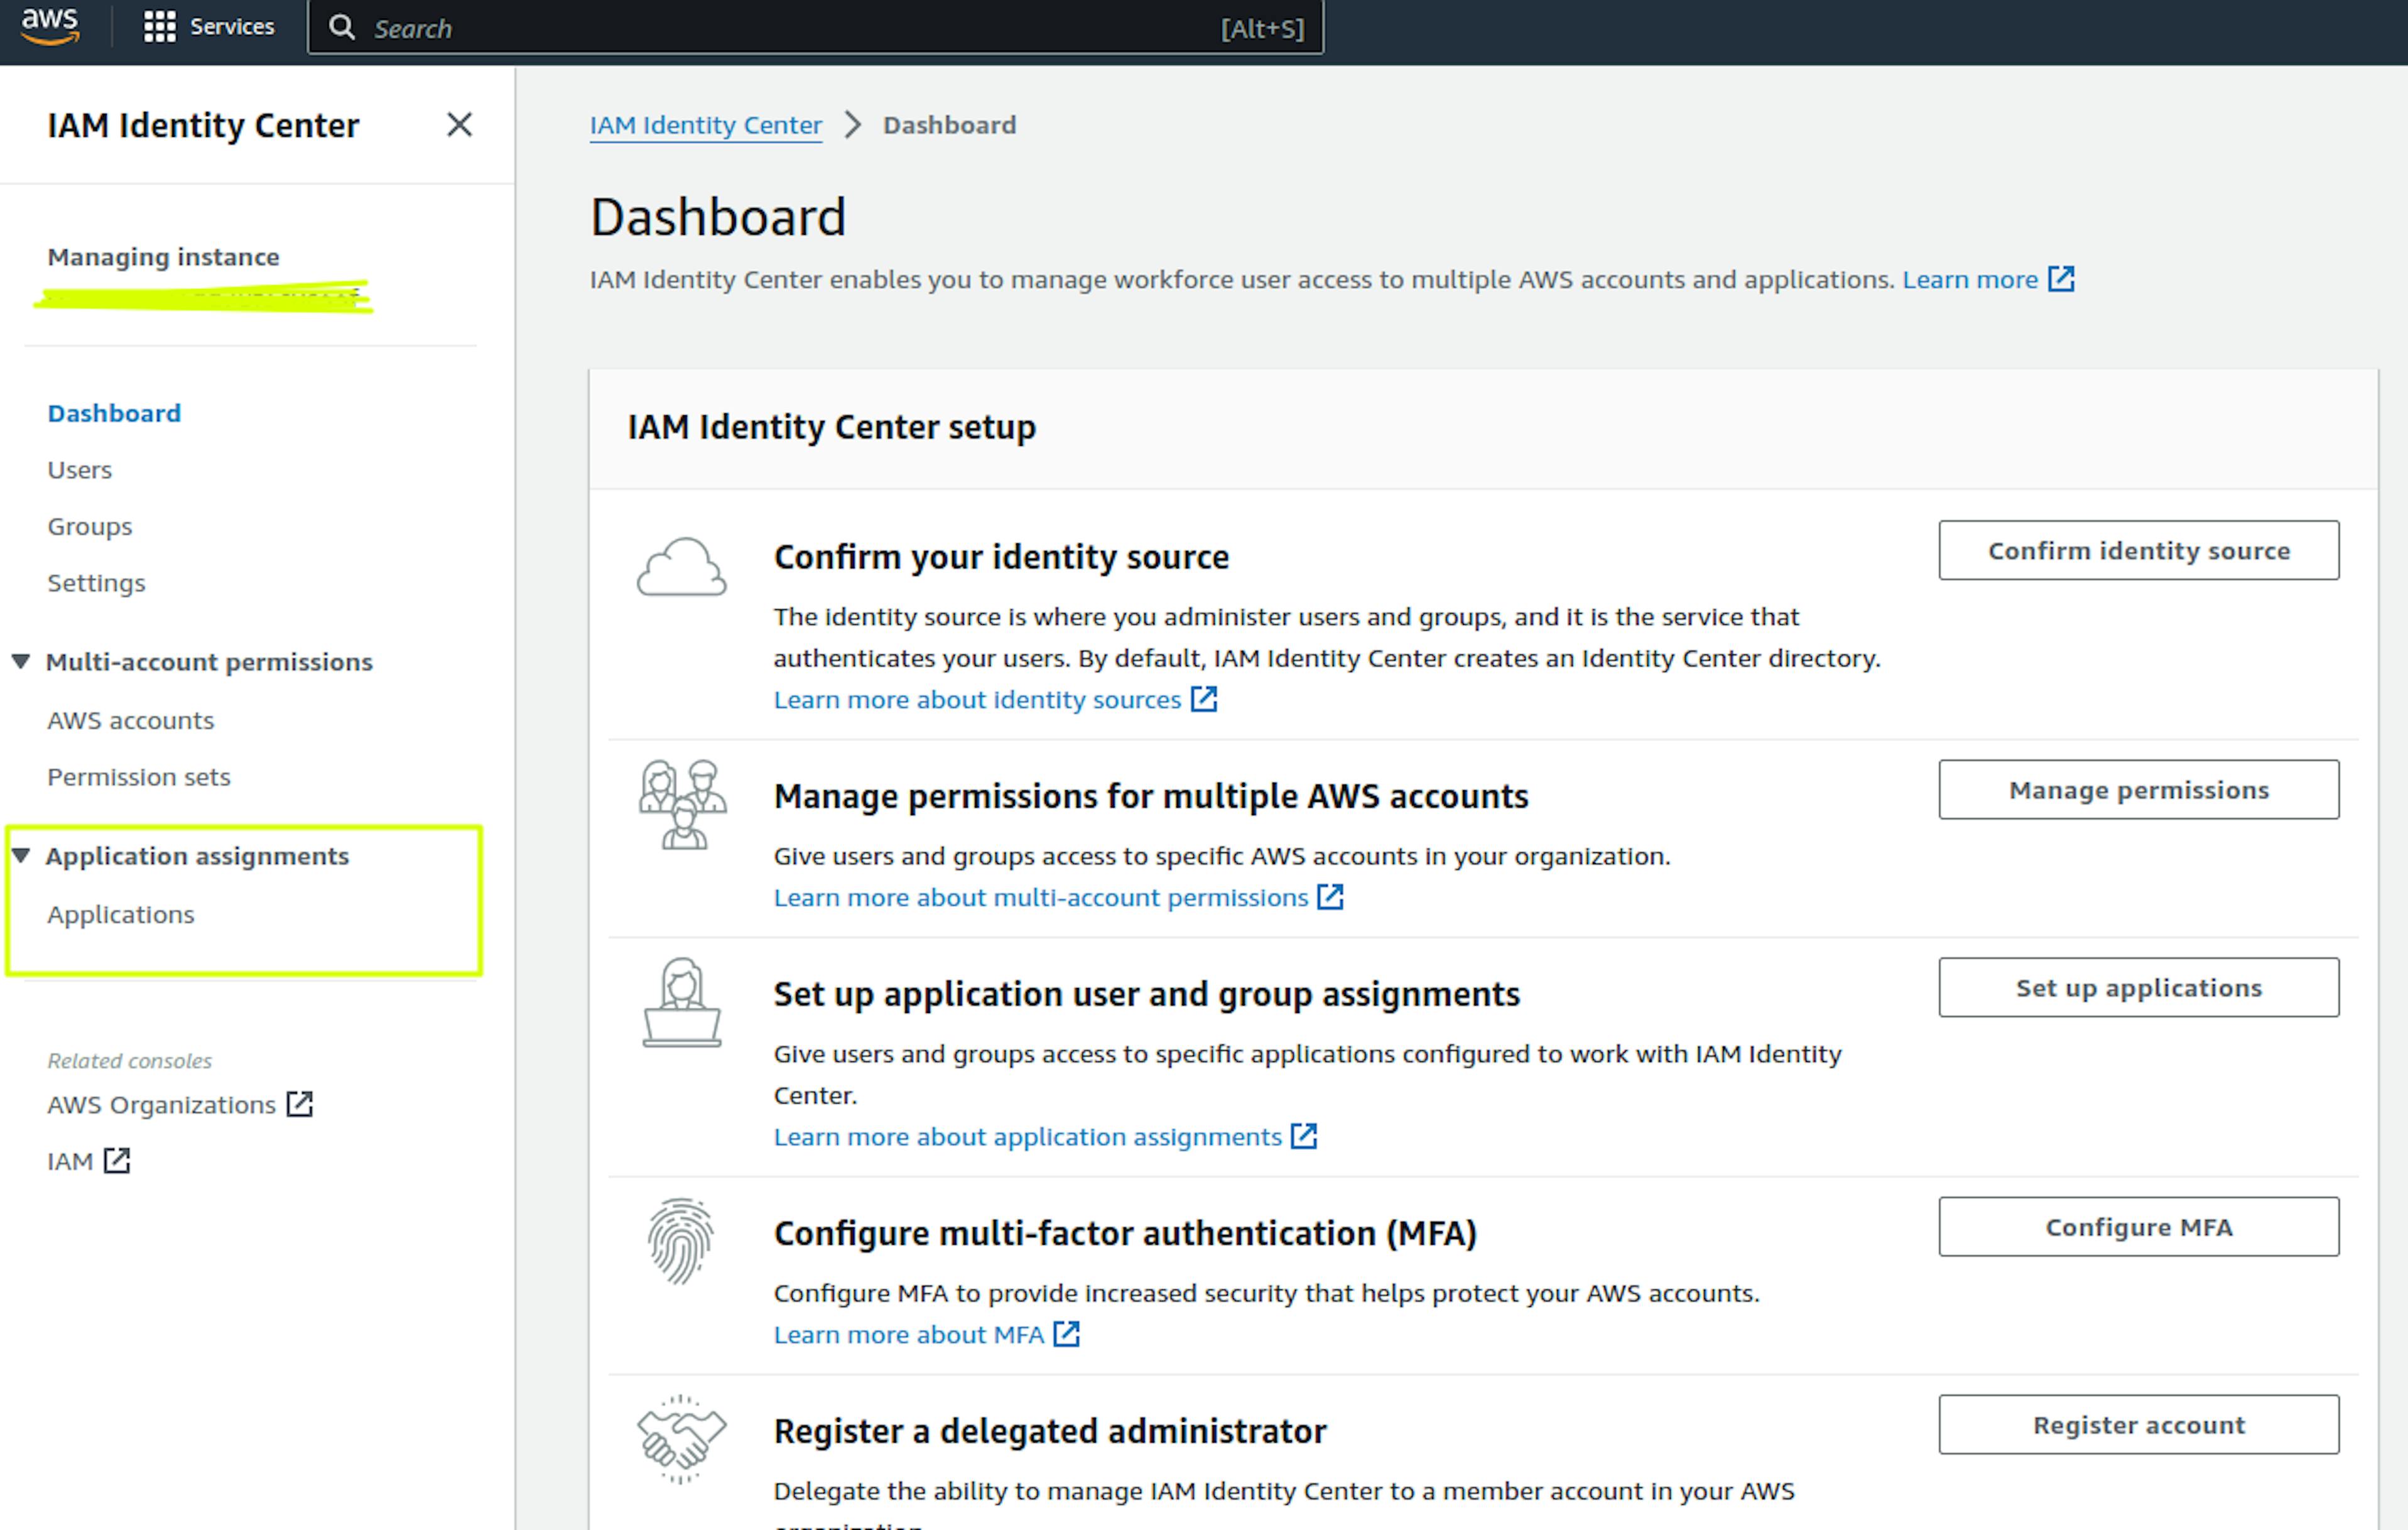
Next, go to the Application assignments section and select Applications:
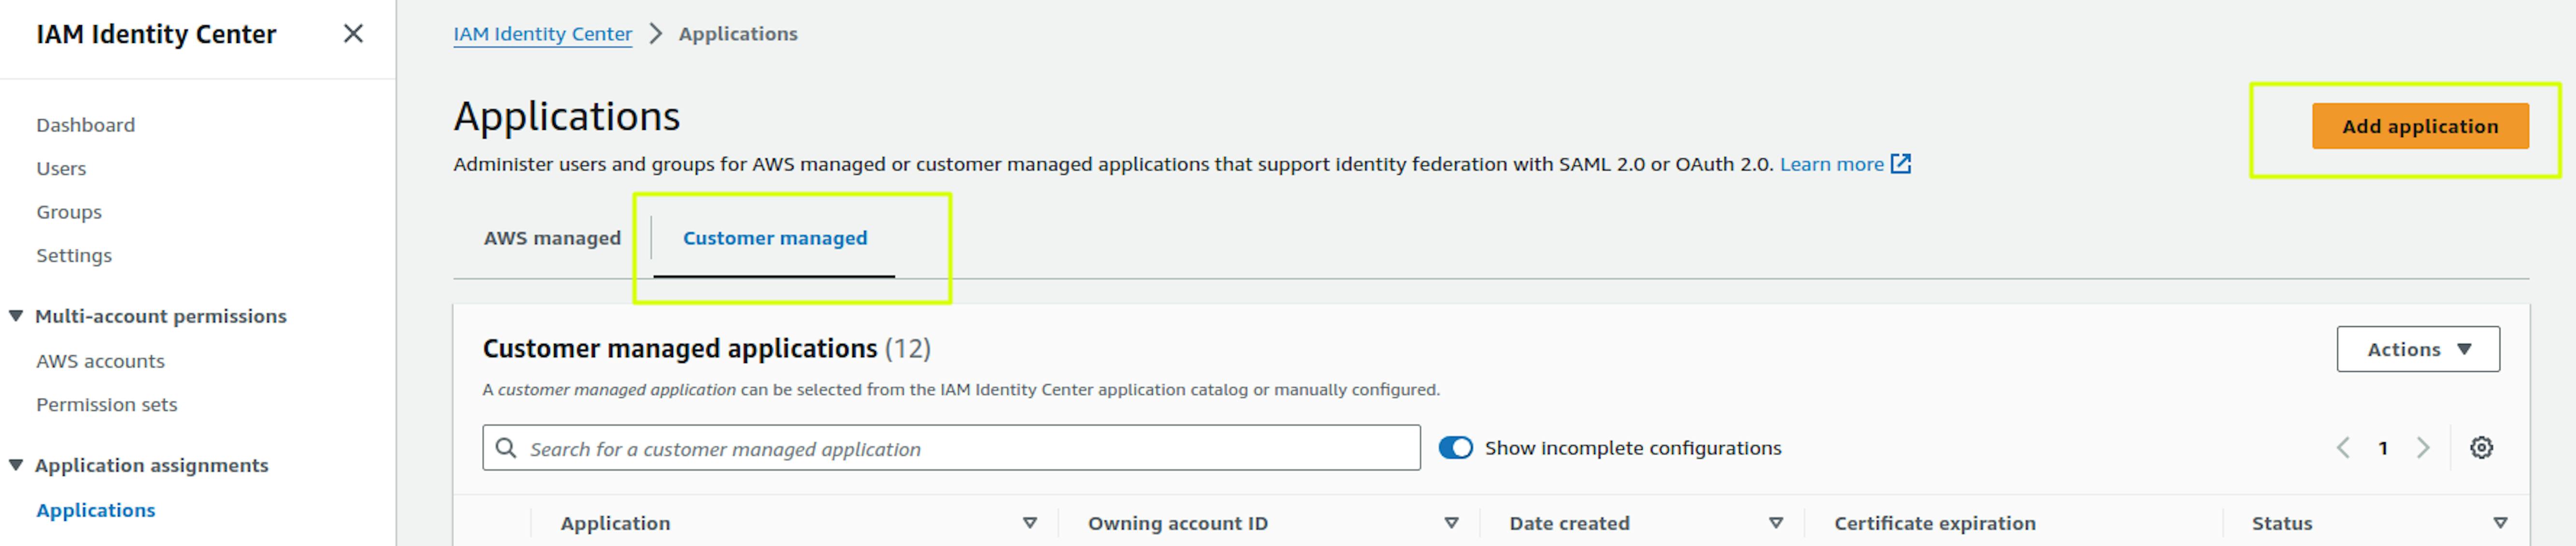
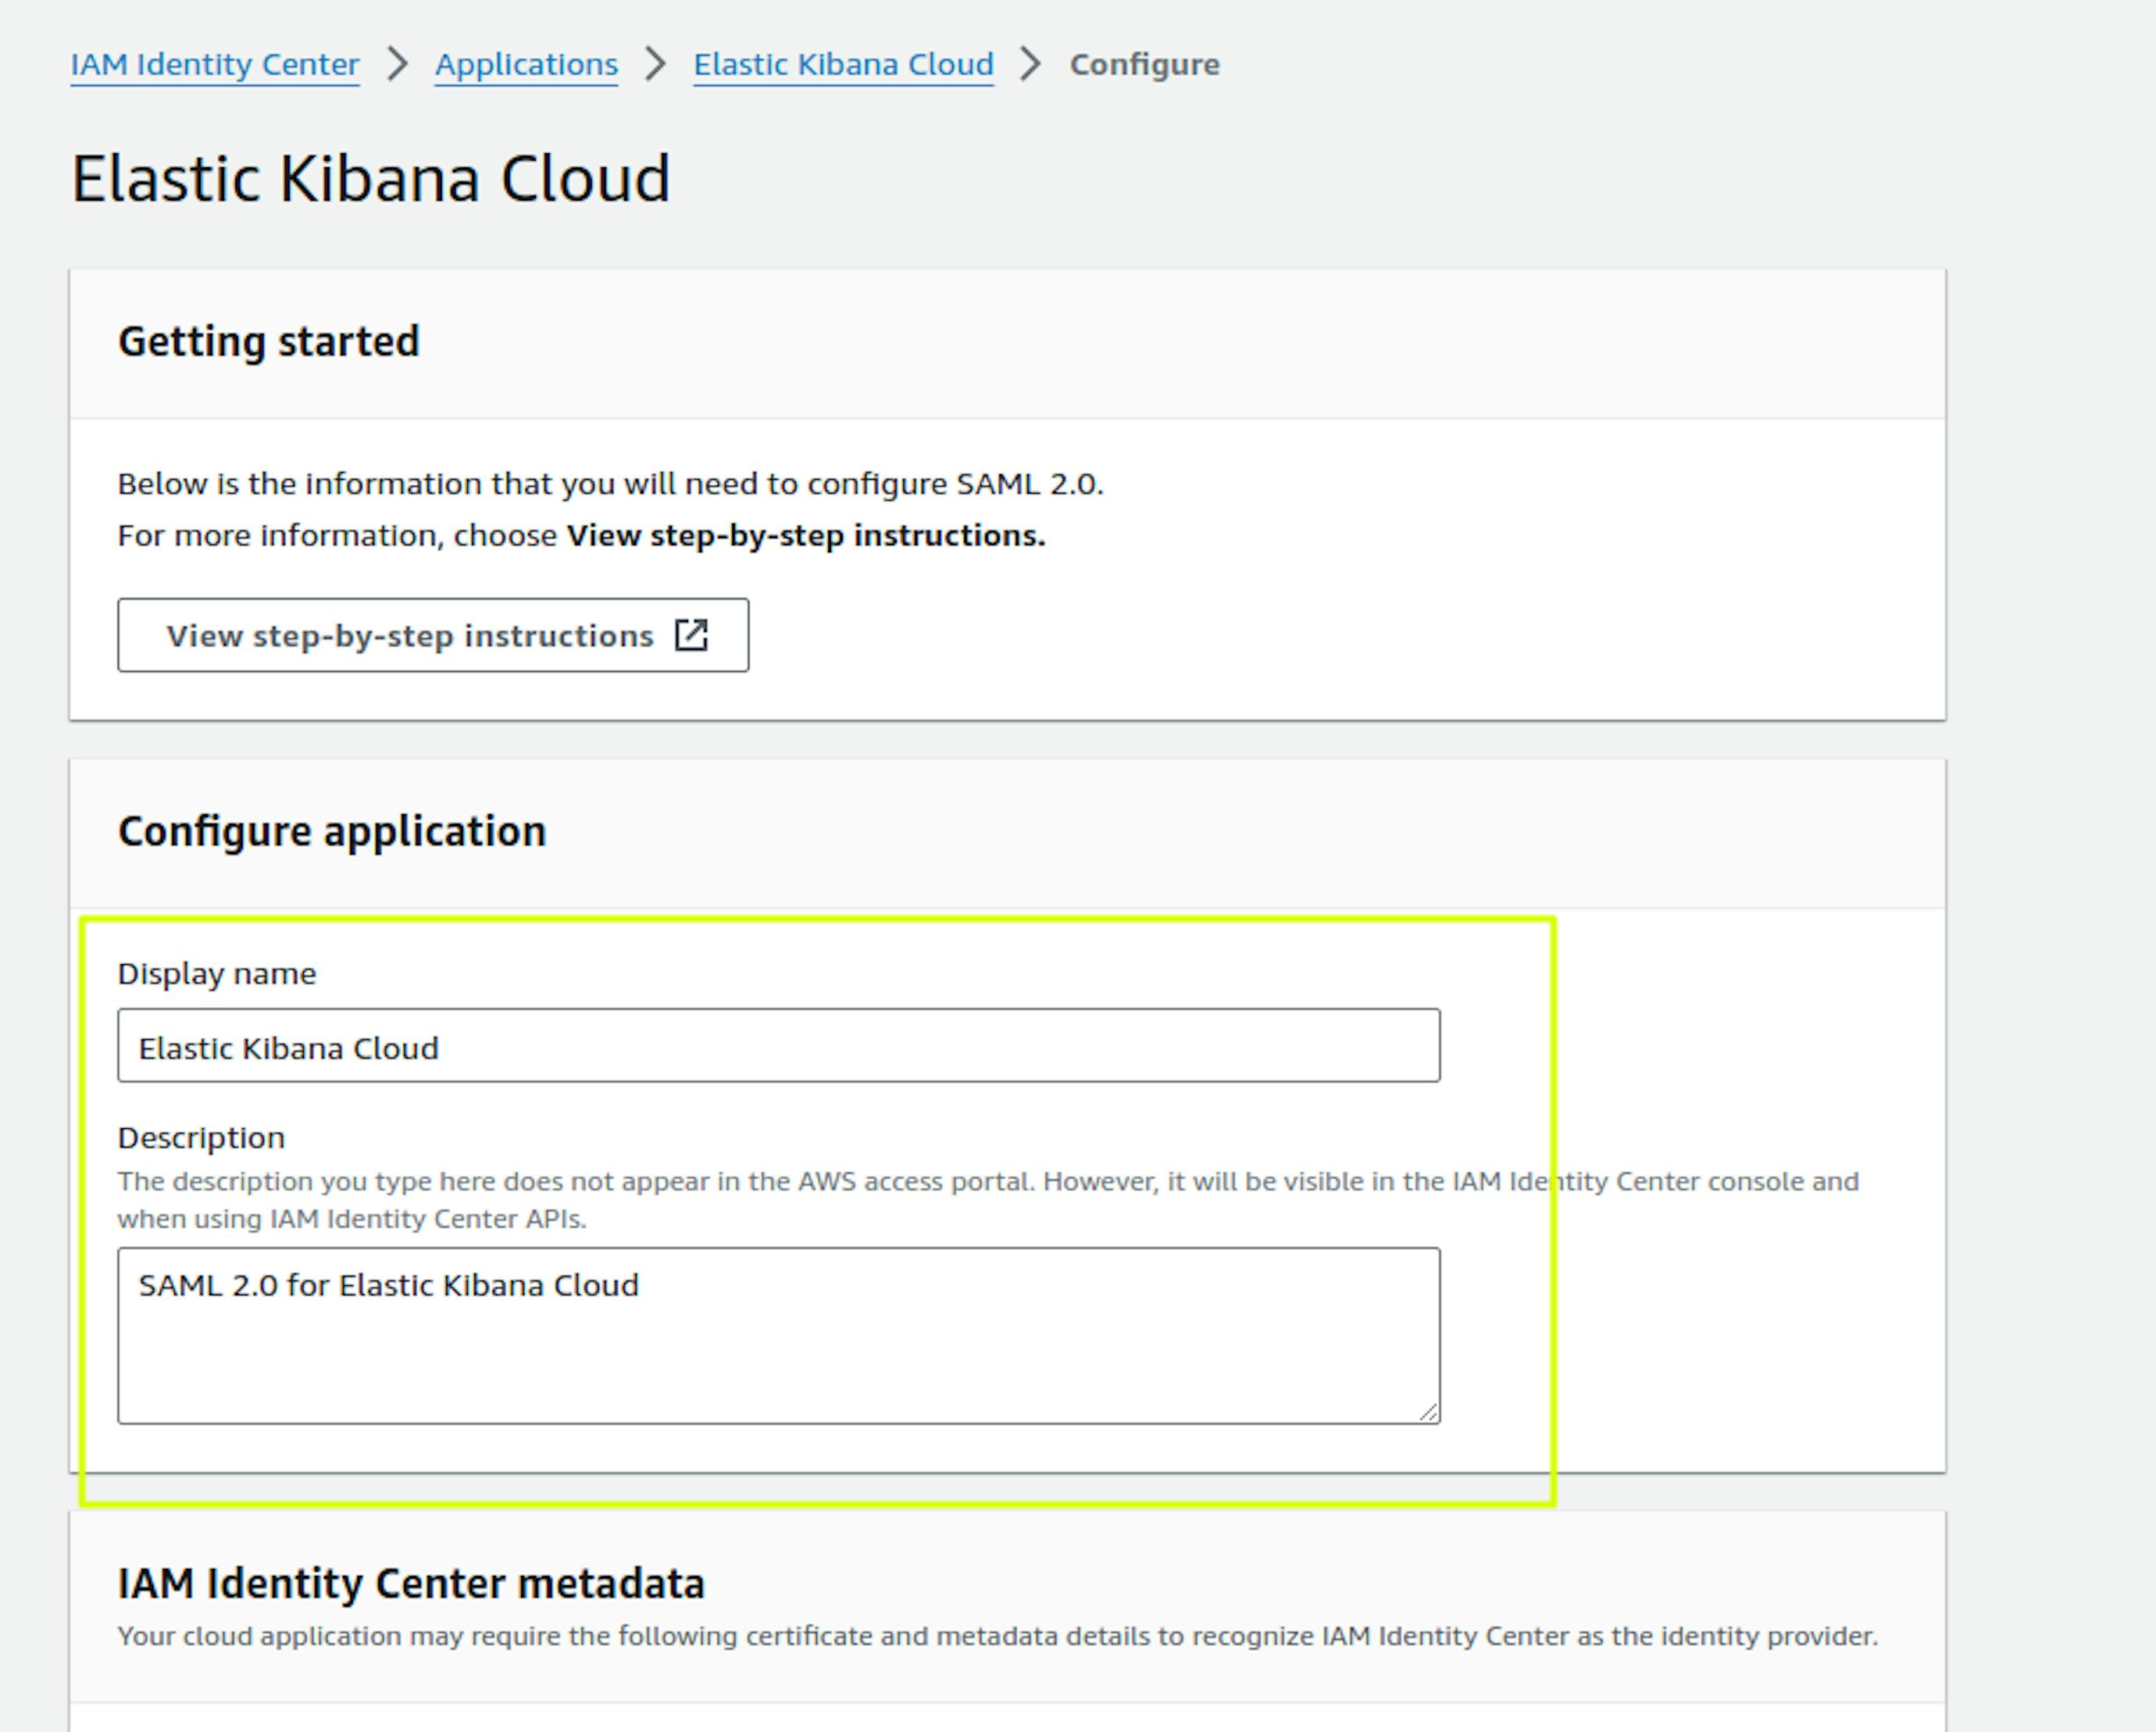
Select "Customer managed" in the "Applications" section and click "Add Application":
Fill in the required fields "Display name" and "Description." The "Display name" will subsequently be displayed in "Applications" when logging into AWS SSO:
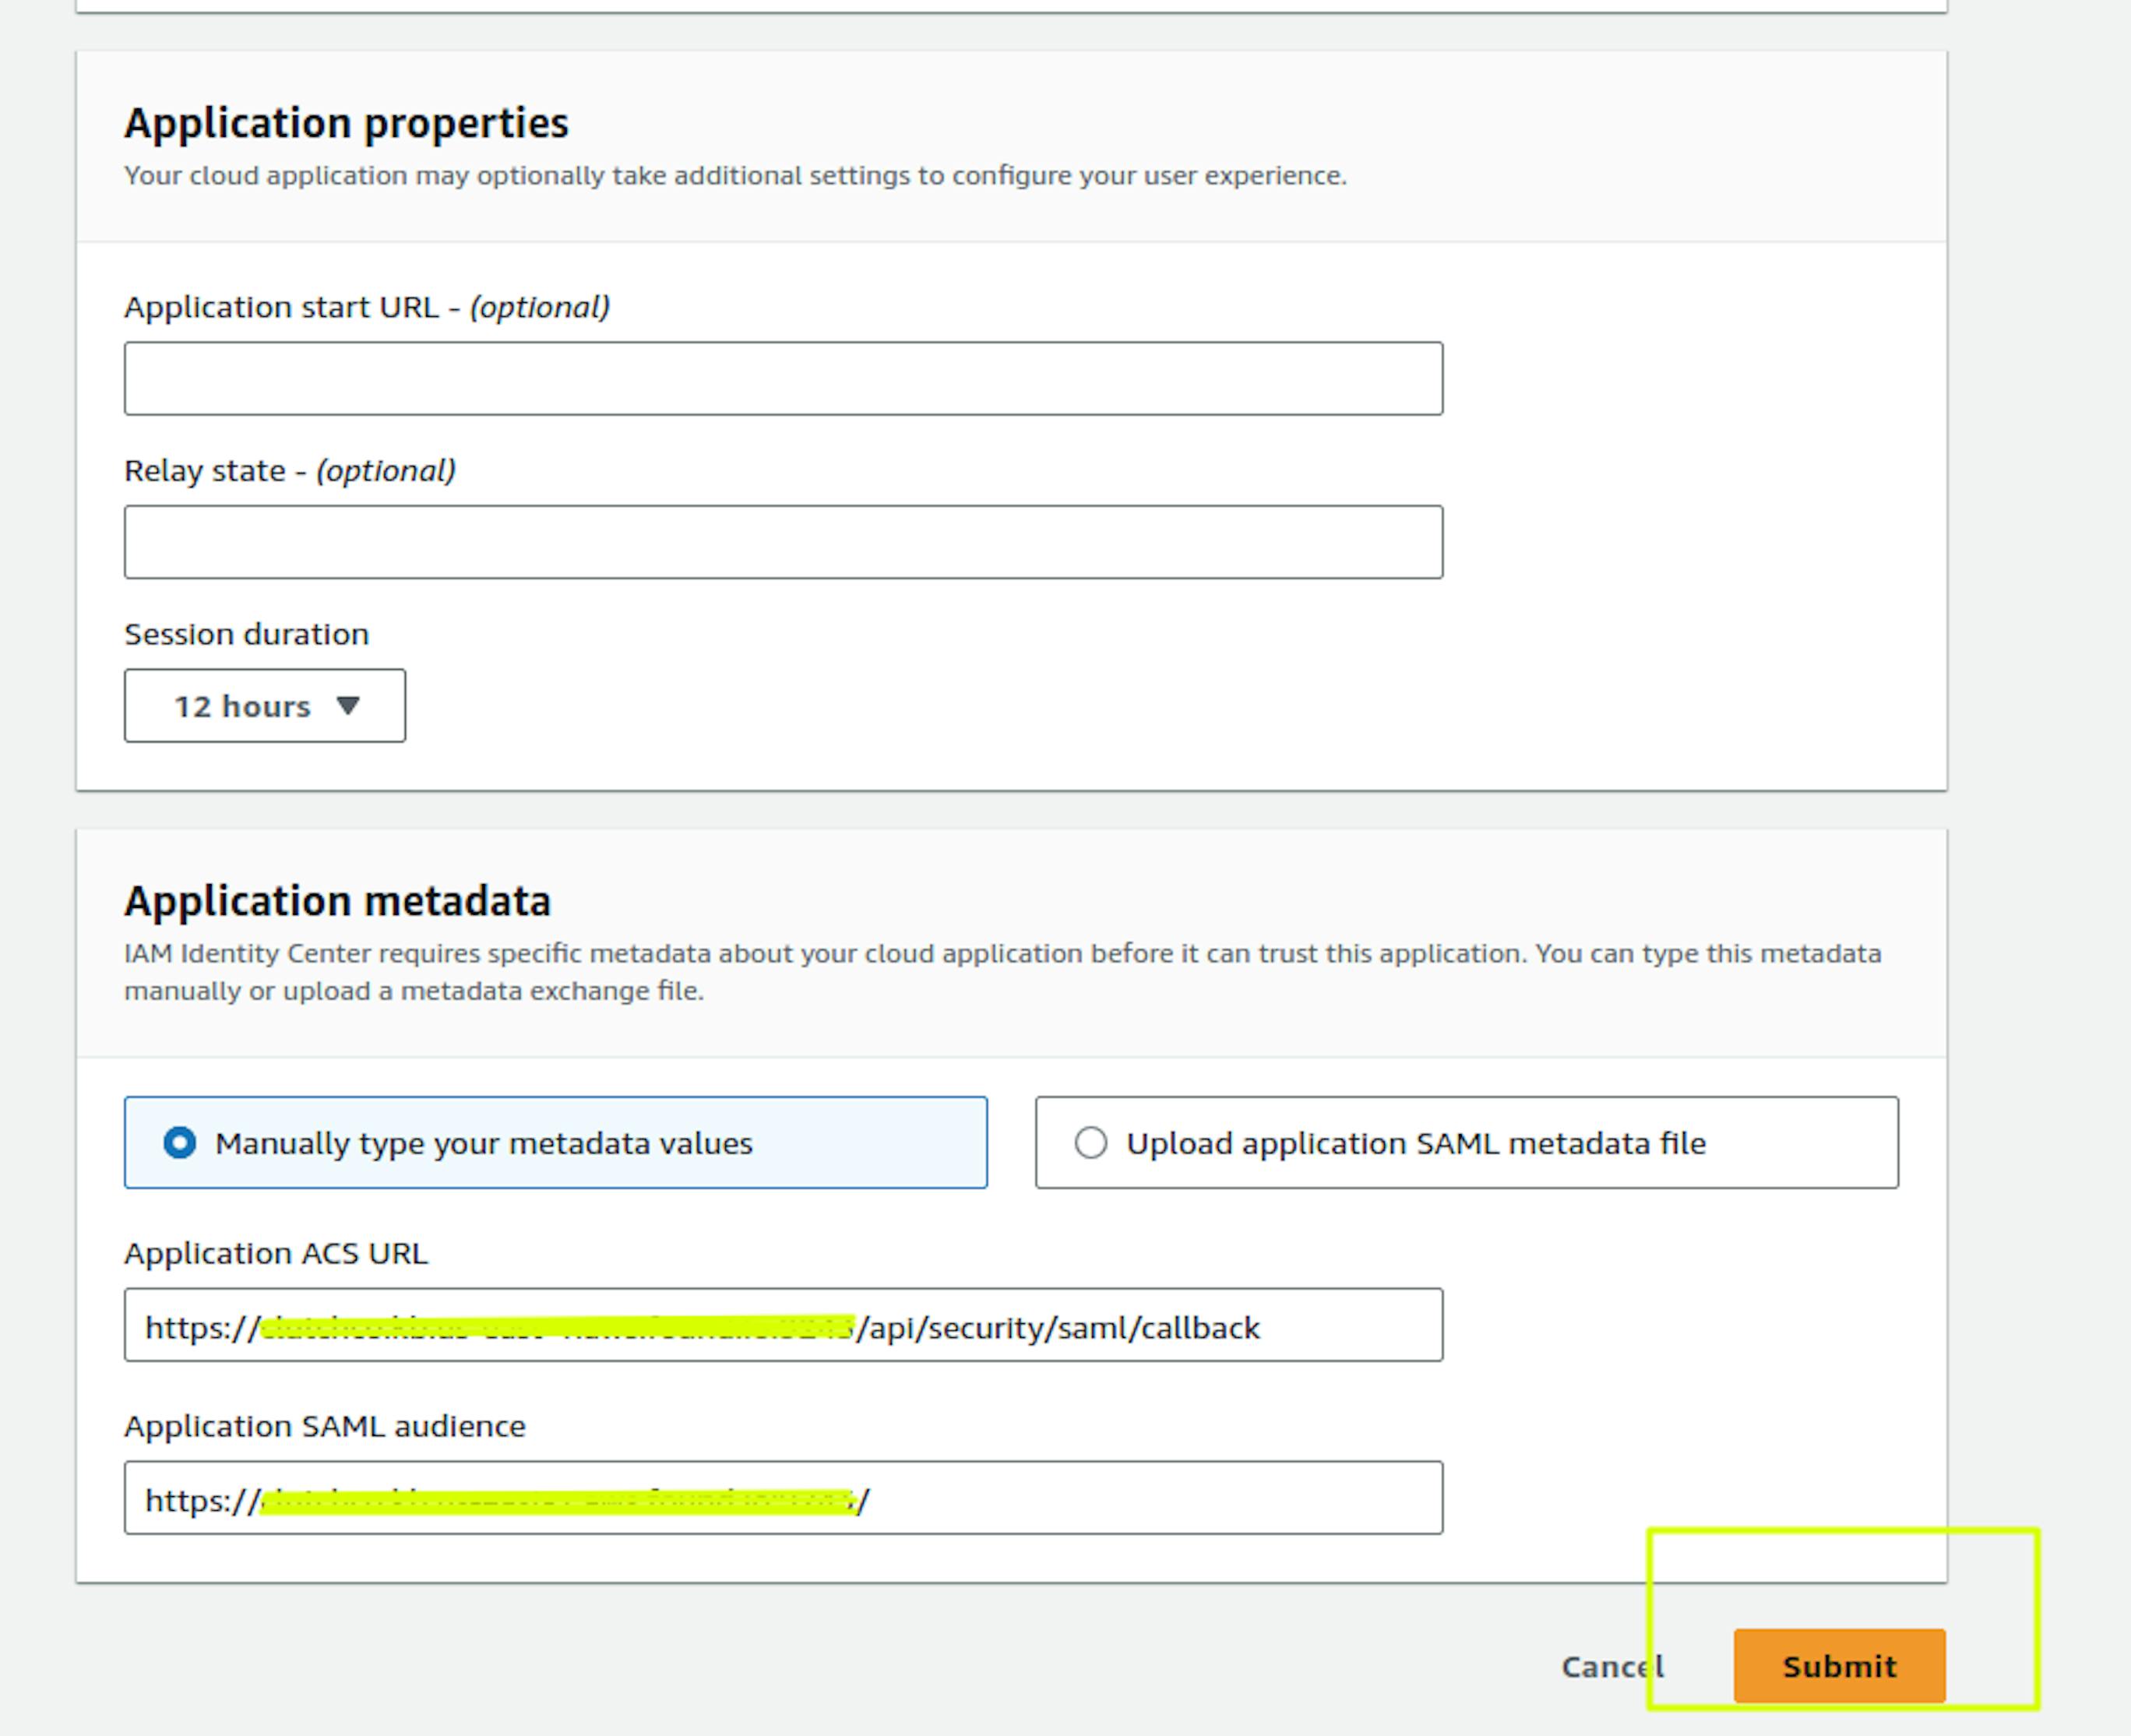
In "Application metadata," place https://<kibana_url>/api/security/saml/callback in the "Application ACS URL" field.
Place https://<kibana_url>/ in the "Application SAML audience" field and select Submit
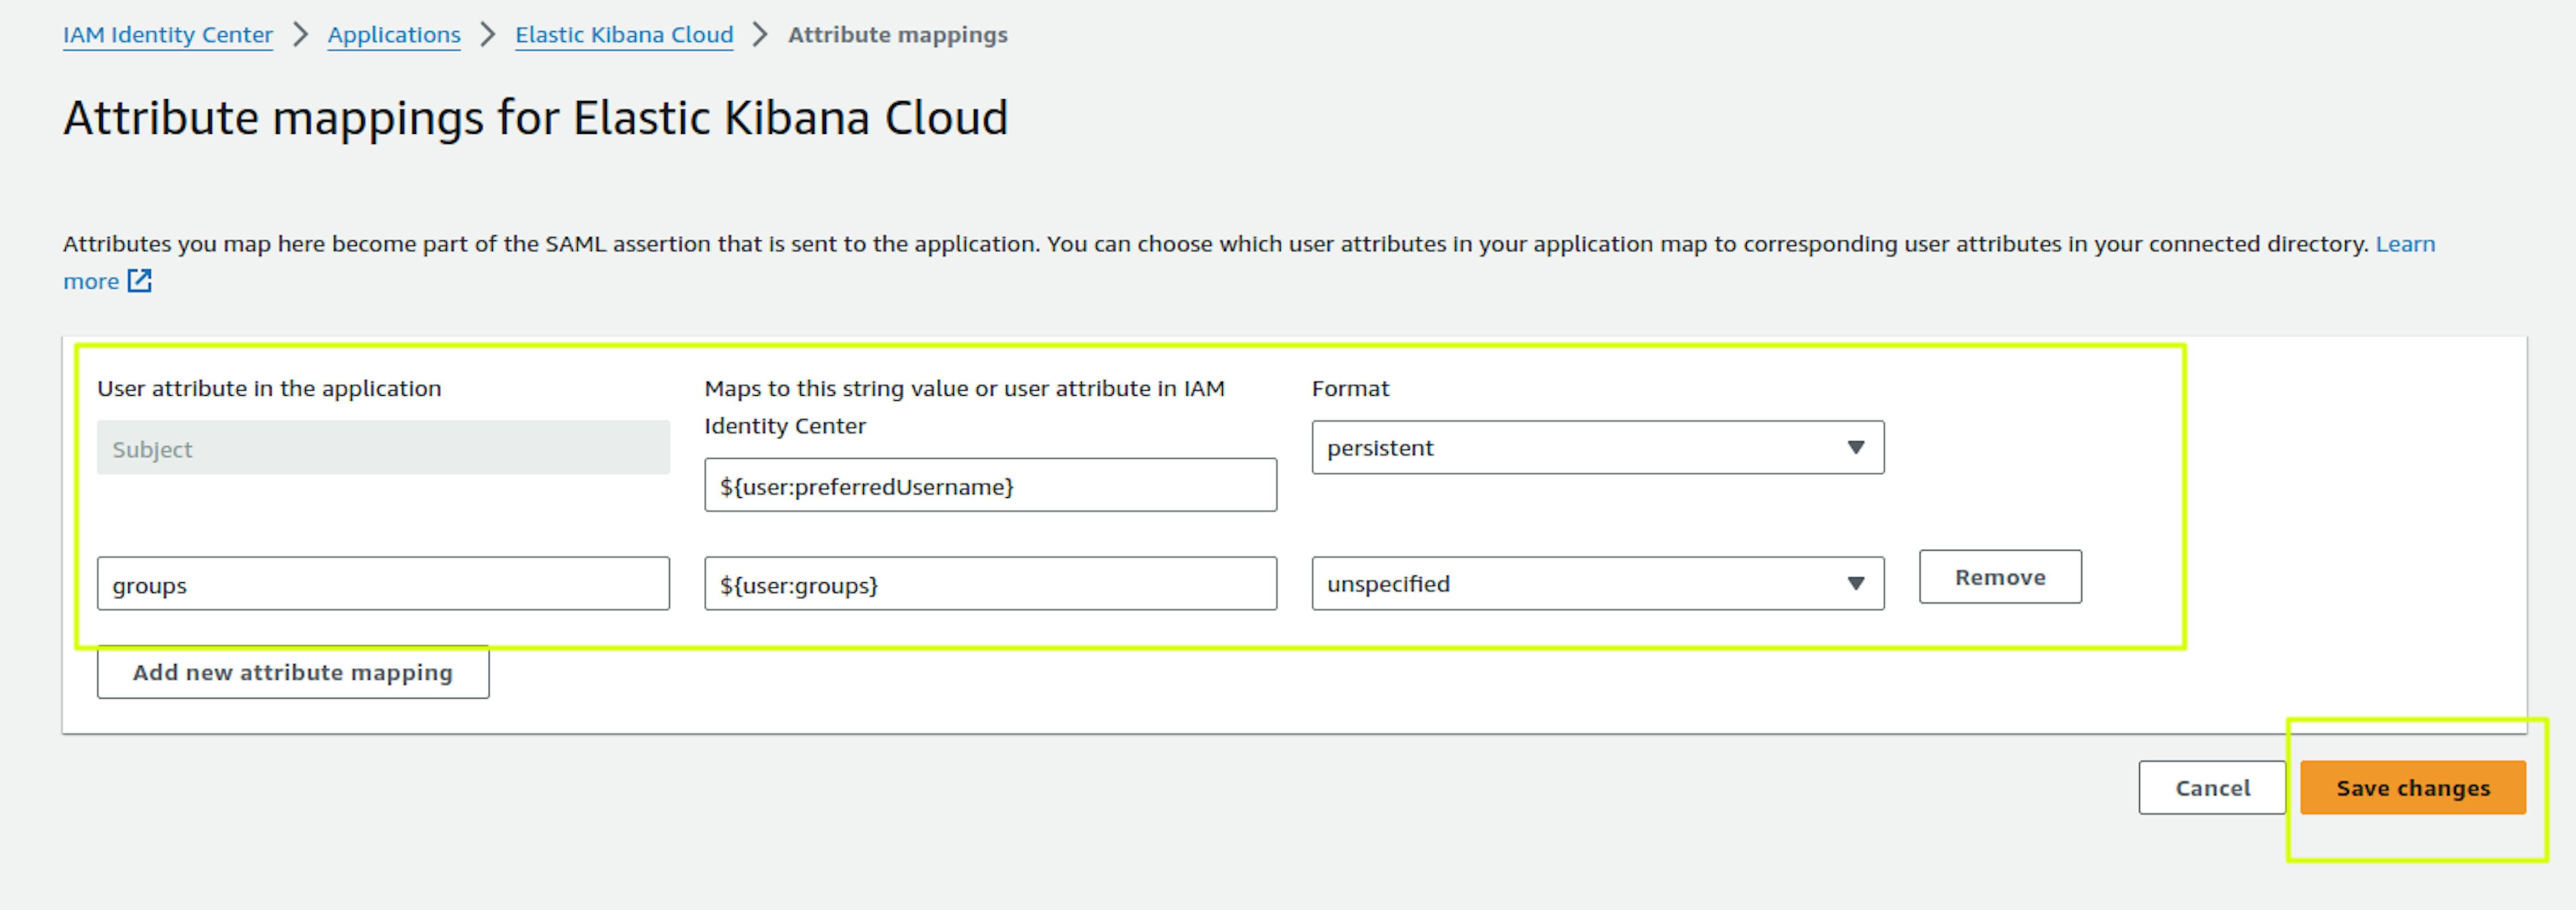
Next, in the same configuration, you need to configure Attribute Mapping. IAM Identity Center uses these user attributes to populate SAML assertions (as SAML attributes) sent to the application. You can find more details in the documentation: https://docs.aws.amazon.com/singlesignon/latest/userguide/attributemappingsconcept.html
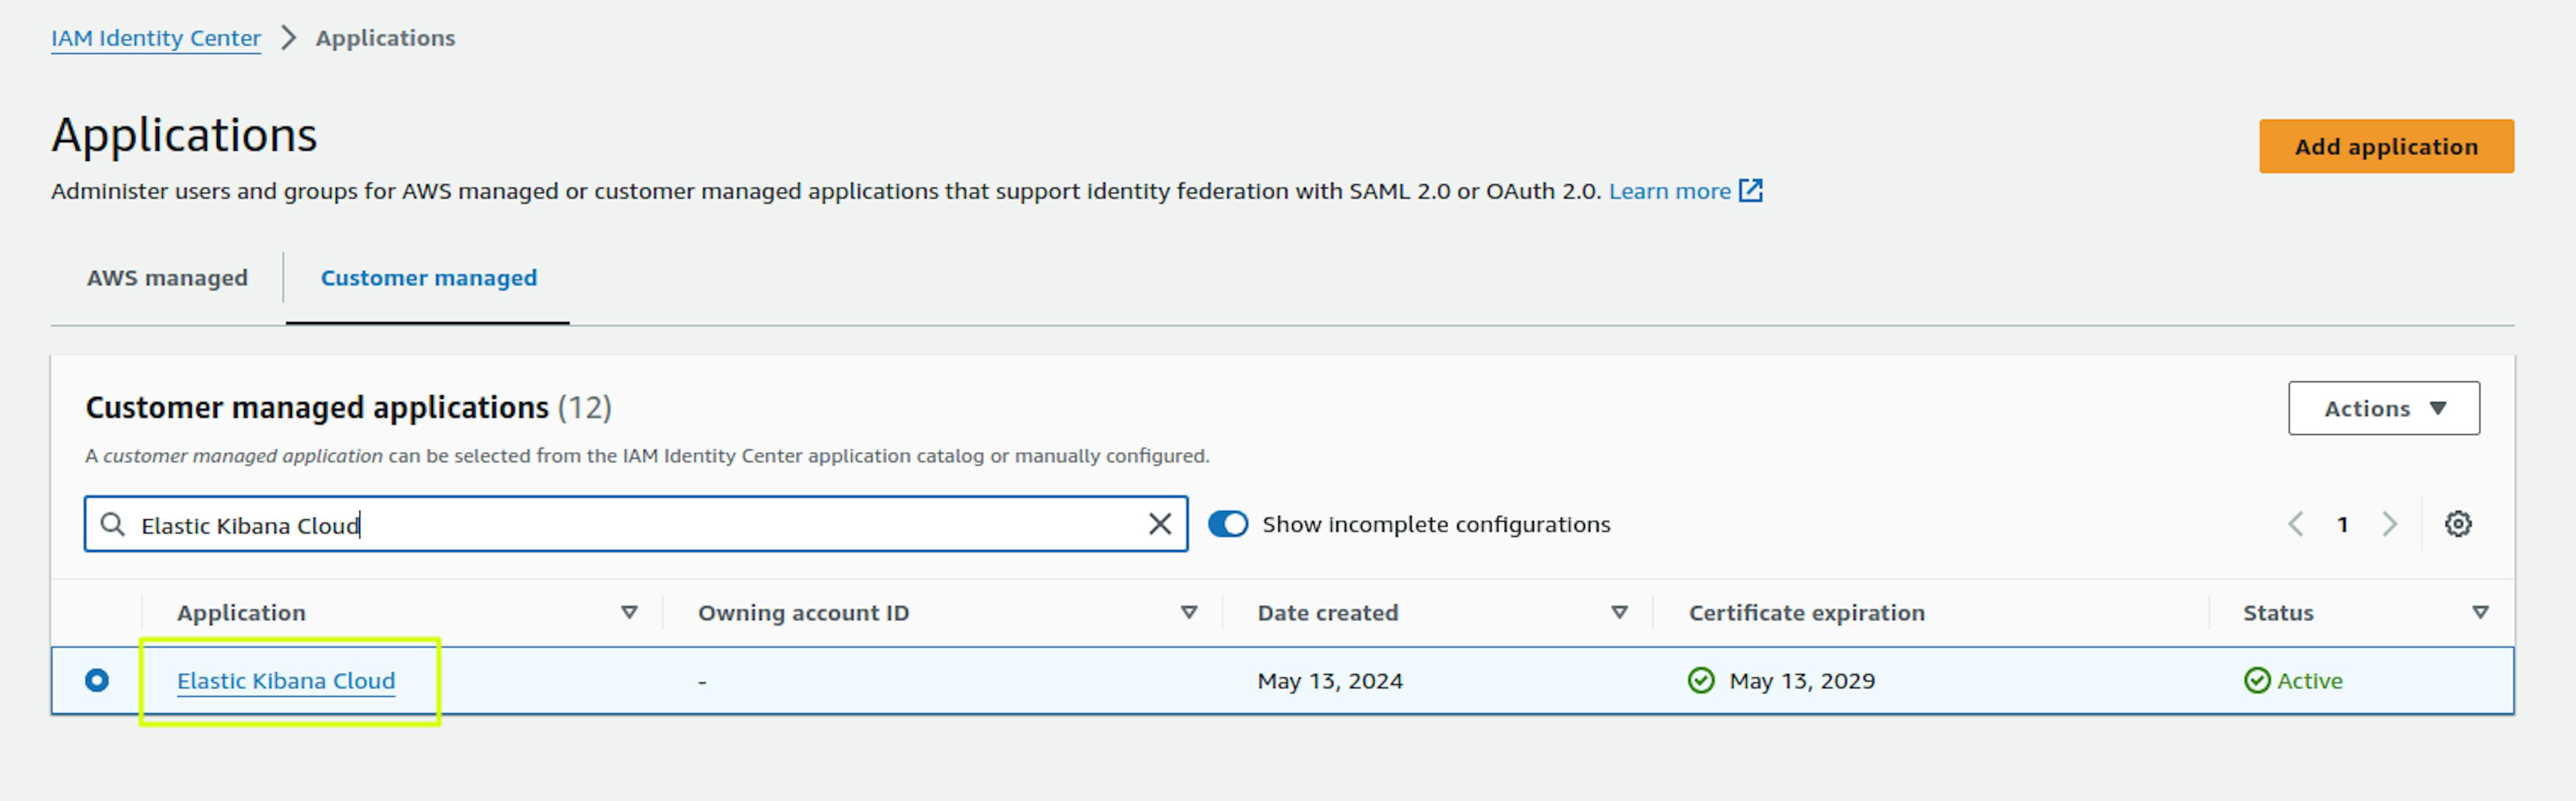
To configure Attribute Mapping, go to the Application you created:
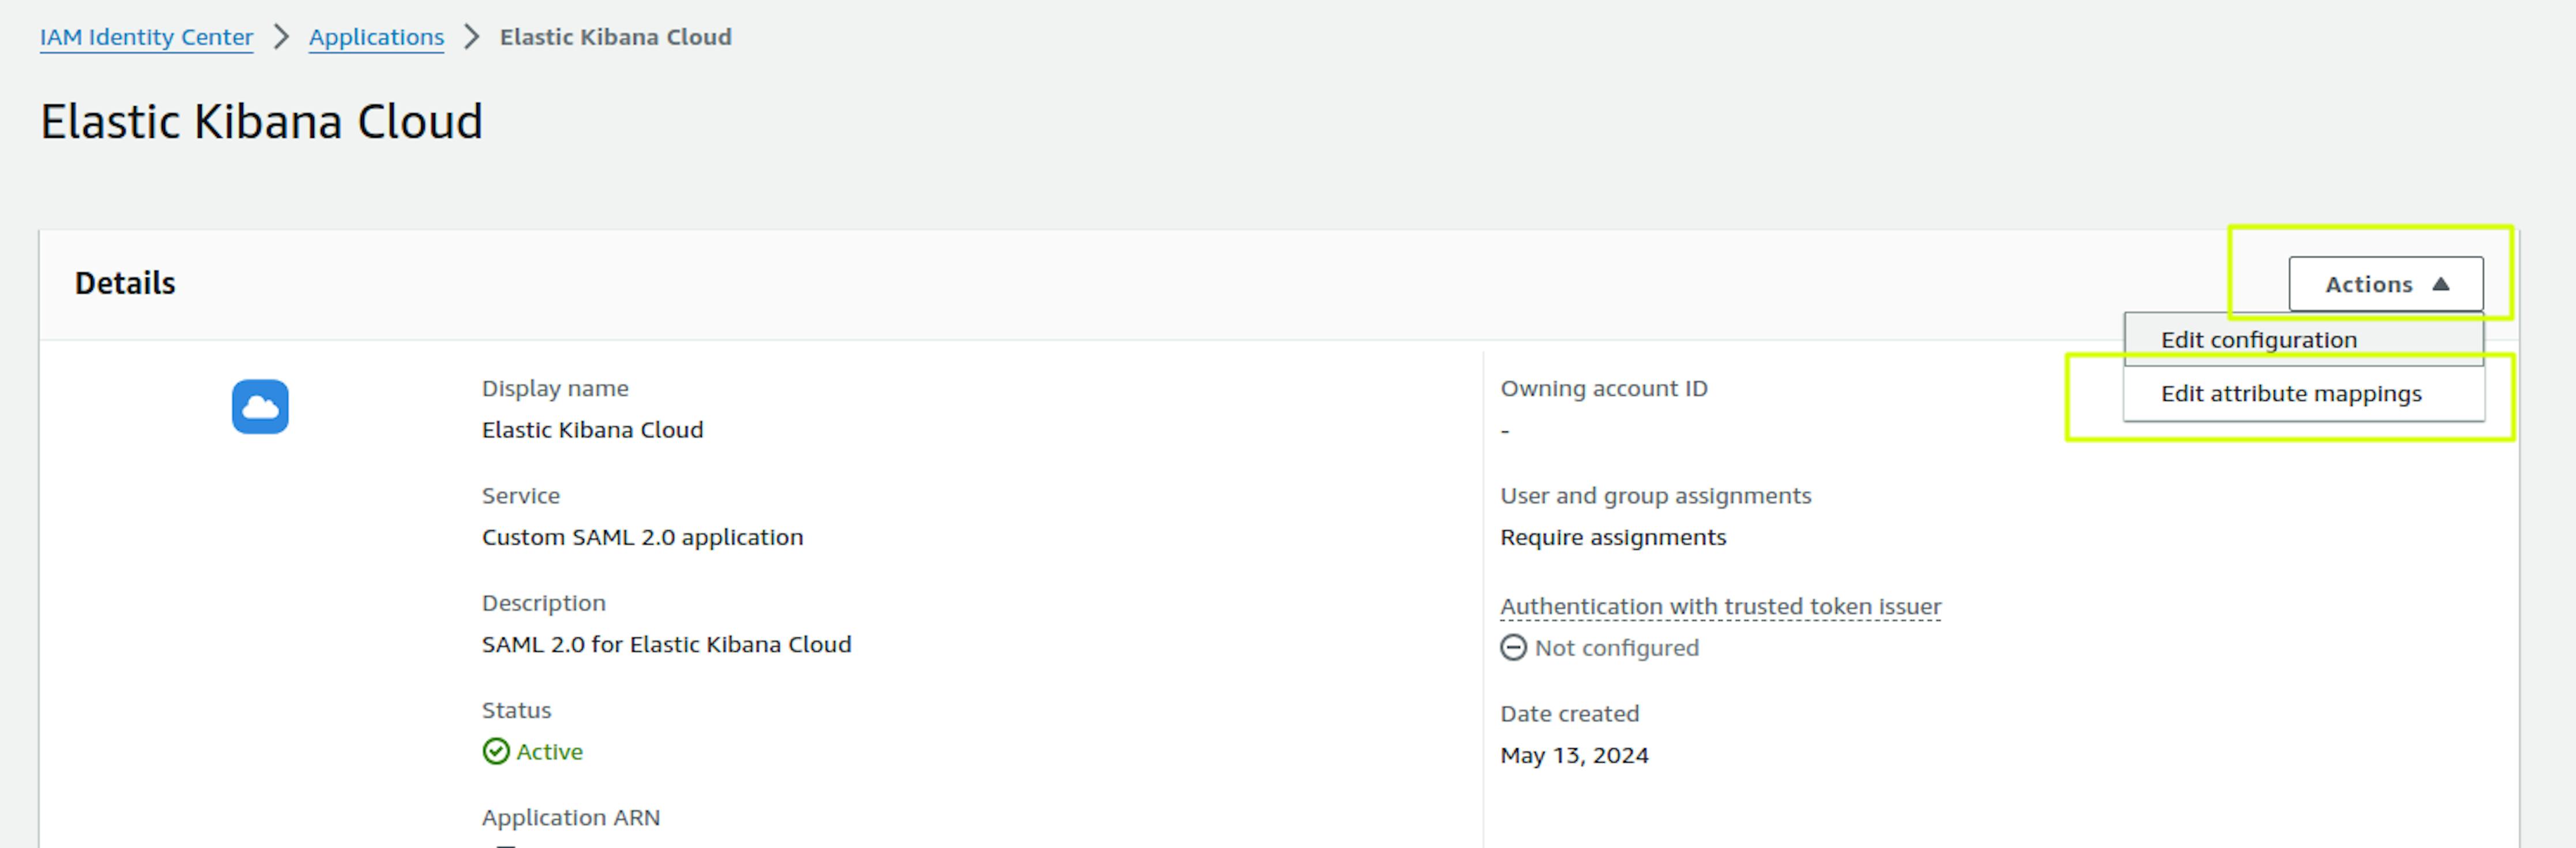
Select Action -> Edit Attribute Mapping:
Since we plan to differentiate permissions by user groups in Kibana, the 2 attributes shown in the screenshot will be enough. Save changes.
Let's immediately create several user groups in the IAM Identity Center:
Kibana_admins and Kibana_developers. To do this, go to the Groups -> Create group section in the IAM Identity Center. We set the Group name and Description and can immediately add users to the group.

We return to the settings of our Application and assign the created groups:

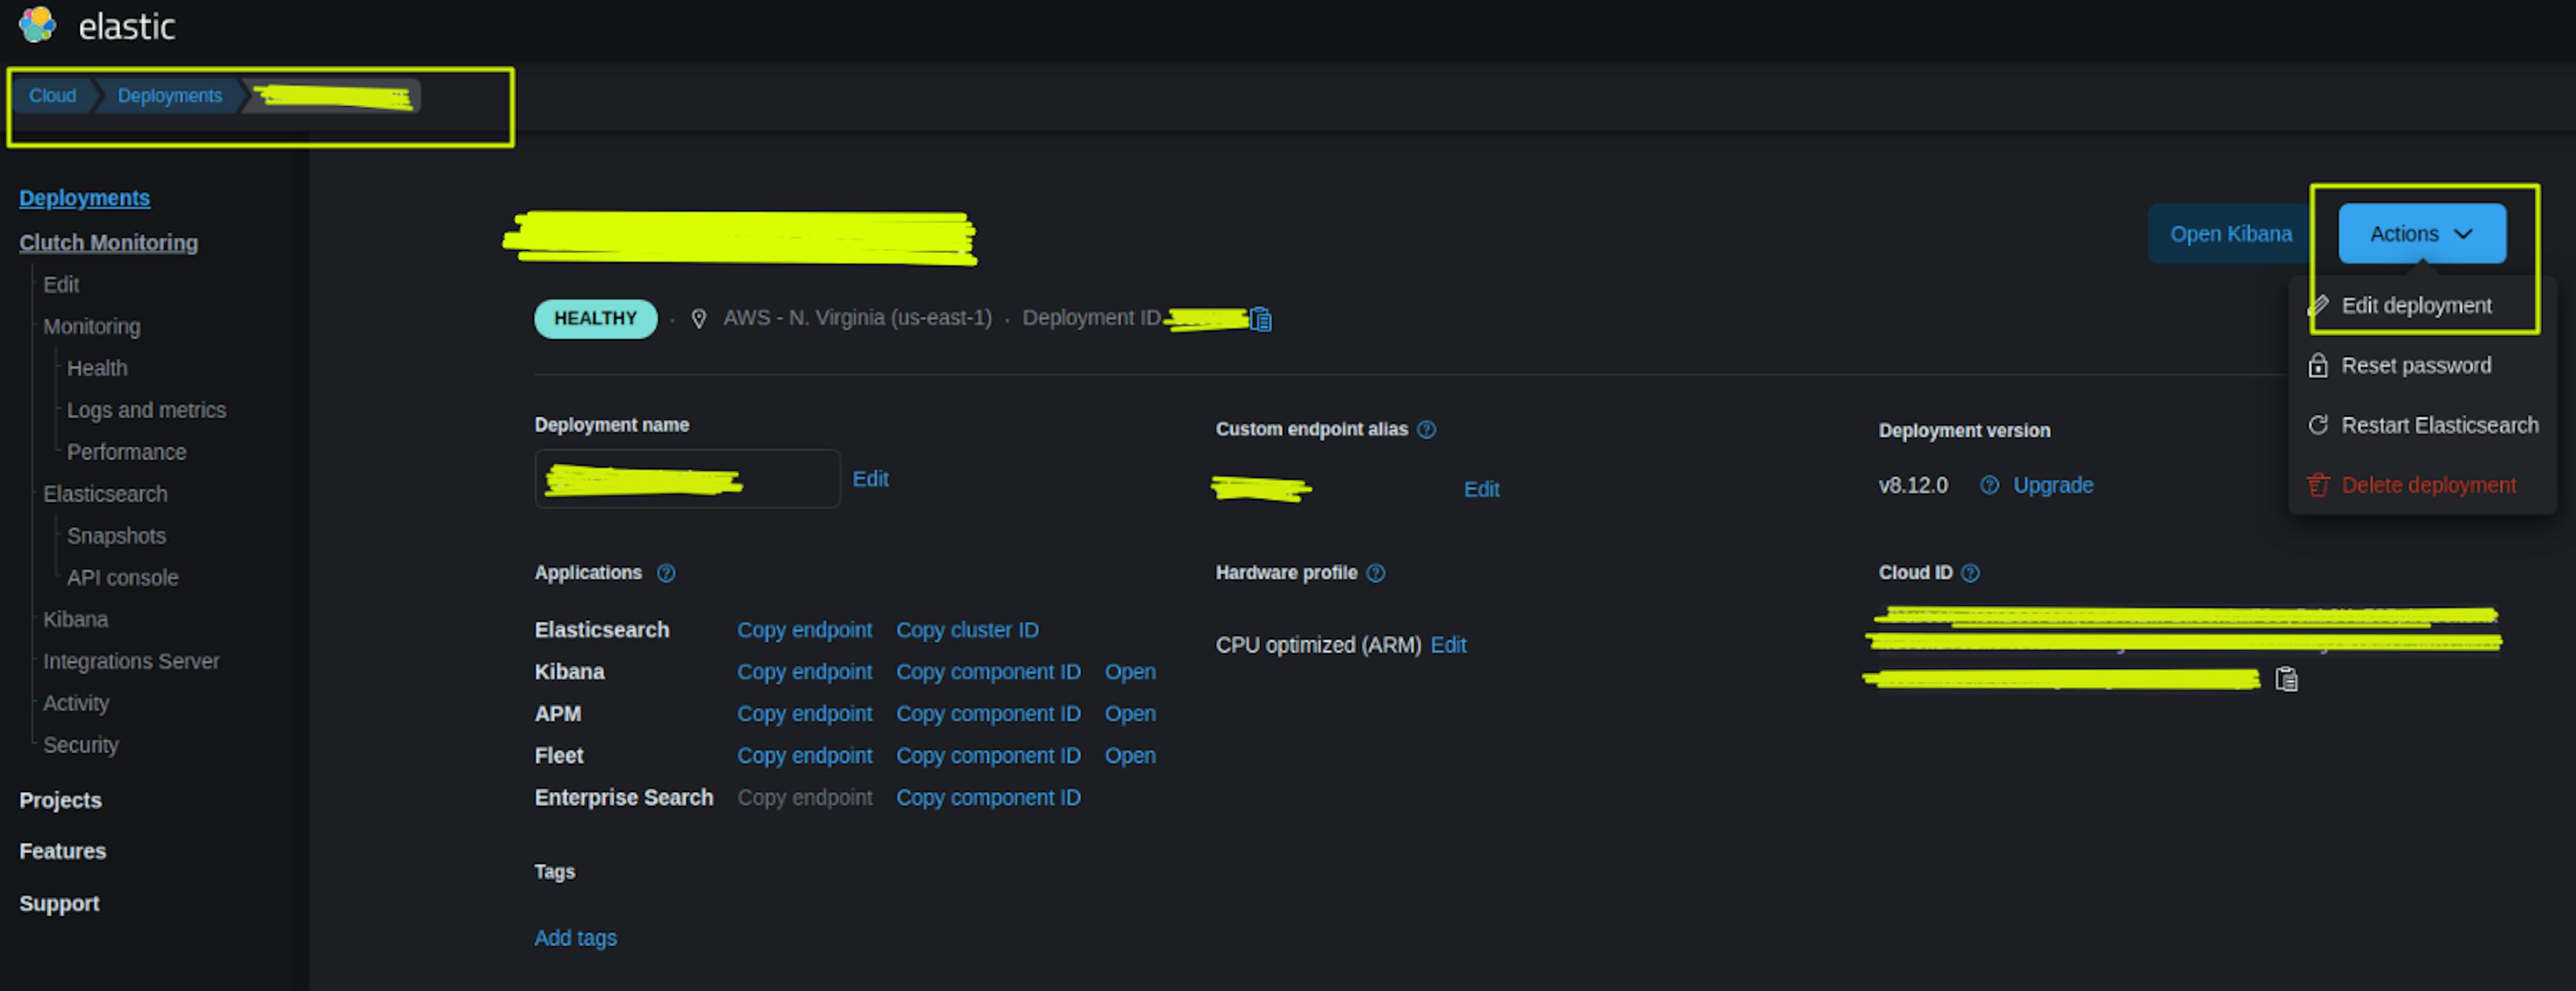
2. Now, let's start setting up Elastic Cloud:
Go to https://www.elastic.co/cloud in the Deployment -> Actions -> Edit Deployment section:
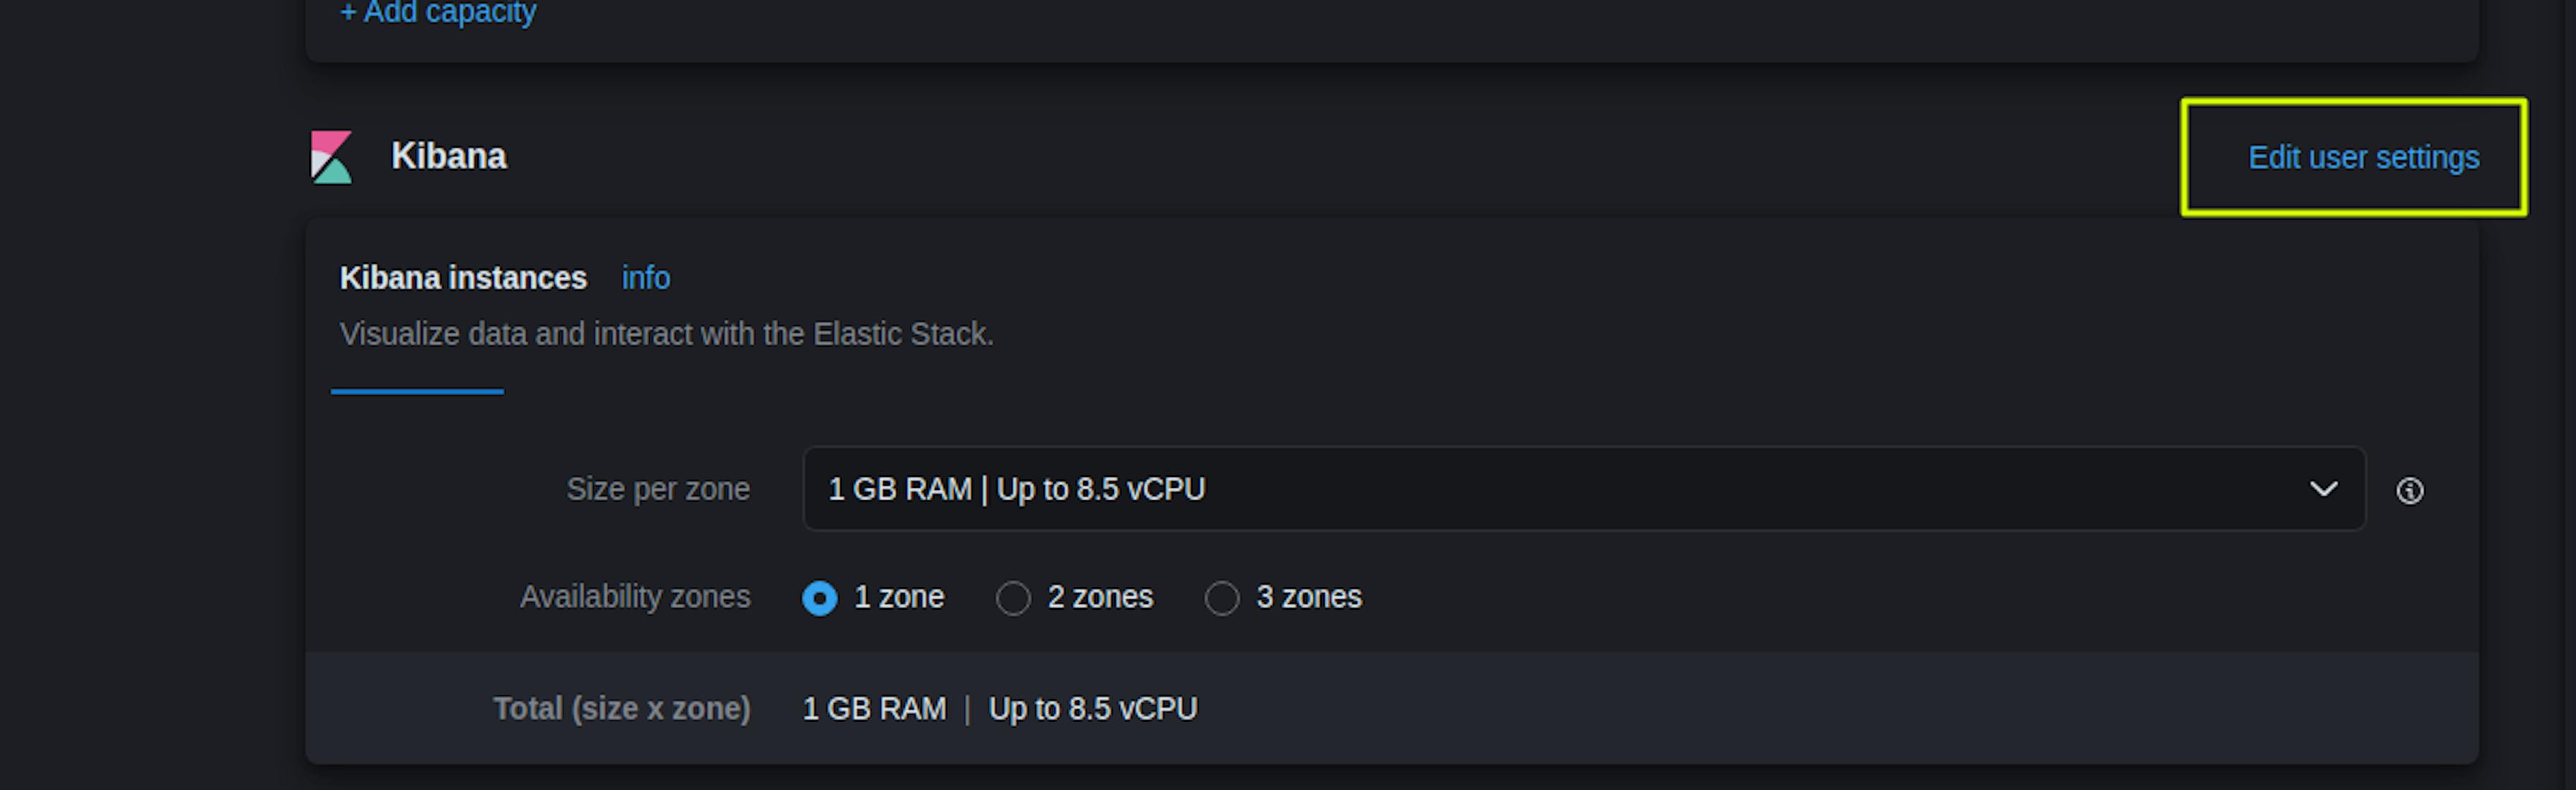
Select "Manage user settings and extensions (0)" in the ElasticSearch settings section:

Adding the configuration:
xpack:
   security:
	 authc:
	   realms:
	     saml:
	       saml-realm-name:
	         order: 2
	         attributes.principal: "nameid"
	         attributes.groups: "groups"
	         idp.metadata.path: "https://portal.sso.us-east-1.amazonaws.com/saml/metadata/XXXXXX"
	         idp.entity_id: "https://portal.sso.us-east-1.amazonaws.com/saml/assertion/XXXXXX"
	         sp.entity_id: "https://<kibana_url>/"
	         sp.acs: "https://<kibana_url>/api/security/saml/callback"
	         sp.logout: "https://<kibana_url>/logout"
You can get the idp.metadata.path and idp.entity_id values in the previously prepared Application in the IAM Identity Center metadata section.
Select "Back" and go to the Kibana configuration.
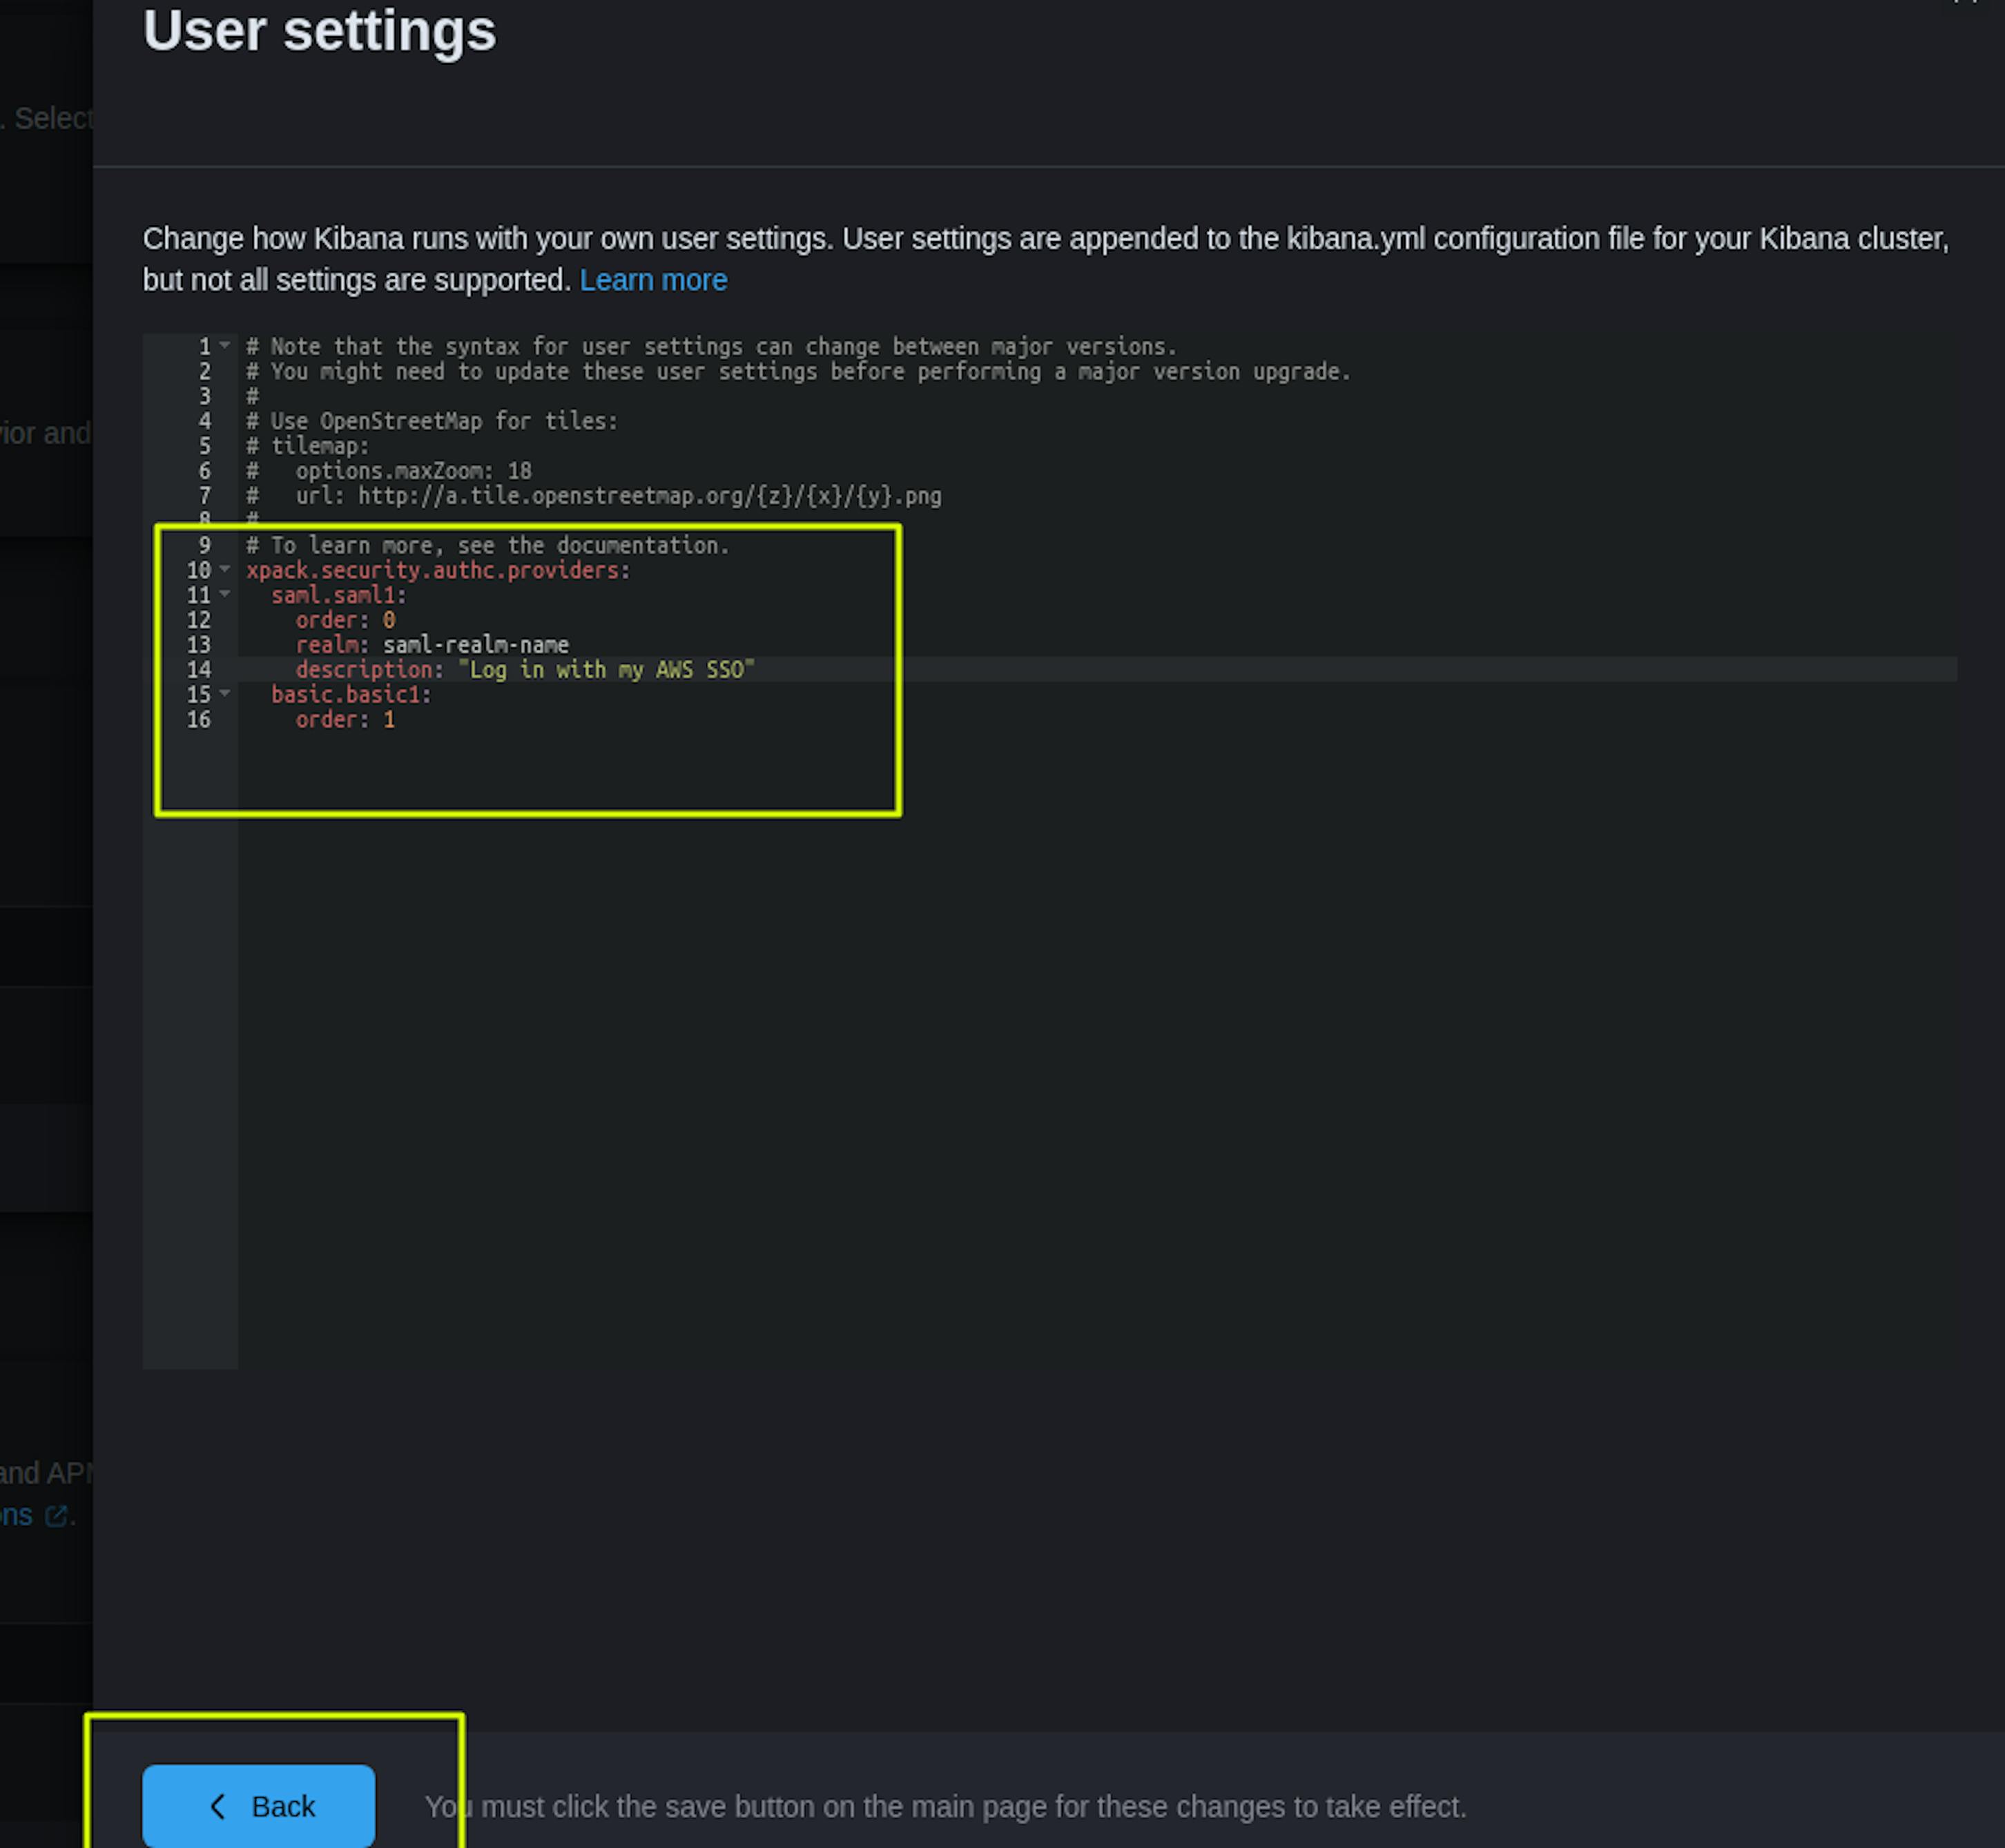
xpack.security.authc.providers:
saml.saml1:
order: 0
realm: saml-realm-name
description: "Log in with my AWS SSO"
basic.basic1:
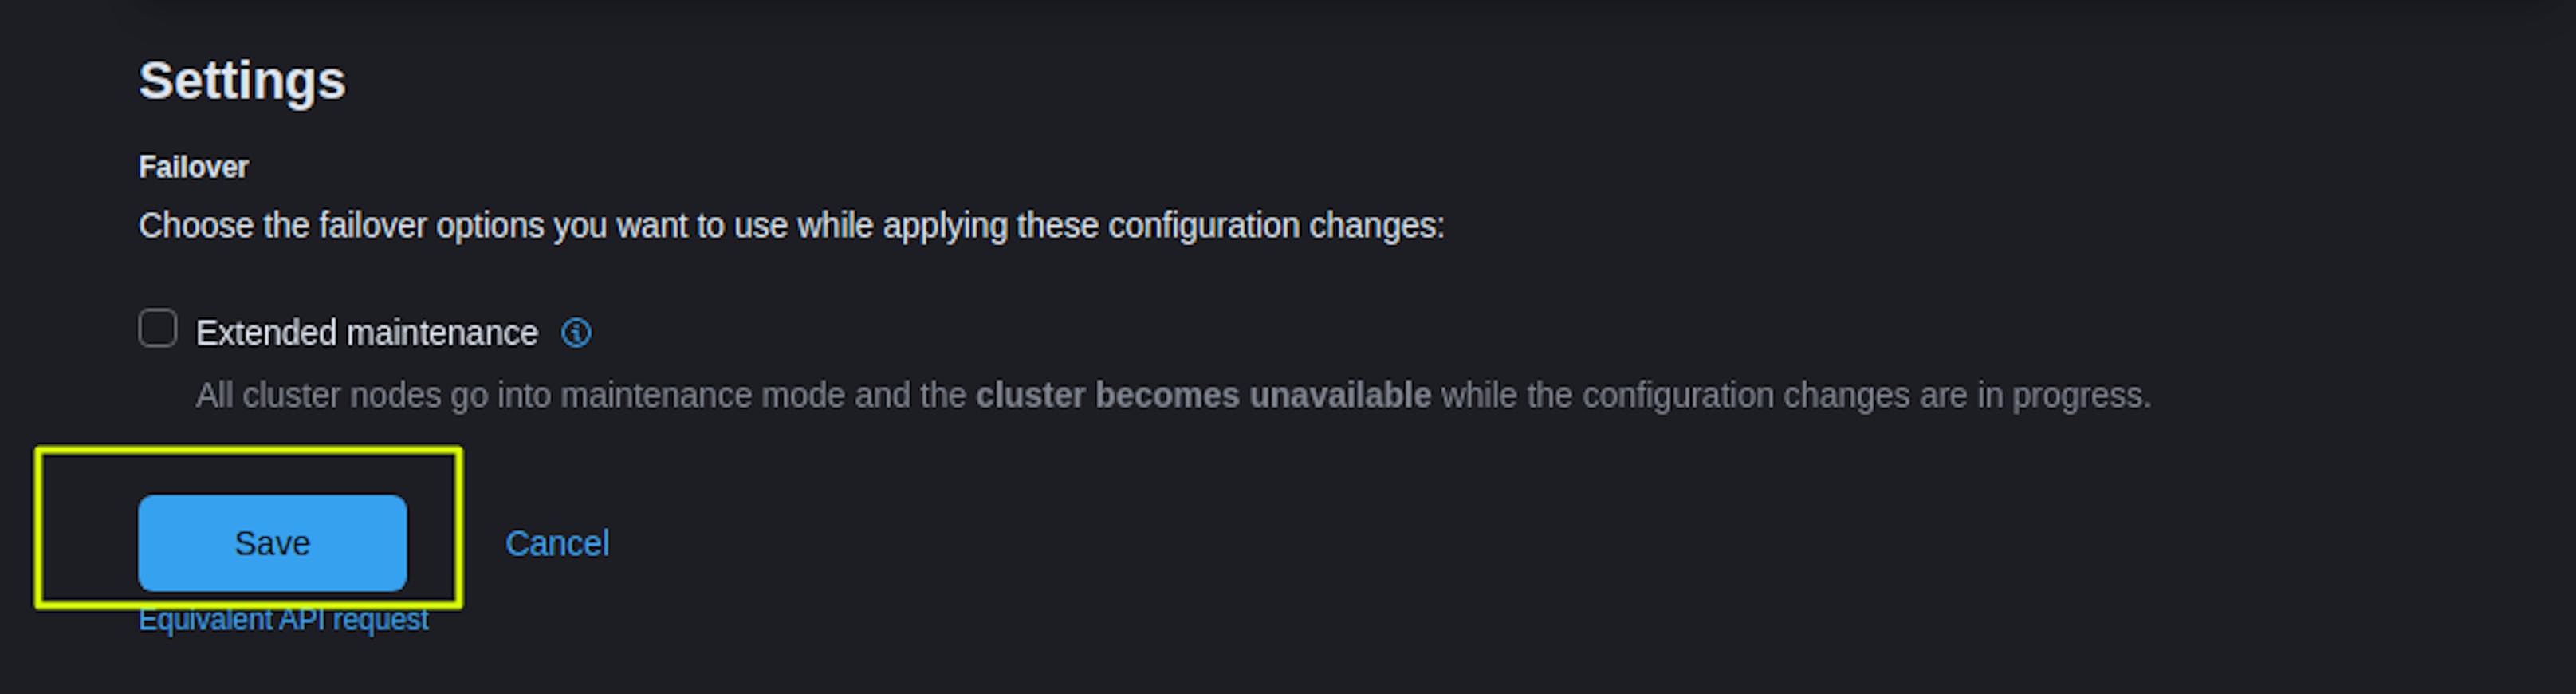
order: 1After adding the Kibana settings, select "Save," after which we confirm that we want to apply this configuration. We wait for the settings to be applied within 15-30 minutes.
You can find more detailed settings in the documentation: https://www.elastic.co/guide/en/cloud/current/ec-securing-clusters-SAML.html
Next, we configure "Map Roles" at the Kibana level.
Go to the Kibana web interface in the section Management -> Stack Management -> Security -> Create Role Mapping.
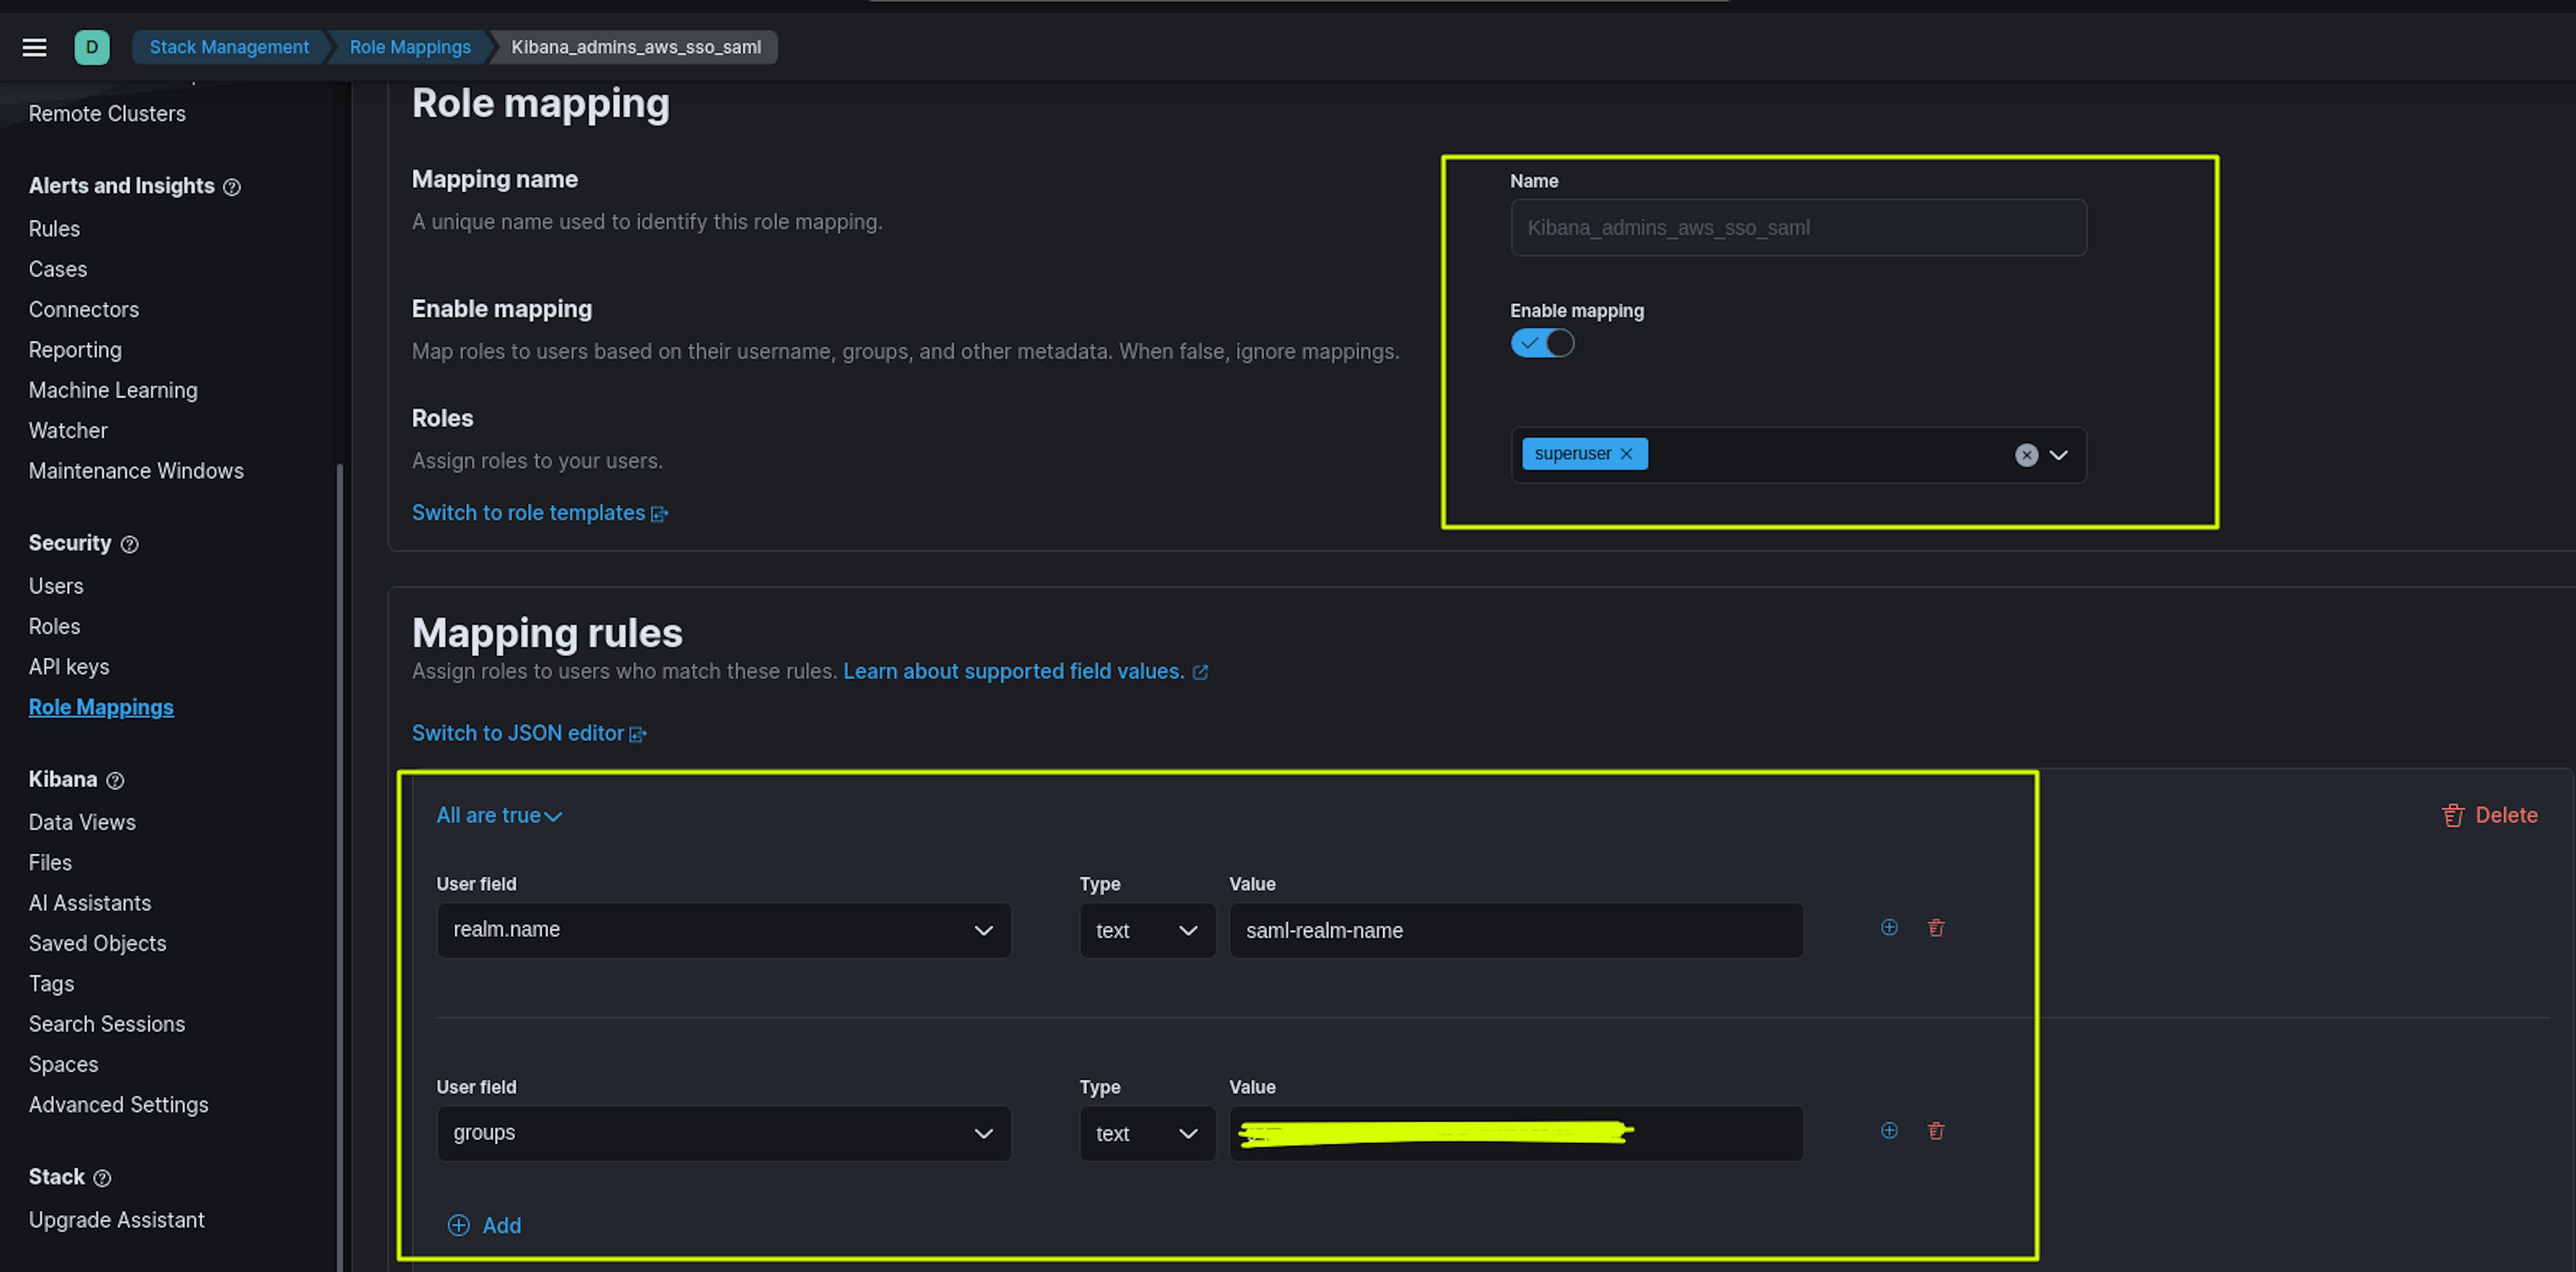
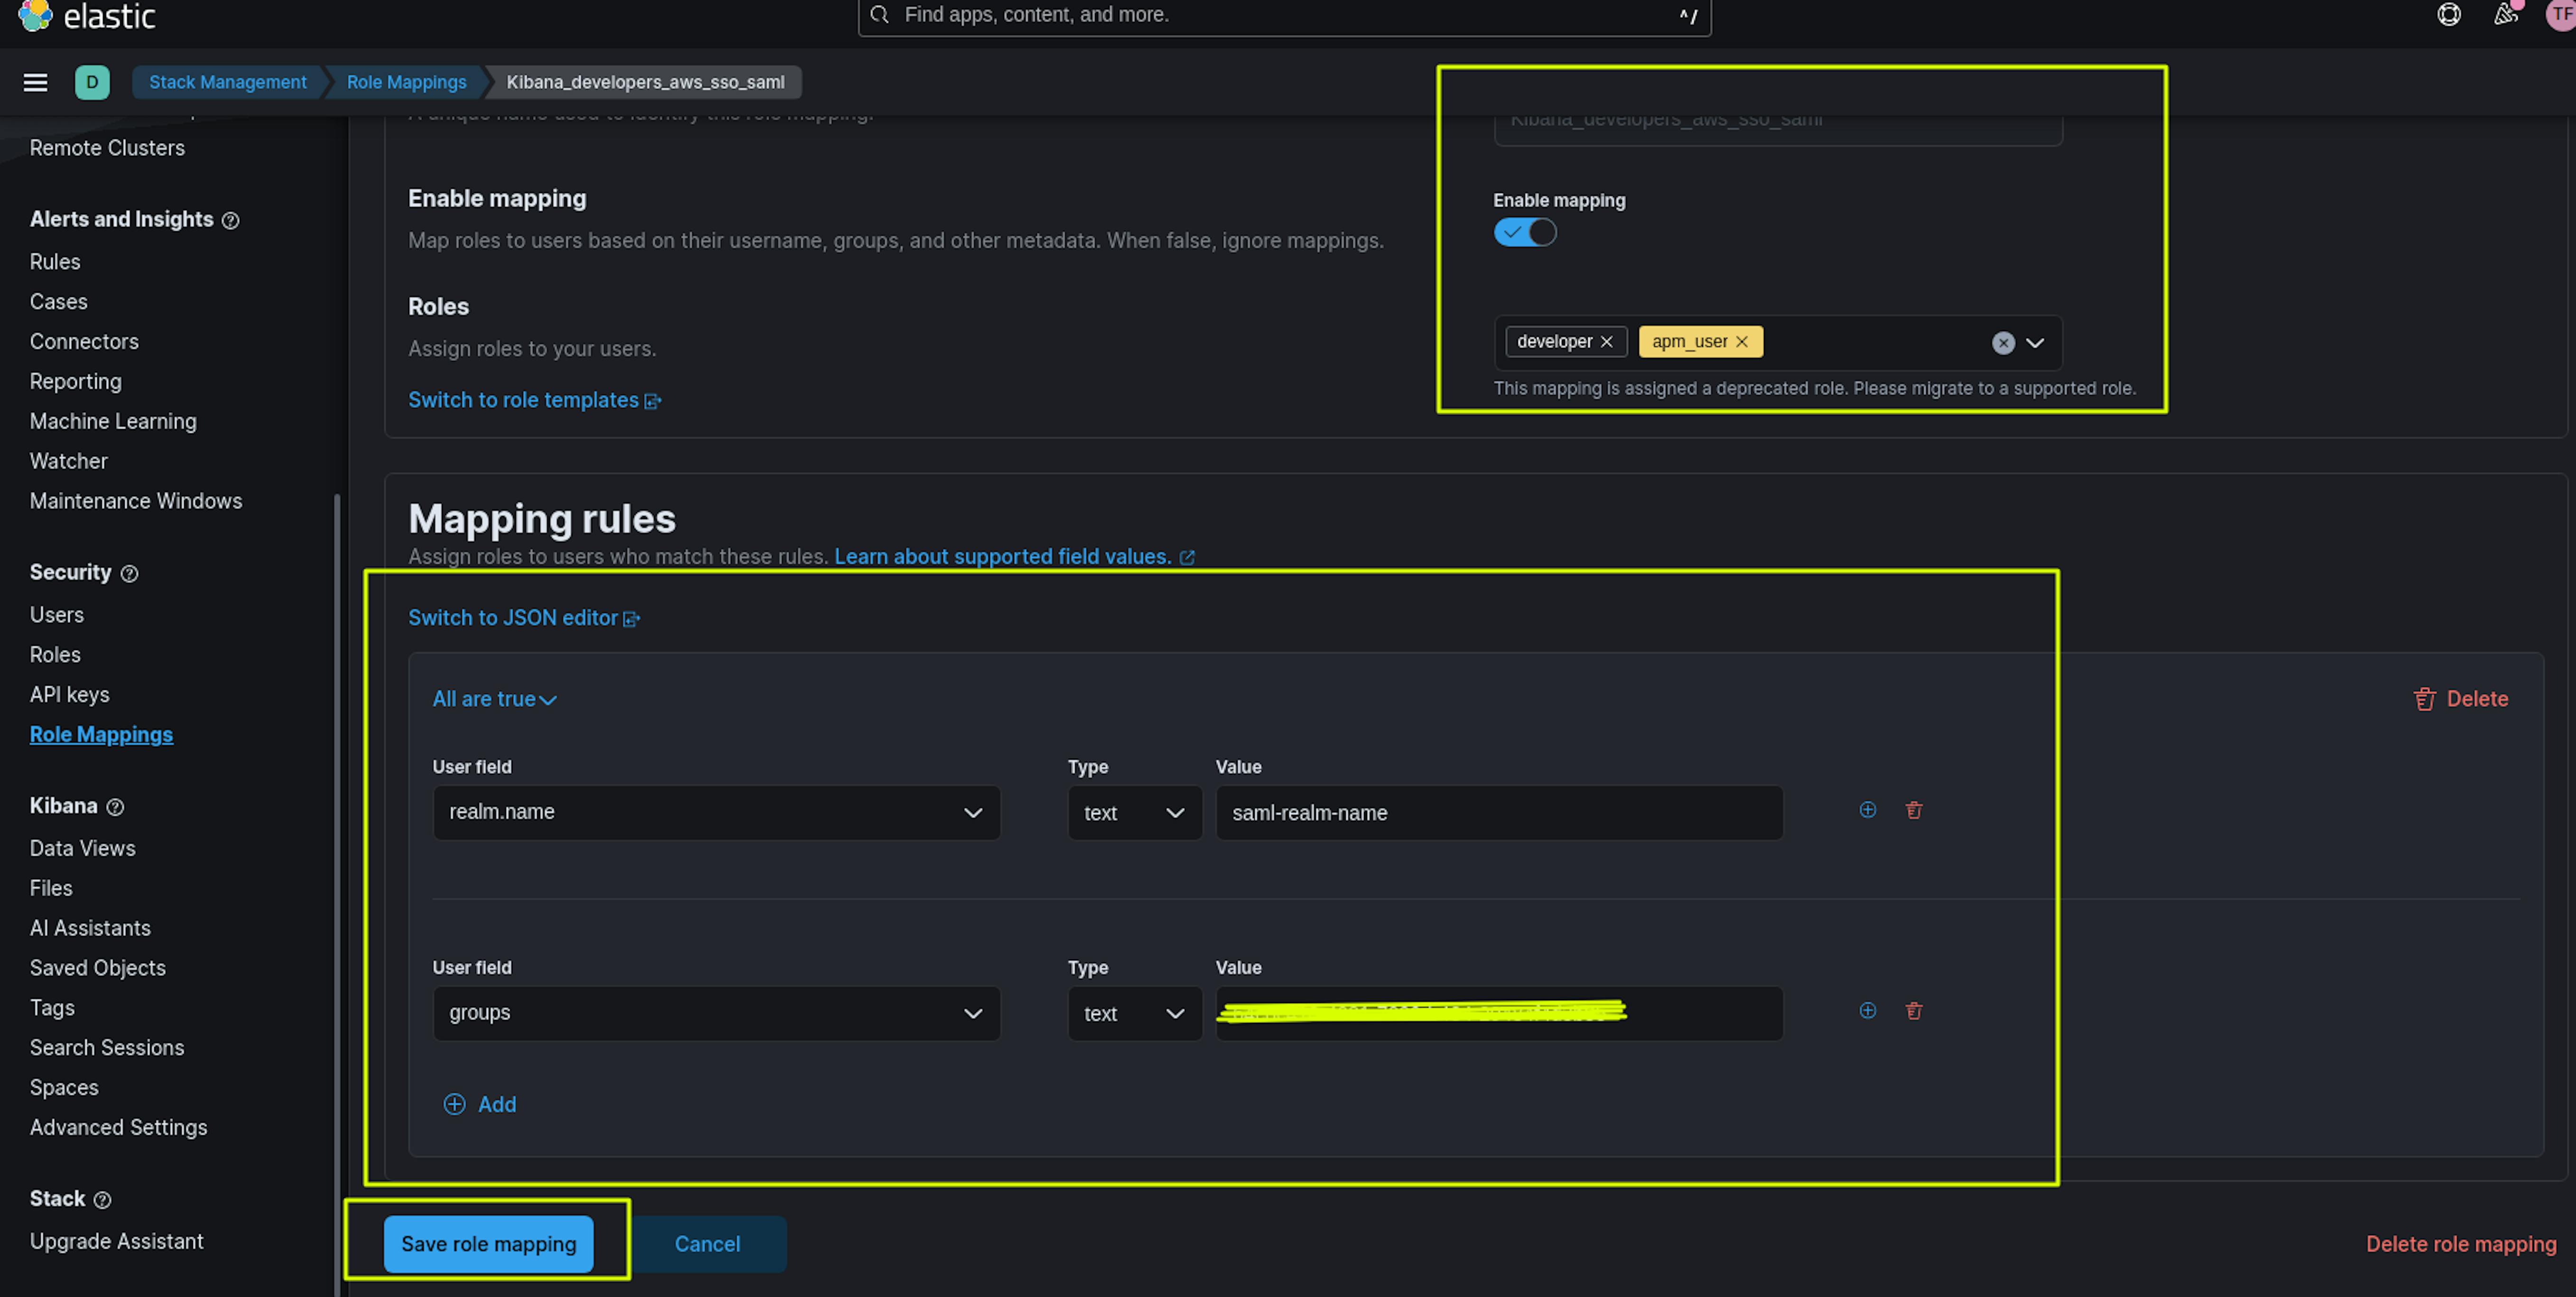
The screenshots above show the creation of 2 Maps Roles: Kibana_developers_aws_sso_saml and Kibana_admins_aws_sso_saml.
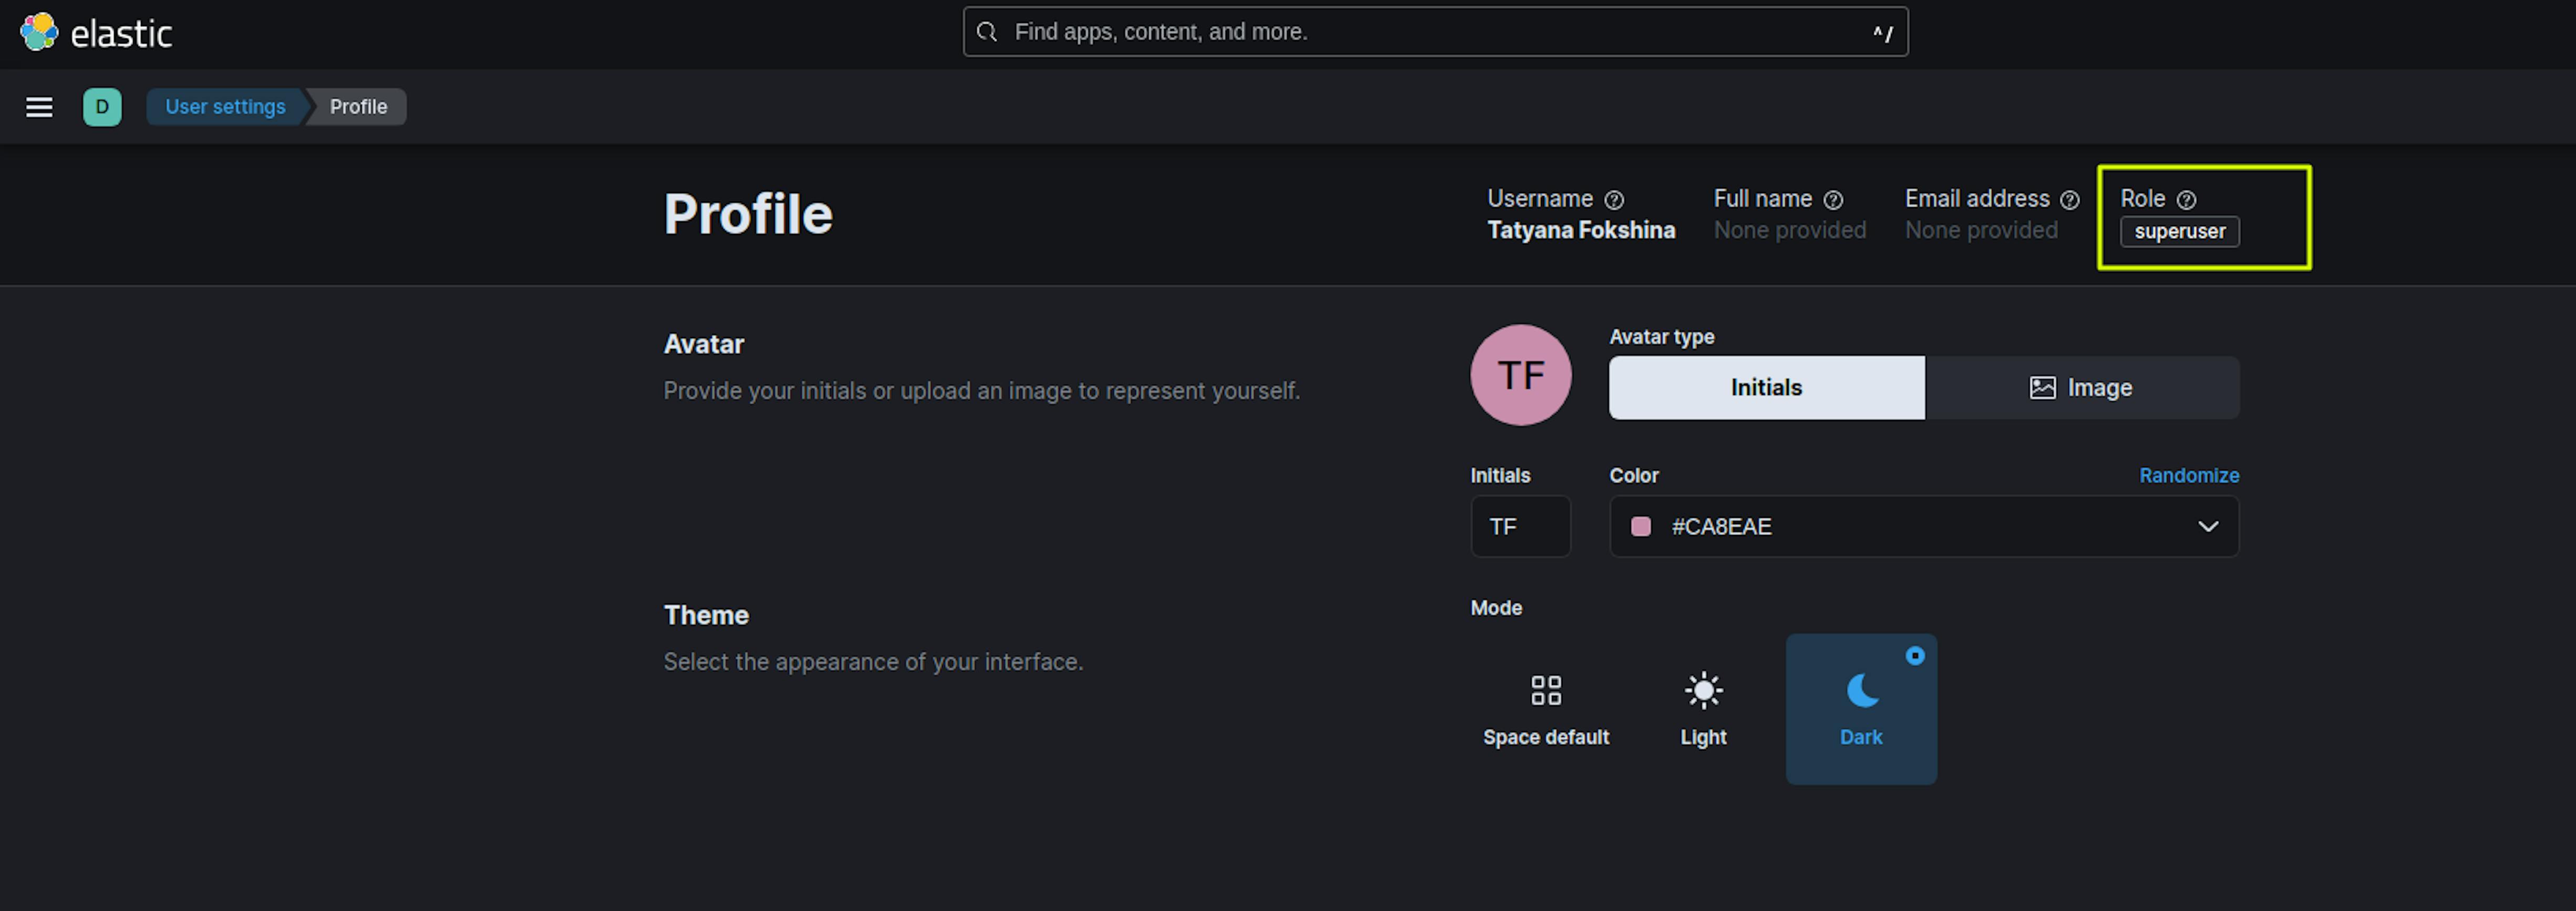
The name of the Maps Role can be anything. In the Roles section, we set roles with the necessary rights for users, for example, for Kibana_admins_aws_sso_saml - the superuser role, for Kibana_developers_aws_sso_saml the developer, apm_user roles.
In the Mapping rules section, the User field "realm.name" must match the saml-realm-name.
The User field "Groups" must match the user group ID in the AWS Identity Center. You can find this in AWS Identity Center ->Groups -> Select the desired group -> Copy Group ID in the General Information section.
After applying all the specified settings, you can proceed to testing.
When we open the Kibana start page, we see a new login item.
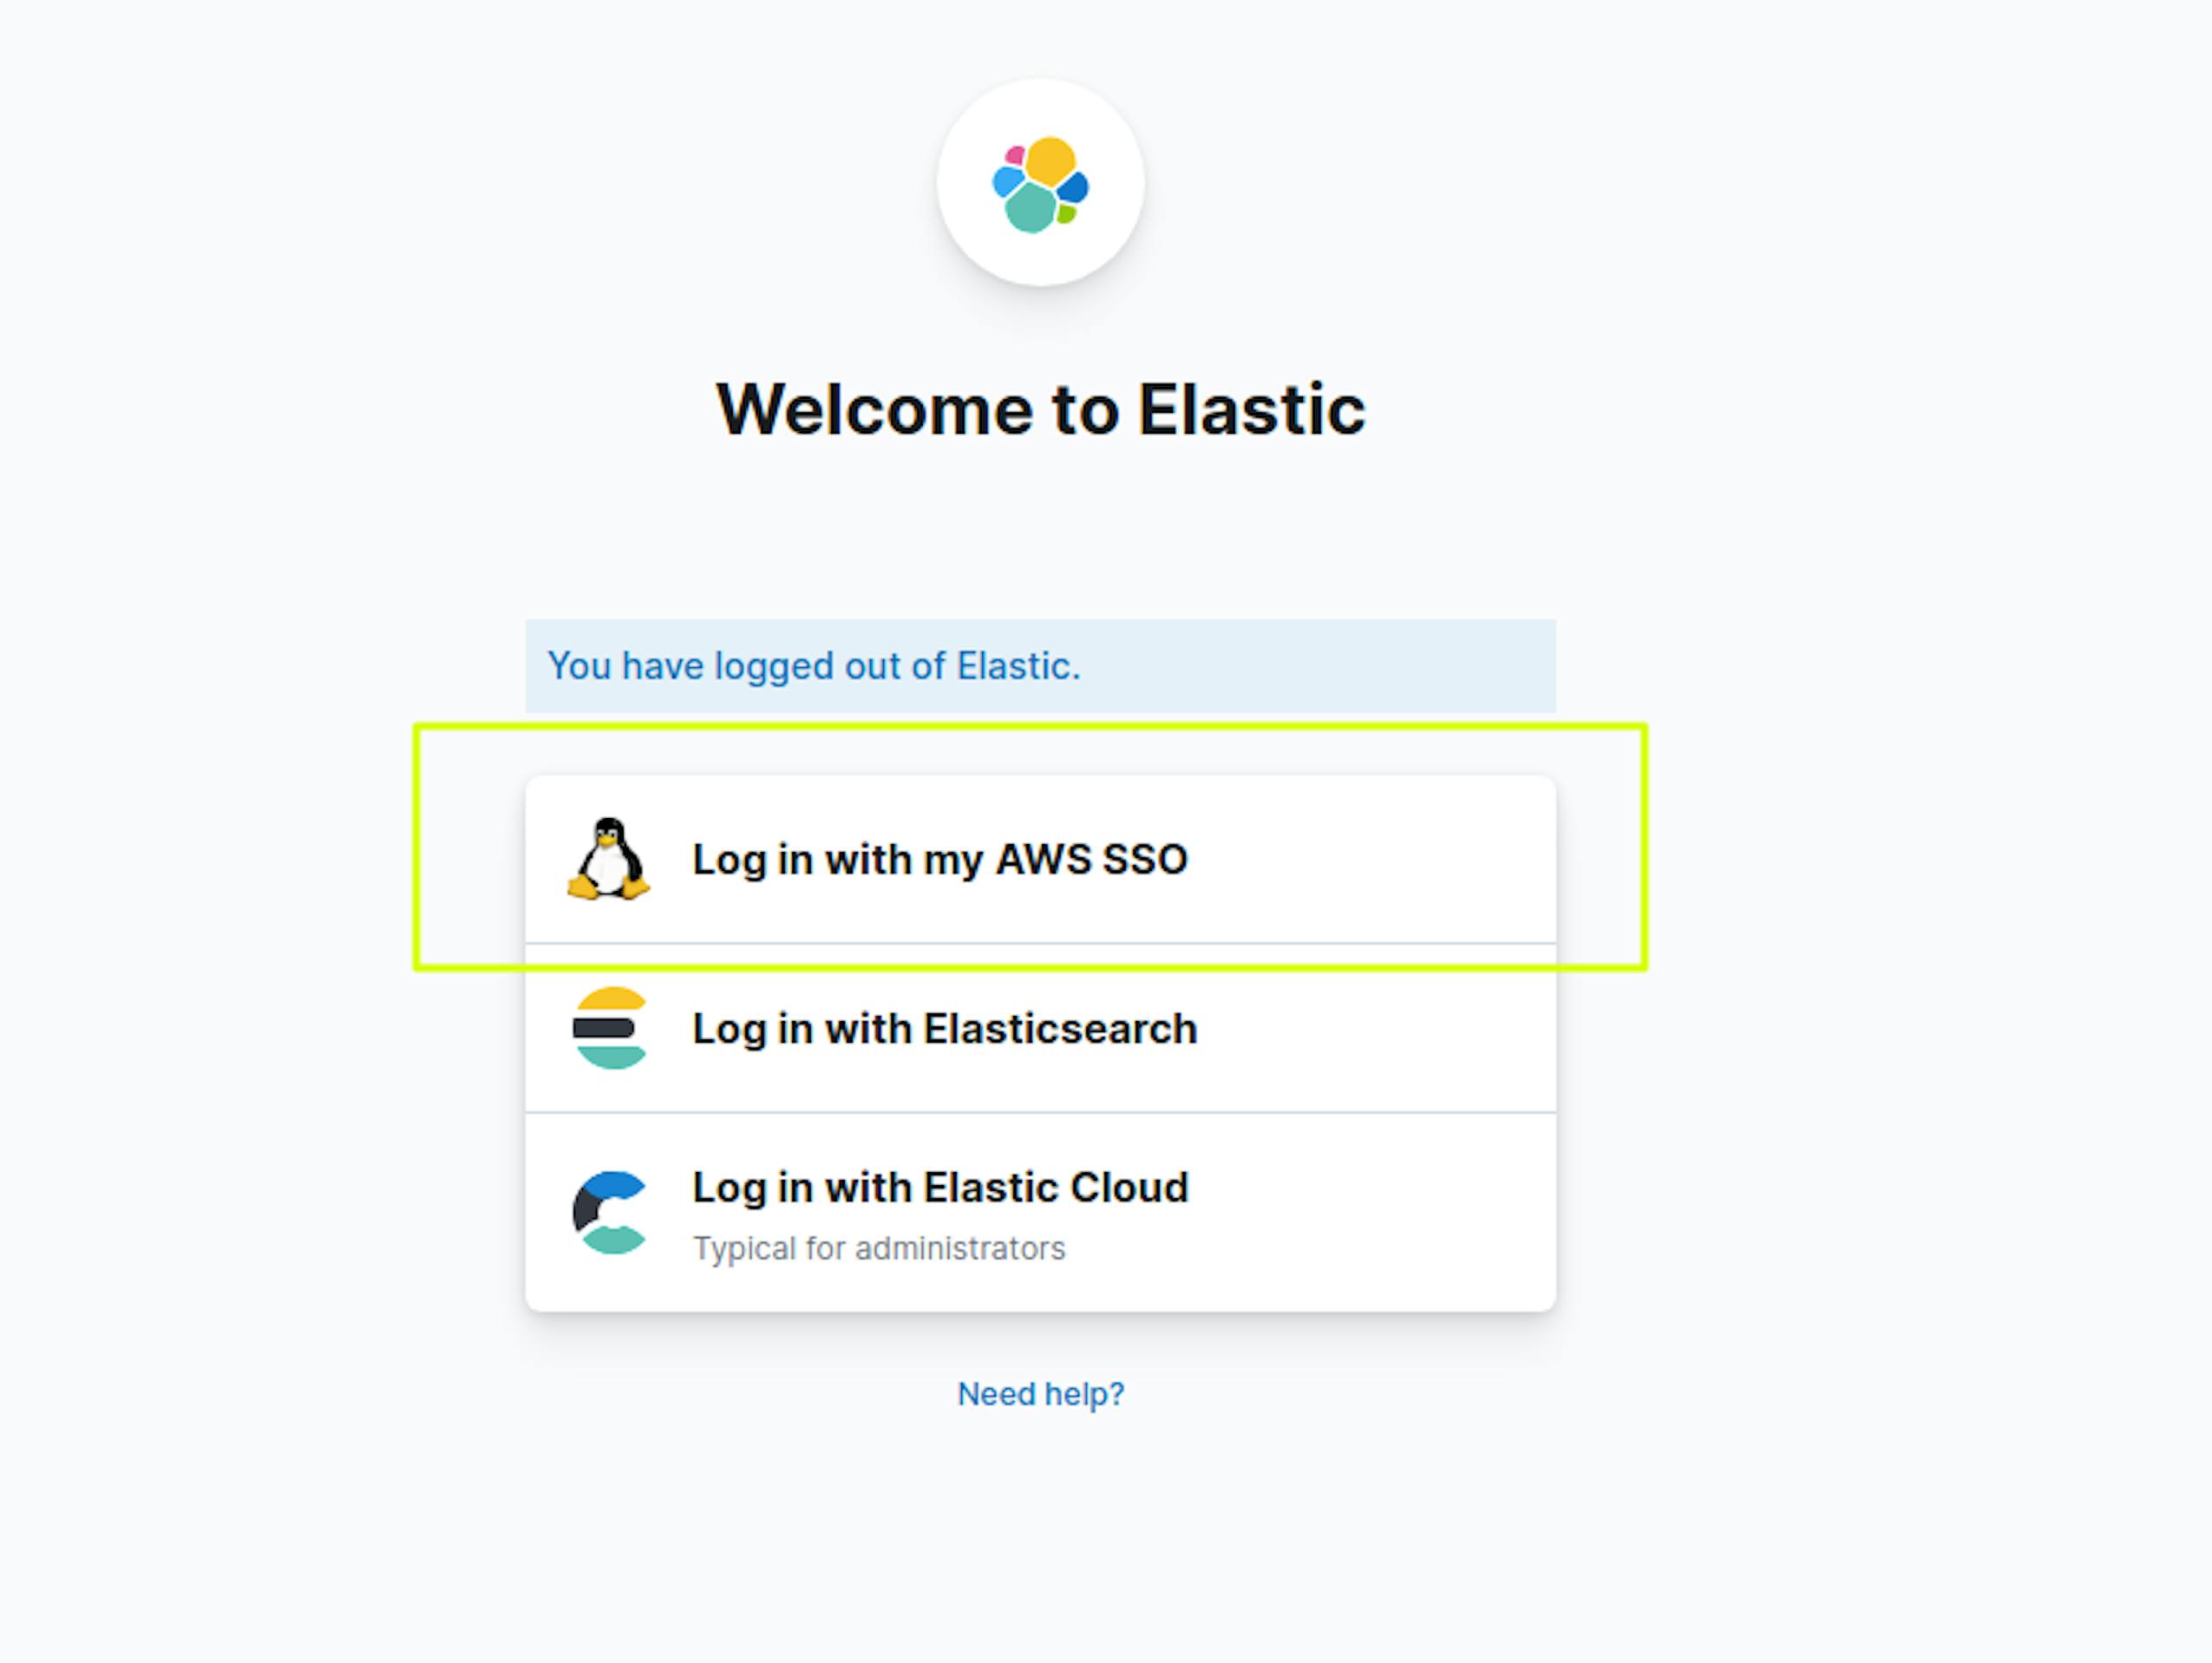
When authorizing via AWS SSO in Kibana, the user will have access to the rights granted in "Role Mapping."